
About This Japanese Strawberry Shortcake Recipe
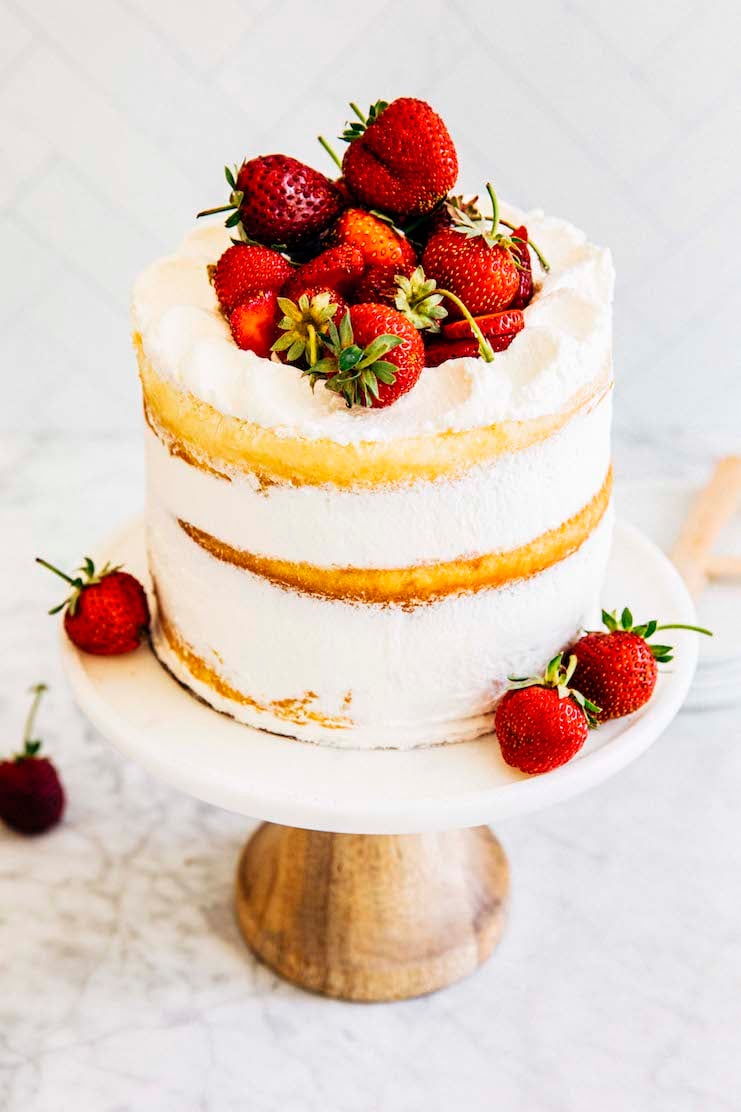
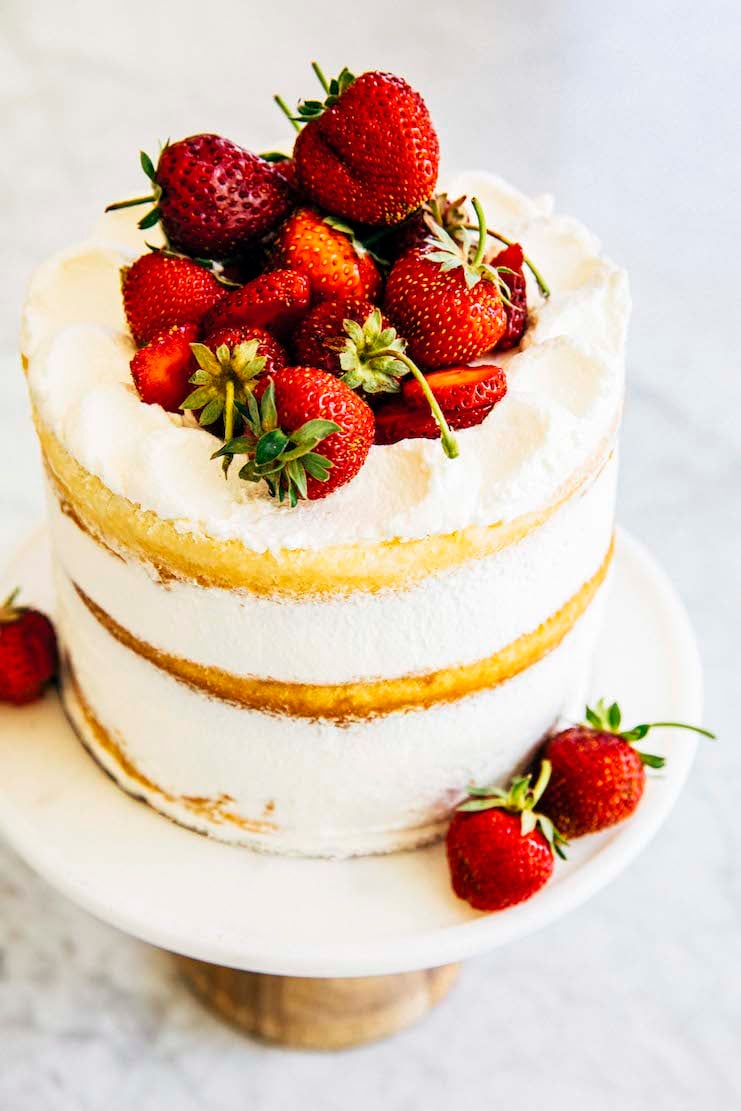
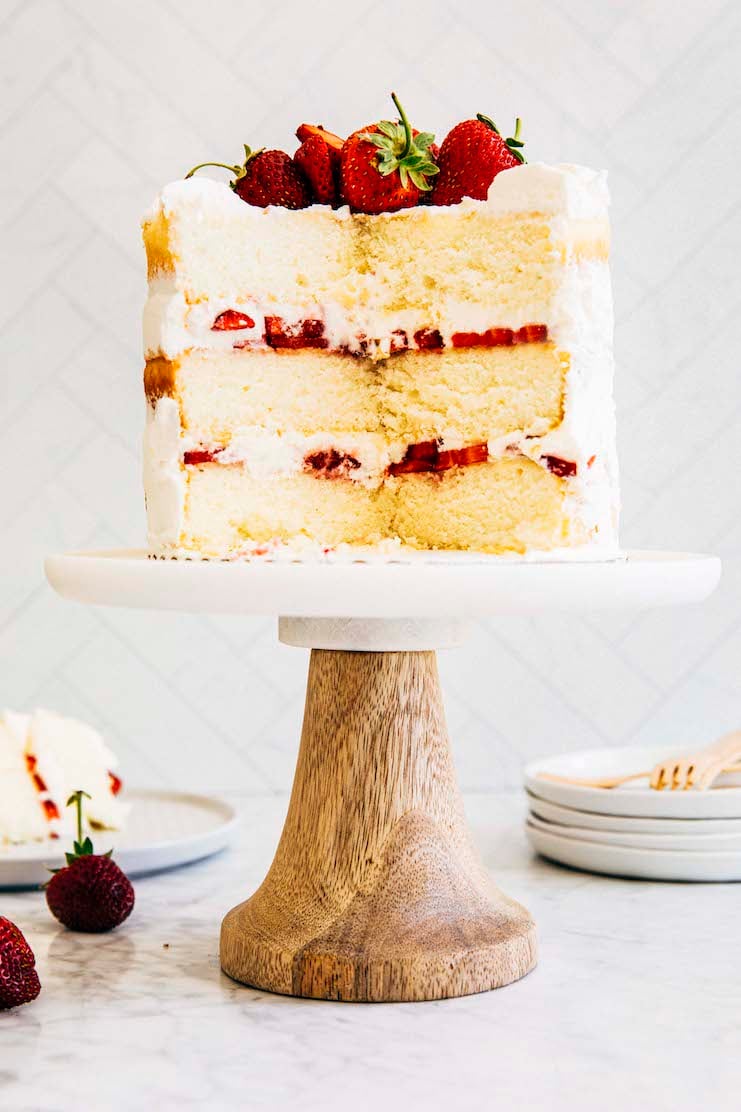
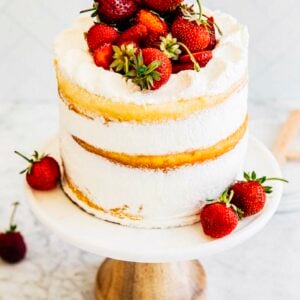
Japanese strawberry shortcake is made with moist, light, and fluffy white cake layered with fresh strawberries and whipped cream. Every bite is light, creamy, and refreshing, with bursts of sweet tartness from the fresh strawberries.
For more unique 6-inch cake recipes on Hummingbird High, check out my site’s Cake Recipe archive! Popular recipes include this 6 Inch Cheesecake Recipe and this 6 Inch German Chocolate Cake Recipe.
Ingredients and Substitutions
Now that I’ve convinced you to make Japanese strawberry shortcake, let’s talk about some key ingredients and potential substitutions:
- All-Purpose Flour. Substitute the all-purpose flour with your favorite 1-1 Gluten Free All Purpose Flour (I like the ones by Bob’s Red Mill and King Arthur Baking Company) to make the recipe gluten-free!
- Kosher Salt. Kosher salt is the best salt for baking recipes—learn more in this post. But if you don’t have any, you can replace the kosher salt in the recipe with half its amount in table salt.
- Clear Imitation Vanilla Extract. For this recipe, you’ll need to use clear imitation vanilla extract—it helps keep the cake perfectly white. However, you can use the regular pure vanilla extract if that’s what you have on hand. However, your cake will look more yellow than white.
Best Recipe Tips
About Baking Equipment
- This recipe requires 3 (6-inch) round cake pans to make the 3-layer cake. If you only have 2 (6-inch) cake pans, no worries! You can still make the recipe. Just note that your layers will be much thicker than mine.
To make the 2-layer version, follow the recipe instructions to make the batter. Divide the batter in half and pour each half into two prepared 6-inch cake pans. If using a digital scale to weigh the layers (see my next note), pour around 12 ounces (340 grams) of batter into each pan.
About Ingredients
- It’s especially important that your butter, milk, and egg whites are warmed to room temperature. The batter will curdle if some of the ingredients are colder than others!
- The weight of the strawberries will vary significantly depending on the type of strawberries you use, what season it is, and other factors. As a result, this is one of the few recipes where I encourage you to use a measuring cup to portion out the fruit for the recipe.
How To Make The Recipe Fit In Your Schedule
- You need to wait for the cake layers to cool completely before assembling the layer cake. If the layers are still warm, they will melt the whipped cream. Your cake will slip, slide, and collapse!
I always like to make the cakes one day ahead of assembling and serving the cake itself. I make the cake layers, let them cool to room temperature, then freeze them overnight. Freezing the cake layers sets me up for success—it locks in the cakes’ moisture and flavor, and frozen cake is always easier to frost in general.
But if you don’t want to make your cakes a day in advance, no worries! Simply follow the instructions to bake and cool the cakes to room temperature. While the cakes are cooling, multitask by prepping the strawberries.
Foolproof Techniques
- For even cake layers, I like to actually weigh out the layers with a digital kitchen scale to make sure they’re even. The easiest way to do this is to set a prepared cake pan on a digital scale and tare it to “0”. Pour batter into the pan until the scale registers the weight listed in the recipe (because yes, I’ve included the approximate weight of the batter needed for each pan!). Repeat with the second and third cake pans.
- The recipe instructs you to whip the cream to a specific texture: “firm peaks.” The best way to determine the cream’s texture is to test it with a whisk. Dip the tip of the whisk (or whisk attachment) into the whipped cream, remove it, and quickly turn it upside down. If the cream is too soft, it will slide off the whisk, and you need to keep whisking. If the cream has a cloudlike structure, with peaks that lose their shape, you’re at the “soft peaks” stage. Continue whisking, then test again. If the next time you turn the whisk upside down, the peaks hold, you’re at the desired “firm peaks” stage.
- It can be really hard to frost cakes with whipped cream—it tends to soften the more you handle it. That’s why I went with the naked route option! Doing so minimizes how much you have to work with the cream. To make your life easier, you can purchase some cake dowels or wooden skewers to anchor the layers in place as you frost the cake. You can also just skip covering the cake’s sides with whipped cream and layer everything more similar to how I styled this strawberry shortcake recipe of mine from yesteryear.
Get the Recipe: 6 Inch Japanese Strawberry Shortcake Recipe
Ingredients
For The White Cake
- 1 ½ cups (6 ounces or 170 grams) cake flour
- 1 cup (7 ounces or 198 grams) granulated sugar
- 2 ¼ teaspoons baking powder
- ½ teaspoon kosher salt
- ½ cup (1 stick or 4 ounces or 113 grams) unsalted butter, at room temperature and cut into 1-inch cubes
- ½ cup plus 5 Tablespoons (5.5 ounces or 156 grams) whole milk, at room temperature
- 2 large egg whites, at room temperature
- 1 ½ teaspoons clear imitation vanilla extract
For The Whipped Cream
- 2 cups (16 ounces or 454 grams) cold heavy cream
- ¼ cup (1 ounce or 28 grams) confectioners’ sugar, sifted if necessary
- ½ teaspoon pure vanilla extract
Assembly
- 2 cups fresh strawberries, washed, hulled, and sliced
Equipment
- 3 (6-inch) round cake pans
- cake board
- rotating cake stand
- piping bag with a round tip
- offset spatula
- bench scraper
Instructions
- First, make the white cake. Position a rack in the center of the oven and preheat the oven to 350°F.
- Prepare the cake pans. Generously spray three 6-inch cake pans with cooking spray and line the bottoms of each with a parchment paper circle. Spray the parchment too.
- Mix the dry ingredients. In the bowl of a stand mixer fitted with the paddle attachment, combine the flour, sugar, baking powder, and salt. Beat on low until just combined, about 15 seconds.
- Add the butter to the dry ingredients and beat until a coarse meal forms. Add the butter to the dry ingredients all at once and beat on low until the mixture has the texture of coarse meal, with pea-sized pieces of butter throughout, about 3 minutes.
- Add half the milk and beat until light and fluffy. Add ½ cup (4 ounces or 113 grams) of the milk all at once and increase the mixer to medium. Beat until the batter is light and fluffy, about 2 minutes, using a rubber spatula to scrape down the bottom and sides of the bowl as necessary.
- Whisk the remaining milk with the egg whites and vanilla, then add to the batter. While the batter is mixing, whisk together the remaining milk, the egg whites, and vanilla in a liquid measuring cup. Reduce the mixer to low and add the egg white mixture in three additions, scraping down the bottom and sides of the bowl after each addition, then beat until just combined.
- Assemble the cakes. Divide the batter evenly between the three pans; if using a digital scale to measure out layers, note that this recipe makes around 24.5 ounces (695 grams) of batter—pour 8.15 ounces (231 grams) of batter into each cake pan.Use an offset spatula to spread the batter evenly across the pans and smooth their tops.
- Bake the cakes. Bake for 23 to 25 minutes, or until the top of the cake bounces back when gently pressed and a skewer inserted into the center of the cake comes out with a few crumbs attached. Cool completely in the pans on a wire rack before frosting and assembling.
- Make the whipped cream. In the bowl of a stand mixer fitted with the whisk attachment, combine the cream, confectioners’ sugar, and vanilla. Whisk on medium-high until firm peaks form, about 4 minutes. Be careful not to overwhip or you’ll end up with butter!Scoop approximately 1 cup of the whipped cream into a piping bag with a round tip.
- Build the layers. Place one of the cake layers on a cake board or serving platter in the center of a rotating cake stand. This will be the first layer of the cake. With the piping bag of whipped cream, pipe one 1-inch thick circle along the outer edges of the cake layer—doing so results in an empty circle in the idle of the whipped cream. Scoop approximately ¼ cup to ½ cup of sliced strawberries into that circle. Cover the strawberries with whipped cream, either by piping or scooping some cream from the bowl and using an offset spatula to spread it.Place a second cake layer on top of the whipped cream, stacking it evenly on top of the first layer of cake. Follow the instructions above to pipe another whipped cream circle, fill it with sliced strawberries, then cover with whipped cream. Place the third and final cake layer on top of this layer, stacking it evenly on top.
- Frost the cake. Scoop another approximate ¼ cup to ½ cup of whipped cream on top of the assembled cake. Use an offset spatula to spread the whipped cream over the top of the cake, similar to how you would spread butter on toast. Next, use the offset spatula to apply a large dollop of whipped cream to the side of the cake. Spread it in a thin layer over the sides of the cake. If using a rotating cake stand, you can spread the whipped cream easily by holding the length of the offset spatula’s blade against the cream as you rotate the stand. Add additional cream as needed. Continue spreading with the offset spatula or a bench scraper until a thin layer of whipped cream covers the sides of the cake.Pipe any additional whipped cream on top of the cake for decoration, and top with remaining strawberries.
- Serve and store. Serve immediately. The assembled Japanese strawberry shortcake can be stored at room temperature for 1 to 2 hours. After that, cover the entire cake loosely in plastic wrap and refrigerate for up to 2 days. However, the cake might lose its structure in warm weather—I suggest slicing any leftovers and storing it, Eton Mess or trifle style, in an airtight container for up to 2 days.
Did you make this recipe?
Please leave a comment and rating for the recipe using the form below!
Your ratings make it easier to find the recipe online, and I’m always looking for ways to improve Hummingbird High.
get new recipes via email:

buy the book
Weeknight Baking:
Recipes to Fit your Schedule
Over the past several years of running Hummingbird High, I kept a crucial aspect of my life hidden from my readers: I had a full-time, extremely demanding job in the tech world. In my debut cookbook, Weeknight Baking, I finally reveal the secrets to baking delicious desserts on a tight schedule.
What a fabulous recipe! So easy and tasty! I’ll definitely be making this!
Just made this, and it was delicious! Not too sweet, just like the way Asian bakeries make them. The instructions were clear and easy to follow. Thank you!
The only tweak I’d suggest is to maybe chill the cubed butter for a bit prior to mixing. At room temperature, the butter quickly dissolved when I added it to the stand mixer.
Me and my sisters are planning on making this for mothers day, but we also need to make dinner, and go to church. so should I bake the cake Saturday, and leave it in the fridge and add the whipped cream on Sunday, or do everything on Sunday?
It’s fine to split it up over 2 days! I usually bake the cakes for layer cakes 1 day in advance. No need to refrigerate either if it’s just 1 day ahead—just store at room temp in plastic wrap until you’re ready to cover it in the whipped cream.
Hi there I love love your site but I have to say something please don’t be mad but I’m on page 12 of all your recipes and girl all your photos while clear in detail are way way over saturated to bright way way to bright either to much light or flash they are all so white and bright it’s blinding and your loosing a lot of detail from the over saturation. Your an amazing baker and I love your page but I had to say something after 12 pages of seeing this as a photographer myself. No hate all love 🙂
This looks gorgeous! Can I bake it as a single cake and then slice through for layers? (I say this because I don’t have enough pans!) Would that just wreck the fluffiness?
I think you can get away with making this in a 9 x 13-inch pan, but it will make a really thin layer of cake!
The notes say all purpose flour can be substituted for gluten free but the recipe calls for cake flour. Can the cake flour be substituted for all purpose?
Yes, if you use the same weight measures (but not cup measures because cake flour is lighter than all purpose flour).