


This tart and tangy cream cheese frosting for cinnamon rolls comes together in just 5 minutes and tastes like the popular Cinnabon cream cheese frosting! Grab the recipe in the post, along with tips, tricks, and process shots on how to make it.
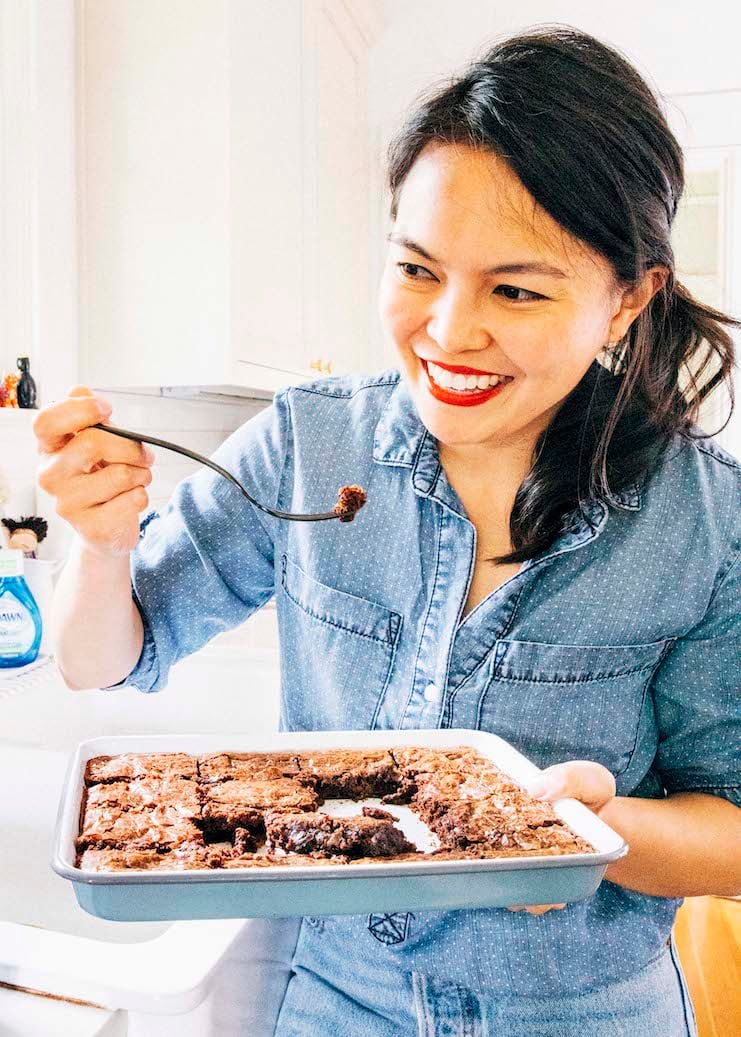
I’m the baker, blogger, and photographer behind Hummingbird High. Here you’ll find well-tested dessert recipes, cake decorating tutorials, and baking techniques that will help save you time in the kitchen. I look forward to baking with you!
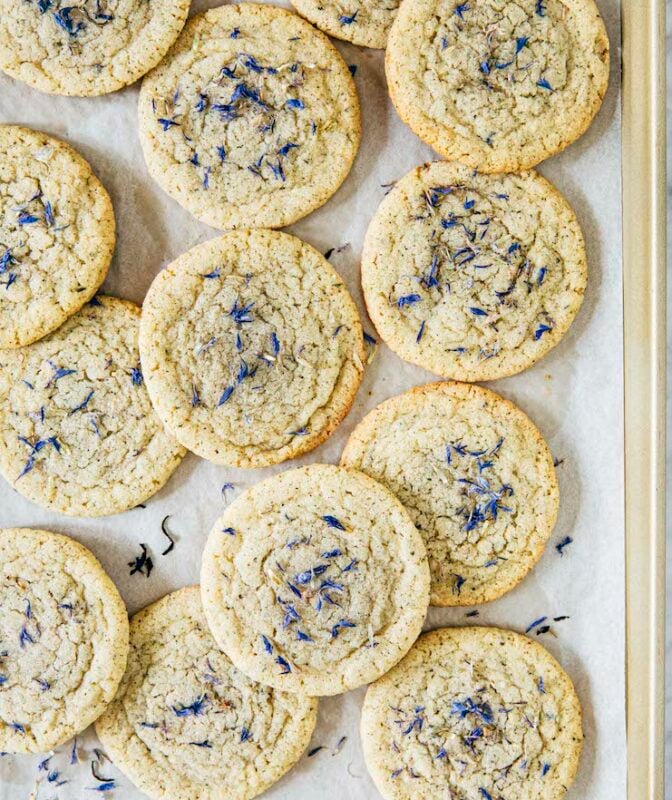
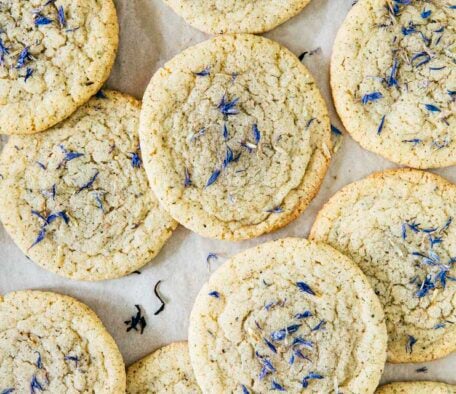

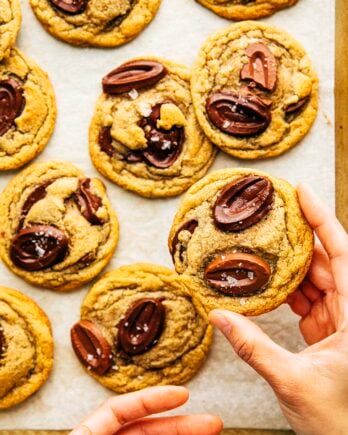
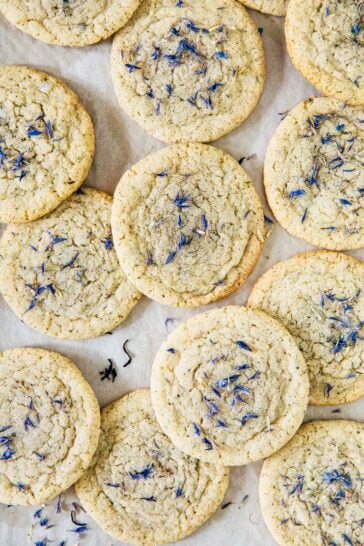
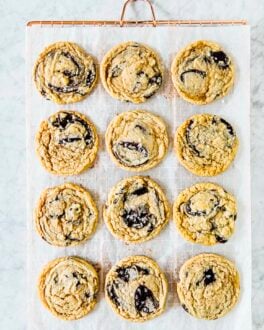
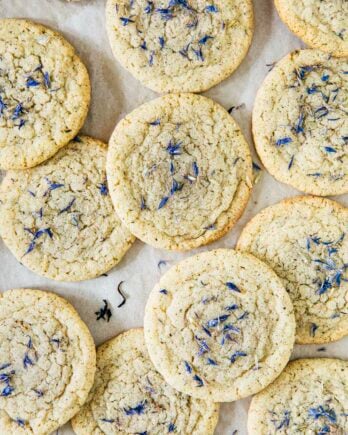
These lavender Earl Grey cookies are chewy, buttery sugar cookies infused with the floral flavors of both Earl Grey tea and dried lavender petals. The dough is made with finely ground Earl Grey tea and lavender petals and the recipe comes together in just 40 minutes. Grab the recipe in the post, along with tips and tricks on how to make it!

Over the past several years of running Hummingbird High, I kept a crucial aspect of my life hidden from my readers: I had a full-time, extremely demanding job in the tech world. In my debut cookbook, Weeknight Baking, I finally reveal the secrets to baking delicious desserts on a tight schedule.