
About These Milk Chocolate Brownies
Most fudge brownie recipes call for bittersweet, semisweet, or dark chocolate—but in a pinch, milk chocolate will work in any recipe too!
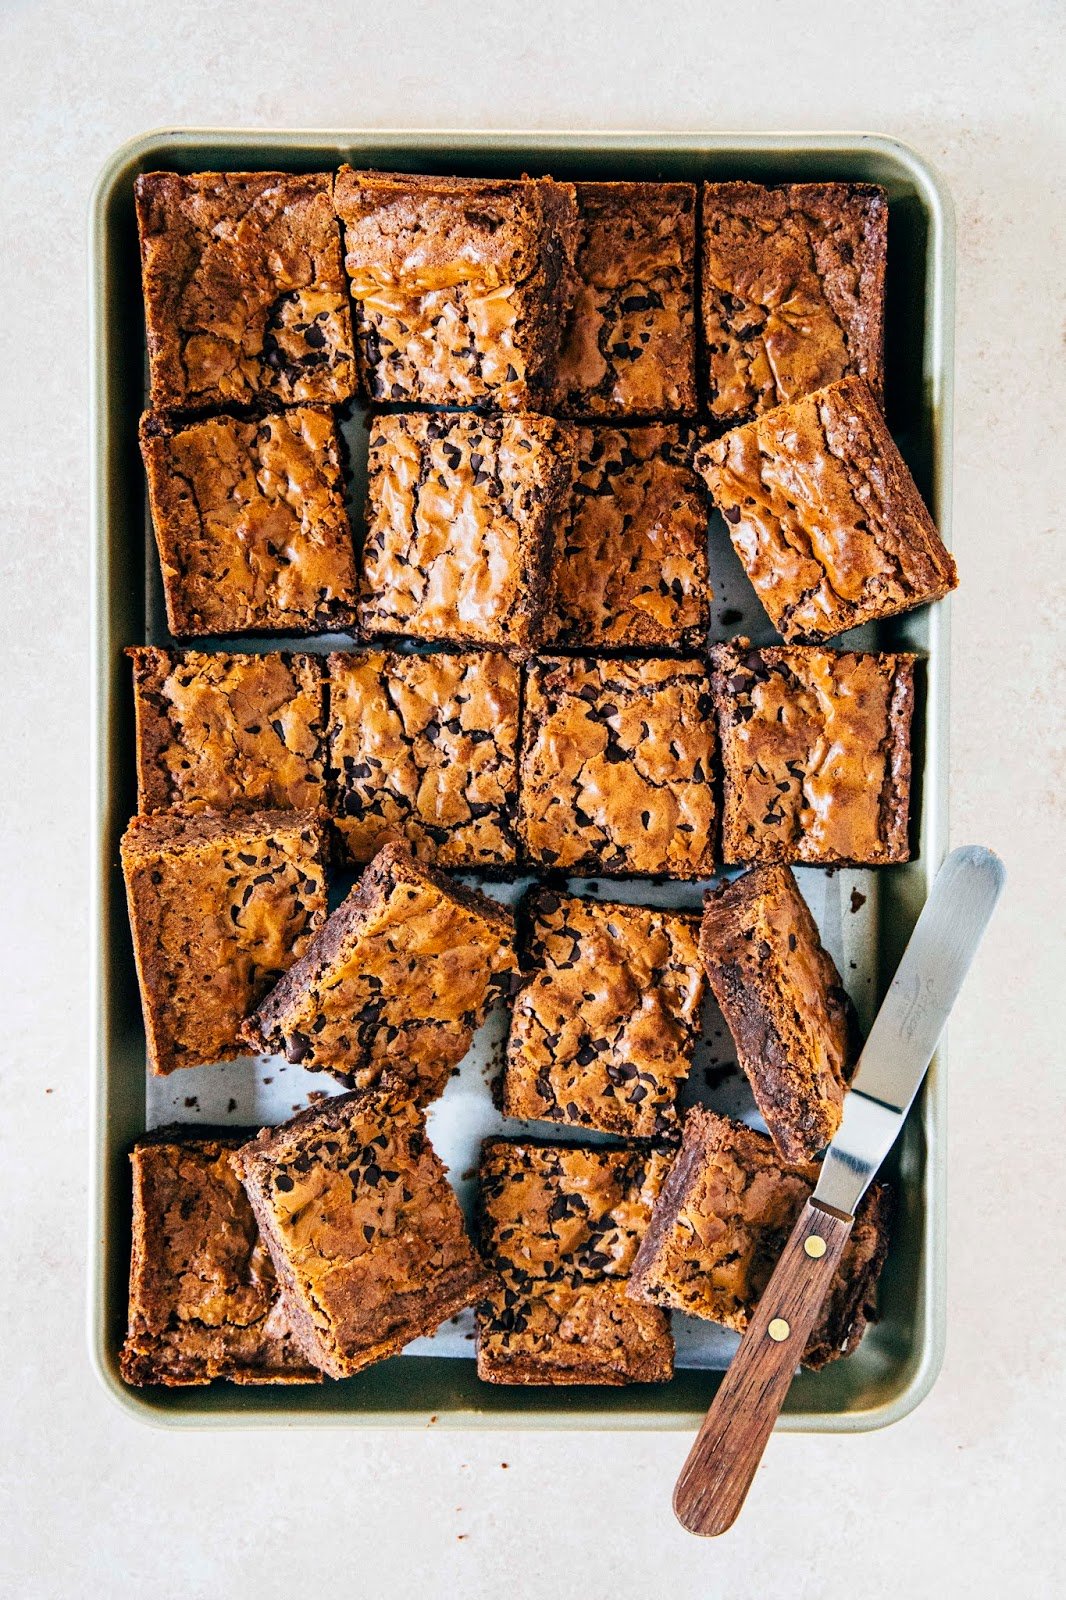
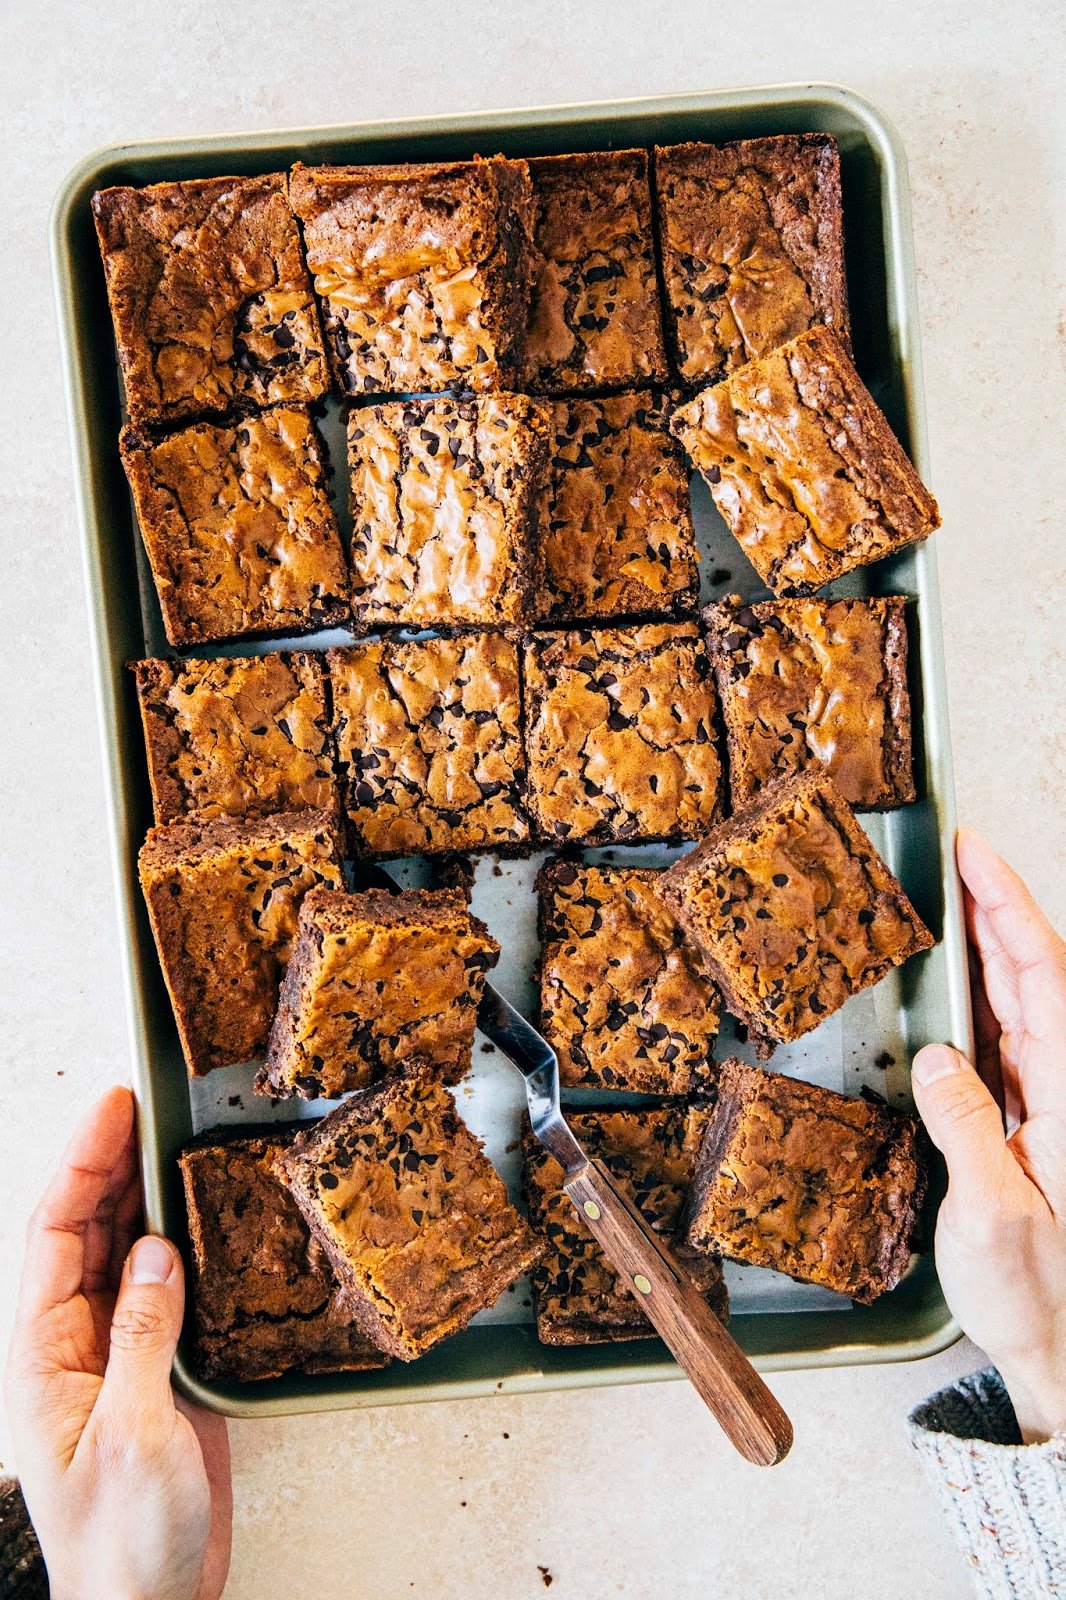
Milk chocolate makes My Best Fudgy Brownies Recipe sweeter and chewier. It’s perfect for those folks who find the flavor of dark chocolate too rich and intense. Even still, they have a chewy, slightly dense texture that’s not too cakey.
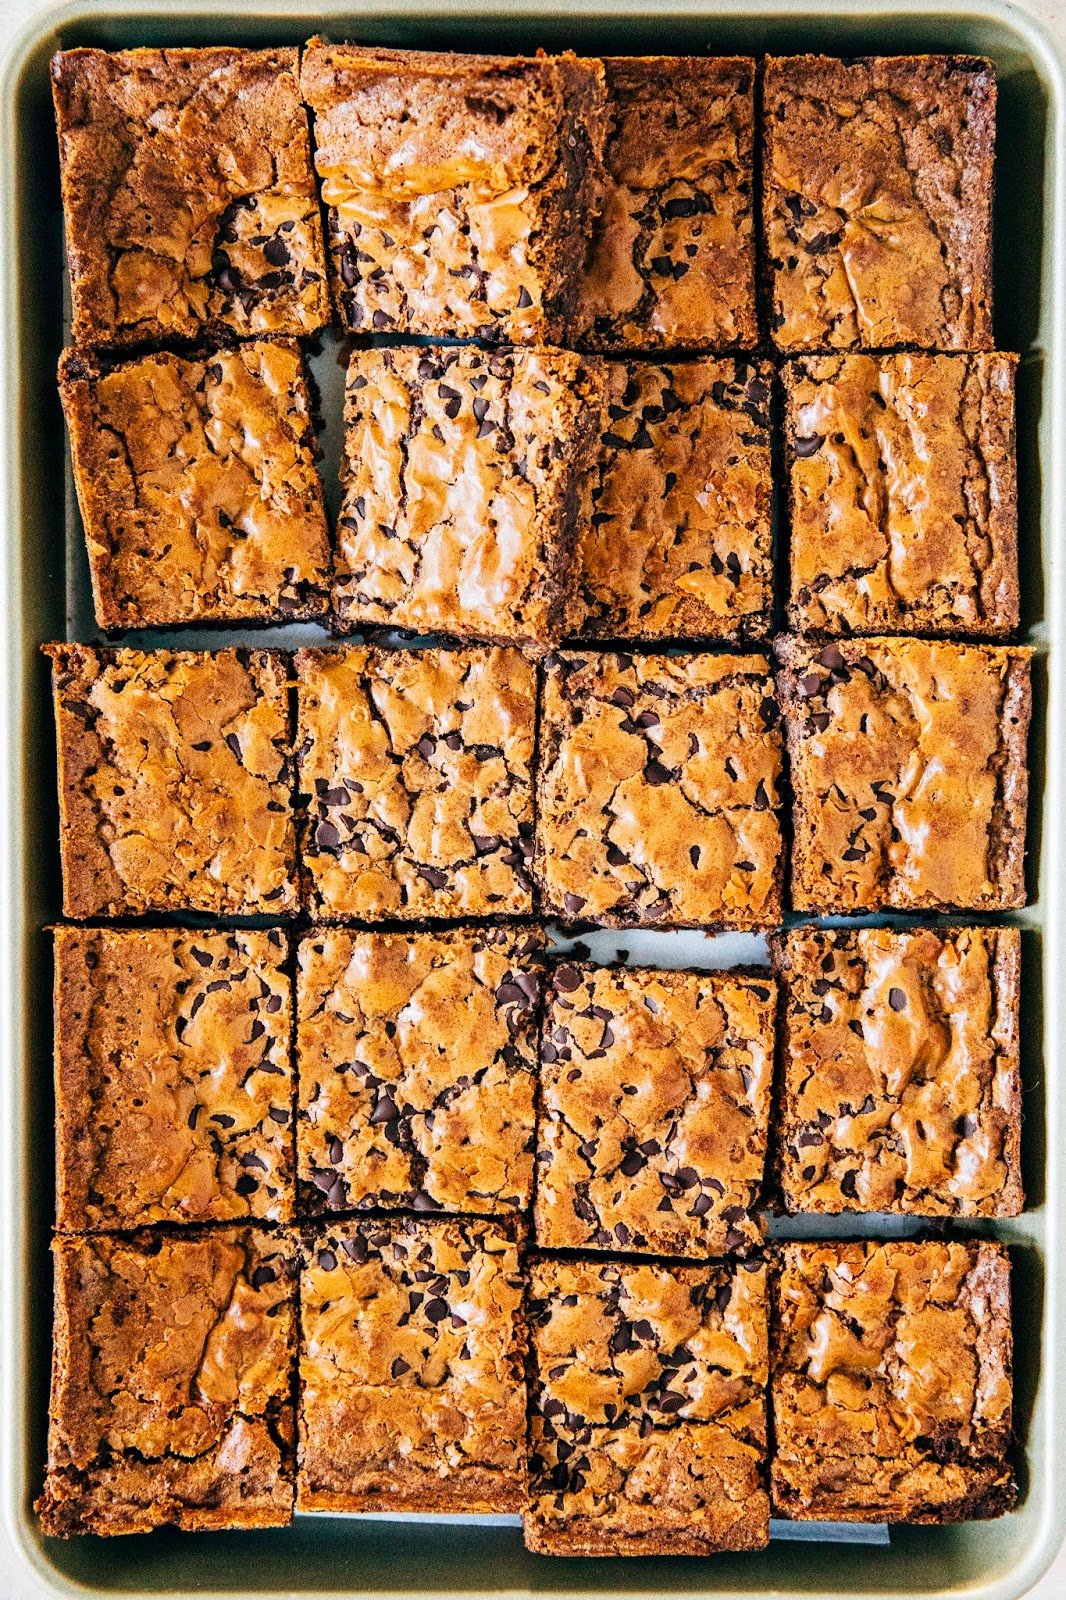
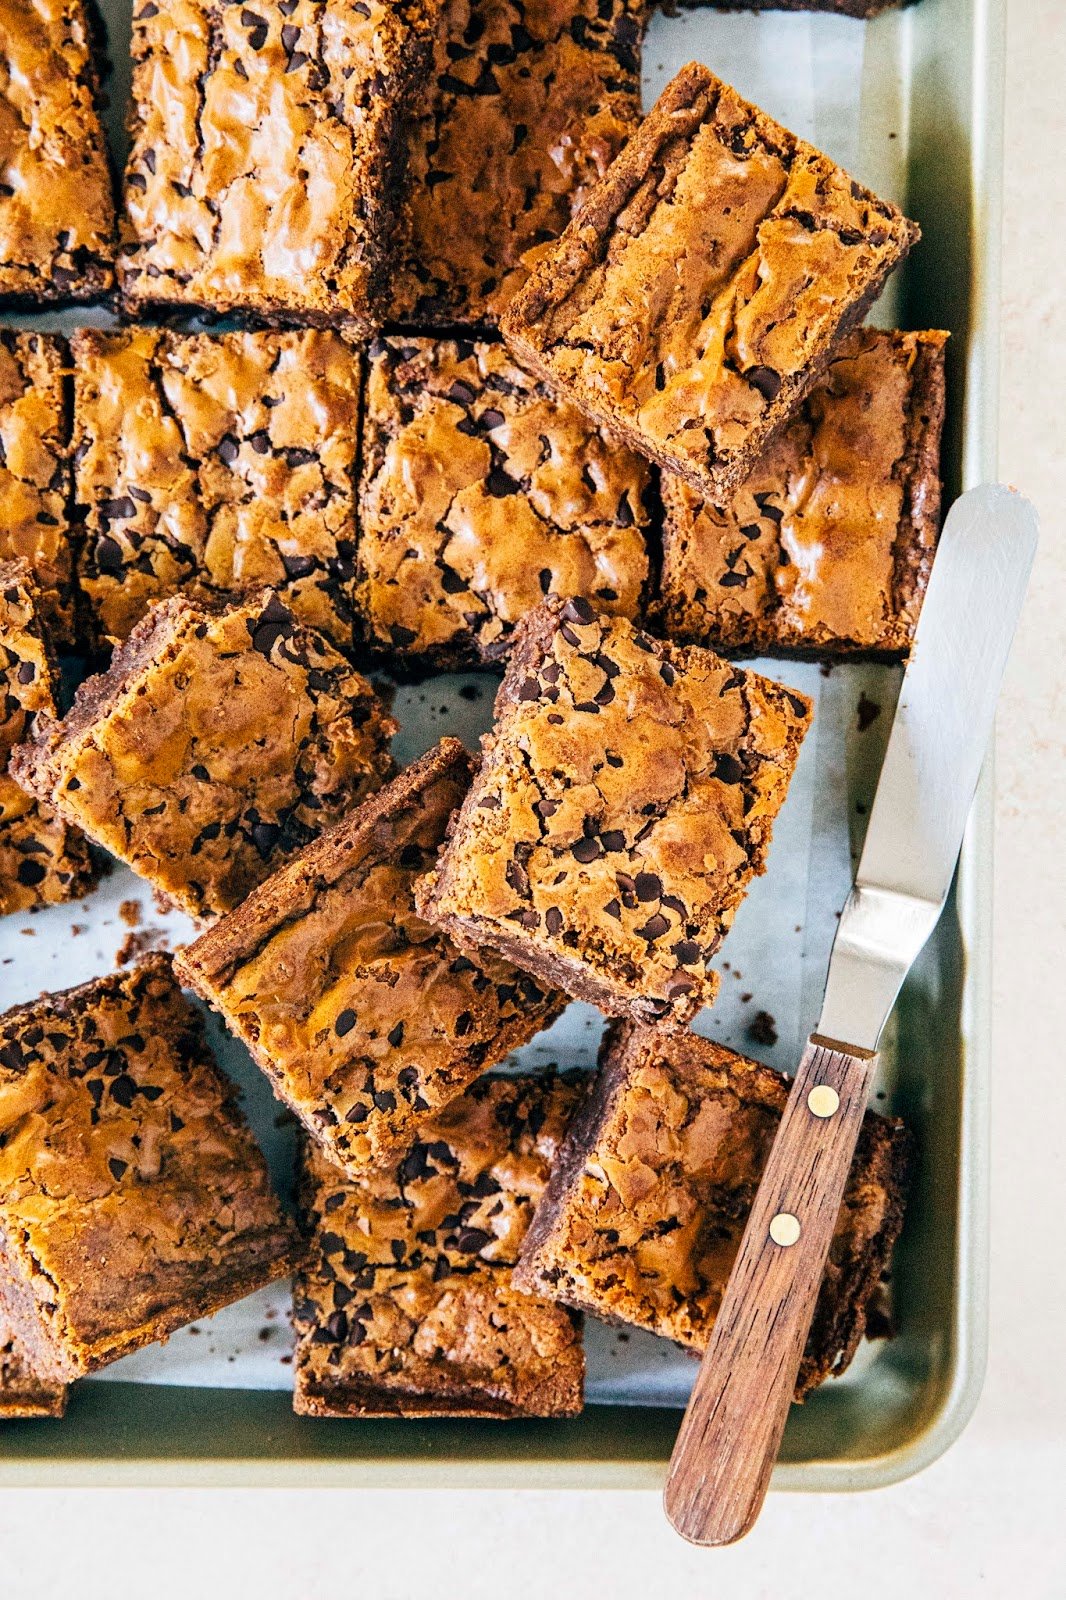
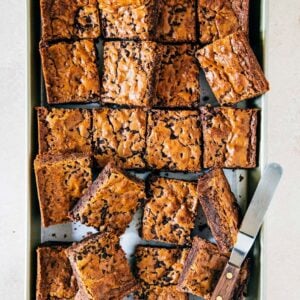
The best part? Even with milk chocolate, these brownies still have their signature flaky and paper-thin sugar top.
For more delicious homemade brownie recipes on Hummingbird High, check out my Brownies, Blondies, and Bars recipe archive! Popular recipes include Chewy Fudgy and Purple Ube Brownies and Small Batch Almond Flour Brownies.
What You Need
Ingredient, Recommendations, Sources and Substitutions
- Milk Chocolate. When baking a recipe that instructs you to melt chocolate, I always advise folks to opt for chocolate bars instead of chocolate chips. Chocolate chips have weird additives like paraffin wax (yes, the same stuff candles are made out of!) and other stabilizers to help them keep their shape in the oven. Get my recommended list of baking chocolate in this post about The Best Chocolate For Baking Chocolate Chip Cookies.
- Butter. Either unsalted or salted works in this recipe. If you use salted, there’s no need to adjust the recipe salt levels!
- All-Purpose Flour. You can use a 1-1 gluten free all purpose flour replacer to make the recipe gluten free. I like Bob’s Red Mill Gluten Free 1 to 1 Baking Flour or King Arthur Flour Gluten Free All Purpose Flour.
- Kosher Salt: Kosher salt is the best salt for baking recipes. But you can replace the kosher salt in the recipe with table salt. Just use half the amount listed in the recipe when you do!
- Unsweetened Cocoa Powder. Either natural unsweetened or Dutch-processed works in this recipe. Natural unsweetened will give you more reddish, and just ever-so-slightly more bitter brownies, whereas Dutch-processed cocoa powder (which is what I used) will give you darker-colored and milder-flavored brownies.
- Brown Sugar. Either light or dark brown sugar works in this recipe. Dark brown sugar contains more molasses, which makes the brownies taste more caramelly.
- Chocolate Chips. I like to use chocolate chips (which don’t melt in the batter, like I stated earlier) to give these brownies some texture. Get my recommended chocolate chip brands in this post about The Best Chocolate For Baking Chocolate Chip Cookies.
Best Recipe Tips
Technique Tips
- These brownies have a tendency to stick to the pan, especially when they’ve cooled to room temperature. Don’t skip lining the pan with parchment paper, and use lots of cooking spray. As an extra precaution, I use a fine mesh sieve to sprinkle a fine layer of cocoa powder over the cooking spray. Finally, unmold the brownies while they’re still warm, about 20 to 30 minutes after you’ve pulled them out the oven. You don’t want to do it too soon—doing so might cause the block to crumble apart since the brownies need some time to set.
- In this recipe, you’ll first melt the milk chocolate with some butter and cocoa powder. You then add this mix to another mixture of sugar and eggs. If you add the chocolate while it’s still too warm, it might accidentally scramble the eggs! There are some things you can do to prevent this—after melting the chocolate, immediately transfer it to a liquid measuring cup or a pitcher to help it lose heat quickly (you can see that I did this in my Instagram Story series about this recipe). When adding it to the sugar and eggs, make sure to do it VERY slowly, whisking continuously and quickly while you do so—in fact, I like to use a stand mixer to do the work for me since it gets tiring fast). And finally, use eggs that are straight from the fridge and straight from the fridge to help keep things from overheating.
Baking Tips
- It is better to pull the brownies out of the oven early than leave them in too long—if you overbake the brownies, they’ll be tough! They might appear underbaked, but I promise that when they’ve cooled, they’ll be perfect.
Get the Recipe: Milk Chocolate Brownie Recipe
Ingredients
- 8 ounces (or 227 grams) milk chocolate, between 30 to 40% cacao, chopped into ½- to 1-inch pieces
- 1 cup (8 ounces or 227 grams) unsalted butter, chopped into 1- to 2-inch pieces
- 2 tablespoons Dutch-processed cocoa powder, sifted if lumpy
- 1 cup (4.5 ounces or 128 grams) all-purpose flour
- ½ teaspoon kosher salt
- 4 large eggs
- 1 cup tightly packed, (7.5 ounces or 213 grams) dark brown sugar
- 1 cup (7 ounces or 198 grams) granulated sugar
- 2 teaspoons pure vanilla extract
- 1 cup (6 ounces or 170 grams) mini chocolate chips, divided into ¾ cup and ¼ cup portions
Instructions
- Prep your oven and pan. Position a rack in the center of the oven and preheat the oven to 350°F. Lightly spray a 9 x 13-inch cake pan with cooking spray and line with parchment paper, leaving a 2-inch overhang on the pan’s two long sides. Spray the parchment, too.
- Make the brownies. Place the milk chocolate, butter, and cocoa powder in the top of a double boiler or in a heatproof bowl set over a medium, heavy-bottomed saucepan filled with a few inches of simmering water (be sure the bottom of the bowl does not touch the water). Cook over medium heat to melt the butter, using a heatproof rubber spatula to stir the mixture and scrape the sides of the bowl occasionally, until the butter and chocolate have melted and combined, about 10 minutes. Set the double boiler or bowl on a wire rack and let the chocolate mixture cool while you prep the other ingredients.
- In a small bowl, whisk together the flour and salt.
- In the bowl of a stand mixer fitted with the whisk attachment, combine the eggs, sugars, and vanilla. Whisk on low until combined, 1 to 2 minutes, using a rubber spatula to scrape down the bottom and sides of the bowl as necessary. Increase the mixer to medium and slowly pour in the chocolate mixture, aiming for the sides of the bowl as opposed to the whisk. Continue whisking on medium until the batter is smooth, about 1 minute.
- Sprinkle the dry ingredients over the batter all at once and use a rubber spatula to mix until just combined—at this point, it’s okay to have one or two small streaks of flour left in the batter. Mix in ¾ cup of the mini chocolate chips. Pour the batter into the prepared pan and use an offset spatula to smooth the top. Sprinkle the remaining mini chocolate chips over the batter.
- Bake the brownies. Bake for 35 to 40 minutes, or until a skewer inserted into the center of the brownies comes out with a few crumbs attached. Cool completely on a wire rack before slicing. It’s better to pull the brownies out of the oven early than leave them in too long—if you overbake the brownies, they’ll be tough. They might appear under baked, but I promise that when they’ve cooled, they will be perfect.
- Serve and store. Run a butter knife or an offset spatula along the edges of the pan and use the overhanging parchment as handles to lift the brownies out of the pan and onto a cutting board. Slice into 20 rectangles, each about 2 ¼ inches wide and 2 ½ inches long, and serve. The brownies can be stored in an airtight container or zip-top bag at room temperature for up to 3 days.
get new recipes via email:

buy the book
Weeknight Baking:
Recipes to Fit your Schedule
Over the past several years of running Hummingbird High, I kept a crucial aspect of my life hidden from my readers: I had a full-time, extremely demanding job in the tech world. In my debut cookbook, Weeknight Baking, I finally reveal the secrets to baking delicious desserts on a tight schedule.
Just made these – they’re great! I used a glass pan and it took 36 minutes in my oven. Great fudgy texture. I think I prefer dark chocolate brownies but I only had milk chocolate in the cupboard – still very delicious.
I have been baking for over 30 years and brownies are always a quick, go to desert that pleases everyone. Initially I chose this milk chocolate brownie recipe because I only had milk chocolate chips in the house and everyone wanted something chocolate. My now adult children all said that these were the best brownies ever made and they ate every last one. I will make this part of my repertoire for quick delicious deserts. Thank you!
Really good brownies and I used store brand chocolate and they turned out fine. Mostly likely would have been magnificent if used high cocoa content but still be pretty good.
My 14 yr old nephew is a brownie connoisseur he gave this recipe a 10 out of 5. I have finally found his favorite!
I made a small adjustment and used very expensive Belgium chocolate chips…..$15!
My brownie came out rather runny. I baked a 1.5 batch using oz measuarement. So that’s 12 oz of milk chocolate and butter but for the flour it’s only 6.25oz? While the sugars were 11.25 & 10.5 respectively?? Is this ratio right or should have I added more flour?
If you’re baking 1.5 batches, the measurements for everything should be 12 ounces chocolate and butter to 6.75 ounces AP flour. Looks like your flour was a little low.
Also, did you bake the 1.5 batch in 1 9×13 inch pan and 1 8x8inch pan, or just use all one pan?
I made a batch using the recipe and it was delish. Next time I’ll try with the baking spray without the parchment paper because the paper deformed the shape of the batch.
Just made this recipe. I’m not a dark chocolate lover so I was happy to see milk chocolate brownies. They came out grainy and when they cooked, they were as hard as a rock. Such a shame. All I want is a milk chocolate fudge brownie 😢
Hi, I’m planning on making the recipe on Sunday but having checked the supermarkets I can’t find any kosher salt is there any alternative I could substitute with e.g table or sea salt? Thank you!
Table or sea salt works! Just use half the amount listed in the recipe—kosher salt tends to have larger granules than both those kinds, so you need to use more to get the same amount of saltiness.
These were delicious! We had some raspberry mars bars, chopped those up and mixed those through. It gave a nice hint of raspberry flavour. We’ll definitely make these again! Yum!
May I use milk chocolate chips for first part of recipe instead of cutting ip pieces?
May I freeze the bars?
Are the mini chips the usual semi sweet ones at grocery store?
Yes, milk chocolate chips work (you can find my recommendations for the best chocolate for baking here: https://www.hummingbirdhigh.com/2023/01/the-best-chocolate-for-chocolate-chip-cookies.html). And mini chips are the usual swemisweet ones.
Freezing the bars also works!