About These Rye Chocolate Chip Cookies
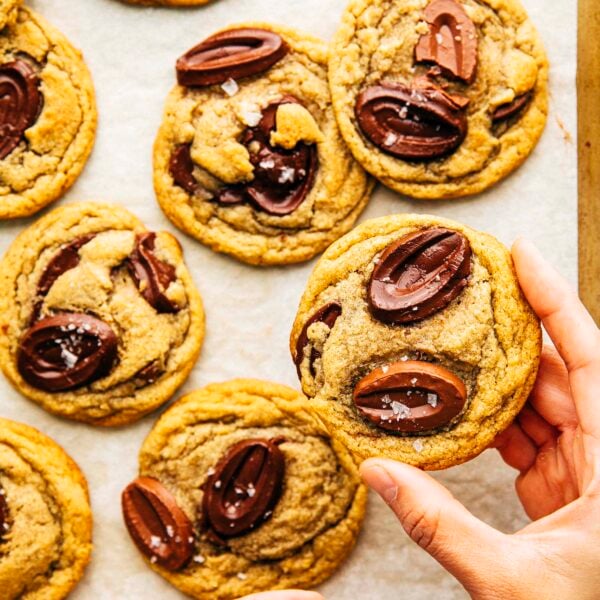
These chocolate chip cookies are crisp on the edges, and incredibly chewy and flavorful in their middles thanks to a secret ingredient: rye flour! Rye flour, in addition to having a unique nutty whole grain flavor, absorbs 10 times as much water as all-purpose flour.
Using rye flour in chocolate chip cookies makes them extra chewy, and helps keep the cookies fresher for longer.
The best part? The dough comes together quickly and easily with just a bowl and a spatula—no need to bring any ingredients to room temperature, or use a stand mixer! That being said, you will need to rest the dough overnight in the fridge before baking. This makes the cookies extra chewy and flavorful!
Be sure to check out my chocolate chip cookie recipe collection on Hummingbird High, including more unique chocolate chip cookie recipes like these Tender, Chewy & Craggy Chocolate Chip Cookies With Powdered Sugar and Earl Grey Chocolate Chip Cookies.
@hummingbirdhigh subtle toffee notes without the drama
♬ original sound – 𝑁𝑒̀𝑙𝑙𝑎ଓ
Ingredients and Substitutions
Let’s talk about everything you need to make these super chewy and nutty rye chocolate chip cookies including where to find them and substitutions:
Common Ingredient Substitutions and Sources
- Rye Flour: I like Bob’s Red Mill Organic Dark Rye Flour or King Arthur Baking Company’s Organic Medium Rye Flour when making this recipe! Medium or dark rye flour works best in the cookies (it makes them more flavorful).
- Kosher Salt: Learn why kosher salt is the best salt for baking recipes in this blog post. But in a pinch, you can replace the kosher salt in the recipe with half its amount in table salt.
- Brown Sugar: Either light or dark brown sugar works in the recipe. Dark brown sugar will give your cookies a subtle caramel flavor.
- Chocolate: Check out my blog post on the best chocolate for making chocolate chip cookies. For these rye chocolate chip cookies, I used a mix of Valrhona Caraibe 66% fèves and Valrhona Jivara 40% fèves. If you want a less sweet cookie, feel free to use all dark chocolate instead of a mix of dark and milk. But the milk chocolate complements the nuttiness of the rye flour well!
What are chocolate fèves? Are they the same thing as chocolate baking discs and wafers?
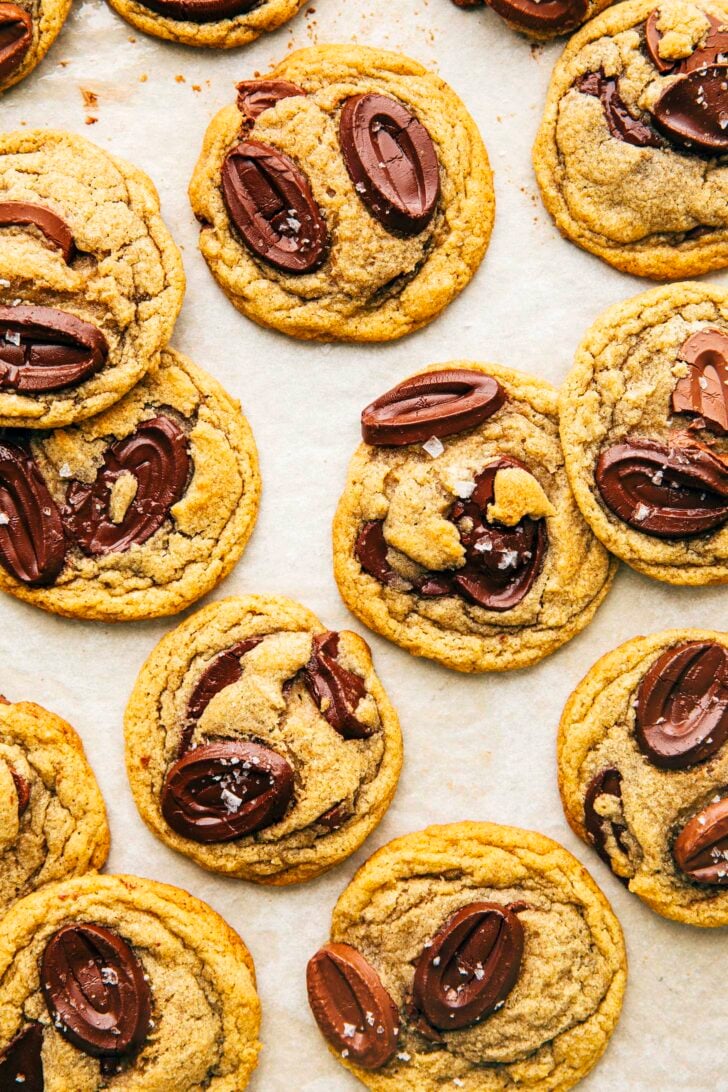
Chocolate fèves are a fancy pastry school term for a flat, bean-shaped disc of chocolate. When baked in a cookie recipe, the fèves don’t hold their shape (similar to how chocolate chips typically do) and instead melt into puddles. These puddles give your cookies thin layers of chocolate throughout every bite. The most prominent maker of chocolate fèves is one of my favorite chocolate makers, Valrhona Chocolate.
Learn more in my post about The Best Chocolate For Chocolate Chip Cookies.
Making The Recipe (With Photos!)
Why do I need to chill the cookie dough in the refrigerator overnight?
Chilling the cookie dough overnight makes these rye chocolate chip cookies extra flavorful and chewy. In a pinch, you can skip chilling the cookie dough—the cookies will turn out just fine. But they’ll really be special if you take the time to rest the dough!
Additionally, these chocolate chip cookies become chewier after an overnight rest. How? Earlier, I mentioned that rye absorbs 10 times more water and liquid than all-purpose flour. Giving rye flour time to absorb the water from other ingredients like butter and eggs will make the cookies chewier.
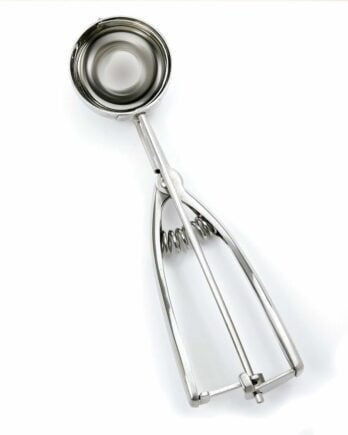
Norpro 3-Tablespoon (50MM) Stainless Steel Cookie Scoop
Storing The Cookies
After baking, the cookies can be stored in an airtight container or zip-top bag at room temperature for up to 3 days.
Can you freeze the cookies?
Yes! You can freeze the cookies in the following ways:
- Freeze the UNBAKED chocolate chip cookie dough.
Follow the recipe instructions to make the cookie dough and scoop them out into cookie dough balls. Place the cookie dough balls in a small sheet pan. Cover the pan with plastic wrap and freeze for at least 1 hour, or until the cookie dough balls are frozen solid. Transfer the cookie dough balls to a zip-top bag and freeze for up to 1 year.
To bake the frozen cookie dough balls, line sheet pans with parchment paper and position the cookie dough balls at least 3 inches apart on the sheet pans. Then, follow the recipe instructions to preheat the oven. Bake for 12 minutes, or until the edges have set but the centers are still gooey. - Freeze the BAKED chocolate chip cookies.
Individually wrap any leftover chocolate chip cookies in two layers of plastic wrap, then a layer of aluminum foil. The aluminum foil will prevent the cookies from absorbing any other flavors or odors in the freezer. When ready to serve, transfer to the refrigerator to chill overnight. Rewarm in the microwave or in the oven at 350°F for 5 minutes before serving.
Best Recipe Tips
Technique Tips
- To save myself some clean up, I melt the butter in the bowl I’m planning to make the cookie dough in. Specifically: I use a small bowl to mix the dry ingredients. Then, I use the microwave to melt the butter in a medium bowl big enough to mix the dough in, add the sugars, egg, and extract, then the dry ingredients and chocolate. As a result, I only need two bowls for this recipe!
- When prepping ingredients, I also melt the butter first. That way, it has time to cool while I prep the rest of the ingredients. Doing so ensures your butter isn’t too hot and won’t scramble the egg when you add it to the dough!
- Be mindful when melting the butter for these cookies! You don’t want the butter to sizzle, crackle, or pop. I like to chop it up into 1-inch cubes then melt it in a small sauce pot over medium-low heat. Be sure to stir the butter constantly as it melts to help prevent it from overheating.
Troubleshooting Tip
- If your dough seems too soft to scoop, don’t panic! It’s likely that the butter was still too hot when you combined it with the rest of the ingredients. Simply pop the bowl of cookie dough in the refrigerator for 10 to 15 minutes to firm the dough up.
Styling Tip
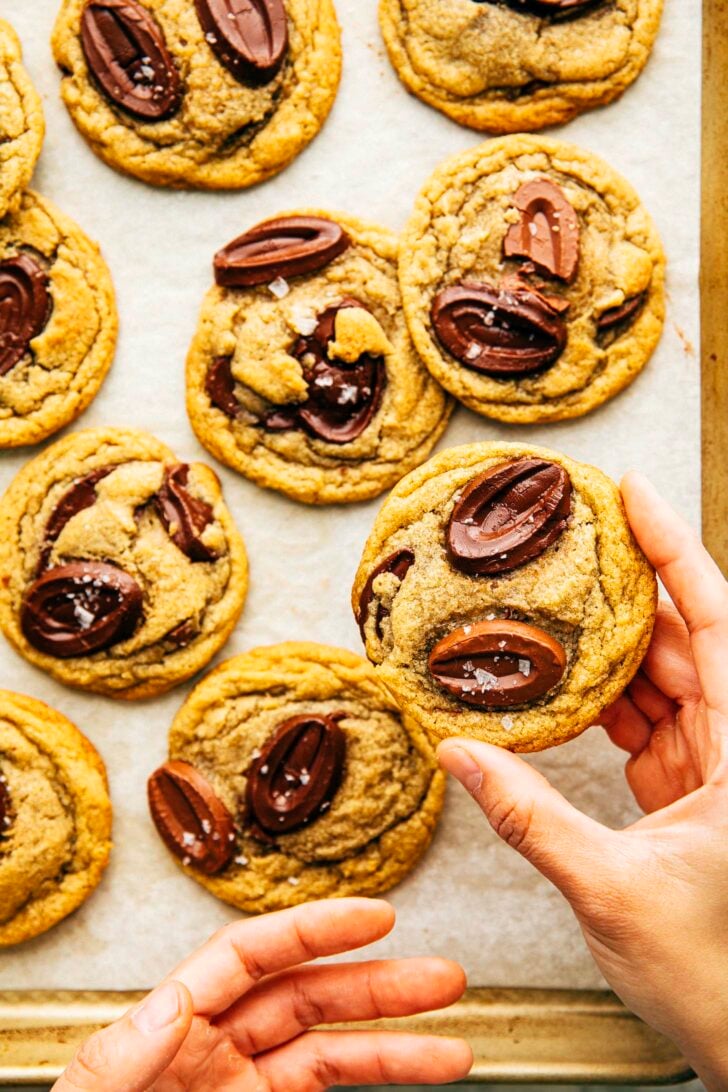
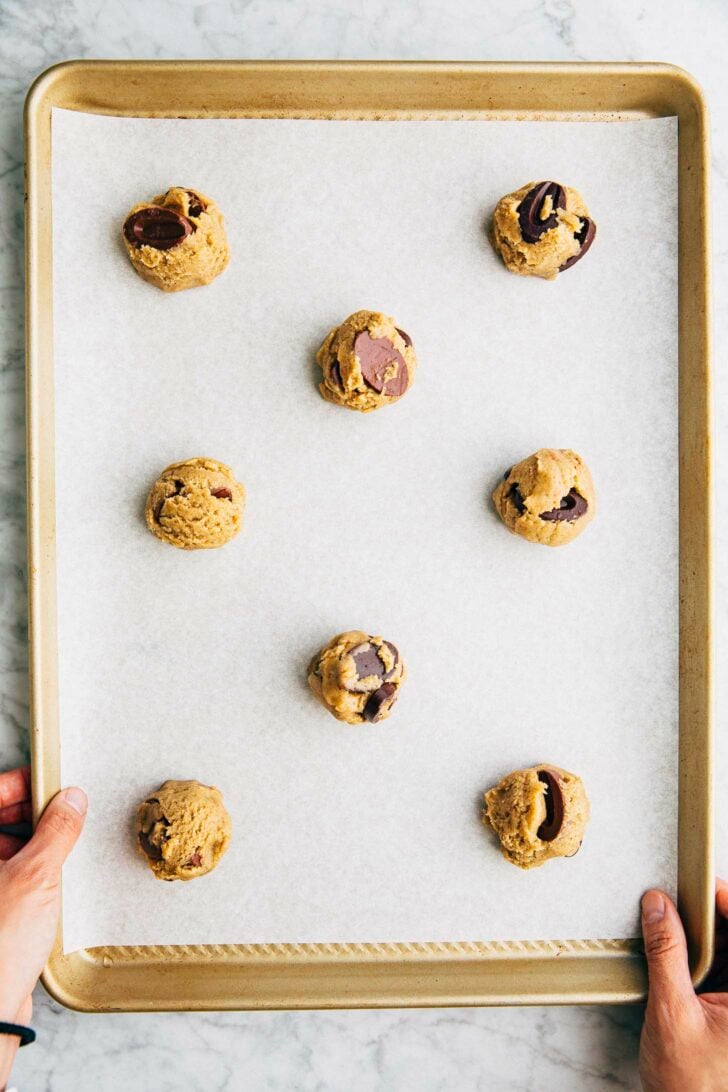
- Want your cookies to look *EXACTLY* like mine, with a signature puddle of melted chocolate skimmed across each surface? Easy! Simply reserve a fève or a ½- to 1-inch piece of chopped chocolate for each cookie. Place on top of each cookie dough ball before baking. The chocolate will melt into the puddles you see on top of each cookie!
Baking Tips
- I like to bake the cookies one pan at a time. I find that doing so makes the best cookies, ensuring that none of them have overly burnt bottoms or raw centers. However, to save time, you can bake two sheet pans at a time. Position a rack in the upper-third position of the oven, and a second one in the lower-third position of the oven. Bake a pan on each rack, swapping their positions half way through the Bake Time.
- Uh oh! Did the cookies come out puffier than expected? Check out my troubleshooting guide on How To Fix Puffy Cookies (And Other Cookie Baking Fails)!

Get the Recipe: Super Chewy and Nutty Rye Chocolate Chip Cookies
Ingredients
- 1 cup (4.5 ounces or 128 grams) all-purpose flour
- ⅔ cup (2.45 ounces or 69 grams) rye flour
- ½ teaspoon baking powder
- ½ teaspoon baking soda
- 1 teaspoon kosher salt
- ¾ cup tightly packed (5.65 ounces or 160 grams) light or dark brown sugar
- ¼ cup (1.75 ounces or 50 grams) granulated sugar
- ½ cup (1 stick or 4 ounces or 113 grams) unsalted butter, melted and cooled slightly
- 1 large egg, at room temperature
- 2 teaspoons pure vanilla extract
- 4 ounces (113 grams) dark chocolate (between 60% and 70% cocoa), from whole fèves or a high-quality chocolate bar, chopped into ½- to 1-inch pieces
- 4 ounces (113 grams) milk chocolate (between 30% and 40% cocoa), from whole fèves or a high-quality chocolate bar, chopped into ½- to 1-inch pieces
Instructions
- Mix the dry ingredients. In a small bowl, whisk together the flour, baking soda, baking powder, and kosher salt.
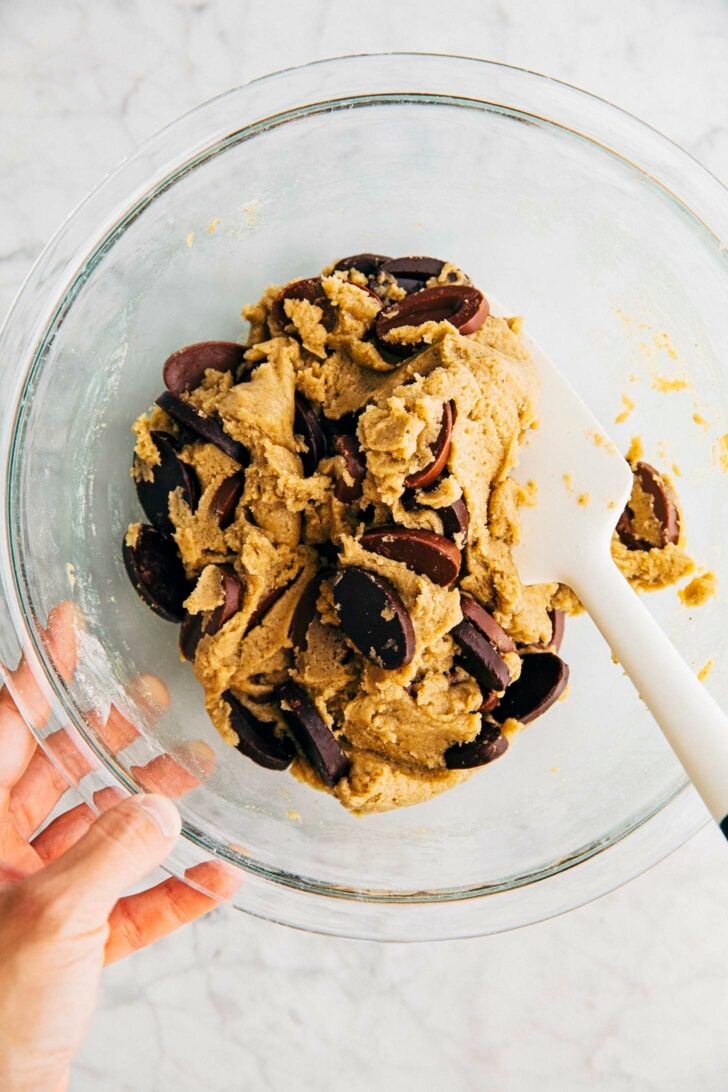
- Mix the butter, sugars, egg, and extract. In a medium bowl, use a rubber spatula to mix together the butter and sugars until moistened, about 1 minute. Add the egg and vanilla extract and mix until combined.
- Add the dry ingredients and chocolate. Gradually mix in the dry ingredients until just combined. Add both the dark and milk chocolate all at once and mix until the chocolate is evenly distributed throughout, about 1 minute.
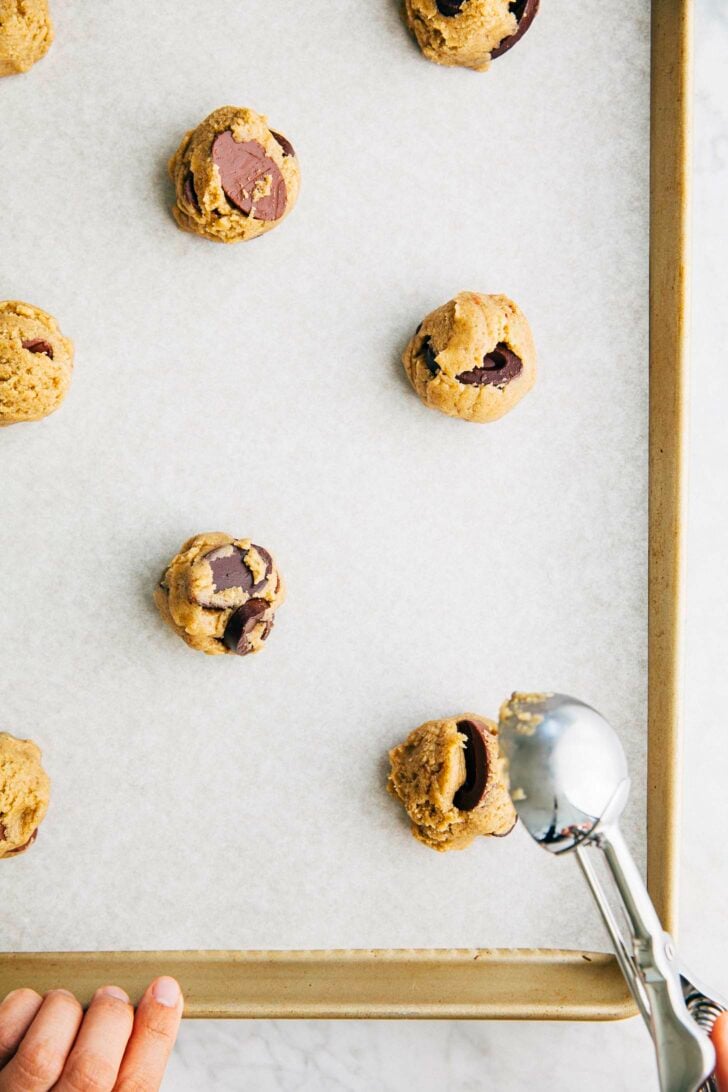
- Assemble the cookies. Use a 3-Tablespoon cookie dough scoop to portion the cookie dough into balls on a parchment-lined sheet pan.
- Refrigerate the cookie dough balls overnight. Loosely cover the cookie dough balls with plastic wrap and refrigerate for at least 4 hours, preferably overnight.
- When ready to bake the cookies, defrost the cookies, and prep the oven and baking pans. Remove the cookie dough from the refrigerator and set on the counter to thaw slightly while you preheat the oven.Position a rack in the center of the oven and preheat the oven to 350°F. Line two half sheet pans with parchment paper.
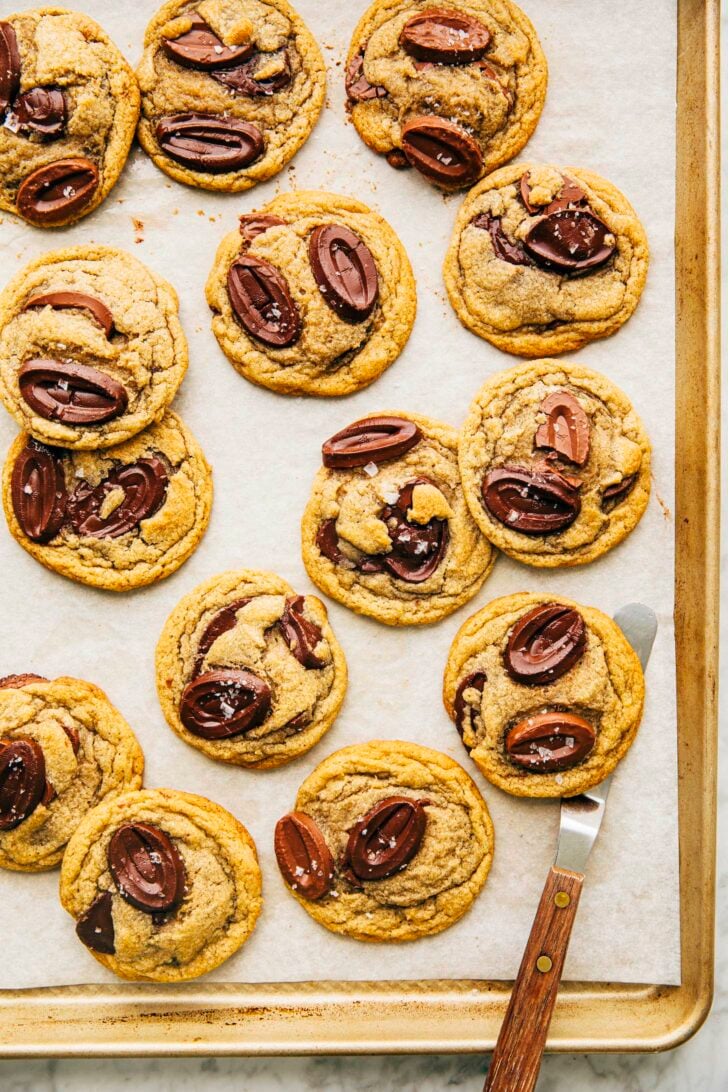
- Bake the cookies. Bake one pan at a time for 10 minutes, or until the edges have set but the centers are still gooey.Cool the cookies on the pan on a wire rack for 20 minutes, or until the edges and bottoms of the cookies have set and feel firm to the touch.Repeat with the remaining cookie dough.
- Serve and store. Serve warm or at room temperature. The cookies can be stored in an airtight container or zip-top bag at room temperature for up to 3 days.
get new recipes via email:

buy the book
Weeknight Baking:
Recipes to Fit your Schedule
Over the past several years of running Hummingbird High, I kept a crucial aspect of my life hidden from my readers: I had a full-time, extremely demanding job in the tech world. In my debut cookbook, Weeknight Baking, I finally reveal the secrets to baking delicious desserts on a tight schedule.
Step 3 lists coconut but it’s not in the ingredients!
Oops, sorry about that! I’ve fixed it.
Thank you so much for sharing this wonderful content! It will do wonders in my life!
I made these and they are absolutely delicious! I used a chopped chocolate bars for both the milk & dark….took nothing away from the cookie.
I highly recommend making these, it does provide a different flavor than a traditional CC cookie but nothing that feels like you’re not eating a CC cookie. Will keep these cookies in my cookie rotation 😀