

About This Easy Coconut Chocolate Chip Cookie Recipe
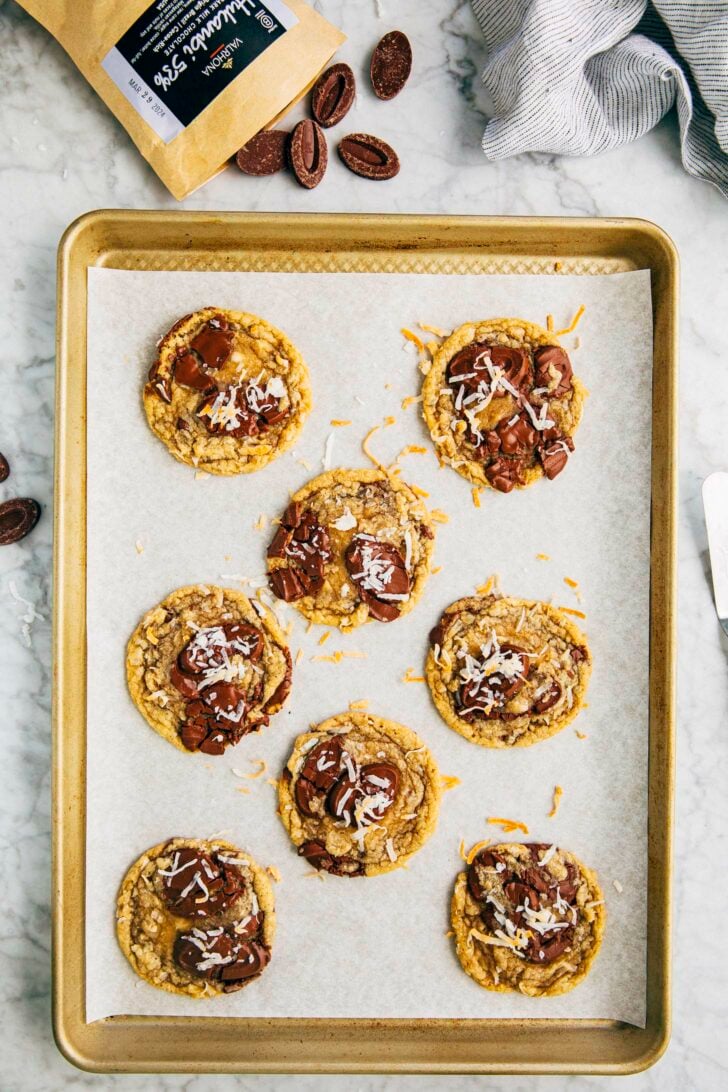
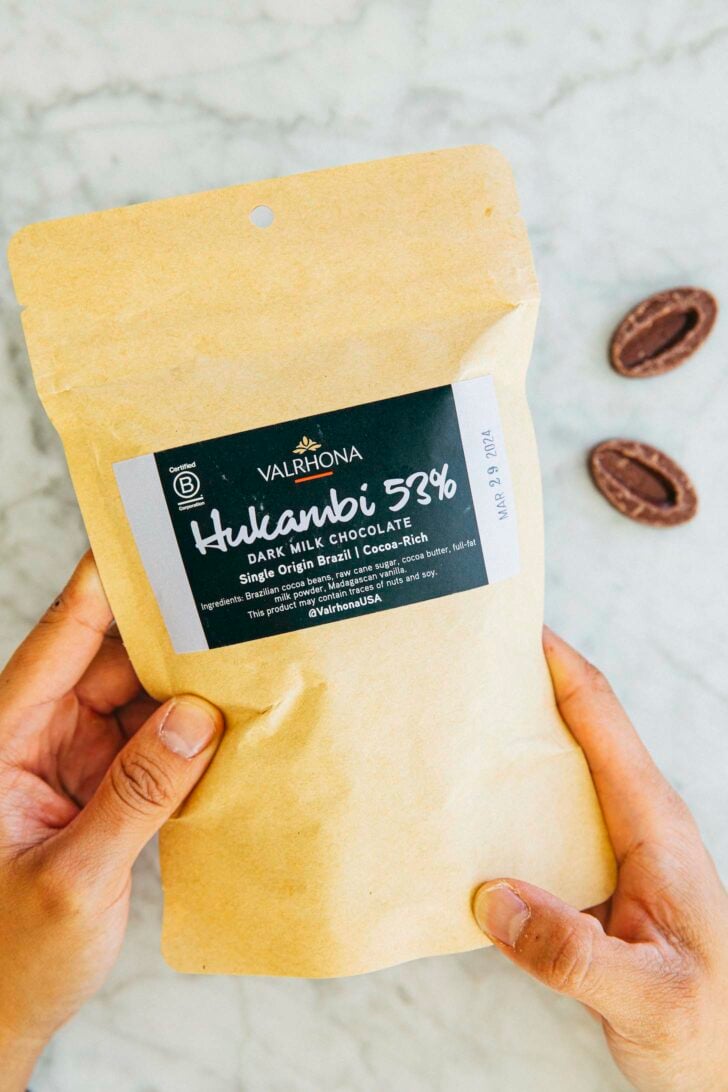
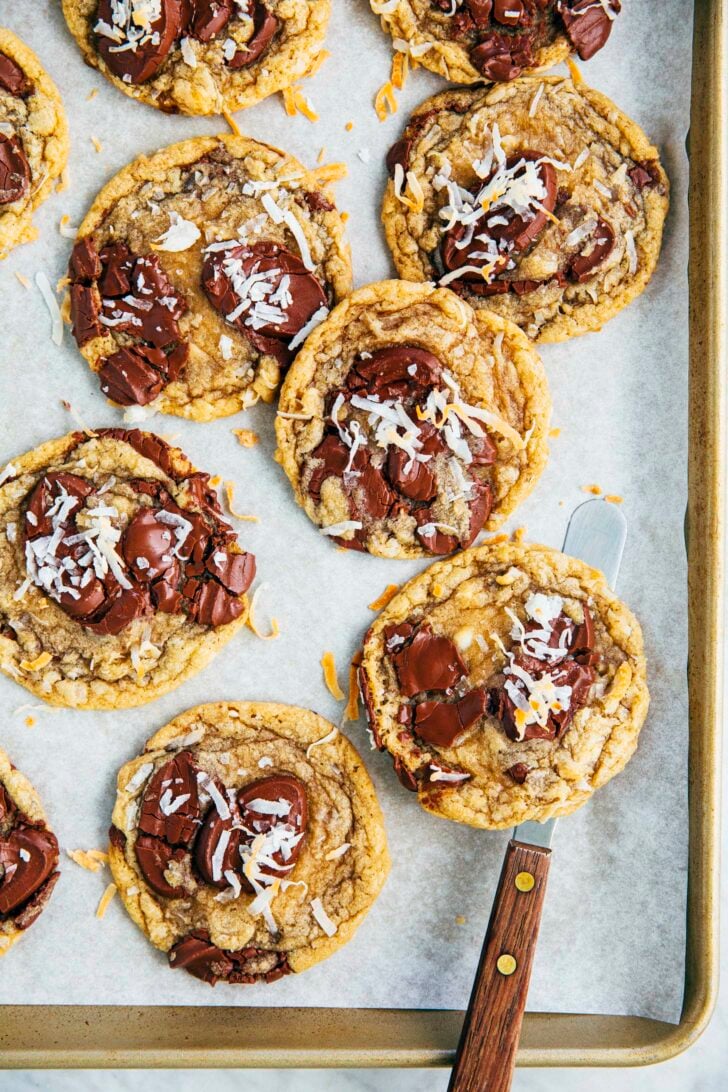
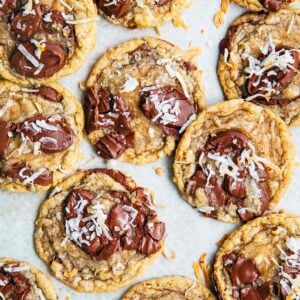
These easy coconut chocolate chip cookies are loaded with shredded coconut and Valrhona Hukambi 53% ombre chocolate fèves. Hukambi 53% is the perfect chocolate between milk and dark. It has notes of Brazilian cocoa, French milk, and Madagascar vanilla, pairing perfectly with the brown sugar cookie base and toasted coconut flavor of the chocolate chip cookies.
The best part? This coconut chocolate chip cookie recipe comes together in a flash. All you need is a bowl and a spatula—no stand mixer required! And there’s no need to bring any ingredients to room temperature or chill the dough!
A big thank you to Valrhona for sponsoring this post! I’ve always said that Valrhona is one of the best chocolates for chocolate chip cookies. For even more quick-and-easy chocolate chip cookie recipes, check out Hummingbird High‘s chocolate chip cookie recipe archive!
@hummingbirdhigh 🥥🍪 COCONUT CHOCOLATE CHIP COOKIES 🍪🥥 You guys, I have a new favorite cookie recipe: these easy coconut chocolate chip cookies with @Valrhona USA ♬ Sweet Sunset – Tollan Kim & dulai

Ingredients and Substitutions
Let’s talk about everything you need to make this unique chocolate chip cookie recipe:
Recipe Ingredient Sources and Substitutions
- All-Purpose Flour: You can make these coconut chocolate chip cookies gluten-free by substituting the all-purpose flour with a 1:1 gluten-free all-purpose flour.
- Kosher Salt: Learn why kosher salt is the best salt for baking recipes in this blog post. But in a pinch, you can replace the kosher salt in the recipe with half its amount in table salt.
- Brown Sugar: Either light or dark brown sugar works in the recipe. Dark brown sugar will give your cookies a subtle caramel flavor.
- Shredded Coconut: Sweetened or unsweetened shredded works in this recipe. Use unsweetened coconut if you prefer a “less sweet” or “not too sweet” chocolate chip cookie.
- Valrhona Hukambi 53% Ombre Chocolate Fèves: These fèves are available for purchase online at the Valrhona store.
Ingredient FAQ
What are chocolate fèves? Are they the same thing as chocolate baking discs and wafers?
Chocolate fèves are a fancy pastry school term for a flat, bean-shaped disc of chocolate. When baked in a cookie recipe, the fèves don’t hold their shape (similar to how chocolate chips typically do) and instead melt into puddles. These puddles give your cookies thin layers of chocolate throughout every bite. The most prominent maker of chocolate fèves is one of my favorite chocolate makers, Valrhona Chocolate.
Learn more in my post about The Best Chocolate For Chocolate Chip Cookies.
Making The Recipe (With Photos!)
Here are the basic steps to make these easy coconut chocolate chip cookies:
Storing The Coconut Chocolate Chip Cookies
After baking, the cookies can be stored in an airtight container or zip-top bag at room temperature for up to 3 days.
Can you freeze the cookies?
Yes! You can freeze the cookies in the following ways:
- Freeze the UNBAKED chocolate chip cookie dough.
Follow the recipe instructions to make the cookie dough and scoop them out into cookie dough balls. Place the cookie dough balls in a small sheet pan. Cover the pan with plastic wrap and freeze for at least 1 hour, or until the cookie dough balls are frozen solid. Transfer the cookie dough balls to a zip-top bag and freeze for up to 1 year.
To bake the frozen cookie dough balls, line sheet pans with parchment paper and position the cookie dough balls at least 3 inches apart on the sheet pans. Then, follow the recipe instructions to preheat the oven. Bake for 12 minutes, or until the edges have set but the centers are still gooey. - Freeze the BAKED chocolate chip cookies.
Individually wrap any leftover chocolate chip cookies in two layers of plastic wrap, then a layer of aluminum foil. The aluminum foil will prevent the cookies from absorbing any other flavors or odors in the freezer. When ready to serve, transfer to the refrigerator to chill overnight. Rewarm in the microwave or in the oven at 350°F for 5 minutes before serving.
Best Recipe Tips
Technique Tips
- To save myself some clean up, I melt the butter in the bowl I’m planning to make the cookie dough in. Specifically: I use a small bowl to mix the dry ingredients. Then, I use the microwave to melt the butter in a medium bowl big enough to mix the dough in, add the sugars, egg, and extract, then the dry ingredients and chocolate. As a result, I only need two bowls for this recipe!
- When prepping ingredients, I also melt the butter first. That way, it has time to cool while I prep the rest of the ingredients. Doing so ensures your butter isn’t too hot and won’t scramble the egg when you add it to the dough!
- Be mindful when melting the butter for these cookies! You don’t want the butter to sizzle, crackle, or pop. I like to chop it up into 1-inch cubes then melt it in a small sauce pot over medium-low heat. Be sure to stir the butter constantly as it melts to help prevent it from overheating.
Troubleshooting Tip
- If your dough seems too soft to scoop, don’t panic! It’s likely that the butter was still too hot when you combined it with the rest of the ingredients. Simply pop the bowl of cookie dough in the refrigerator for 10 to 15 minutes to firm the dough up.
Styling Tip
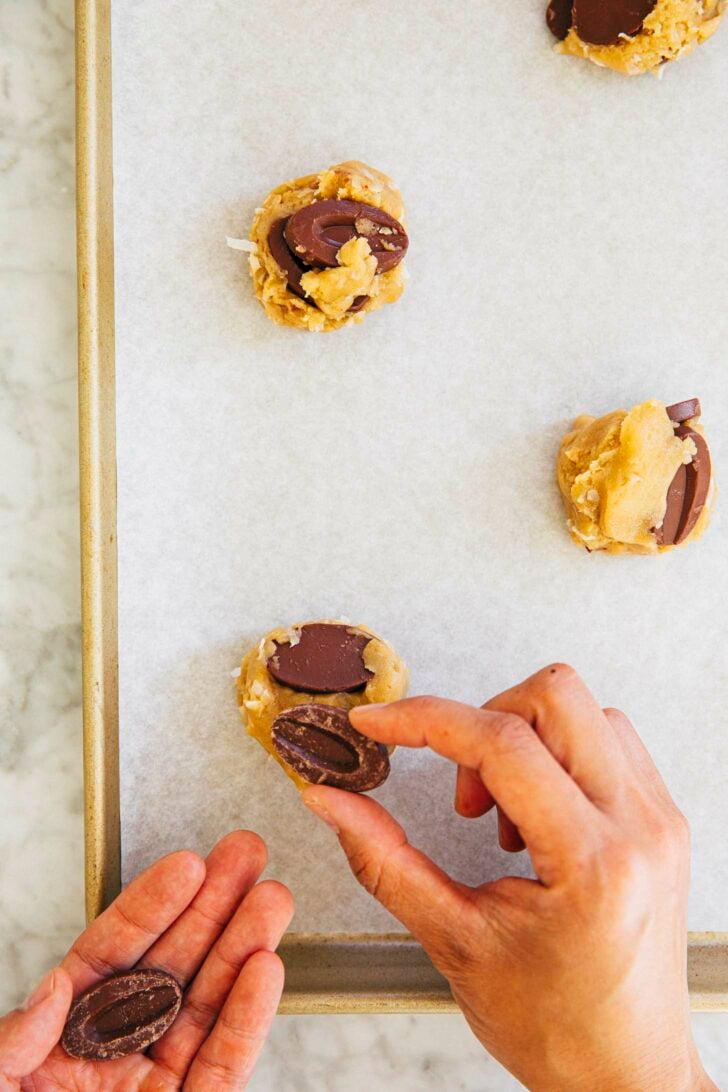
- Want your cookies to look *EXACTLY* like mine, with a signature puddle of melted chocolate skimmed across each surface? Easy! Simply reserve a fève or a ½- to 1-inch piece of chopped chocolate for each cookie. Place on top of each cookie dough ball before baking. The chocolate will melt into the puddles you see on top of each cookie!
Baking Tips
- I like to bake the cookies one pan at a time. I find that doing so makes the best cookies, ensuring that none of them have overly burnt bottoms or raw centers. However, to save time, you can bake two sheet pans at a time. Position a rack in the upper-third position of the oven, and a second one in the lower-third position of the oven. Bake a pan on each rack, swapping their positions half way through the Bake Time.
- Uh oh! Did the cookies come out puffier than expected? Check out my troubleshooting guide on How To Fix Puffy Cookies (And Other Cookie Baking Fails)!
Get the Recipe: Easy Coconut Chocolate Chip Cookies (No Stand Mixer Required!)
Ingredients
- 1 ⅔ cups (7.5 ounces or 213 grams) all-purpose flour
- ½ teaspoon baking powder
- ½ teaspoon baking soda
- 1 teaspoon kosher salt
- ½ cup (1 stick or 4 ounces or 113 grams) unsalted butter, melted and cooled slightly
- ¾ cup tightly packed (5.65 ounces or 160 grams) light OR dark brown sugar
- ¼ cup (1.75 ounces or 50 grams) granulated sugar
- 1 large egg
- 2 teaspoons pure vanilla extract
- 1 ⅓ cups (8 ounces or 227 grams) Valrhona Hukambi 53% Ombre Chocolate Fèves
- 1 cup (2.75 ounces or 78 grams) sweetened OR unsweetened shredded coconut, plus more for garnish
Equipment
- a (3-Tablespoon) cookie dough scoop
Instructions
- Prep the oven and baking pan. Position a rack in the center of the oven and preheat the oven to 350°F. Line two half sheet pans with parchment paper.
- Mix the dry ingredients. In a small bowl, whisk together the flour, baking soda, baking powder, and kosher salt.
- Mix the butter, sugars, egg, and extract. In a medium bowl, use a rubber spatula to mix together the butter and sugars until moistened, about 1 minute. Add the egg and vanilla extract and mix until combined.
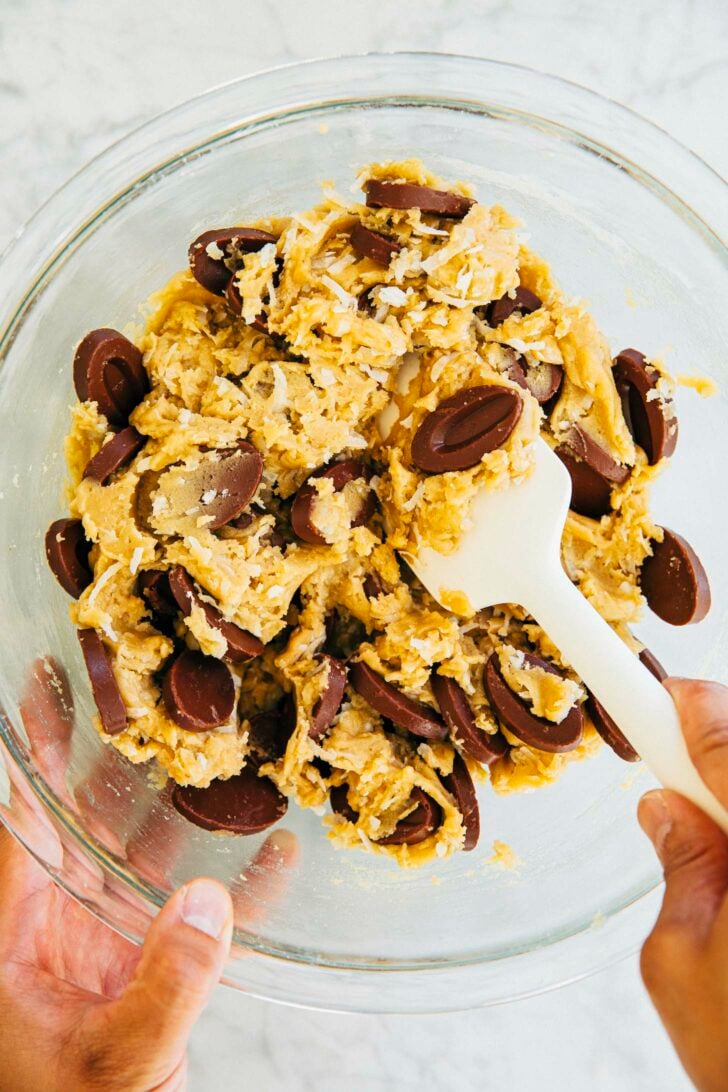
- Add the dry ingredients, chocolate, and coconut. Gradually mix in the dry ingredients until just combined. Add the chocolate all at once and mix until the chocolate is evenly distributed throughout, about 1 minute. Add the coconut all at once and mix until evenly distributed throughout, about 1 minute.
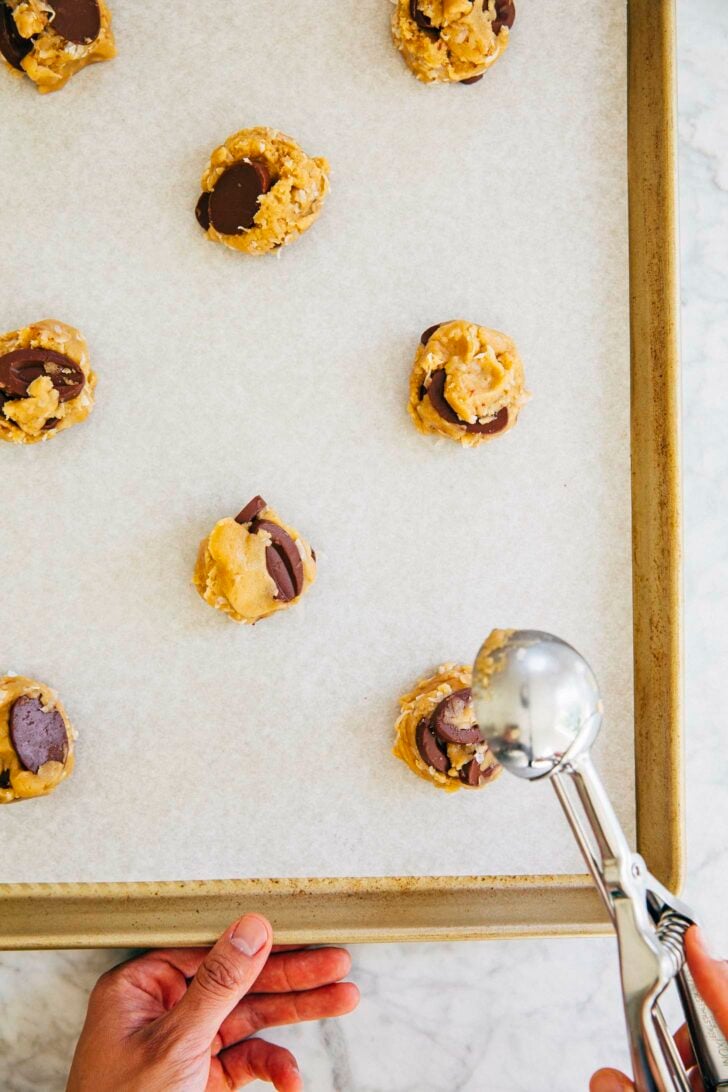
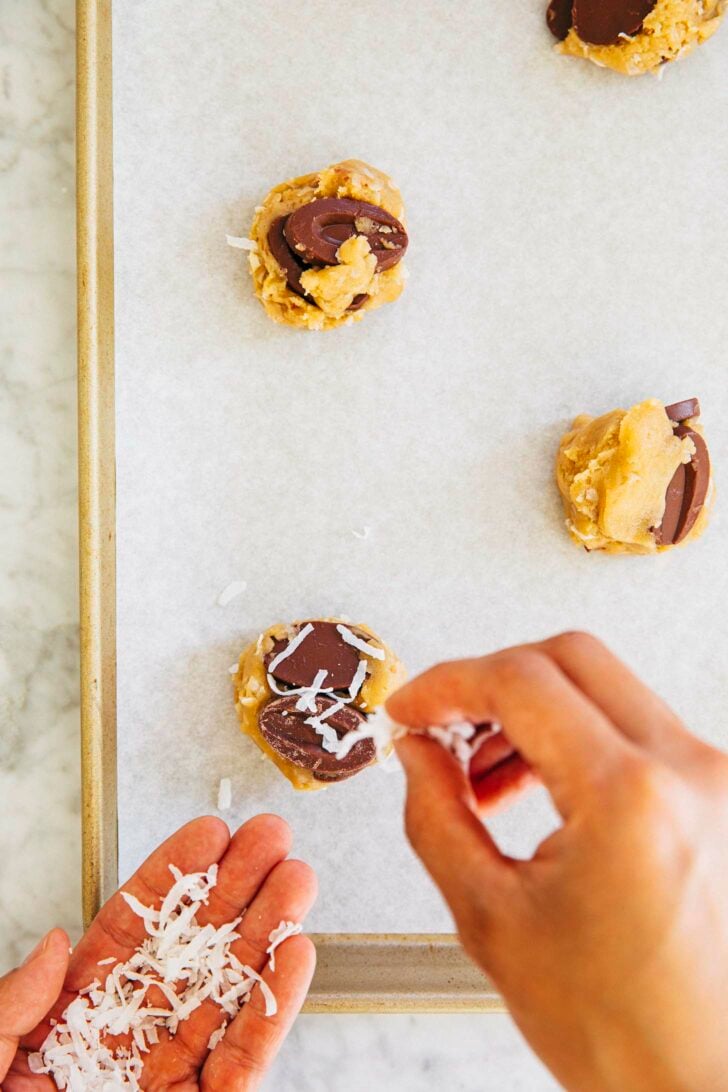
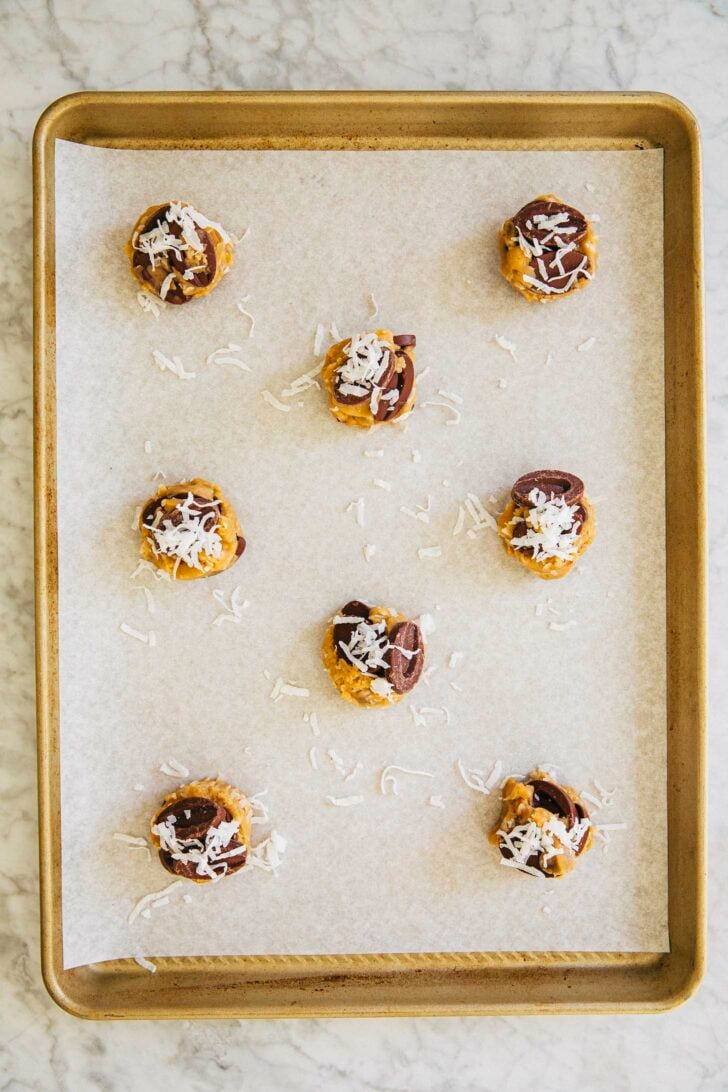
- Assemble the cookies. Use a 3-Tablespoon cookie dough scoop to portion the cookie dough into balls, placing them at least 3 inches apart on the prepared sheet pans. Garnish each cookie dough ball with a sprinkling of shredded coconut.
- Bake the cookies. Bake one pan at a time for 10 minutes, or until the edges have set but the centers are still gooey.Cool the cookies on the pan on a wire rack for 20 minutes, or until the edges and bottoms of the cookies have set and feel firm to the touch.Repeat with the remaining cookie dough.
- Serve and store. Serve warm or at room temperature. The cookies can be stored in an airtight container or zip-top bag at room temperature for up to 3 days.
get new recipes via email:

buy the book
Weeknight Baking:
Recipes to Fit your Schedule
Over the past several years of running Hummingbird High, I kept a crucial aspect of my life hidden from my readers: I had a full-time, extremely demanding job in the tech world. In my debut cookbook, Weeknight Baking, I finally reveal the secrets to baking delicious desserts on a tight schedule.
LOVE these cookies! Easy to make, love the sweet and salty flavor and the texture! I used sweetened coconut and for the chocolate, I used 5 oz of Ghirardelli chocolate wafers. This is a new favorite cookie recipe for me! I made them twice in one week!
We tried this recipe with my girlfriend and she absolutely loved the cookies! The gooey part is the best part. Thank you!