
Remember the #tenyearchallenge from the start of the year, when everybody was posting photos of themselves from 2009 and comparing them to now? I’m doing an extended version of the challenge and doing a three part series, re-baking the desserts I made ten years ago (when I was still a senior in college, omg!), and sharing stories and photos from then and now. First there were these white chocolate and peanut butter cup cookies, and today, these eclairs (along with some hilarious photos of 21-year-old me)—enjoy!
Greetings from London! By the time you read this, Erlend and I will have hopefully arrived in London in one piece. We’re here for an all-too brief vacation, which I very much need after the last few weeks, no, months of editing for my upcoming cookbook, Weeknight Baking.
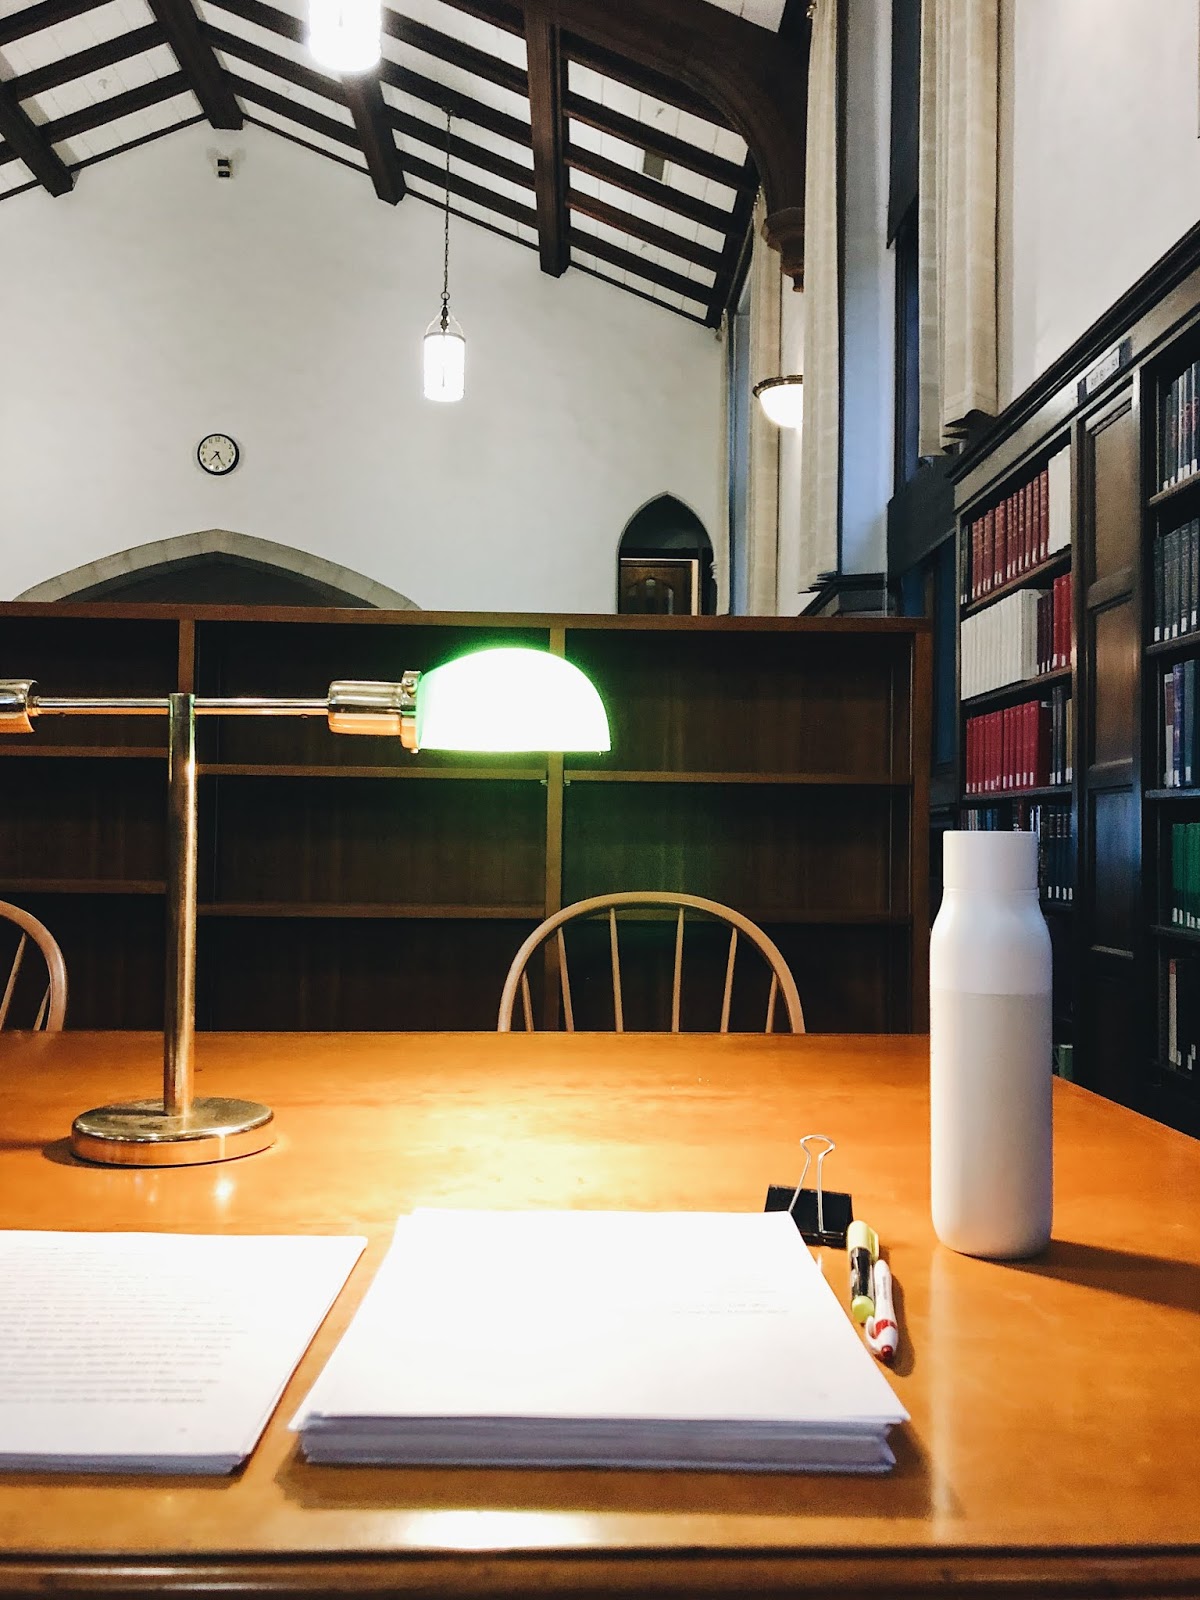
With the exception of Instagram, where I’ll occasionally post stories of The Cat sitting on my manuscript trying to get my attention, I haven’t really talked about the the process of editing my book all that much. That’s because, contrary to popular belief, it was not a very glamorous process at all—there was no leisurely editing in coffee shops, or even meditative introspection in cozy sweaters with my cat on my lap (the photo below is the one exception in which, two years after starting my book, I was finally able to make it to a coffee shop, lollll).

Instead, here’s how it all went down:
So far, my book has gone through a few major rounds of edits. The first happened at the end of last summer after I turned in my manuscript for the first time. My editor read the whole thing through, making comments and suggestions on how to make the content fit the overall theme of the book better. For me, this was the hardest part of the editing process. There was a fair amount of conflict between my vision for the book and what my editor wanted. Every edit felt like a compromise—or worse, an argument. I spent many nights rewriting the same passages over and over, as well as going back and forth between drafts, with two monitors literally dedicated to comparing versions side-by-side.
After (literally) months, we were able to get the manuscript to a good middle ground. That meant it was ready for the next stage: copy edits. While my editor primarily handled Big Picture edits like, “Does this recipe fit the overall theme of the book?” or “Describe why this recipe is good for a weeknight.”, the copy editor handles Small Picture stuff like correcting grammar, spelling, typos, and more. I actually enjoyed this process and learned/re-learned a lot about grammar rules and sentence structures that I hadn’t thought about since I was in school. Unlike the previous editing phase, where a lot of the edits felt subjective and personal, this type of editing felt more like solving a set of math problems with clear right or wrong answers. That being said, the copy editing process was a LOT of work. You’re given a very short amount of time to fix the manuscript: I had a week and change to go through the 360+ pages of my manuscript, and almost every page had something that needed to be reviewed. Furthermore, because the copy editor is also given a short time with the manuscript, I found other mistakes and/or inconsistencies that were missed throughout the text. It was a Sisyphean task and, to complete it, I actually had to pull a few all-nighters.
In many ways, the copy editing process was very reminiscent of my some of my final days in college. I went to a college where, in order to graduate, all students spent their senior year writing a thesis that was meant to be a culmination of our four years of study. My college prided itself on this fact, and had many dedicated resources and rituals around it: seniors would get their own dedicated desk in the library (“the thesis desk”), and completed theses would be bound in a hardcover and forever stored in a dedicated tower in the library (“the thesis tower”). The last weekend of the seniors’ final semester kicked off with a “thesis parade”, in which all graduating seniors would burn previous thesis drafts in a bonfire while dousing each other with bottles of cheap champagne:
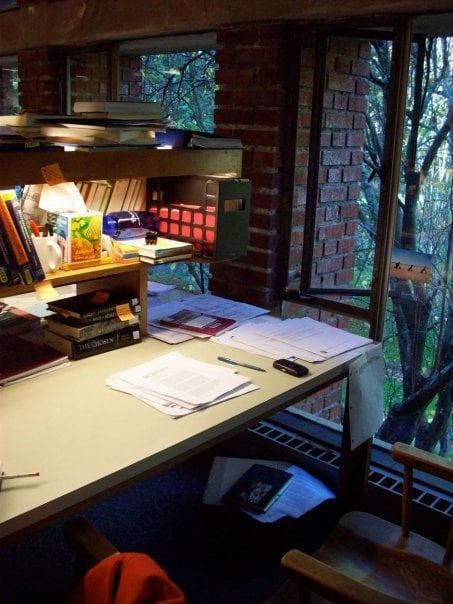


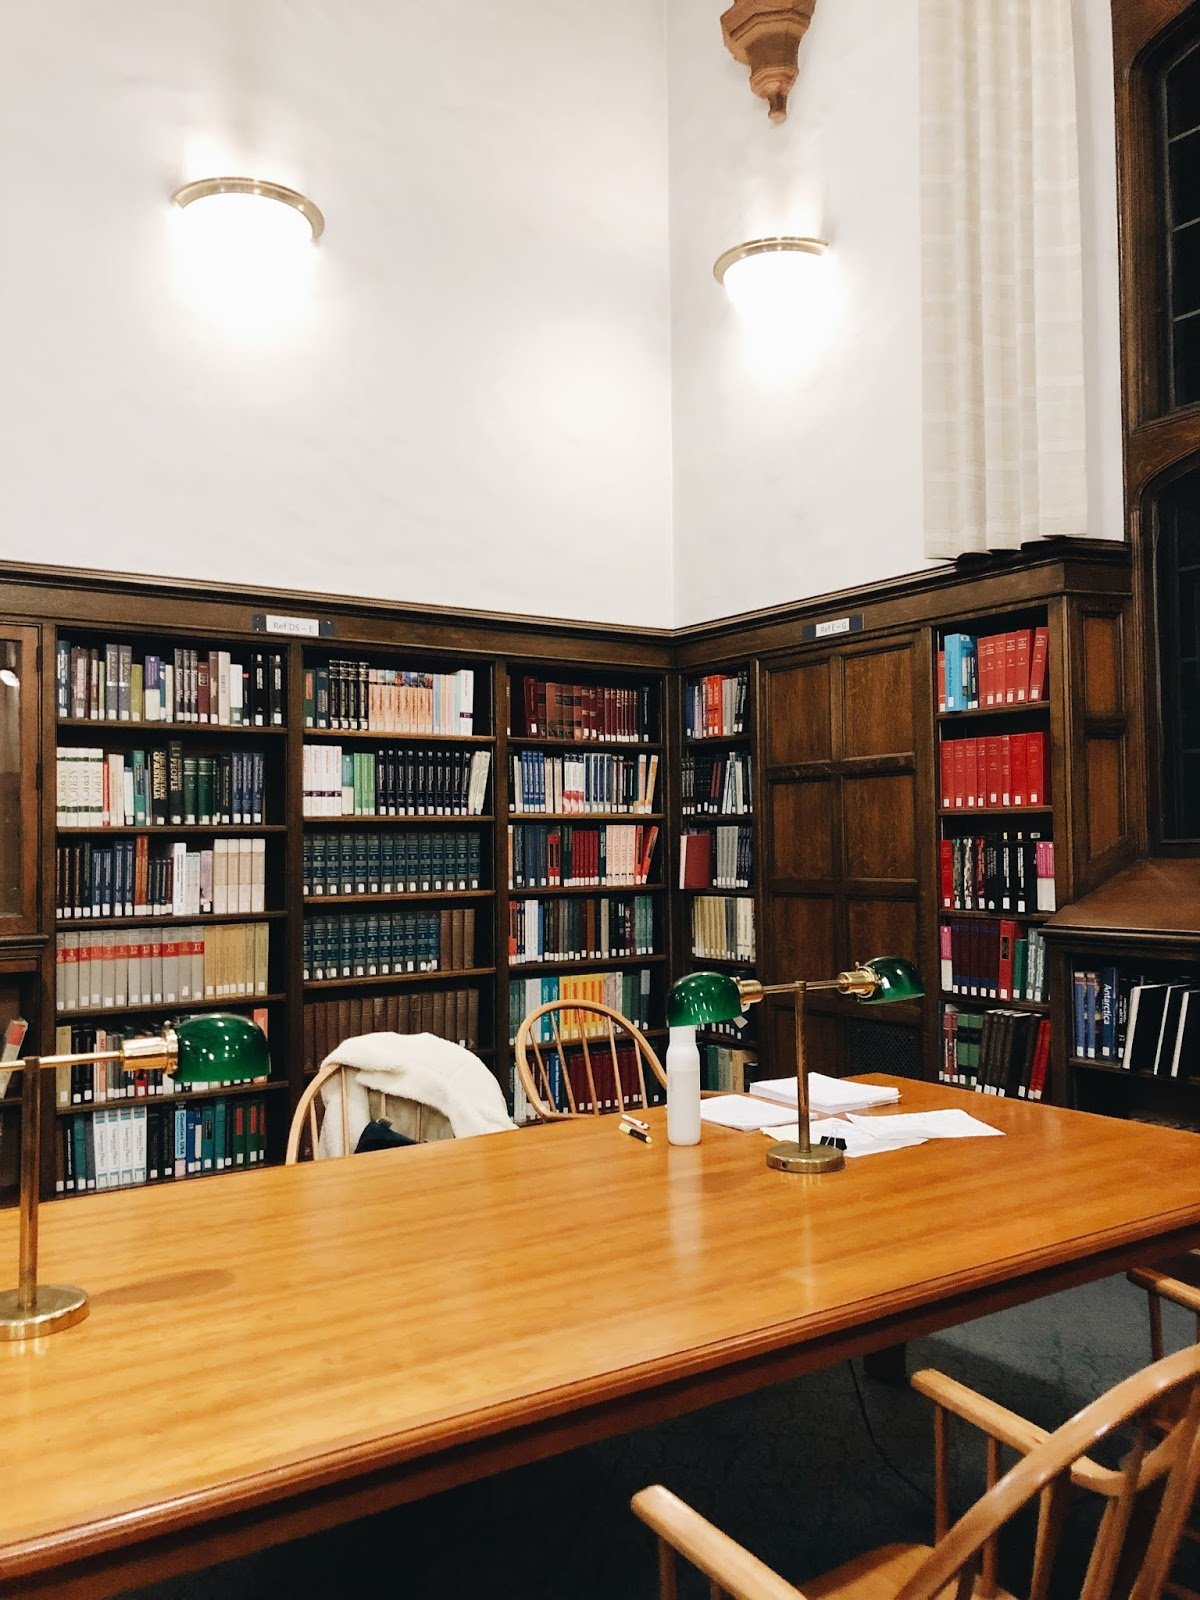
While writing a thesis felt like a Very Big Deal at the time, it’s something I look back on today with a mix of amusement, nostalgia, pity, and embarrassment. But here’s the kicker—I’ve basically found myself in the same position exactly ten years later, both literally and figuratively. The way I see it, Weeknight Baking is basically a summary of all the baking knowledge and expertise I’ve acquired in the last eight years of blogging; it is the thesis of Hummingbird High. In fact, in order to get my copy edits done, I actually went back to my college library to pull the all-nighters (it was the only place open late enough that was quiet and without the distractions of my cat). I even sat in the exact same spot that I used to do all my homework in (sadly, my old thesis desk was occupied):
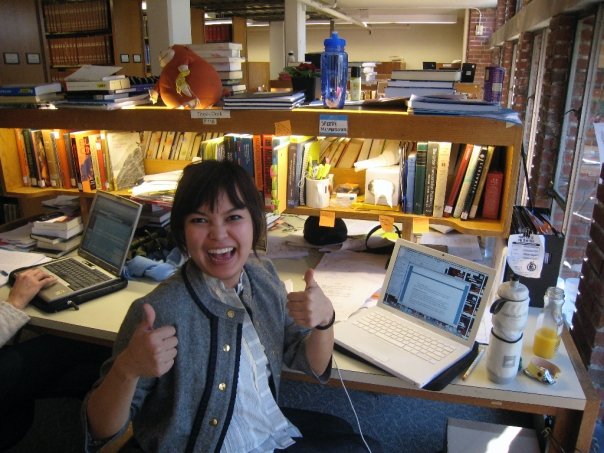
Ten years ago, despite all the all nighters and time in the library, I still baked a decent amount; specifically, I procrastibaked a TON in my senior year to avoid working on my thesis. Usually it was something simple like Funfetti box mix cupcakes or these white chocolate and peanut butter cookies, but apparently I was also ambitious enough to try making eclairs from scratch! I even documented the entire thing via a Facebook album and dug up the photos for y’all:
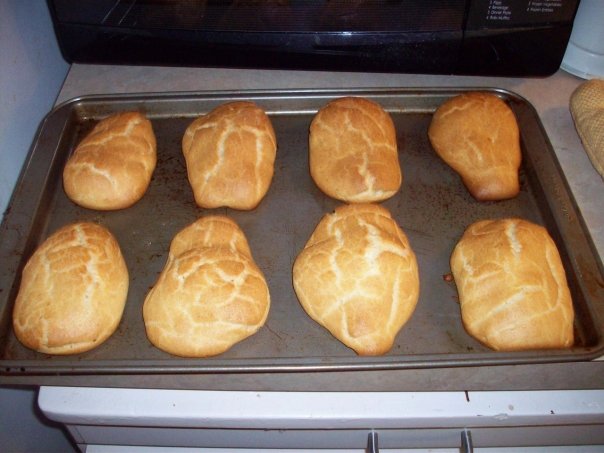
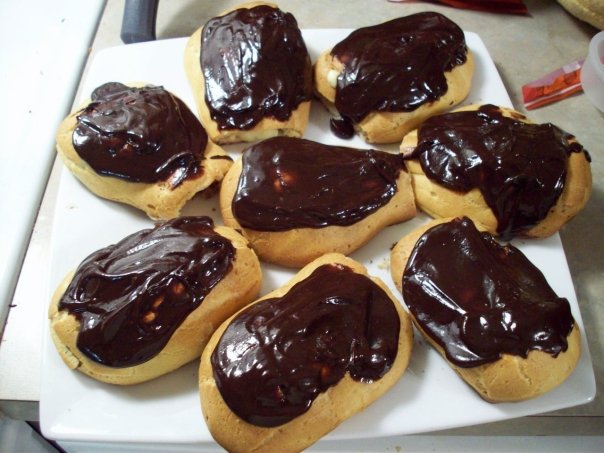
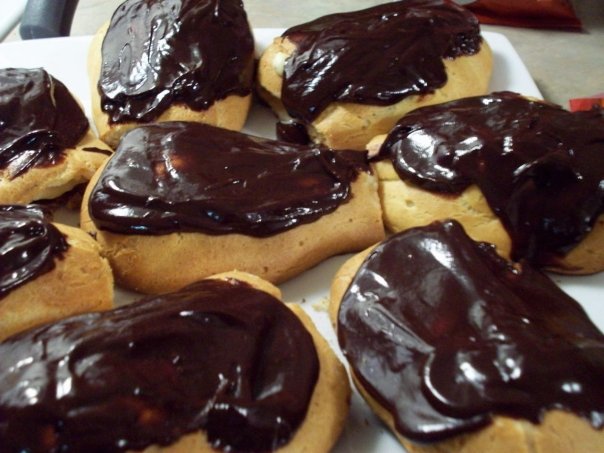
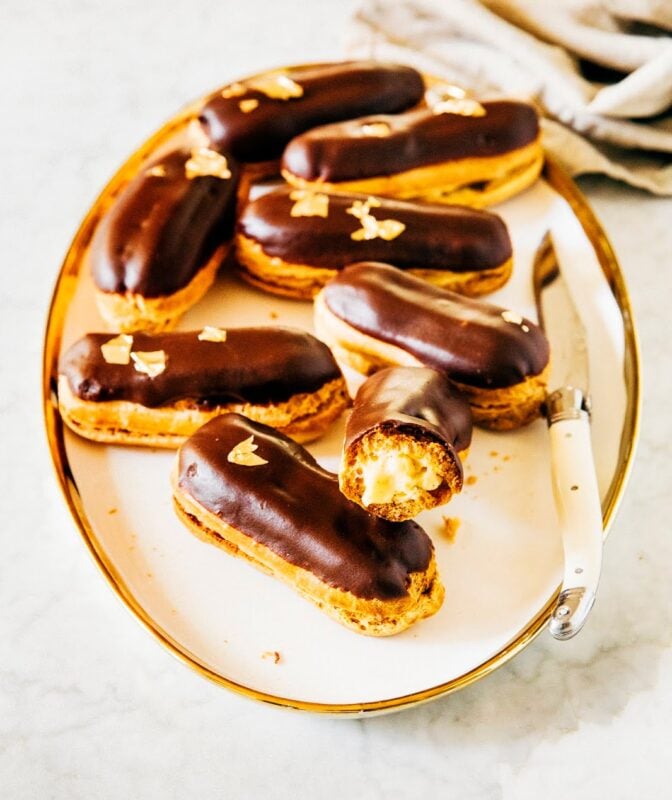
Although I recognize that the eclairs definitely do not meet my standards today, 21-year-old me was SO proud of them. Similar to these white chocolate and peanut butter cup cookies, I decided to recreate them today as part of my ongoing #tenyearchallenge:

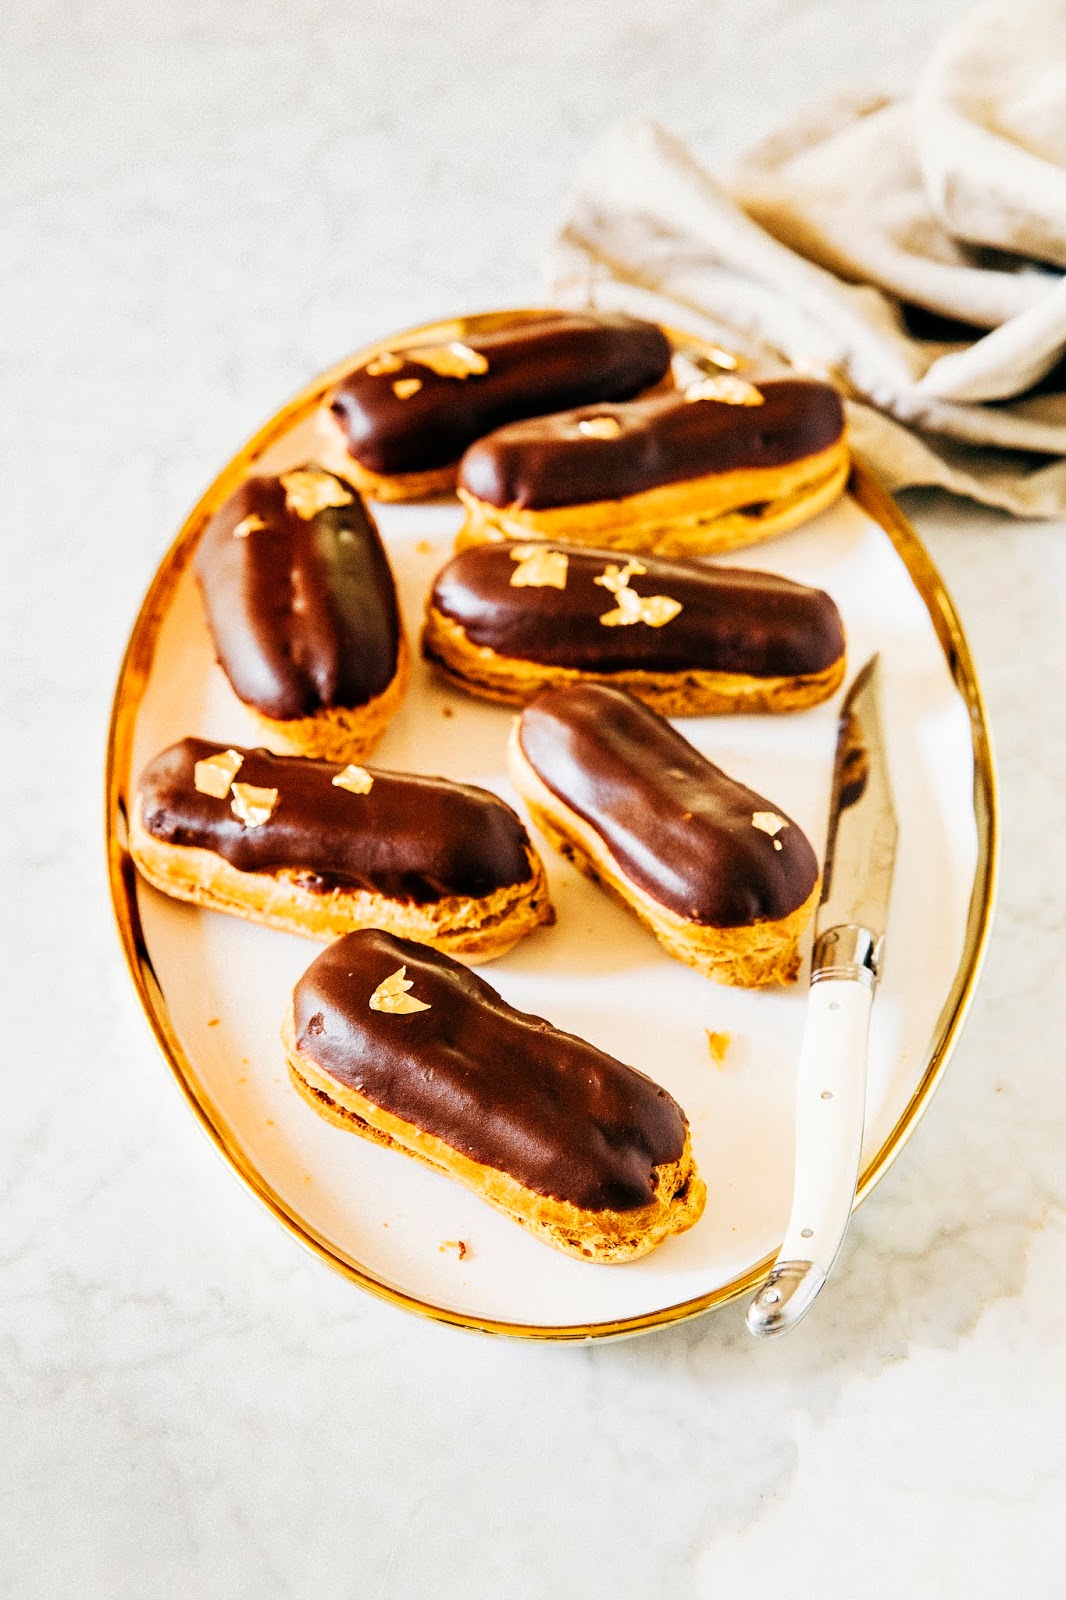
Unlike the cookies—in which you can see an obvious improvement in my baking skills—these eclairs don’t look that much different from the ones I made in 2009. They’re marginally better, sure, but they still baked up rather unevenly and resulted in bulbous pastries. I genuinely have no idea why!!! TBH, this entire recipe taught me that I need more practice with choux pastry—which makes sense, given the last choux pastry item I made was back in 2014. Oh well. Can’t win ’em all. And they were still plenty tasty, so ????????????????????????.
-
- Exactly ten years ago on this day, I finished writing my thesis and celebrated by marching in my college’s thesis parade (see photos above, where I’m throwing drafts of my thesis in the air ????????????) while students from my school doused us in cheap champagne (congratulations to my college’s Class of 2019, who are literally doing this exact same thing today!). To mark the occasion, I spiked the pastry cream in my eclairs with sparkling wine champagne extract. Champagne extract is available online; use any remaining extract in this pink champagne cake recipe and these champagne shortbread cookies.
-
- While the pastry cream recipe is adapted from my upcoming book, Weeknight Baking, the choux pastry recipe is directly from Thomas Keller’s Bouchon Bakery cookbook. Like all Thomas Keller recipes, it is incredibly detailed and meticulous to a fault (I usually avoid his recipes, but wanted to pull out the stops for the #tenyearchallenge). The recipe works best if you use gram measurements (which I’ve included for the choux pastry recipe, as opposed to the ounce measurements I tend to favor—those are still around for the pasty cream and glaze recipes). Pay careful attention to the egg quantities; instead of using specific numbers of eggs, Keller uses weights. That means you break the eggs into a bowl, whisk them all together, and then weigh out what’s needed for the recipe. For this recipe, you’ll need about 6 large eggs.
- Because of this recipe’s time-consuming nature, I highly recommend making the pastry cream in advance of the choux pastry. I’ve split the recipe up over 2 days, instructing you to make the pastry cream the day before the choux pastry, but really, the pastry cream will keep in the fridge for up to 1 week. However, I do strongly recommend making the choux pastry, assembling the eclairs, and serving them all in the same day—the choux pastry has a tendency to go stale/soggy as soon as it’s filled! Read the recipes in full to help you plan—the choux pastry will need to be chilled before piping (similarly, you can make the choux pastry way in advance of piping and baking them—it’ll keep for up to 3 days in the refrigerator), and after baking, will need to be at room temperature before filling and glazing. The glaze will need to be used immediately since it has a tendency to harden—make it right before assembling the eclairs.

Get the Recipe: Chocolate Champagne Eclairs
Ingredients
For the Pastry Cream
- 2/3 cup (4.65 ounces) granulated sugar
- 1/4 cup (1 ounce) cornstarch
- 1/4 teaspoon kosher salt
- 2 cups (16 ounces) whole milk
- 2 large eggs
- 1/4 cup (2 ounces) unsalted butter, at room temperature and cut into 1-inch cubes
- 1 tablespoon champagne extract (see baker's notes)
For the Choux Pastry
- 1 cup (240 grams) water
- 1/2 cup (113 grams) unsalted butter, cut into 1-inch cubes
- 3/4 teaspoon kosher salt
- 1 1/4 cups (175 grams) all-purpose flour
- 2 tablespoons plus 2 teaspoons (33 grams) granulated sugar
- 1 cup (250 grams) whisked eggs, from about 5 to 6 large eggs (see baker's notes)
For the Chocolate Glaze
- 2 cups (8 ounces) confectioners' sugar, sifted if lumpy
- 4 ounces dark (between 65 to 70% cocoa) chocolate, coarsely chopped
- 5 tablespoons (2.5 ounces) unsalted butter, cut into 1-inch cubes
- 1/4 cup (2 ounces) water
- 1 1/2 teaspoons pure vanilla extract
- 1/4 teaspoon kosher salt
Equipment
- Special Equipment: a spray bottle filled with 1/2 cup water
- a pastry bag with an open star tip (I used Ateco #867)
Instructions
For the Pastry Cream
- In a medium, heavy-bottomed sauce pan, whisk together 2/3 cup granulated sugar, 1/4 cup cornstarch, and 1/4 teaspoon kosher salt. Add 2 cups milk and 2 eggs, whisking until combined. The mixture will be a little lumpy, but that’s okay, I promise! Bring to a boil over medium heat, whisking constantly until the mixture is thick and creamy, 5 to 8 minutes.
- Remove the pan from heat and immediately whisk in 1/4 cup butter cubes, 1 tablespoon champagne extract, and 1 teaspoon vanilla bean powder until smooth. Place a fine-mesh sieve over a medium bowl and pour the pastry cream through the sieve, using a rubber spatula to press against the custard. Discard any lumps. Cool on a wire rack for 5 minutes, before pressing plastic wrap directly against the surface of the custard to prevent a skin from forming. The pastry cream will keep in the refrigerator for up to 1 week.
For the Choux Pastry
- Combine 1 cup water, 1/2 cup cubed unsalted butter, and 3/4 teaspoon kosher salt in a medium, heavy-bottomed saucepan. Cook over medium-low heat, stirring frequently, to melt the butter. Once the butter has melted, increase the heat to medium-high and bring to a simmer. Remove the pan from heat and immediately stir in 1 1/4 cups all-purpose flour and 2 tablespoons plus 2 teaspoons granulated sugar with a wooden spoon. Continue to stir for about 2 minutes (or until the mixture has a paste-like consistency), then place over medium heat and stir rapidly for 1 to 2 minutes, or until the dough pulls away from the sides of the pan and the bottom of the pan is clean. The dough should be glossy and smooth, but not dry.
- Immediately transfer the dough to the bowl of a stand mixer fitted with a paddle attachment. Beat on low for 30 seconds to release some of the moisture. With the mixer on low, slowly add 1 cup whisked eggs, 3 tablespoons at a time, beating until each addition is completely absorbed before adding the next addition. After all the eggs are added, the dough should come away from the sides of the bowl when pulled with the paddle, but then grab back on again. Increase the mixer to medium and mix for 15 seconds to make sure all the eggs are incorporated.
- Scape the dough into a pastry bag fitted with an open star tip. Refrigerate until cool, about 1 hour. While the choux pastry is chilling, prepare your oven. Position a the racks in the upper and lower thirds of the oven and preheat to 375 (F). Line two sheet pans with parchment paper and set aside.
- Once the dough is chilled, it’s time to pipe the eclairs. Starting at the side of the parchment farthest away from you, hold the tip of the pastry bag 3/4 inch above the parchment and apply gentle, steady pressure as you pipe the first eclair. When the eclair is about 6 inches long, begin to lessen the pressure, and then stop it as you brng the dough back over itself, leaving a 1/2 inch curl at the end of the eclair. Pipe 5 more eclairs on the parchment, leaving about 2 inches between each eclair. Repeat with the second sheet pan, piping 6 more eclairs.
- Wet the tip of your finger and press down the tip of each eclair, then spray them lightly with water. Place the sheet pans in the oven, placing one on the upper third and the second on the lower third, and immediately lower the oven temperature to 350 (F). Bake for 20 minutes, then switch the pans’ positions, and bake for an additional 20 minutes. After 20 minutes, lower the oven to 325 (F) and bake for an additional 20 minutes, or until golden brown. Lower the temperature to 300 (F) one last time and bake for 10 minutes longer, or until the puffs are light and hollow (tap the bottom of an eclair to test this).
- Set the pans on a wire rack and allow the eclairs to cool completely on the sheet pans before filling and glazing.
For the Chocolate Glaze
- In the top pan of a double boiler (or, make a homemade version by placing a heatproof bowl on top of a medium saucepan with an inch or two of simmering water—make sure the water doesn’t touch the bottom of the bowl!), combine 2 cups confectioners’ sugar, 4 ounces coarsely chopped dark chocolate, 5 tablespoons unsalted butter, 1/4 cup water, 1 1/2 teaspoons vanilla extract, and 1/4 teaspoon kosher salt. Cook over medium heat, stirring occasionally, until the chocolate and butter are completely melted. Remove from heat and stir until smooth; use immediately.
Assembly
- First, set up your work station: transfer the pastry cream into a piping bag with the tip of your choice (I re-used the open star tip), and pour the chocolate glaze into a shallow bowl.
- Use a serrated knife to slice each eclair in half lengthwise. Use the piping bag to fill the bottom half of each eclair with 3 to 4 generous dollops of pasty cream.
- Next, glaze the eclairs. Hold the top half of an eclair parallel to the surface of the glaze and dip it into the glaze to coat the top. Pull it out of the glaze, still parallel to it, and turn the eclair upward, letting the excess glaze run off, then rotate slight to one side to stop the glaze from dripping. Repeat with the remaining eclair tops, placing each top back on its bottom half as you go. Serve immediately.