chocolate chip cookie cake + big news!
Okay friends, I’ve been keeping secrets from (most of) you. I’ve hinted in past blog posts that some big life changes were happening, so without too much ceremony, I’m just going to drop them in here one bomb at a time:
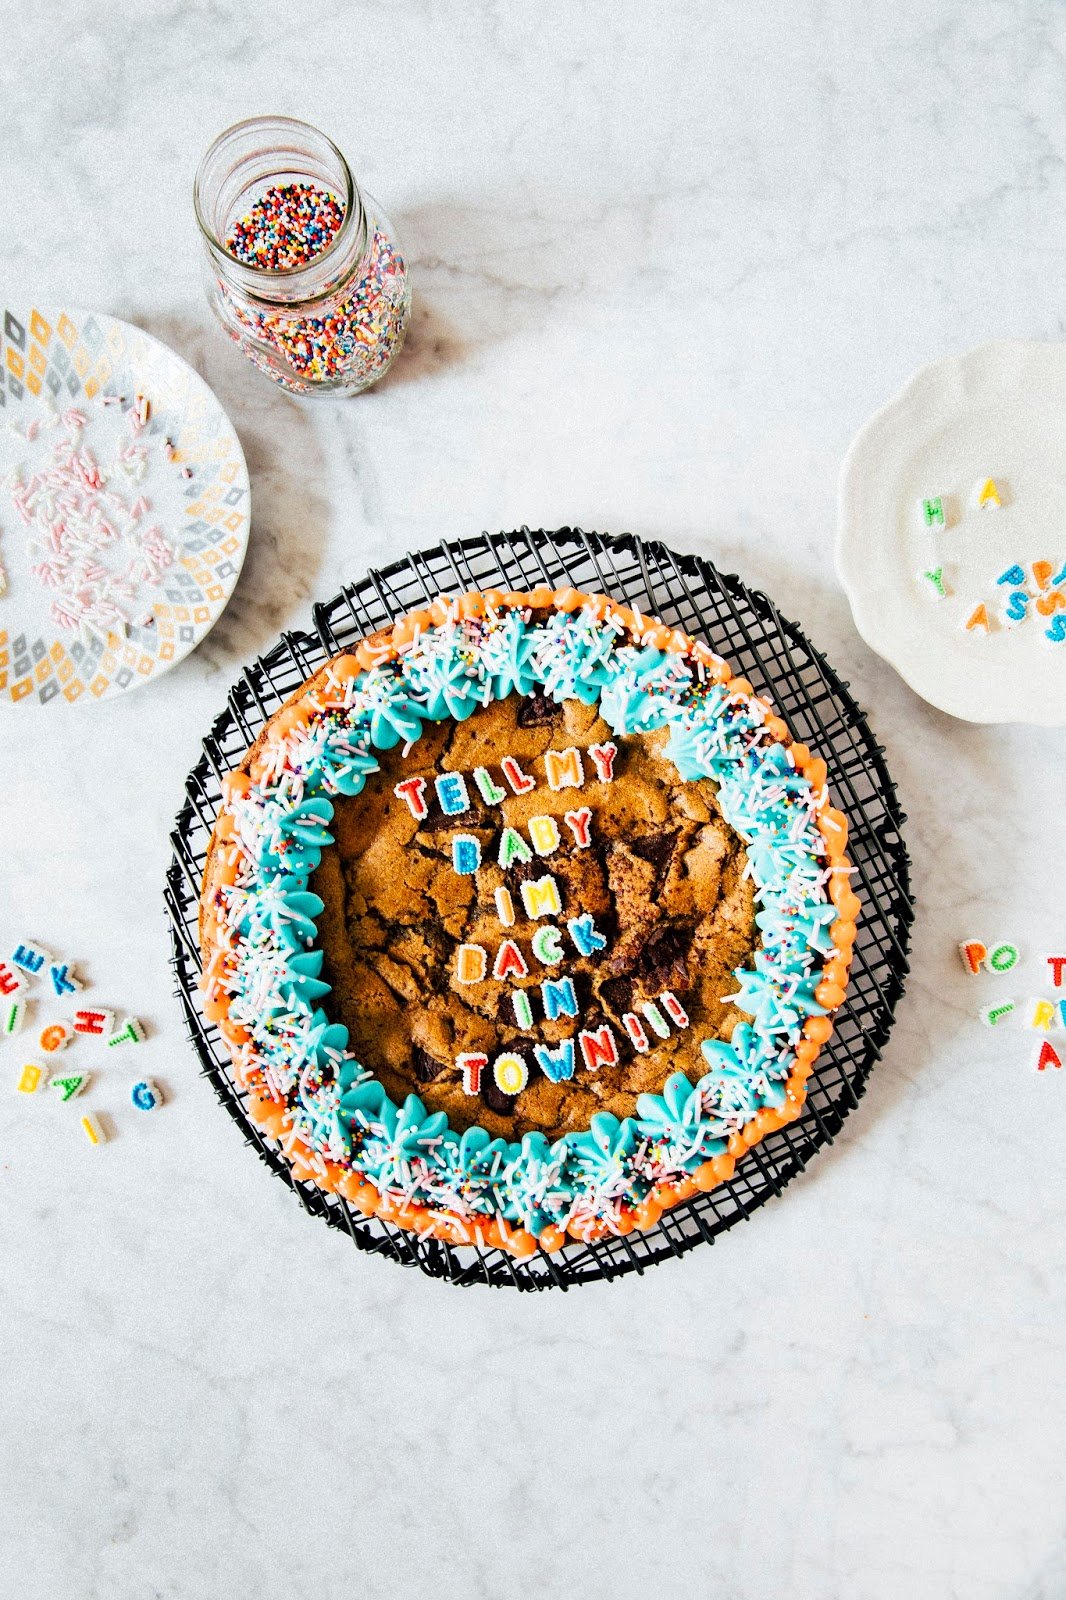
I’m back in Portland!
Close friends knew that New York was always going to be temporary and that Erlend and I had plans to move back to Portland after he graduated from grad school. So here I am! Our timeline accelerated due to some very boring and mostly annoying reasons involving a shitty NYC landlord and figuring out what financially makes sense. Erlend actually hasn’t graduated yet (that happens next summer, finally; as a non-graduate degree holder myself, I’m sorta mystified by how long the whole process takes), but he’s joining me this winter to start his last clinical at a Portland hospital.
I’m sad that our time in New York couldn’t be longer because I really did like it there, but the rational part of my brain that pays the bills told me that it really wasn’t sustainable to keep paying nearly $3000 for rent, $13 for salads (I have a sweetgreen addiction, ehem), and all the other overpriced things there are in the city. And in any case, I’m planning on being back a fair amount because now I’m hooked on New York pizza and bagels (and they are really superior to the pizza and bagels everywhere else).
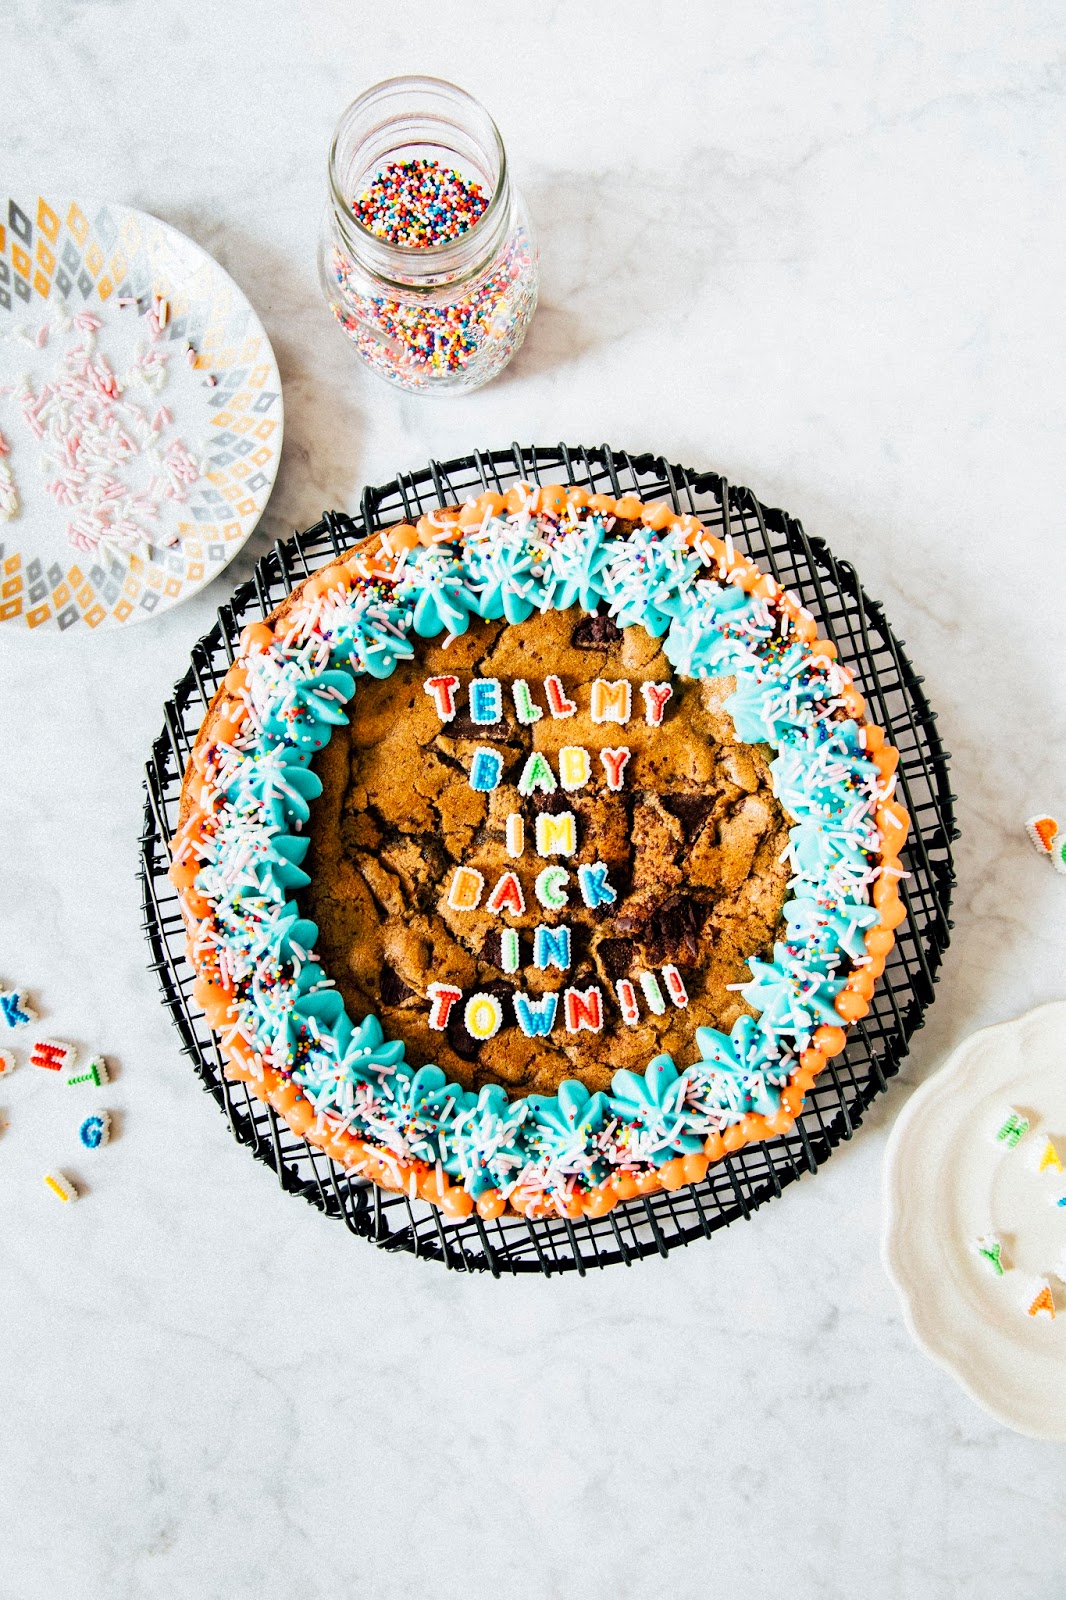
But anyway, tell my baby I’m back in town, tell everybody I’m back in town, etc.

And here’s the BIG news that more of you guys are probably interested in (because who cares where I live, really?):
I’m writing a cookbook!
Throughout the years, many of you guys have asked me if there was a Hummingbird High cookbook in the works. I either most likely a) ignored you, or b) said something sassy like “isn’t my blog a digital cookbook anyway?” or c) impatiently smiled and went “I wish, but I don’t have time for that!” Because unlike most of my peers, I don’t actually blog full-time. For many years, I ran Hummingbird High while maintaining a traditional 9-to-5PM, 40-hours-a-week desk job: first in finance as an analyst, and then in tech as a systems analyst.
Working a full time job in addition to blogging meant that I didn’t have a whole lot of time to devote to baking. In fact, all I had were weeknights. You know that weird hour you have when you’ve gotten home from work and the gym, finished dinner, and done all your chores? Most people spend that time Netflixing, or doing something sensible like going to bed early. But not me. I was in the kitchen, trying to figure out how to bake a layer cake/pie/cinnamon buns in that limited amount of time.
I rarely wrote about it, but often times, the desserts on this blog came together in the span of several days! A cake recipe that would ordinarily take hours to make would be broken down: 45 minutes on the first day for the baking of the cakes, 10 minutes on the second day to make the frosting, 30 minutes on the final day to put it all together and decorate. For pies, I would make the crust on the first day, roll it out on the second, make the filling on the third day, and bake on the fourth, final day.
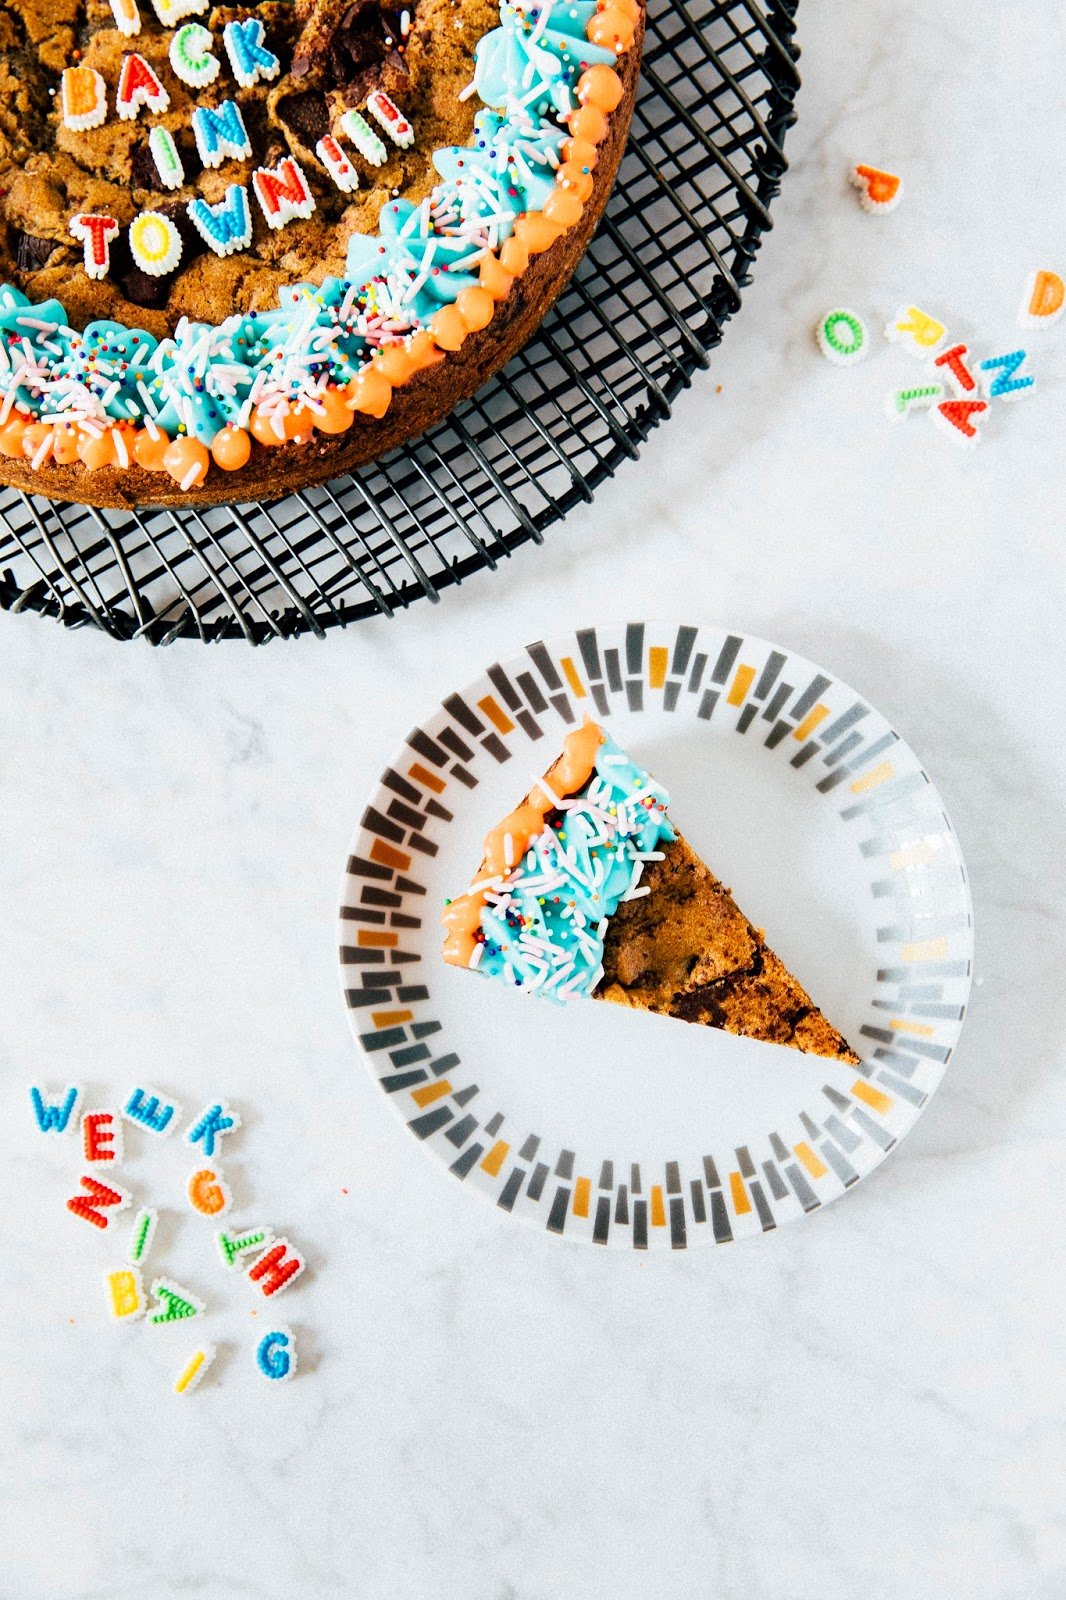
So my cookbook is going to be a little bit of a behind-the-scenes of Hummingbird High: I ended up coming up with a lot of shortcuts and tricks to break down recipes to work within the limited time that I had. And it’s time I finally shared them with you all. The book is tentatively titled WEEKNIGHT BAKING (ha, see what I did there?), and will be published by Simon & Schuster sometime in 2019. It will be a collection of baking recipes that will make beautiful and delicious sweets in the limited time you have. I’m going to teach you how to live a life where you can have fresh, homemade chocolate chip cookies ready to go at any time. I’ll show you how the rustically beautiful cakes on Pinterest can actually come together in just 30 minutes a night. And, of course, I’ll also share the fallback recipes that I rely on — for all the times I foolishly promised to bring something to a dinner party or a potluck, only to realize the night before the event that I’ve only got 40 minutes and five ingredients in the cupboard to spare.
Look for it in about 2 years, lol. Publishing really takes that long. Also, don’t tell my editor, but I haven’t actually started anything yet. Shhhhhhh.
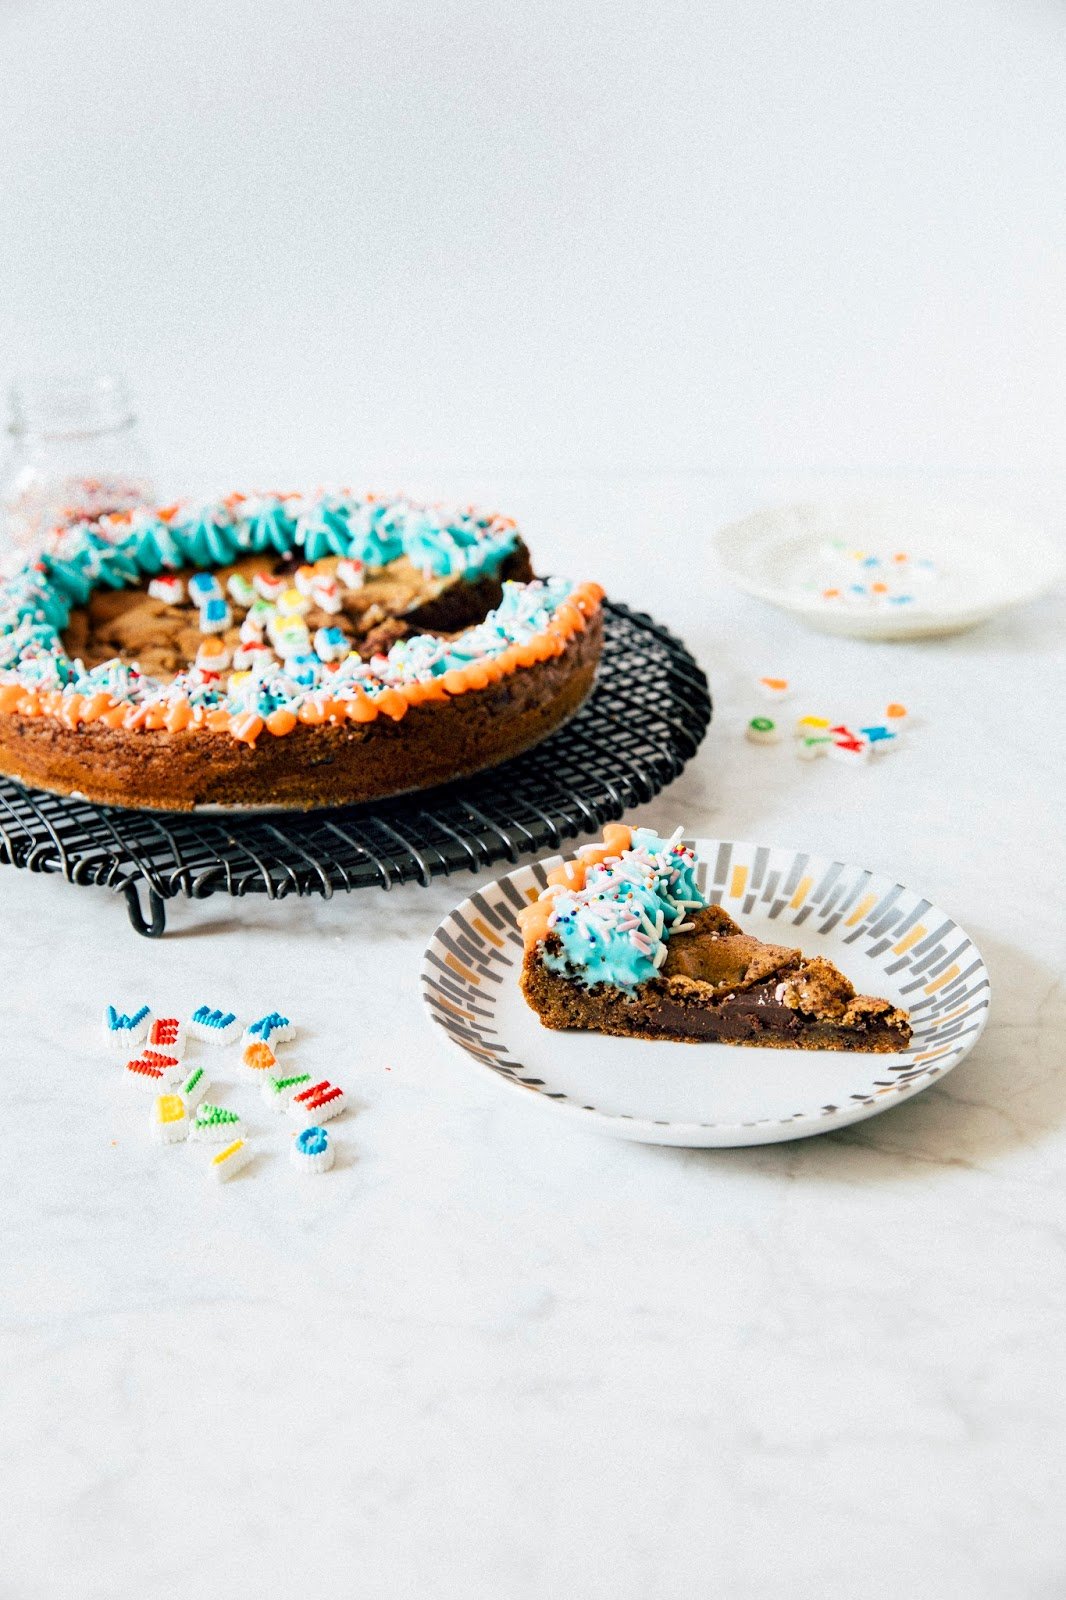
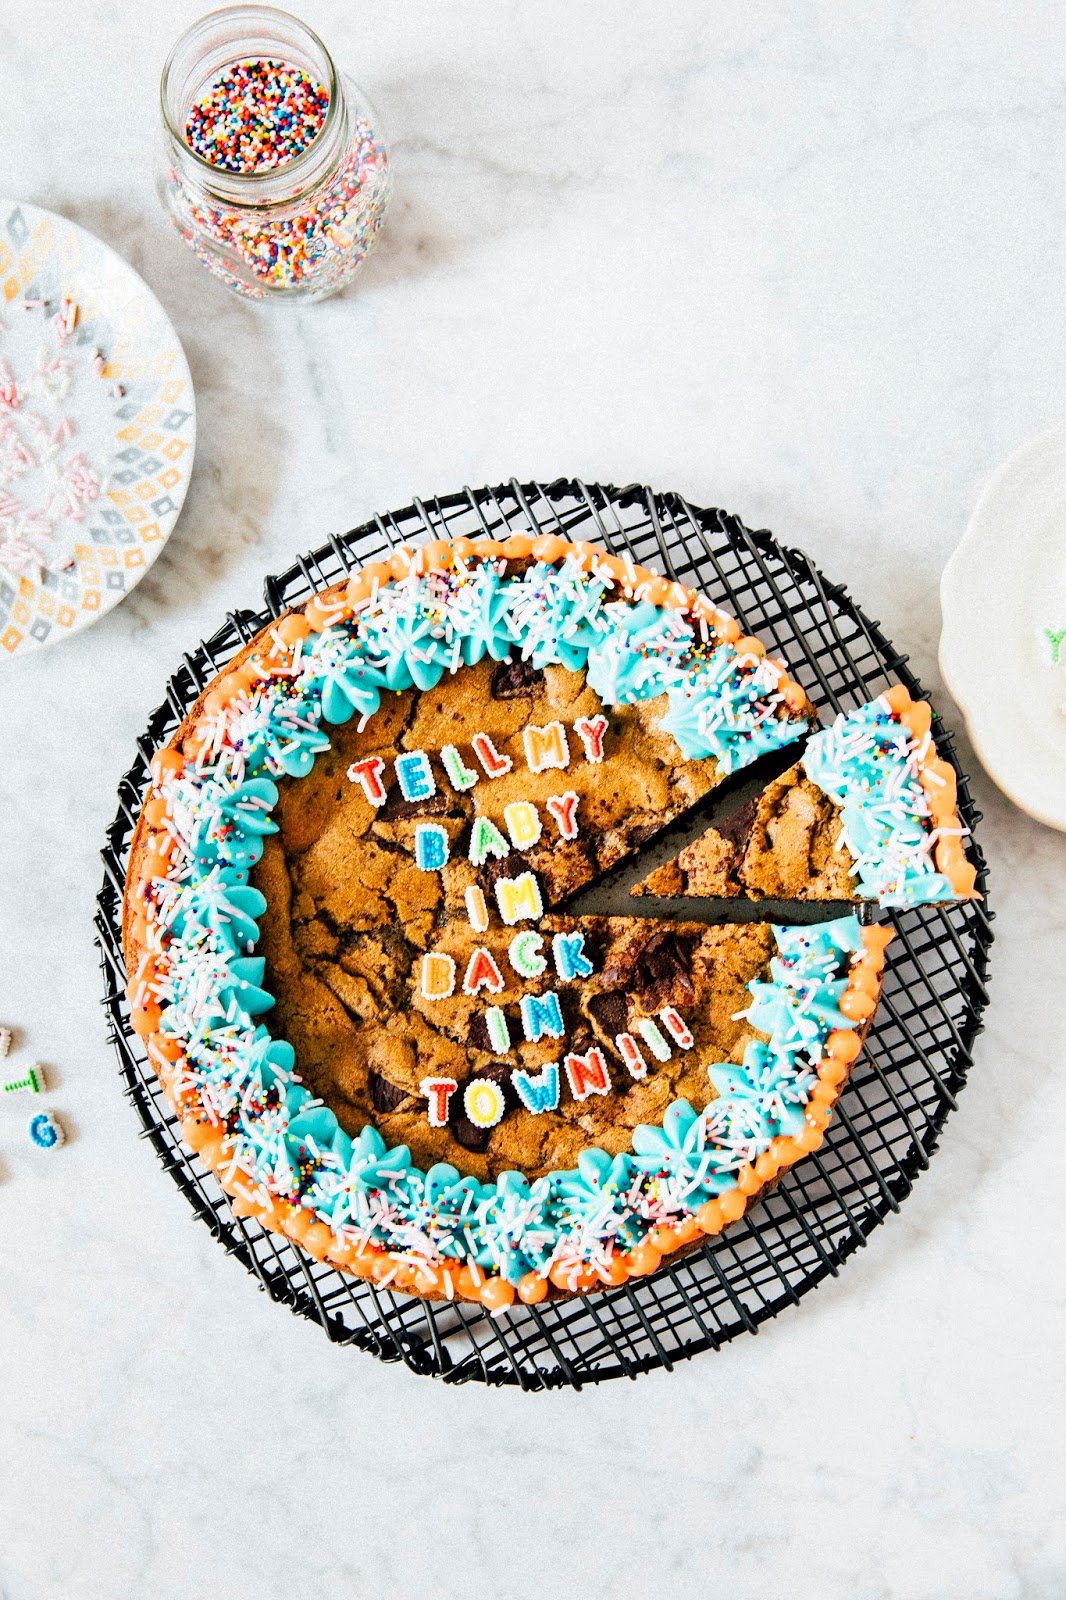
And speaking of weeknight baking, this is a cookie cake I made while I was in the middle of my frantic move from Brooklyn to Manhattan and back to Portland. It was a Wednesday night, and our moving pod was arriving in two days. I had a ton of leftover chocolate bars perfect for chocolate chip cookies melting away in the New York City summer. But of course, since I was mid-cross country move, I had none of the time needed to bake batches of cookies. The solution? Turn it into one giant chocolate chip cookie; a chocolate chip cookie cake, if you will, partially inspired by Molly’s version (hers is much cuter/neater though — my frosting started to melt in the 95 degree heat of my apartment) and the Safeway cookie cakes of my childhood. Enjoy!
- The original recipe, adapted from Bon Appetit, actually instructs you to make the cookie in a 10-inch cast iron skillet. I made mine in a 9-inch springform pan, which worked fine, but ended up with a rather thick cookie. Go for a 10-inch (or even a 12-inch) pan if you’re looking for a more traditional cookie cake! Also, it may seem like there’s not enough dough for the pan, but don’t worry — there is.
Ingredients
- a 9-inch nonstick springform pan (see baker’s notes for substitutions)
- a piping bag and tip (I used #847 and #802 from this piping tip set)
- 1 cup (4.5 ounces) all-purpose flour
- 1/4 teaspoon baking soda
- 3/4 teaspoon kosher salt
- 1/2 cup plus 2 tablespoons (4.25 ounces) dark brown sugar, tightly packed
- 1/3 cup (2.45 ounces) granulated sugar
- 6 tablespoons (3/4 stick // 3 ounces) unsalted butter, at room temperature
- 1 large egg, at room temperature
- 1 1/2 teaspoons pure vanilla extract
- 10 ounces semisweet (at least 60% cacao) chocolate, roughly chopped
- 3 ounces cream cheese, at room temperature
- 1/4 cup (1/2 stick // 2 ounces) unsalted butter, at room temperature
- 1 1/4 cups (5 ounces) confectioner’s sugar
- 1 tablespoon whole milk
- 1/2 teaspoon pure vanilla extract
- food coloring
- sprinkles
Recipe
-
- Center a rack in the oven and preheat to 375 (F).
-
- In a small bowl, whisk together 1 cup all-purpose flour, 1/4 teaspoon baking soda, and 3/4 teaspoon kosher salt. Set aside.
-
- In the bowl of a freestanding electric mixer fitted with a paddle attachment, combine 1/2 cup plus 2 tablespoons dark brown sugar, 1/3 cup granulated sugar, and 6 tablespoons unsalted butter. Beat on medium-high speed for 3 to 5 minutes or until light, fluffy, and doubled in volume. Turn the mixer speed to its lowest setting and add 1 large egg and 1 1/2 teaspoons pure vanilla extract, mixing until just incorporated, before adding the dry ingredients (from the 2nd step) all at once. Mix until the dough comes together and one or two flour streaks remain, about 30 seconds, before adding 10 ounces roughly chopped semisweet chocolate all at once, mixing until the chocolate is evenly distributed throughout the batter and no more. Be careful not to overmix, or you’ll have a tough cookie cake and I’ll cry for you!
-
- Use a rubber spatula to scrape the cookie dough into a 9-inch nonstick springform pan. Use an offset spatula or the back of your hands (it helps to have your hands slightly damp here in order to prevent the dough from sticking) to press/smooth the dough into an even layer that extends to the sides of the pans. It may seem like there isn’t enough dough, but there is — trust the recipe!
- Transfer to the preheated oven and bake for 20 to 25 minutes, or until the outer edges are browned and slightly puffed. Transfer to a wire rack to cool for 10 minutes, before removing the sides of the pan to cool completely before frosting.
For the Cream Cheese Frosting:
-
- In the bowl of a freestanding electric mixer fitted with a paddle attachment, combine 3 ounces cream cheese and 1/4 cup unsalted butter. Beat on medium speed until smooth. With the mixer on low, add 1 1/4 cups confectioner’s sugar, 1 tablespoon whole milk, and 2 teaspoons pure vanilla extract until incorporated. Turn the mixer to medium-high and mix until the frosting is fluffy. If using food coloring, add food coloring and mix until homogenous. Transfer to a piping bag with a tip and decorate accordingly; garnish with sprinkles.