
Confession time: these were originally going to be champagne s’mores cookies. Chocolate shortbread cookie layers wrapped around a pink, fluffy champagne-flavored marshmallow adapted from BraveTart’s recipe. I bought the pink champagne, cooked it together with all the sugar (leading to a giant explosion on my stovetop, which I then had to painstakingly clean), and even made videos of the marshmallow booping around to NSYNC (which, by the way, I always thought was spelled N*sync, but I guess not according to Wikipedia — any die-hard fans out there know how to actually spell it?)
But then something happened. I took a bite. And immediately, I was transported back to college. There was something about the champagne flavor — maybe the fact that I’d only shelled out for a $7.99 bottle, or maybe it was when combined with all that sugar, I really don’t know — that reminded me of my college’s Thesis Parade, the starting event of an annual end-of-the-year college party that kicks off by burning the theses of the graduating seniors while dousing them in bottles of Andre’s. It wasn’t a bad flavor necessarily. Probably not to anybody who didn’t attend Reed College. But to me it just tasted like regret, unrequited love, and underaged drinking.
Dramatic, I know, but there you have it. Do you have any foods that bring you back to different times and places?
Since the marshmallows were a bust, I managed to Macgyver the chocolate cookies into another bake. These are my trusty homemade Oreo/chocolate shortbread cookie recipe (as seen here, here, and here), but with slightly updated measurements list to match the volume-weight measurements I’ve been using for #WEEKNIGHTBAKINGBOOK.
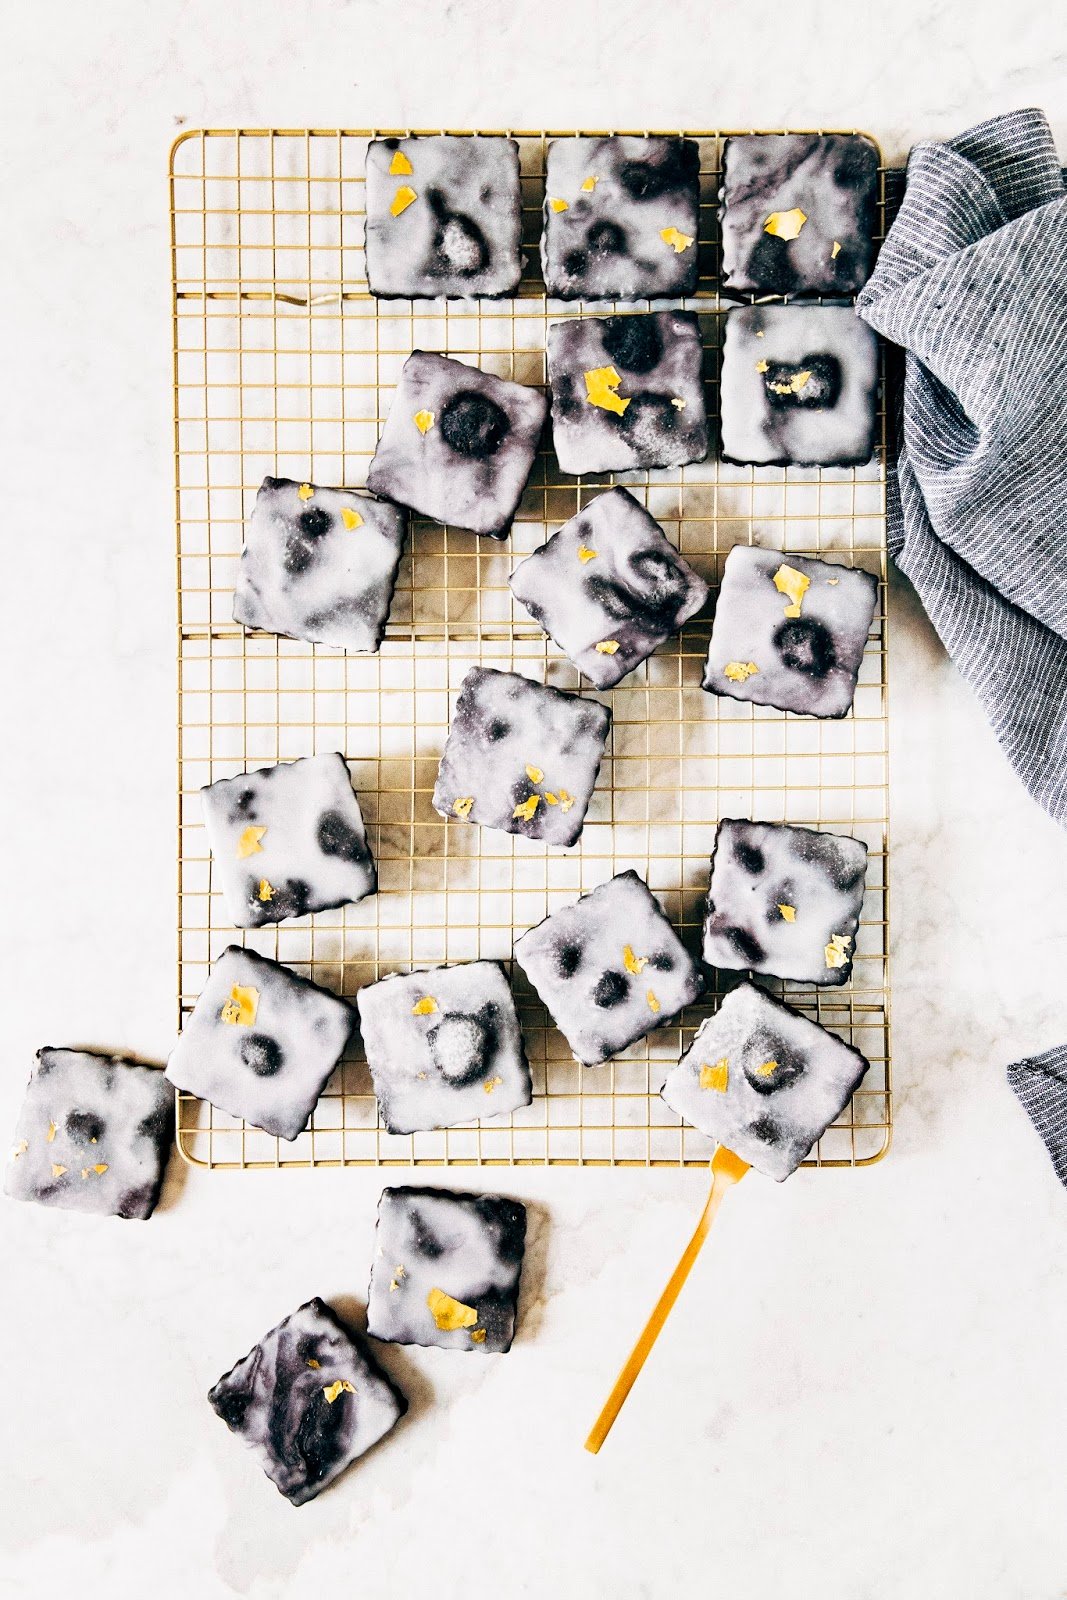
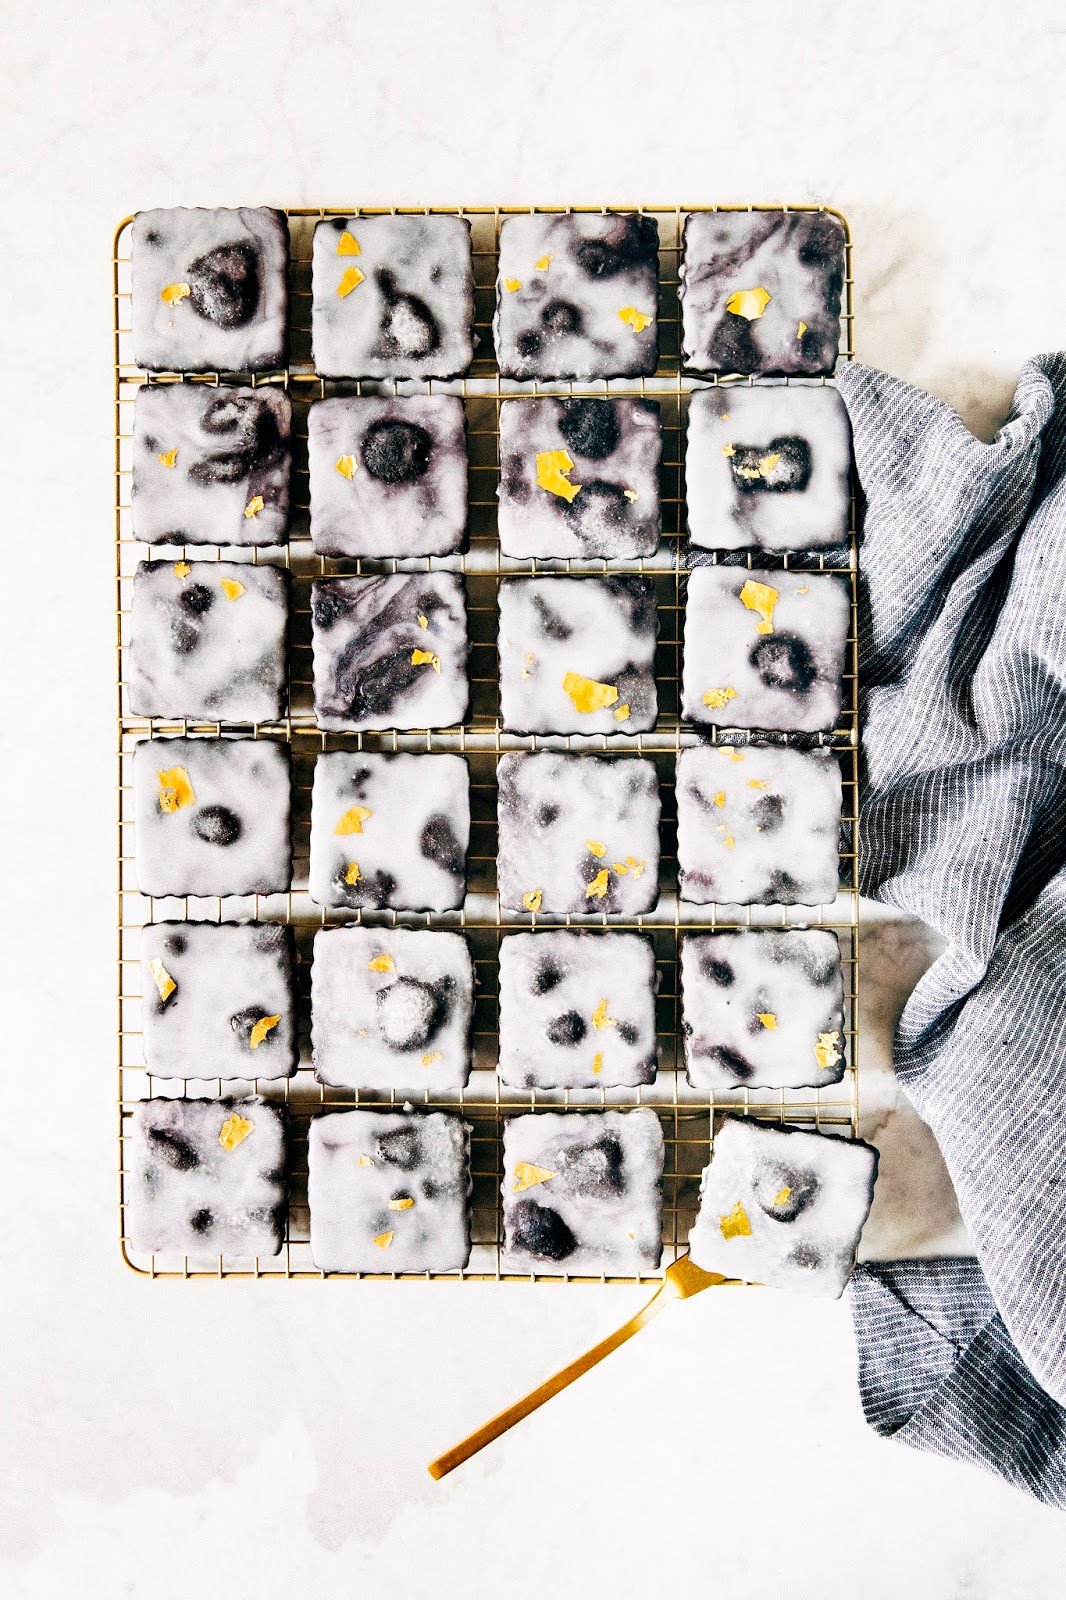
All topped with a champagne marble glaze.
If you follow me on Instagram, you’ll know that I’ve been obsessed with doing a carrara marble glaze finish on cakes and cookies. I was waiting until January to share the recipe and tutorial for a carrara marble glazed wedding cake, but I’m gonna go ahead and share a champagne version of the recipe now since so many of you guys have been DMing me about it. In a pinch, you can substitute out the champagne for water and the champagne extract for vanilla — enjoy!
Oh! And how could I forget? Happy New Year’s, babes!!!
-
- Because the cookie recipe is adapted from Bouchon Bakery (whose chef, Thomas Keller, is known to be incredibly precise), it contains a few weird measurements: notably the granulated sugar measure (which is 3/4 cup plus 1 tablespoon, and is fairly easy to figure out on your own) and the baking soda measure, which calls for 3/8ths of a teaspoon. This is best achieved by using a 1/8-measure measuring spoon. Unfortunately this isn’t often a standard spoon that comes in sets; you need to purchase it individually. In a pinch, it’s best to use a measuring scale (you’ll need 1.6 grams of baking soda). You can also try using a scant 1/2 teaspoon of baking soda, but I’ve never done it and your cookies might come out puffier than mine.
-
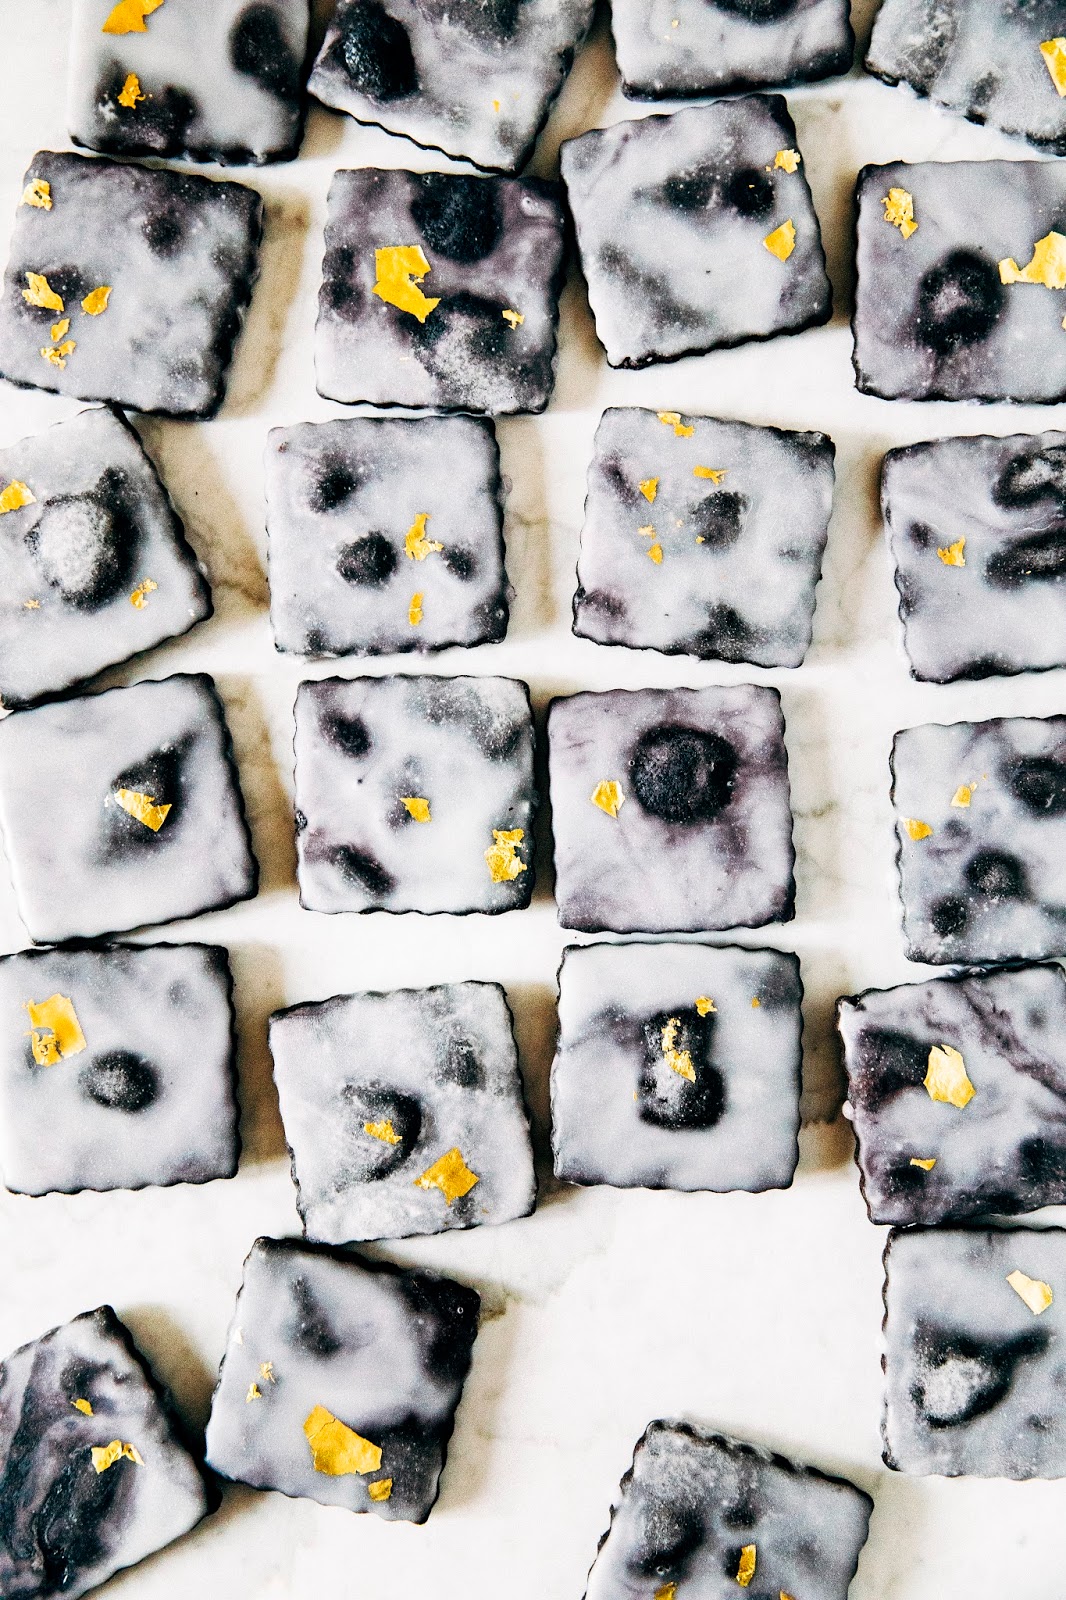
- It’s important to pay attention to the ingredients list because this is one of those recipes where using substitutions dramatically alters the flavor and appearance of the final bake. The first is the cocoa powder — be sure to use Dutched cocoa, which is treated different from natural unsweetened cocoa and is responsible for the cookie’s dark color. Read more about it on this awesome article about their differences on Serious Eats. The first time I made this glaze, I only used champagne and vanilla — while still tasty, the chocolate and vanilla both seriously overwhelmed the champagne flavor, so I sourced some champagne extract (I used this one specifically) for the job the next time I made them again. It’s still a pretty subtle taste though, so don’t expect to get knocked off your feet by bubbles. And finally, I decorated the entire thing with edible gold leaf specks because this is the new year, etc.
- The glaze requires you to heat it up in a double boiler, which I know is a weird step. But it helps dissolve any lumps in the powdered sugar without needing to sift it repeatedly. In a pinch, you can skip this step and just whisk all the ingredients together, but you’d need to sift the powdered sugar. The choice is yours, my friend.


Get the Recipe: Champagne-Glazed Chocolate Shortbread
Ingredients
For the Chocolate Shortbread
(makes around 35 two-inch cookies, but it will depend on the size of your cookie cutter — I used a graham cutter)
- 2 cups (9 ounces) all-purpose flour
- 1 cup (3 ounces) Dutch-processed cocoa powder (see baker’s notes)
- 3/8 teaspoon baking soda (see baker's notes)
- 1 cup (2 sticks // 8 ounces) unsalted butter, at room temperature
- 3/4 cup plus 1 tablespoon (5.65 ounces) granulated sugar
- 2 teaspoons kosher salt
For the Champagne Marble Glaze
(makes enough for 35 cookies, plus a little extra for practice and double dipping!)
- 4 cups (16 ounces) confectioner’s sugar
- 1/4 cup (4 fluid ounces) light corn syrup
- 3 tablespoons champagne
- 3 tablespoons water
- 1 teaspoon champagne extract (see baker's notes)
- gray food coloring (see baker's notes),
- edible gold leaf (see baker's notes)
Instructions
For the Chocolate Shortbread
- In a medium bowl, whisk together 2 cups all-purpose flour, 1 cup Dutch-processed cocoa powder, and 3/8 teaspoon baking soda. Set aside.
- In the bowl of a freestanding electric mixer fitted with a paddle attachment, beat 1 cup unsalted butter on medium-low speed until smooth. Add 2 teaspoons kosher salt and continue to mix for another 15 to 30 seconds. Add 3/4 cup plus 1 tablespoon granulated sugar and continue mixing for about 2 minutes, until light and fluffy.
- Use a rubber spatula to scrape down the sides and bottom of the bowl before adding the dry ingredients (from the 1st step) in 2 additions, mixing on ow speed for 15 to 30 seconds after each addition or until just combined. Be careful not to overmix, and just mix until the dough has come together!
- Use a rubber spatula to scrape the dough out onto a lightly floured work surface (like very lightly; this dough isn't very sticky and actually tends to be on the dry side). Use your hands to gently knead the dough together, and use a dough scraper to divide the dough into two even mounds. Take the first mound and, with a rolling pin, begin to flatten it by rolling it from left to right. Turn the dough 90 degrees and repeat. Turning the dough will help the dough from cracking as it's rolled. If it does crack, no biggie — take a pinch or two of dough from the second mound and use it to patch up any cracks or gaps. Roll out the dough to a 1/4-inch thick sheet. If the dough gets too melty and soft, simply refrigerate it until it gets firm again. This dough tends to harden pretty quickly, so 10 to 15 minutes in the fridge should do the trick just fine!
- Use your cookie cutter of choice to cut and stamp cookies from the rolled dough. Take any excess trimmings, knead them together, and re-roll. Arrange the cookies on sheet pans lined with parchment paper, leaving about a 1/2-inch between each cookie (don’t worry — they won’t spread out too much when baking). Transfer the cut cookies to the refrigerator and let chill for an hour before baking.
- When the dough is chilled and you’re ready to bake, position a rack in the center of the oven and preheat to 325 (F).
- Bake in the preheated oven for around 20 minutes, or until the cookies are fragrant with small cracks on the surface. Because the dough is so dark, it's a little hard to tell when these are done — look for small cracks on the surface! Set the pans on a wire rack and allow them to cool completely before glazing.
For the Champagne Marble Glaze
- When the cookies are cool, it's time to glaze them. In a double boiler (or, a homemade one with a heatproof bowl set on top of a saucepan with an inch or two of water — the bowl shouldn't touch the water!) over medium heat, combine 4 cups confectioner's sugar, 1/4 cup light corn syrup, 3 tablespoons champagne, 3 tablespoons water, and 1 teaspoon champagne extract. Whisk to combine and continue stirring occasionally until the mixture is smooth and homogenous. The icing should be fluid but not so warm that it will melt the frosting; the ideal final temperature of the mixture should be below 100 (F). Remove from heat and transfer the bowl to a wire rack to cool slightly.
- Prepare a work station by lining two sheet pans with parchment paper for easy clean up. Place two wire racks on top of the parchment paper inside the sheet pans — this will help catch any glaze drippings and make sure you don't end up with any soggy cookies!
- Return to your slightly cooled glaze and gently stir 1 to 2 drops of gray food coloring into the mixture. When I mean stir, I mean “half-heartedly stir” — the mixture should still be predominantly white at this point, but streaked with gray food coloring. This works best if the glaze has cooled — if the glaze is too hot, the food coloring will melt and incorporate throughout the mixture. You want it to be streaky!
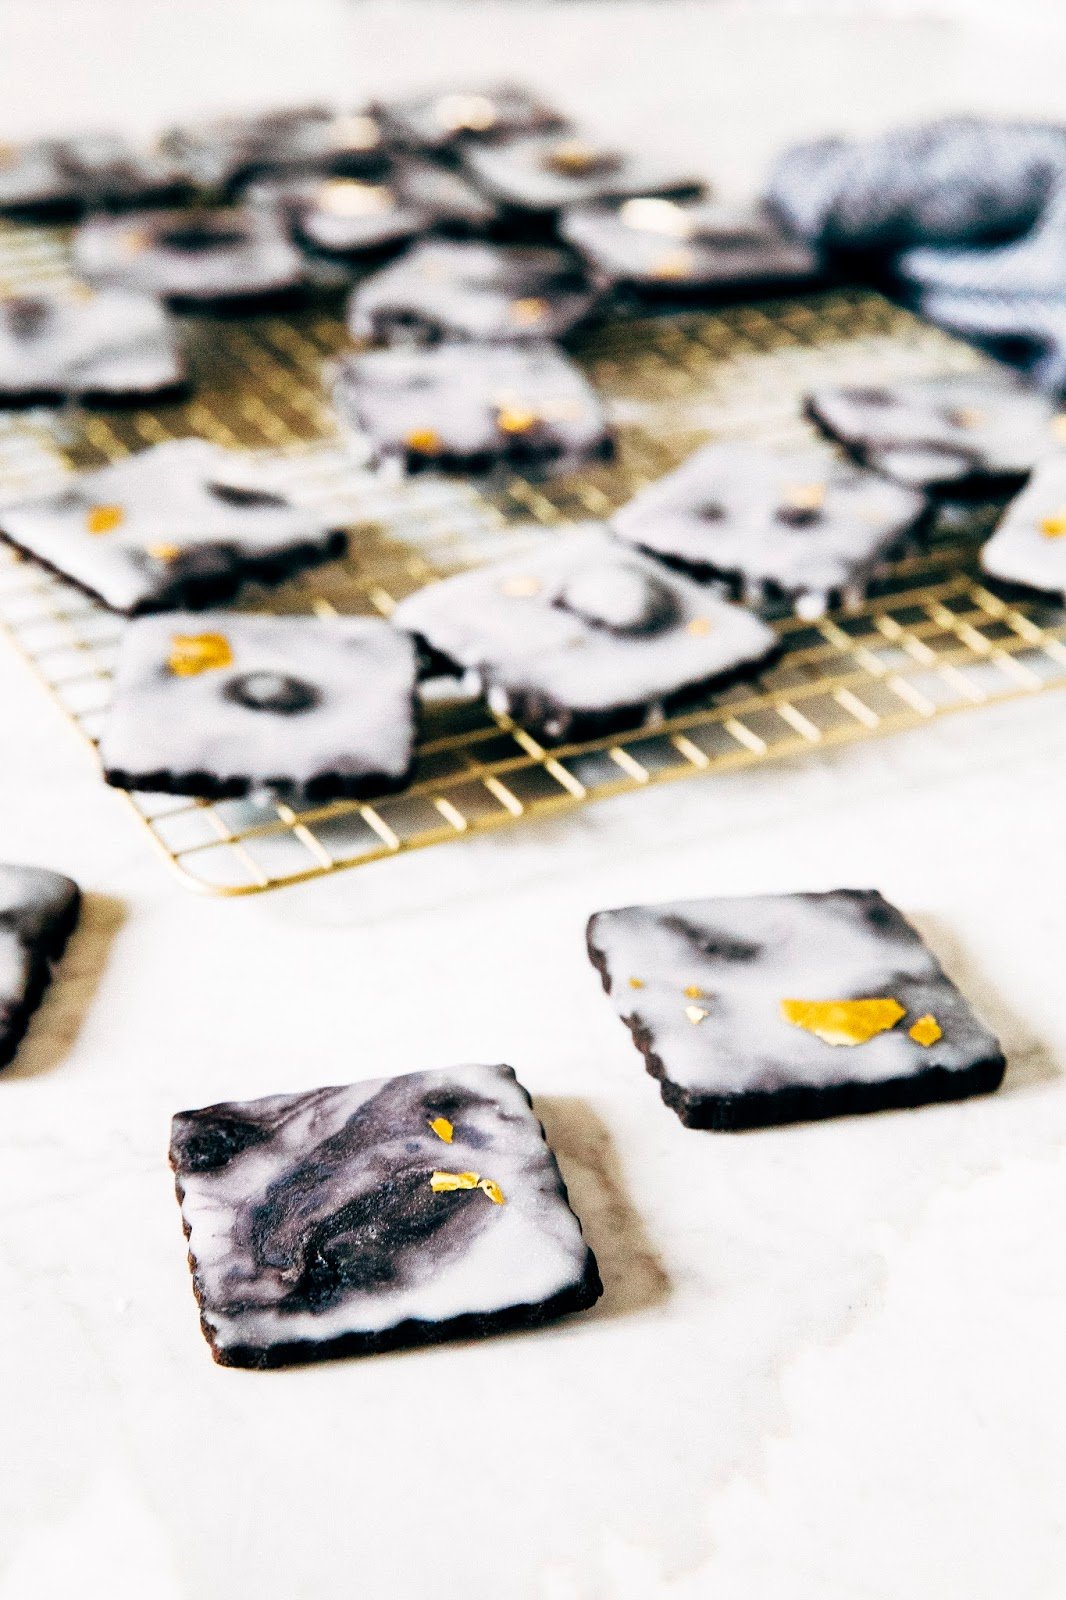
- Working quickly, dip the top of each cookie into the glaze and quickly flip it up so that the glazed side is upright. There are two ways to go about this —you can use the bottom of the cookie, which is smooth and flat. This creates a smoother finish. Or you can do what I did, which is dip the top of each cookie into the glaze. Any crags, cracks, or bumps in the cookie’s surface will exaggerate the marble look. And for a streakier glaze, use a swooshing motion to pull the cookie surface along the glaze surface to achieve even more streaks. Let any excess drip off and transfer to a wire rack to dry for 3 to 4 hours. Repeat for remaining cookies and garnish with gold leaf if desired.
I own your cookbook “Weeknight Baking” and have loved baking from it! One of my favorite recipes from the book is Black-and-White Chocolate Chunk Shortbread Cookies. It is the most delicious chocolate shortbread I’ve ever made and the dough is essentially the same as the recipe above for Champagne-Glazed Chocolate Shortbread.
I wondered if this recipe and the one from the book can be made as drop cookies, which would eliminate the need to roll into logs and slice them.
Thank you!
Sadly, they don’t work as drop cookies; the dough doesn’t spread out enough! However, they do work as cut out/roll out cookies (like you see in this recipe!).
Do I have to use corn syrup? Why not just the confectionary sugar alone?
You can skip it, but it’s there to make your life easier. Without it, the glaze hardens up fast (especially in cold weather) and is difficult to work with. But feel free to skip if you don’t want to use it.
I just made these. I actually pressed the dough into cake pans on top of parchment for an easy exit. They turned out great. Once they were done, about 21 minutes, I put the pans on a rack and waited about 20-30 minutes before removing them. They did crack a little out of the pan but I could have waited a bit longer. I then let them cool even more on the rack, out of the pan. Then, I cut them into small squares and just snacked on the broken bits. So, if you’re having a hard time rolling them, consider this method. I used the back of my one cup scoop to flatten them in the pan and they got pretty level. Now, I may or may not glaze them. I will also say, they have a nice saltiness to them. I was hoping to sprinkle flaky salt on top of the glaze but it might be overkill. Love these so far though. They are delicious.