
Last October, I dragged Erlend out to Gowanus to pick up a couple slices of pie from Four & Twenty Blackbirds. It was my first time at the pie shop, missing previous opportunities to go there (first when it was closed for the holidays, second when I had to abandon a Brooklyn breakfast crawl early to catch my flight). From the outside, the bakery lived up to its hype, with its mismatching tables and chalkboard menu giving it a twee, cozy vibe.
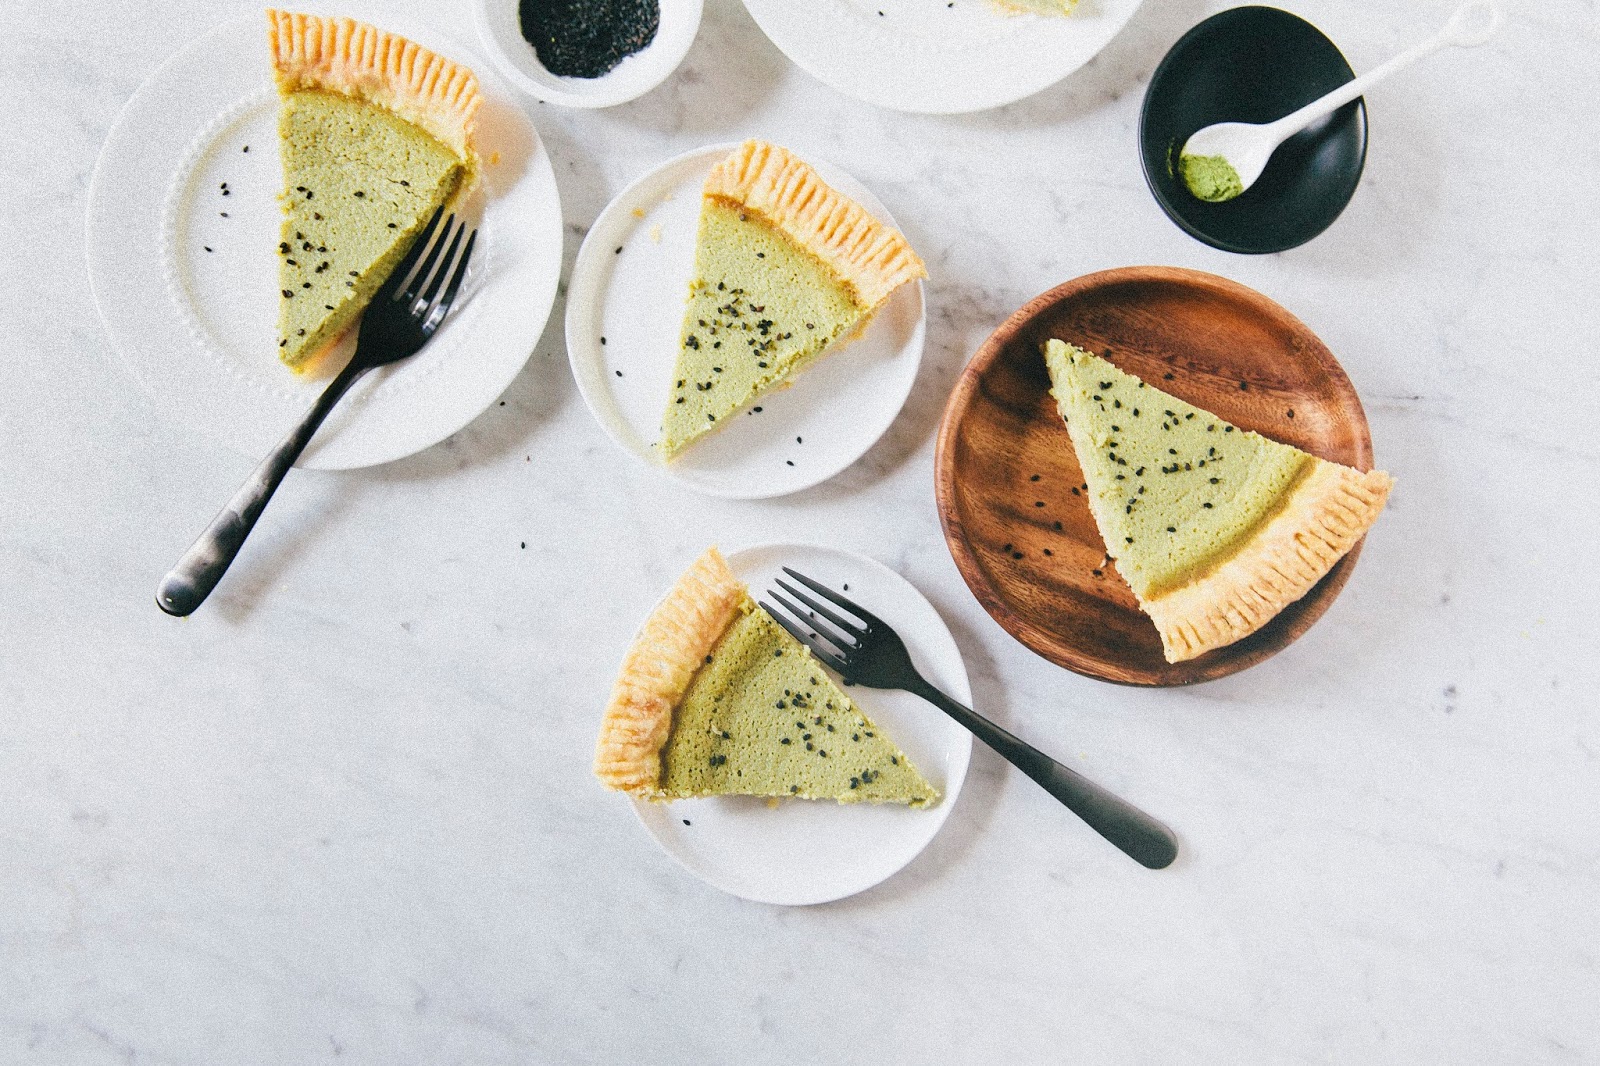
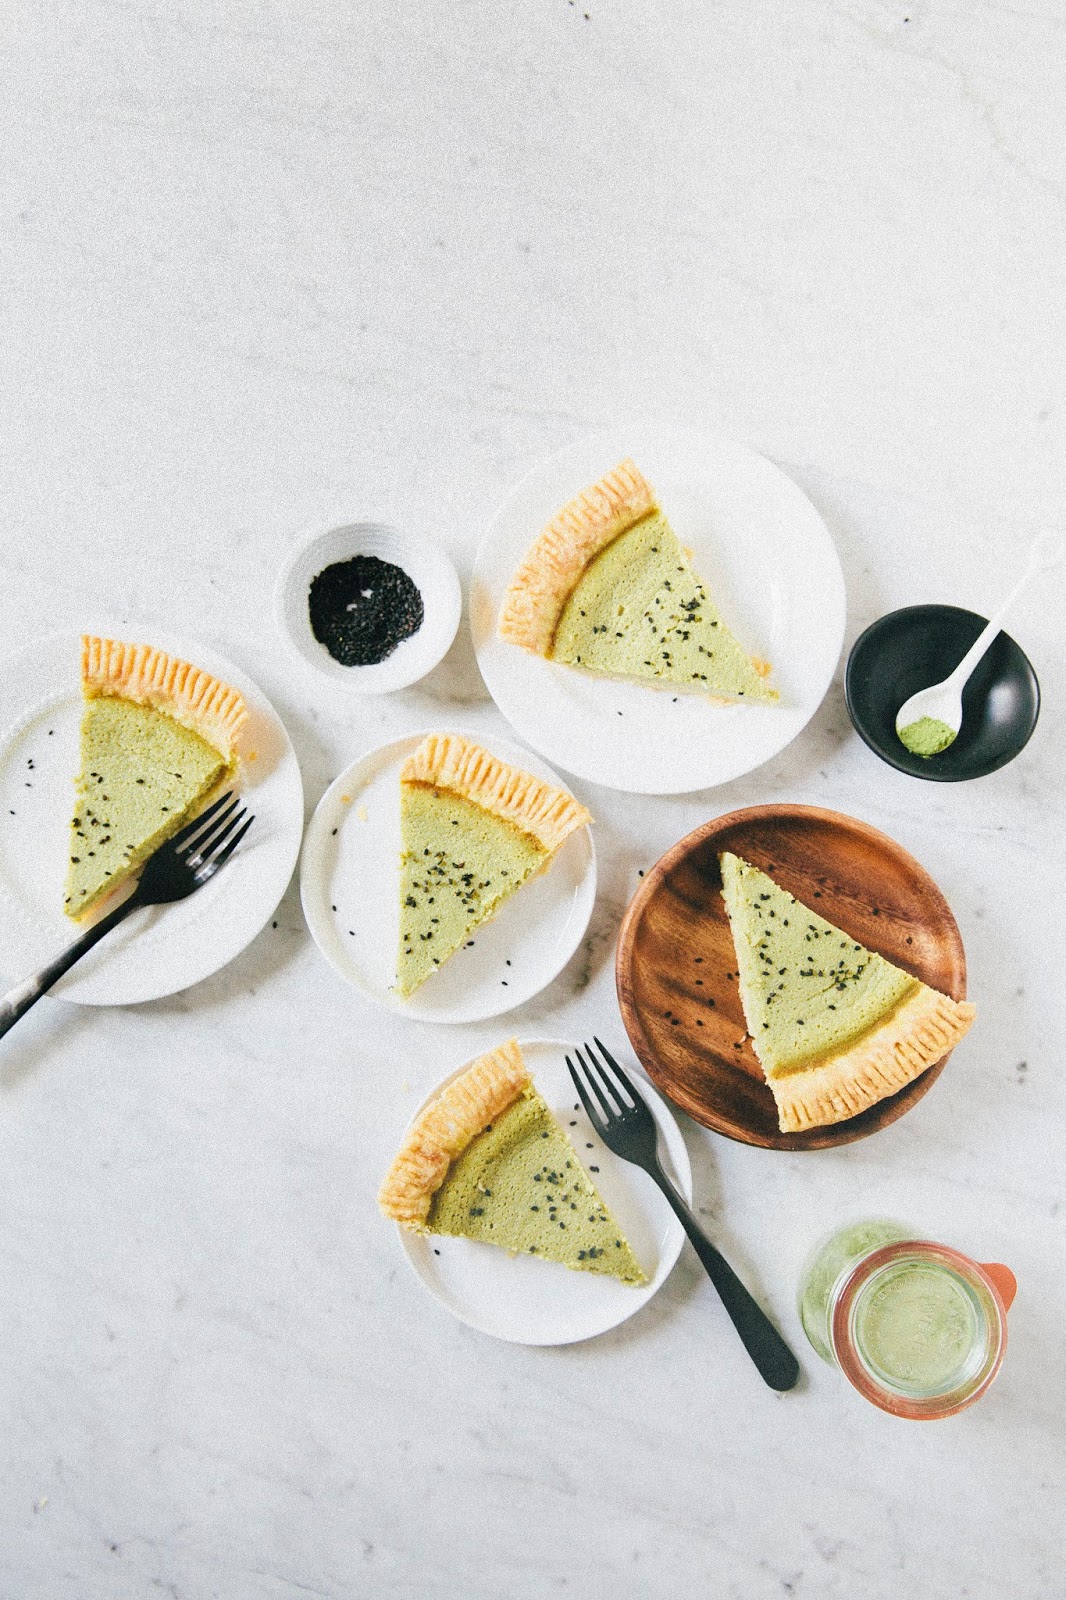
Because it was October and no fruits were really in season, they didn’t have too many fruit pies to offer. Instead, they had a handful of buttermilk custard based pies, including a matcha buttermilk pie. Matcha (that is, green tea powder) is one of my favorite ingredients to bake with as it can give classic baked goods an interesting, unique twist (case in point: this recipe for matcha marble pound cake, or these matcha white chocolate macadamia cookies). It can be tricky to work with though — too much can make desserts too bitter, too umami (sometimes it can taste like seaweed!), and too little can be bland.
I’m sorry to report that, despite the brilliant green color of Four and Twenty Blackbirds’ matcha pie, all three of us (Erlend, my friend Julie, and myself) found the pie too flavorless. There was no hint of matcha flavor in the custard at all — it seemed like Four and Twenty had played it too safe and ended up with a custard that was too bland. I returned back to San Francisco with a new goal of trying to create my own matcha buttermilk pie that would live up to my standards.

It took a few tries to get the recipe right. I first started experimenting with the buttermilk chess pie recipe in their cookbook, assuming that this was the recipe that they’d created their matcha pie with (though they also had a chamomile buttermilk pie recipe that the matcha pie could have been based on, so maybe I’m just flat-out wrong, which would make this entire post moot… but whatever).
The first iteration turned out to be… fine, just fine. The custard, which I’d spiked with three tablespoons of matcha, was far more flavorful than the version I’d had in their shop. The bigger problem was the crust. Since I’d recently discovered the magic of lard pie crusts, I’d foolishly decided to use one as a base for the matcha custard pie and it just didn’t work. Together, the custard and the lard crust was almost… savory. Blegh.
So for the second iteration, I went with an all-butter crust. Even though I’m still a bigger fan of lard crust (‘cuz even despite the icky factor, they’re seriously much easier to work with), the all-butter crust’s flavor and richness complemented the matcha custard far better. The weird, savory taste was completely gone.
But interestingly enough, the all-butter crust highlighted some problems in the matcha custard that I hadn’t noticed before when it was paired with the lard crust. The original recipe from the cookbook uses both sour cream and vinegar (for some reason), both of which were overpowering the delicate flavor of the matcha. Not wanting to add more matcha, I decided to replace the sour cream with crème fraîche (its much milder sibling) and omit the vinegar entirely. And BOOM. Third time around, I think I nailed it.
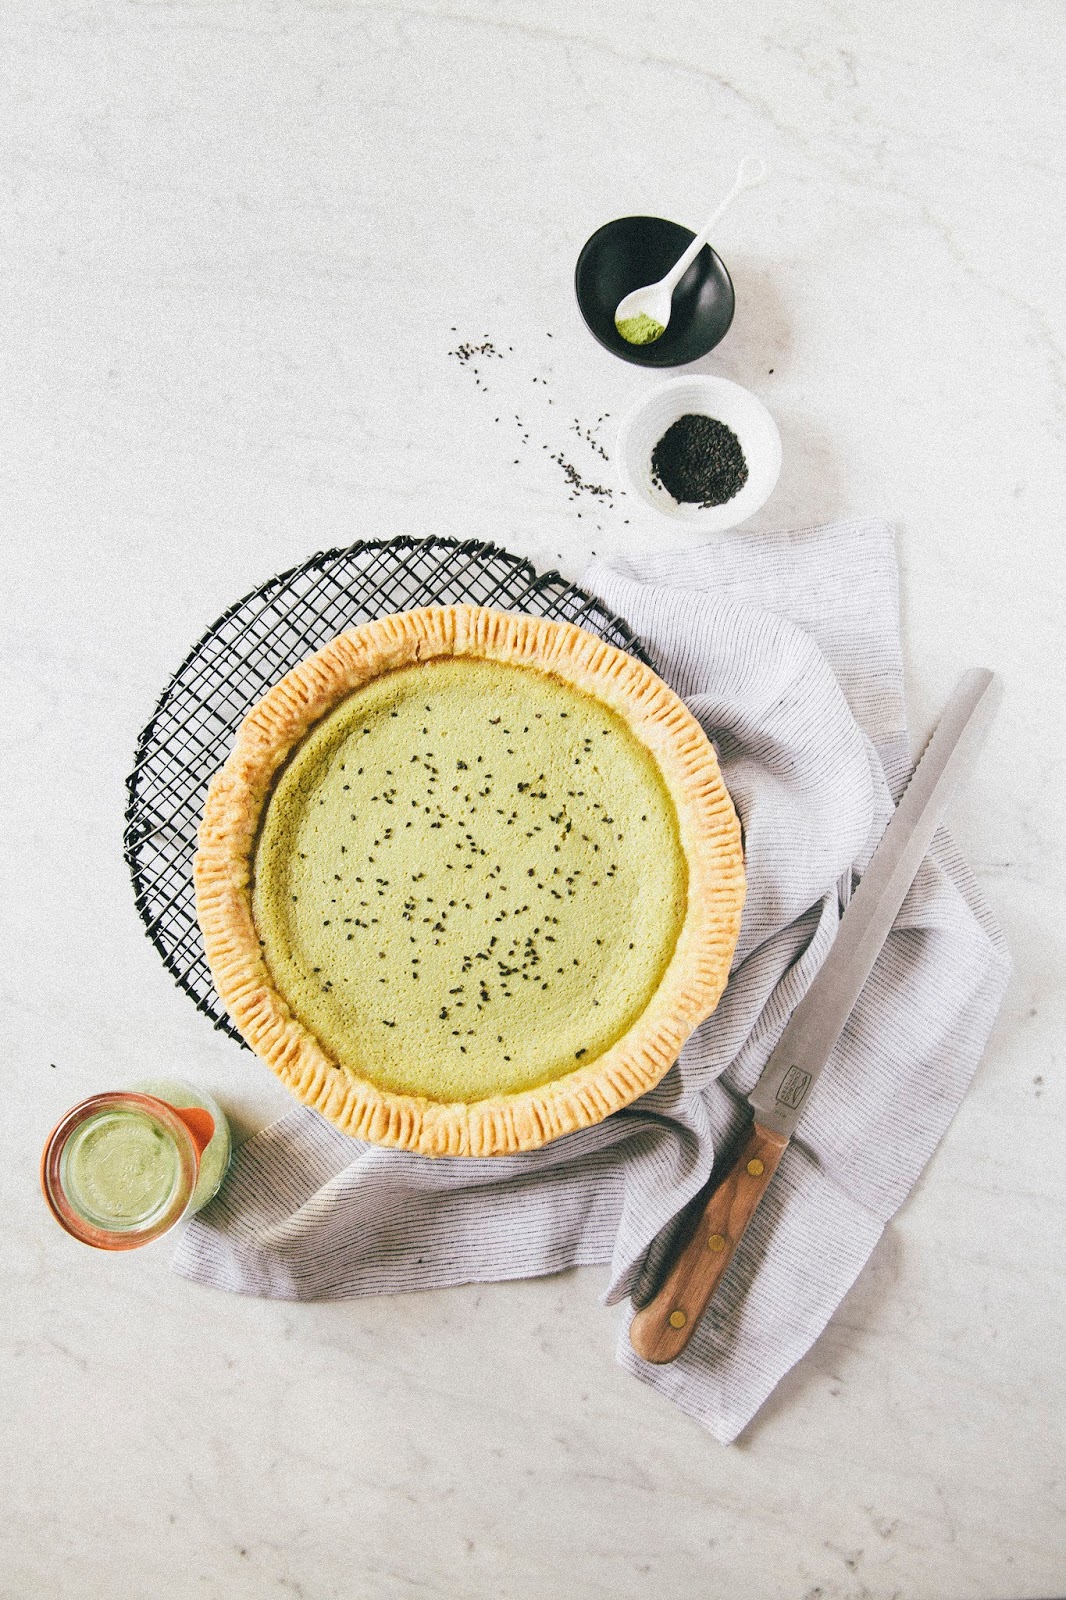
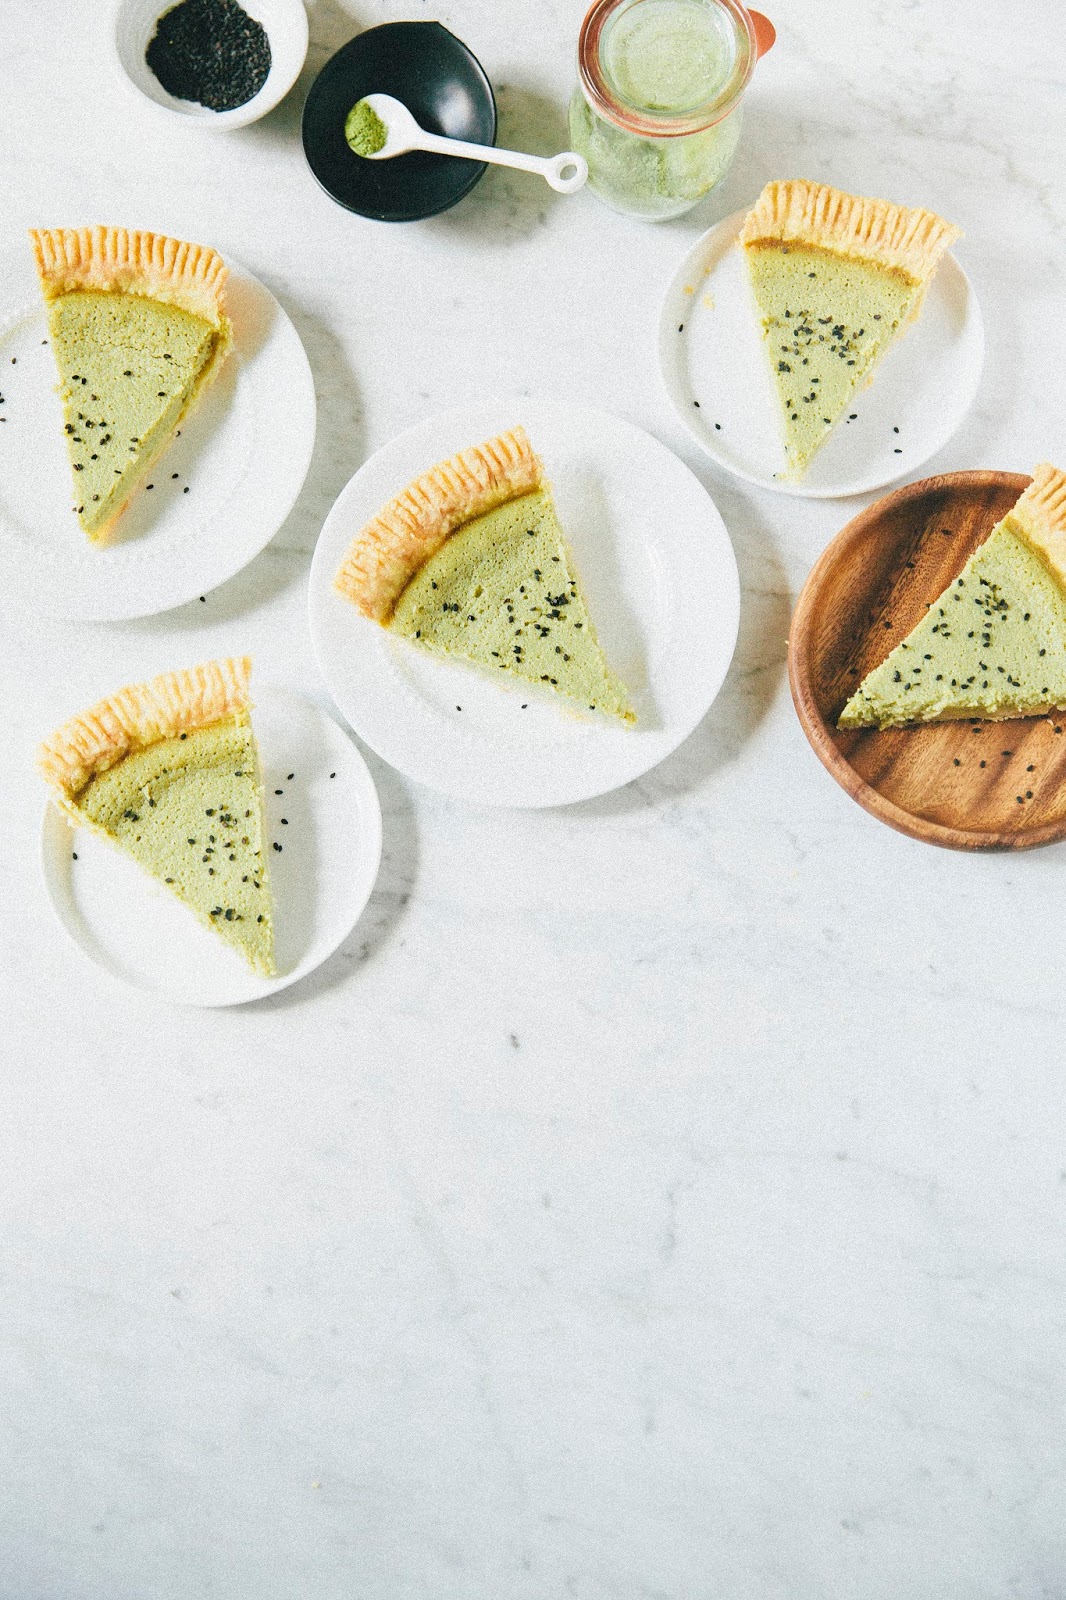
So without further ado, the recipe for the matcha buttermilk pie Four and Twenty Blackbirds should be serving. No need to trek out to New York, no need to trek out to Gowanus. Their same pie, just better, fresher, and homemade.
You’re welcome.
Some baker’s notes:
-
- Matcha is available online, or in Asian grocery stores and specialty tea shops. Matcha tends to come in two different grades — ceremonial or culinary. Don’t go for the ceremonial variety; it’s used in traditional Japanese tea ceremonies and made with young tea leaves that give it a much more delicate flavor than the culinary variety. Plus, it’s significantly more expensive too. Stick with the culinary grade!
-
- In general, when baking a pie with a liquid-based filling (like custard or cream), you’ll need to “pre-bake” the pie beforehand. Pre-baking, also known as “blind baking”, basically gives the crust the additional baking time that it needs to turn into the crispy and flaky pie crust that we all know and love, since custards and creams usually don’t need as long to bake. Also, pre-baking helps to prevent the pie crust from getting soggy, which is incredibly important — you don’t want a sad, soggy-bottomed pie! Unfortunately, pre-baking also sucks up a crazy amount of time since there are a ton of steps that require working the dough and letting it rest appropriately. Whenever I bake a pie, I always break it up into three days. If I want a pie by the weekend that has a crust that needs prebaking, I make the pie crust on Thursday night (and let the dough rest overnight), roll it out on Friday night (and let the shaped and fitted dough rest overnight), and finish it up (pre-baking, making the custard, and baking one last time) on Saturday. It sounds like a marathon, I know, but for somebody like me who works a full-time job in addition to blogging, I find that it actually gives me more time back for the weekend.
-
- Also, to prebake the pie, you’ll need some sort of pie weight to hold the crust down during its first bake. You can buy classic pie weights, or, if you don’t want to spend money on something so specialized, you can substitute with a heat-conductive material liked beans or rice. The beans/rice will get a little toasty in the oven, but will still be edible!
- It took me many, many, MANY times filled with trial and error until I finally got comfortable with making pie crusts and started getting the results I wanted. This recipe for salty honey pie from last year contains a great summary of all my best pie baking tips — it’s worth a read if you’re embarking on one of my pie recipes, helping you understand why I’m so persnickety about the temperature of the ingredients and why I do things the way that I do.
Get the Recipe: Matcha Buttermilk Chess Pie
Ingredients
For the All-Butter Crust
- 1/2 cup ice
- 1/2 cup cold water
- 2 tablespoons apple cider vinegar
- 1 1/4 cup (6.25 ounces) all-purpose flour
- 1 tablespoon granulated sugar
- 1 teaspoon kosher salt
- 1/2 cup (1 stick // 4 ounces) cold unsalted butter, cut into 1/2-inch cubes
- 1 large egg white
- 1 teaspoon water
For the Matcha Buttermilk Custard Filling
- 1 cup (7 ounces) granulated sugar
- 3 tablespoons matcha powder
- 1 tablespoon all-purpose flour
- 1/2 teaspoon kosher salt
- 7 tablespoons unsalted butter, melted and cooled
- 1 teaspoon pure vanilla extract
- 2/3 cup crème fraîche
- 3 large eggs
- 1 large egg yolk
- 1 1/3 cups (10.65 fluid ounces) buttermilk
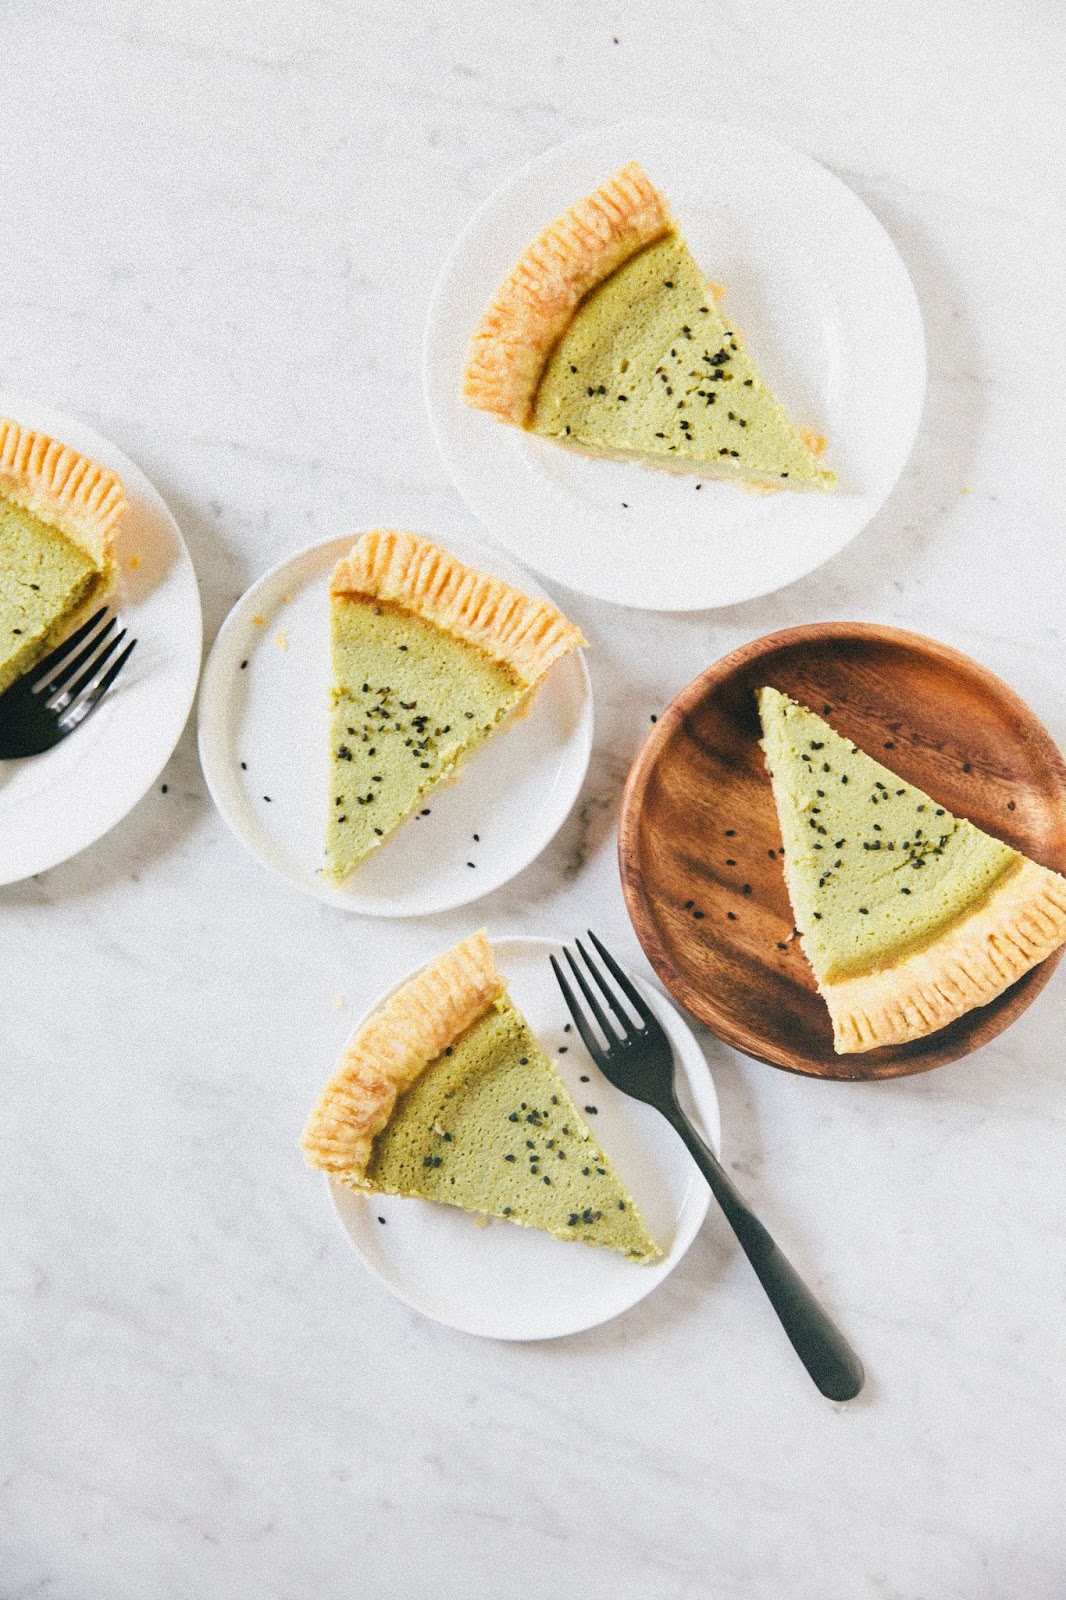
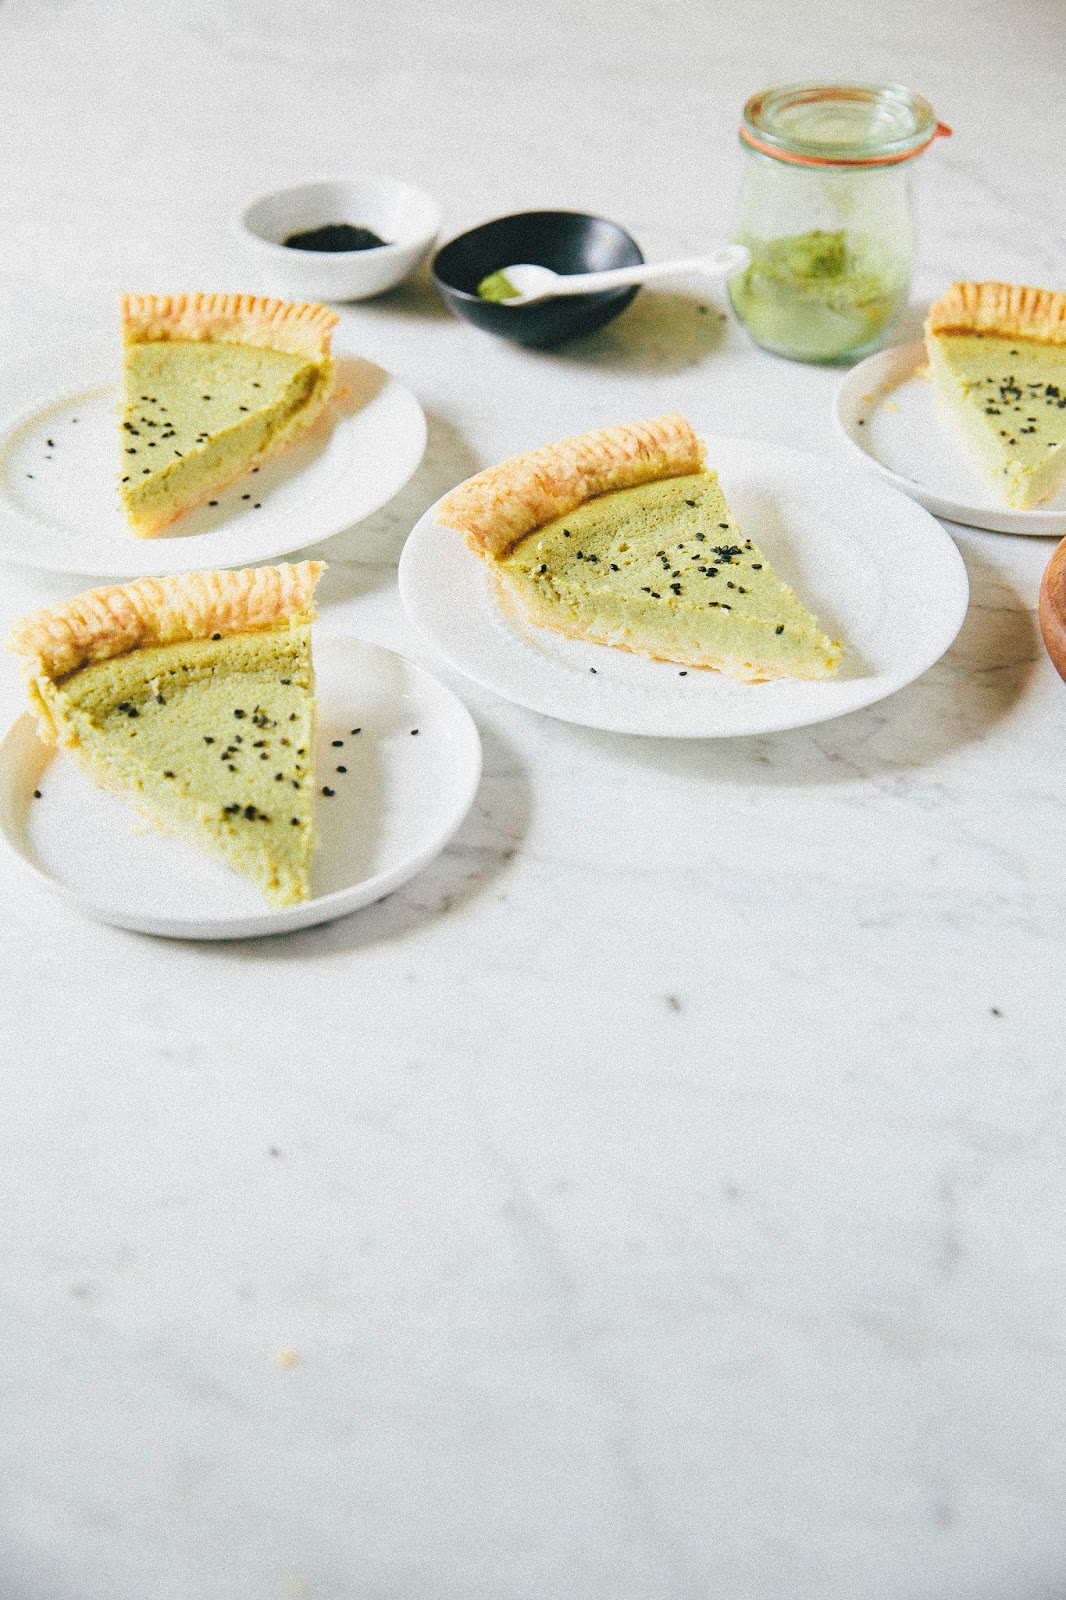
- black sesame seeds, for garnish
Instructions
For the All-Butter Pie Crust
- Combine 1/2 cup ice, 1/2 cup cold water, and 2 tablespoons apple cider vinegar in a liquid measuring cup. Transfer the cup to the refrigerator and let the mixture chill while you work with the dry ingredients.
- In a large bowl, whisk together 1 1/4 cup all-purpose flour, 1 tablespoon granulated sugar, and 1 teaspoon kosher salt until combined. Add 1/2 cup cold butter cubes and use a pastry blender to cut the butter into the flour mixture, working quickly until mostly pea-sized pieces of butter remain (a few larger pieces are okay though — be careful not to overblend!).
- Remove your ice water mixture from the fridge and sprinkle 2 tablespoons of the ice water mixture over the flour mixture (from the 2nd step). Use a pastry blender to cut the liquid into the mixture until it is fully incorporated. Add more of the ice water mixture, 1 to 2 tablespoons at a time, using the pastry blender to mix the liquid into the mixture until the dough comes together in a ball. At this point, it's okay if you have a couple dry bits remaining; you'll bring these together in the mixture later. Don't panic if you have quite a bit of the ice water mixture left — you likely won't need to use all of it (I use about half of it when I make my dough), and using all of it will lead to a soggy crust that's difficult to work with.
- Squeeze and pinch your fingertips to bring the dough together — if necessary, sprinkle dry bits with more small drops of the ice water to combine. Shape the dough into a flat disc, wrap in plastic, and refrigerate for at least 1 hour, preferably overnight.
- Once the dough has chilled overnight and has the texture and consistency of saltwater taffy, it’s ready to be rolled. Liberally sprinkle a work surface with flour. Unwrap the dough disk and place it on the work surface, sprinkling its top with flour. If the dough is hard, let it rest for a few minutes. If the dough seems too sticky at first, add flour liberally. Use a rolling pin to roll with light pressure, from the center out, moving the pie dough around every quarter to roll it evenly. Roll the the dough to about 11 to 12 inches in diameter and about 1/4 inch thick (place your pie plate upside down over it to check its size).
- Move the dough into the pie plate by folding it into quarters, then moving it into the plate and unfolding it. When the dough is in the plate, press it firmly into the bottom and sides of the plate. Use kitchen shears to trim the excess dough and use a fork to crimp the pie crust border onto the plate. If you’re using a more complicated crust than the crimp, leave about 1/4-inch overhang over the pie plate’s rim and use this overhang to make the crust into the design of your choice (check out my Pinterest board for inspiration!). Use a fork to prick holes all over the bottom and sides of the pie crust, before covering the prepared pie crust loosely with plastic wrap, and chill in the freezer for at least 2 hours (preferably overnight — see baker’s notes).
- When you're ready to prebake the pie, center a rack in the oven and preheat to 425 (F). Whisk together 1 large egg white with 1 teaspoon water in a liquid measuring cup and set aside.
- Remove the pie crust from the freezer and line the bottom and sides with aluminum foil, making sure that the crimped edges are completely covered and there are no gaps between the foil and the crust. Pour the pie weights into the pan over the foil and spread them so the are more concentrated around the edges of the shell versus the center of the crust. Place the pie dish on a baking sheet and bake for 20 minutes, until the crimped edges are set but not browned.
- Remove the pan and baking sheet from the oven, place on a wire rack, and lift out the foil and pie weights. Let the crust cool for a minute. Use a pastry brush to coat the bottom and sides of the crust with a thin layer of the egg white glaze (from the 7th step). Return the pan and the baking sheet to the oven's middle rack and continue baking for 3 more minutes. Remove and cool completely before filling.
For the Matcha Buttermilk Chess Pie
- Once the crust has been pre-baked and cooled, center a rack in the oven and preheat the oven to 325 (F). Place the pre-baked pie shell on a rimmed baking sheet and set aside.
- Make the matcha buttermilk custard filling. In a large bowl, whisk together 1 cup granulated sugar, 3 tablespoons matcha powder, 1 tablespoon all-purpose flour, and 1/2 teaspoon kosher salt until combined. Whisk in 7 tablespoons melted butter and 1 teaspoon pure vanilla extract. Add 2/3 cup crème fraîche and whisk until smooth. Add 3 large eggs and 1 large egg yolk, one at a time, only adding the next egg when the previous one has been fully incorporated. Finish off the custard by adding 1 1/3 cups buttermilk, whisking well after each addition.
- Strain the filling through a fine-mesh sieve directly into the pie shell — be careful not to overfill the pie shell, it's okay if you have a little extra custard leftover. Bake in the preheated oven for 1 hour, or when the edges are set, puffed slightly and the center is no longer liquid but still quite wobbly — the filling will continue to cook and set after the pie is removed from the oven. Be careful not to overbake or the custard can separate; you definitely want to pull it out when there's still wobble in the custard. Allow to cool on a wire rack for at least 2 to 3 hours, until slightly warmed. Serve slightly warm — the pie will keep at room temperature for 1 day, and refrigerated for 2 days.