
When it comes to baking, I’m kind of a perfectionist. I keep all my ingredients in glass jars, using a professional label maker to tag them not only with their names, but also their conversions from cups to ounces. And when making layer cakes, I actually weigh each cake pan when dividing the batter to make sure that each layer is identical. I can go on and on about my crazy neuroses in the kitchen, but I think you guys get the idea (plus, I don’t really want to scare you anymore than I probably have).
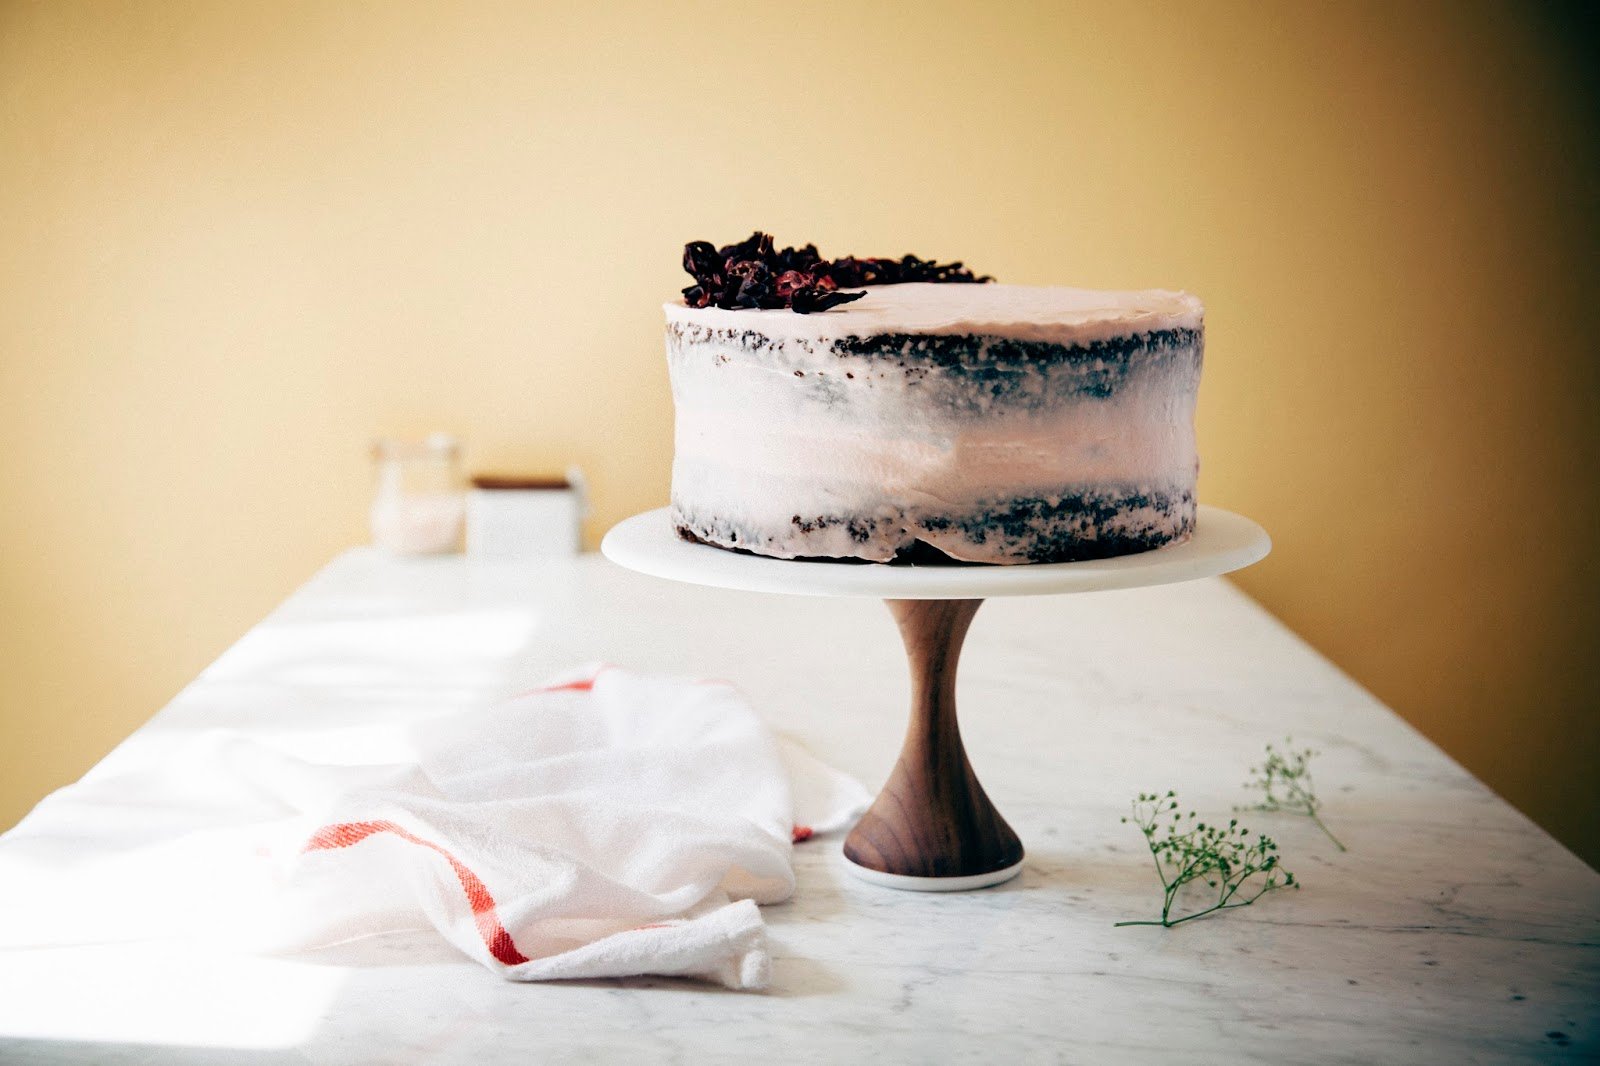
So it’s kinda weird that naked cakes have appealed to me for some time now. Naked cakes are pretty much the complete opposite of perfectionism. They’re rustic and messy, as naked cakes tend to be scantily frosted here and there, if at all. Because instead of hiding the cake’s layers, naked cakes proudly show them off. Each naked cake that I’ve seen is one-of-a-kind and absolutely beautiful.

This is the first time I’ve ever made a naked cake, so I actually had a little bit of a panic attack during the frosting process. Frosting the cake pretty much went against all my perfectionist tendencies. Because how do you actually judge when a naked cake is finished? How much frosting is too much frosting, exactly? Or did I use too little? Ohgodohgod.
But here’s the thing — there aren’t any hard and fast answers to that question. A naked cake is finished when you think it’s finished. There’s no right or wrong.
All you need is your favorite cake and a sturdy, hearty frosting.
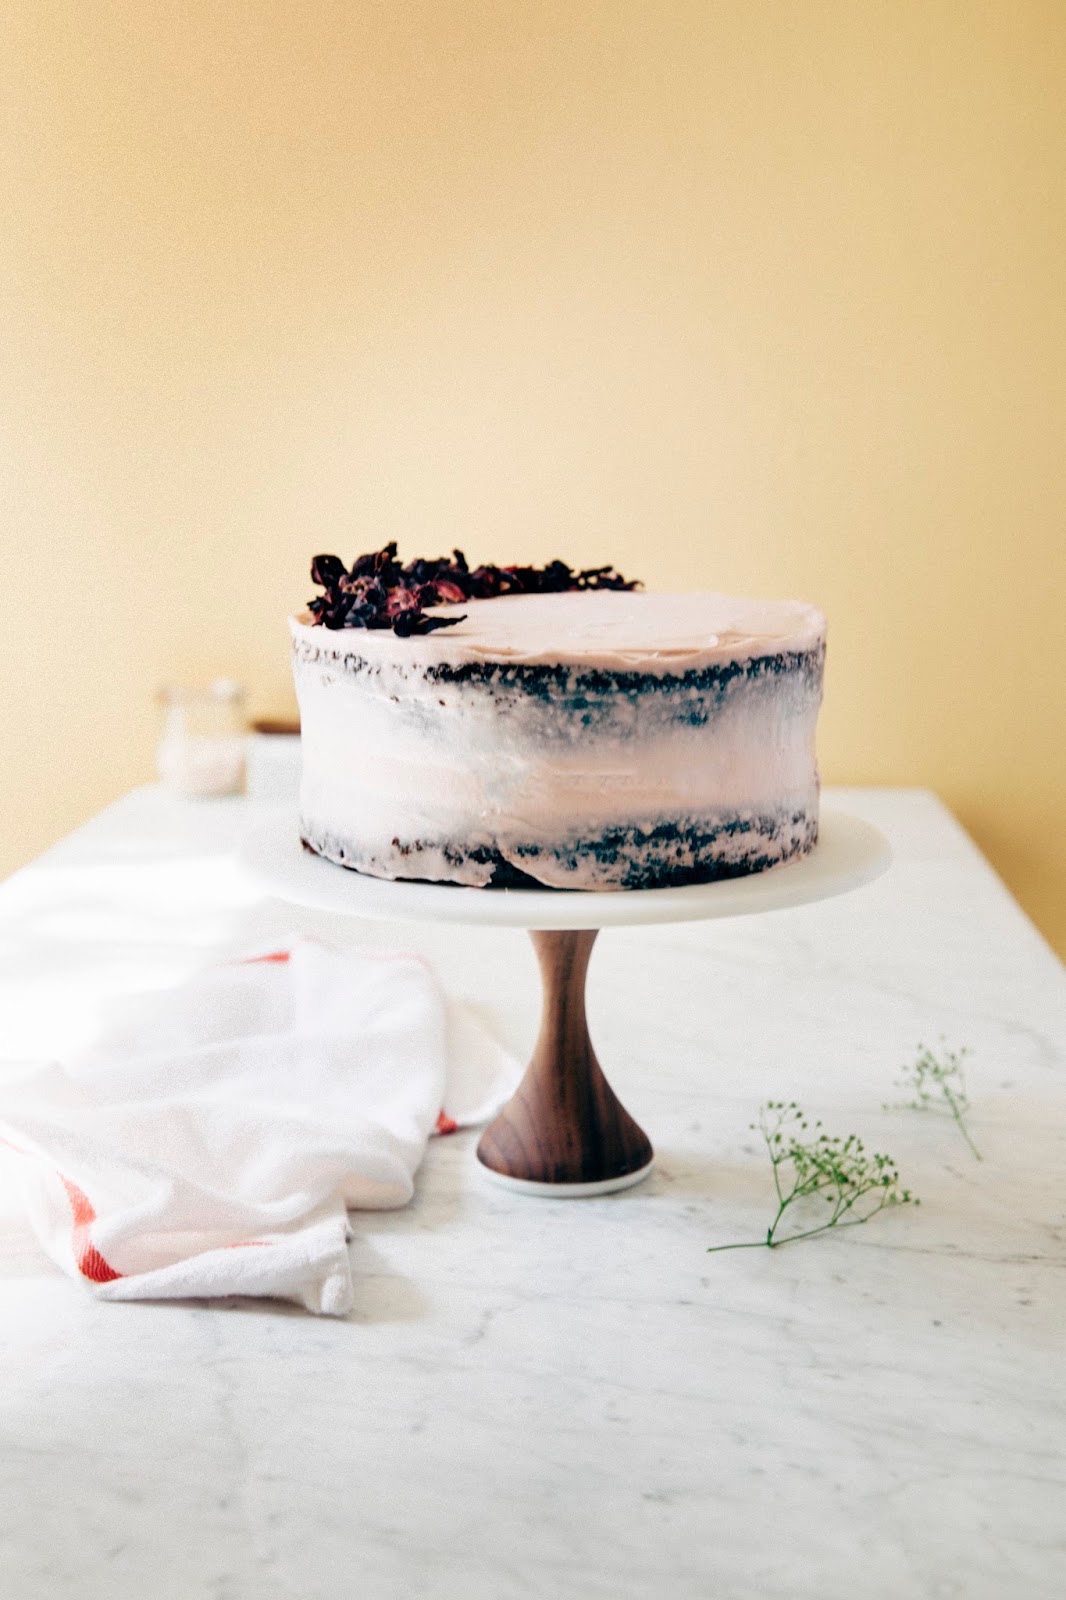

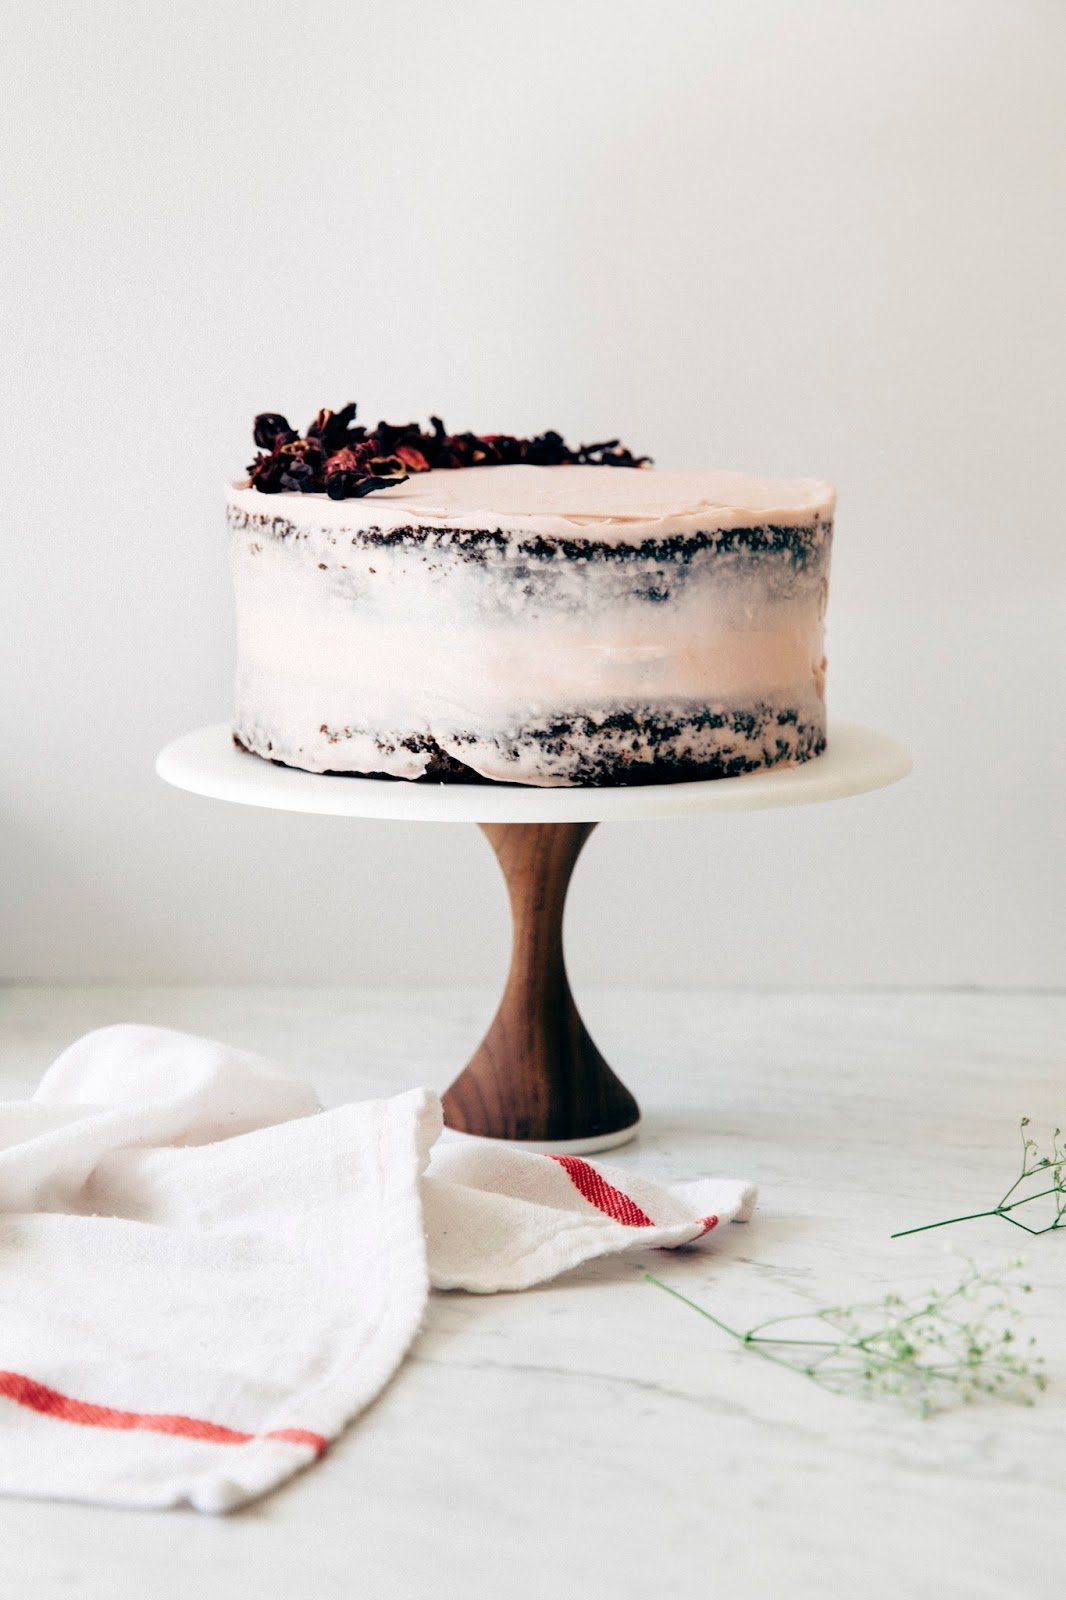
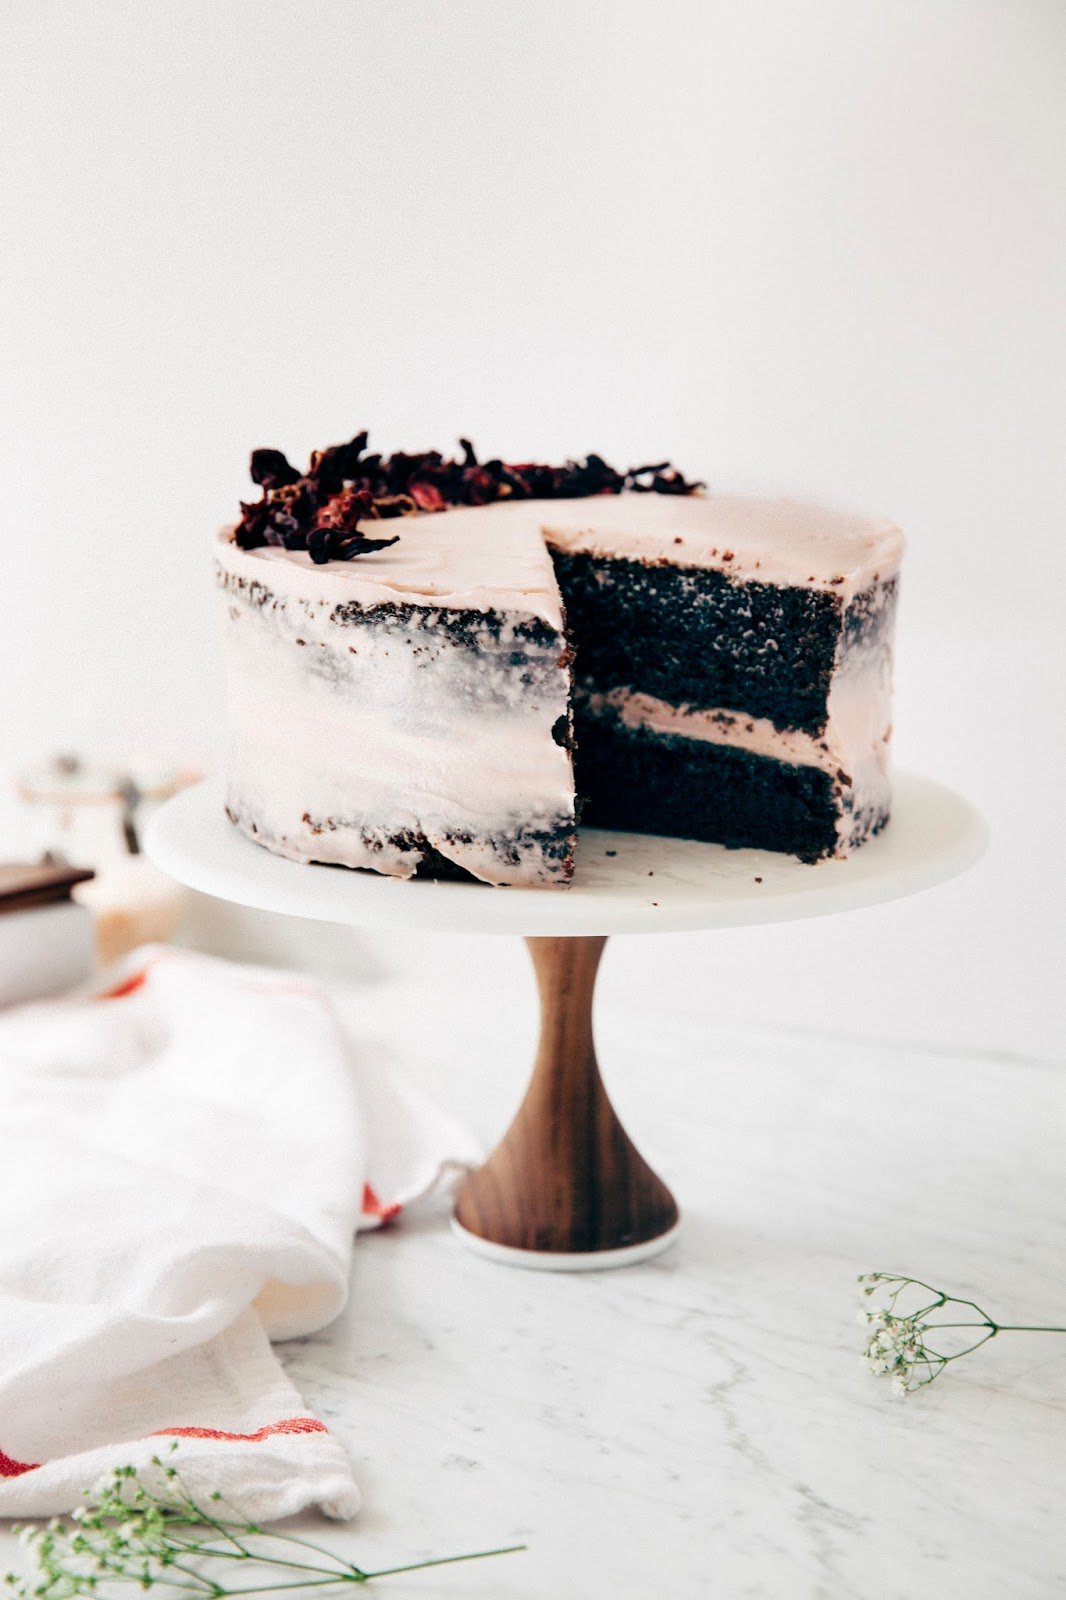
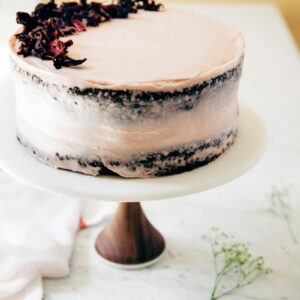
Which is what I’ve got for you folks today. The cake recipe, adapted from one originally by Ina Garten, is one of my all-time favorites and my go-to recipe for chocolate cake. I’ve always paired it with a chocolate frosting in the past (complete with a perfectly smooth frosting job), so this time I went for something completely different. Today’s cake is adorned by a cream cheese frosting that’s been infused with hibiscus tea to give it that pretty pale pink color, as well as adding a citrusy tart tang to the frosting.
And of course, what good is a cake without a pretty cake stand to put it on? The featured cake stand is from AHeirloom, a small Brooklyn-based company run by a husband-and-wife team that produces pretty housewares like the cake stand seen in my pictures, cutting boards shaped like your favorite state, and the prettiest cocktail muddlers I ever did see. All of their pieces are the perfect combination of chic and rustic, making them timeless entertaining pieces or the modern home. Oh! And almost all their products can be personalized in any way, making them perfect presents — I mean, how cute would any of these cutting boards be with a custom message? Cough, exactlywhatiwantforchristmas, cough cough.
So without further ado, I’m giving away a custom AHeirloom cake stand to one of my lucky readers! The winner can customize their own cake stand with their own personal engraving, as well as choose between a maple and walnut finish, and between a thick or thin base. Use the widget below to gain contest entries by leaving a comment on this post, or by following Hummingbird High and/or following AHeirloom on Instagram. If you already follow me or AHeirloom on Instagram and want to enter the giveaway, you’ll still need to confirm that you do via the widget. The giveaway ends 10/27/2015 and is only open to U.S. or Canadian residents.
Thank you to AHeirloom for sponsoring this post by providing the compensation to make it happen, as well as this pretty cake stand for one of my readers. All thoughts and opinions are my own, and I love supporting small businesses like AHeirloom that make such high-quality, gorgeous products. And finally, thank YOU for supporting Hummingbird High and all my sponsors!
Some baker’s notes:
-
- Dried hibiscus petals are usually found Hispanic and Latin American supermarkets, and sometimes in the international section of a grocery store. In a pinch, you can always use a loose leaf tea with hibiscus (I like the hibiscus teas from Smith Teamaker), but the frosting probably won’t be as vibrant. Feel free to boost with a couple of red drops of food coloring, but yeah… that’s kinda cheating. So if all else fails, you can always find them online.
-
- The chocolate cake is super delicate and loosely crumbed, so it’s important to refrigerate the cakes for at least 2 hours before frosting. Do NOT skip this step, or your naked cake will be super spotty with crumbs. There’s also a risk of parts of the cake breaking off. Just warning you now. Chill it.
-
- It will seem like you don’t have enough frosting to frost the cake, but that’s kinda the point! It’s naked, so I only made enough frosting to scantily clad the cake. If you’re a traditionalist and want a full frosting job, the recipe doubles or triples easily.
- Depending on how much tea you end up adding to the frosting, you may need some additional confectioners’ sugar. Feel free to add up to an additional 1/2 cup of confectioners’ sugar to create a thicker, heartier frosting.
Get the Recipe: A Naked Hibiscus Chocolate Cake
Ingredients
For the Chocolate Cake
- 1 3/4 cups (8.75 ounces) all-purpose flour
- 2 cups (14 ounces) granulated sugar
- 3/4 cup (2.25 ounces) unsweetened cocoa powder
- 2 teaspoons baking soda
- 1 teaspoon baking powder
- 1 teaspoon kosher salt
- 1 cup (8 ounces) buttermilk
- 1/2 cup (4 ounces) vegetable oil
- 2 large eggs, at room temperature
- 1 teaspoon pure vanilla extract
- 1 cup (8 ounces) freshly brewed hot coffee
For the Hibiscus Cream Cheese Frosting
(makes around 2 cups, enough for a scantily-frosted cake)
- 1/2 cup (4 ounces) water
- 2 tablespoons dried hibiscus flowers
- 8 ounces cream cheese, at room temperature
- 1/2 cup (1 stick // 4 ounces) unsalted butter, at room temperature
- 3 1/2 cups (14 ounces) confectioner’s sugar, sifted (see baker’s notes)
- a pinch of kosher salt
Instructions
For the Chocolate Cake
- Preheat the oven to 350 (F). Prepare two 8 inch round cake pans by spraying generously with cooking spray and lining the bottom of each pan with parchment paper circles. Spray the top of each parchment circle and set aside.
- In the bowl of a freestanding electric mixer fitted with a paddle attachment, combine 1 3/4 cups all-purpose flour, 2 cups granulated sugar, 3/4 cup unsweetened cocoa powder, 2 teaspoons baking soda, 1 teaspoon baking powder, and 1 teaspoon kosher salt. Mix on low speed until thoroughly combined.
- In a separate medium bowl, combine 1 cup buttermilk, 1/2 cup oil, 2 eggs, and 1 tablespoon vanilla. Whisk together gently until just combined.
- With the mixer on its lowest speed, slowly add the wet ingredients (from the 3rd step) to the dry ingredients (from the 2nd step). Add 1 cup hot coffee. Continue stirring on low speed until just combined, before stopping the mixer and using a heatproof rubber spatula to scrape the bottom and sides of the bowl and mix into the batter. The batter will seem really liquidy, but again, this is normal.
- Pour the batter into the prepared pans and bake in the preheated oven for 35 to 40 minutes, until a skewer inserted into the center of each cake comes out with a few crumbs and the tops of each cake bounce with a spongelike texture when poked gently with your finger. When the cakes are ready, remove from the oven and let the cakes cool in the pans on a wire rack for 30 minutes, before turning out to cool. Remove parchment paper and allow the cakes to cool completely to room temperature.
- Once the cakes are cooled to room temperature, wrap each layer in plastic wrap. Transfer to the refrigerator and chill for at least 2 hours before frosting.
For the Hibiscus Cream Cheese Frosting
- First, make the hibiscus tea. Bring 1/2 cup water to a boil in a small pot over high heat. Once the water is boiling, remove from heat and immediately add 2 tablespoons dried hibiscus flowers. Steep for at least 10 minutes — the longer you steep the tea, the darker your frosting will be. Take care not to get any of the tea on your clothes! It stains like crazy. After steeping, strain out the hibiscus flowers and discard.
- In the bowl of a freestanding electric mixer fitted with a paddle attachment, beat together 8 ounces cream cheese and 1/2 cup unsalted butter on medium speed for around a minute, until fluffy and well combined. Gradually add 3 1/2 cups confectioner's sugar a quarter cup at a time until fully incorporated. Add a pinch of kosher salt, and beat on high speed for at least a minute. Lower the mixer to its lowest setting and slowly drizzle in the hibiscus tea one tablespoon at a time until the mixture is a pale pink. The more tea you add, the more flavorful and colorful the frosting will be.
Hi! I made this cake for when I visited my mom. She absolutely loved it! I did end up steeping the hibiscus for a lot longer than 10 minutes to really get some color into the frosting. I’m also not sure what happened, but with the measurements in this recipe, I had way too much frosting, enough to frost maybe two two layer cakes!