So I think I’ve bitten off more than I can chew.
I’ve never been a spontaneous person. Take my blog, for instance. Every Wednesdays and Saturdays, I post. Essentially, what I have is an editorial calendar. For a blog. I know it sounds ridiculous, but I’ve never been the sort of person to get up in the morning and think, “Wow, today is the day I’m going to whip up a batch of eclairs!” Because I know the truth — I need to plan ahead in advance since eclairs take time, something that I’m almost always short of these days.
I know that having an editorial calendar is not the sexiest way to describe blogging, especially considering that a big part of why I get hooked on other bloggers — whether they be food, fashion, or home-improvement bloggers — is because I’m incredibly charmed by the sort of life they are leading. There’s a lot of vicariously living through others going on when I scroll through my RSS reader. I mean, let’s talk about Manger. That damn blog! A drop dead gorgeous woman living in the French countryside, foraging for mushrooms and shopping at the local cheese shop with her kids and pups? Hooked. Or Nat the Fat Rat (erm, I guess she goes by Hey Natalie Jean these days) with her baby named Huck (oh my goodness the cute level here is like all the way up), perfect wardrobe and ability to pull off a wide brimmed hat? Why isn’t this my life? Why can’t that be me?!! Everything they do seems so picturesque and charmed, whereas I’m sitting here with a Google calendar assaulting me with iPhone reminders that I need to bake, photograph and write this and that.
To be fair, if I saw my blog as a third-party, objective outside viewer, I’d be somewhat impressed. It’s no French countryside or New York City skyscape, but I’d still think that I lived a pretty freakin’ charmed life full of sugar, reclaimed wood tables and vintage tableware. Mmm. How far from the truth that actually is.
Beautiful props aside, ever since getting back from my Eurotrip, I feel like I haven’t really re-found my step. I’ve been having difficulty juggling my social life, exercising, and creating content for this blog. My friend Sze Wa and I are also currently working on a holiday project (more details coming soon, I promise) that has essentially increased my baking/writing/photographing workload by tenfold. I haven’t kept a regular exercise schedule since I’ve been back and I haven’t seen my friends in what feels like weeks. Monday to Friday is filled with me grinding away at a messy and apparently exec-level problem at work, only to end with an exhaustive baking marathon each weekend as I try to keep up with the holiday project and regular content for this blog.
I feel like I’m drowning.
There are a few bits and pieces that have helped. For instance, a few weeks ago, a publisher contacted me to ask if I wanted a review copy of Jeff Hertzberg and Zoe Francois’s revised classic, Artisan Bread in 5 Minutes A Day. Would I be interested?
Heck yeah! I’ve been a big fan of Zoe’s blog, Zoe Bakes, for some time now. Additionally, fresh bread is one of those things that I love, love, love, but rarely ever make because I’ve always thought that bread making was a very time consuming and involved process. But this book takes a bit of an unconventional approach. Each recipe in the book creates a large batch of dough that you can store in the fridge and break pieces of to bake whenever you want fresh bread… almost like those tubes of cookie dough that you can buy in the supermarket that I’m crazy addicted to. Jeff and Zoe’s secret is that each recipe creates a very wet dough that keeps up for 2 weeks in the refrigerator. The high moisture content of the dough allows you to store it for longer periods of time and develop a sourdough flavor as it keeps.
What’s even better is that most of their recipes are no knead, which means I barely had to do any work for these donuts:
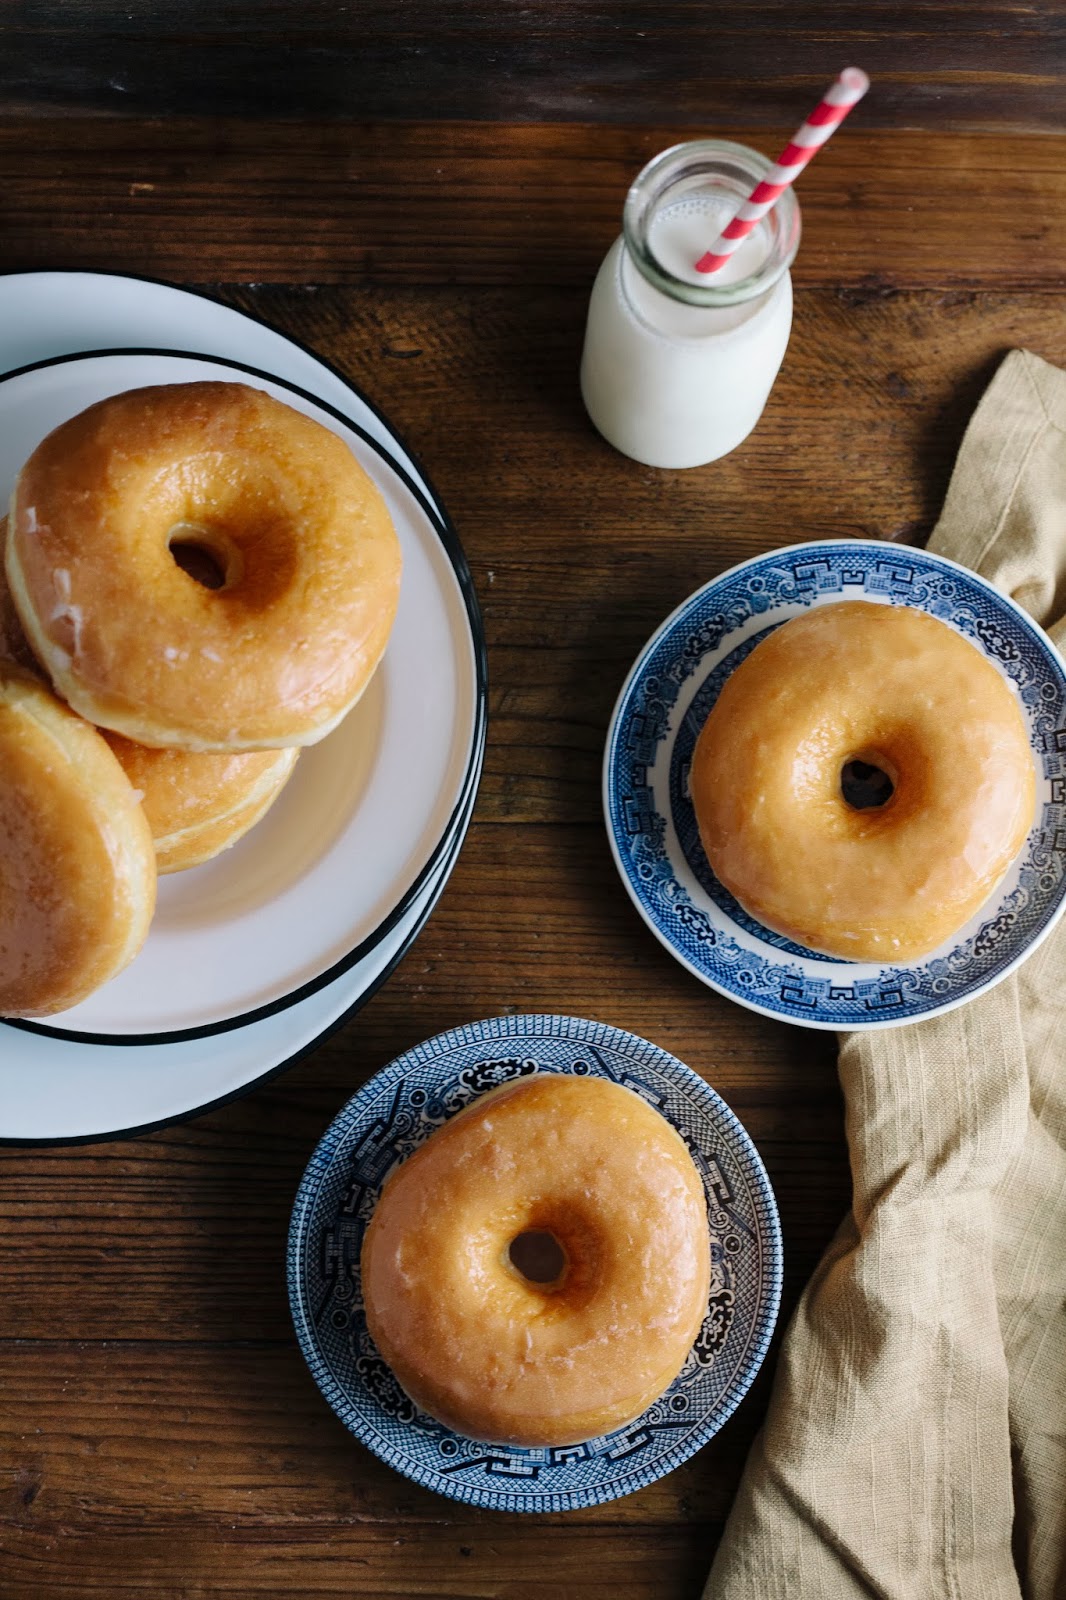
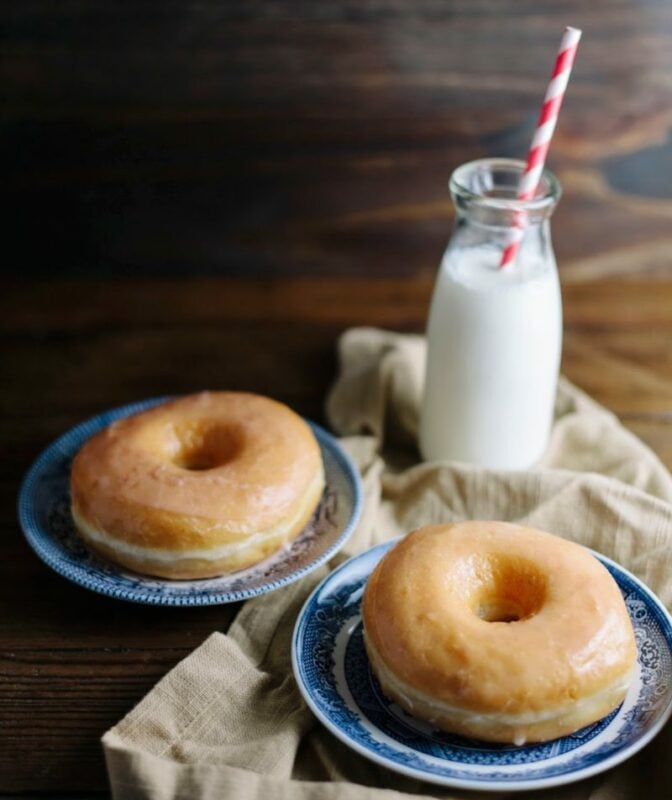
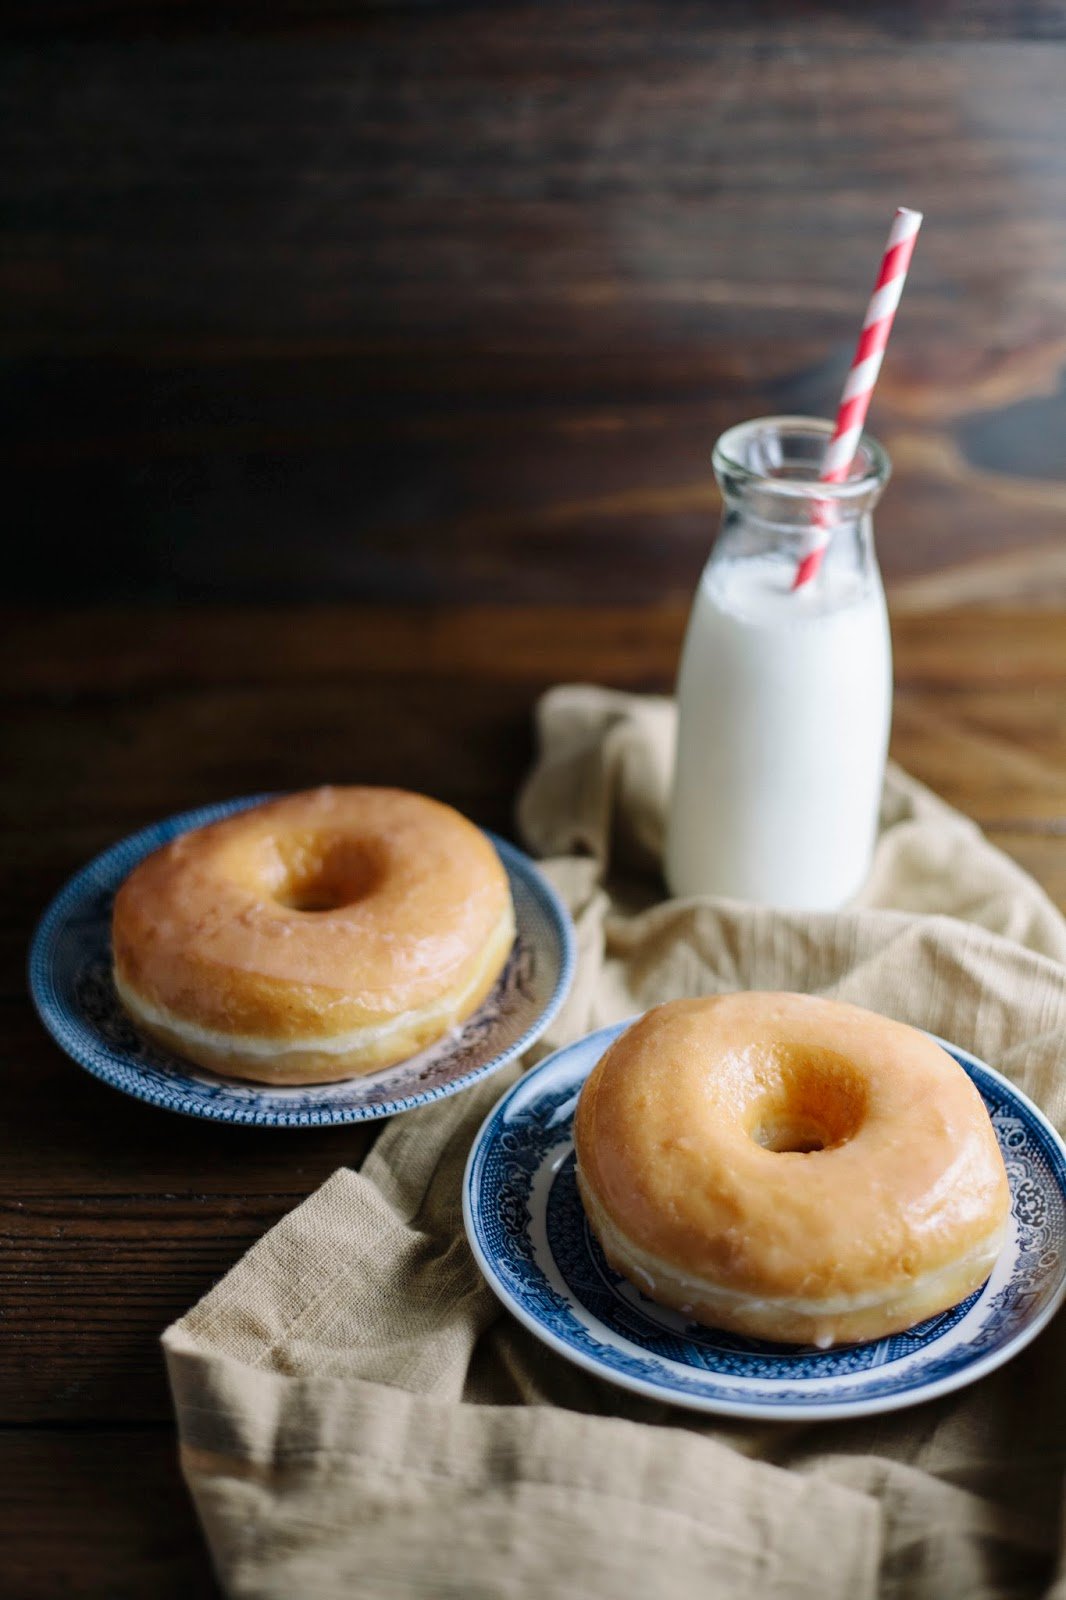
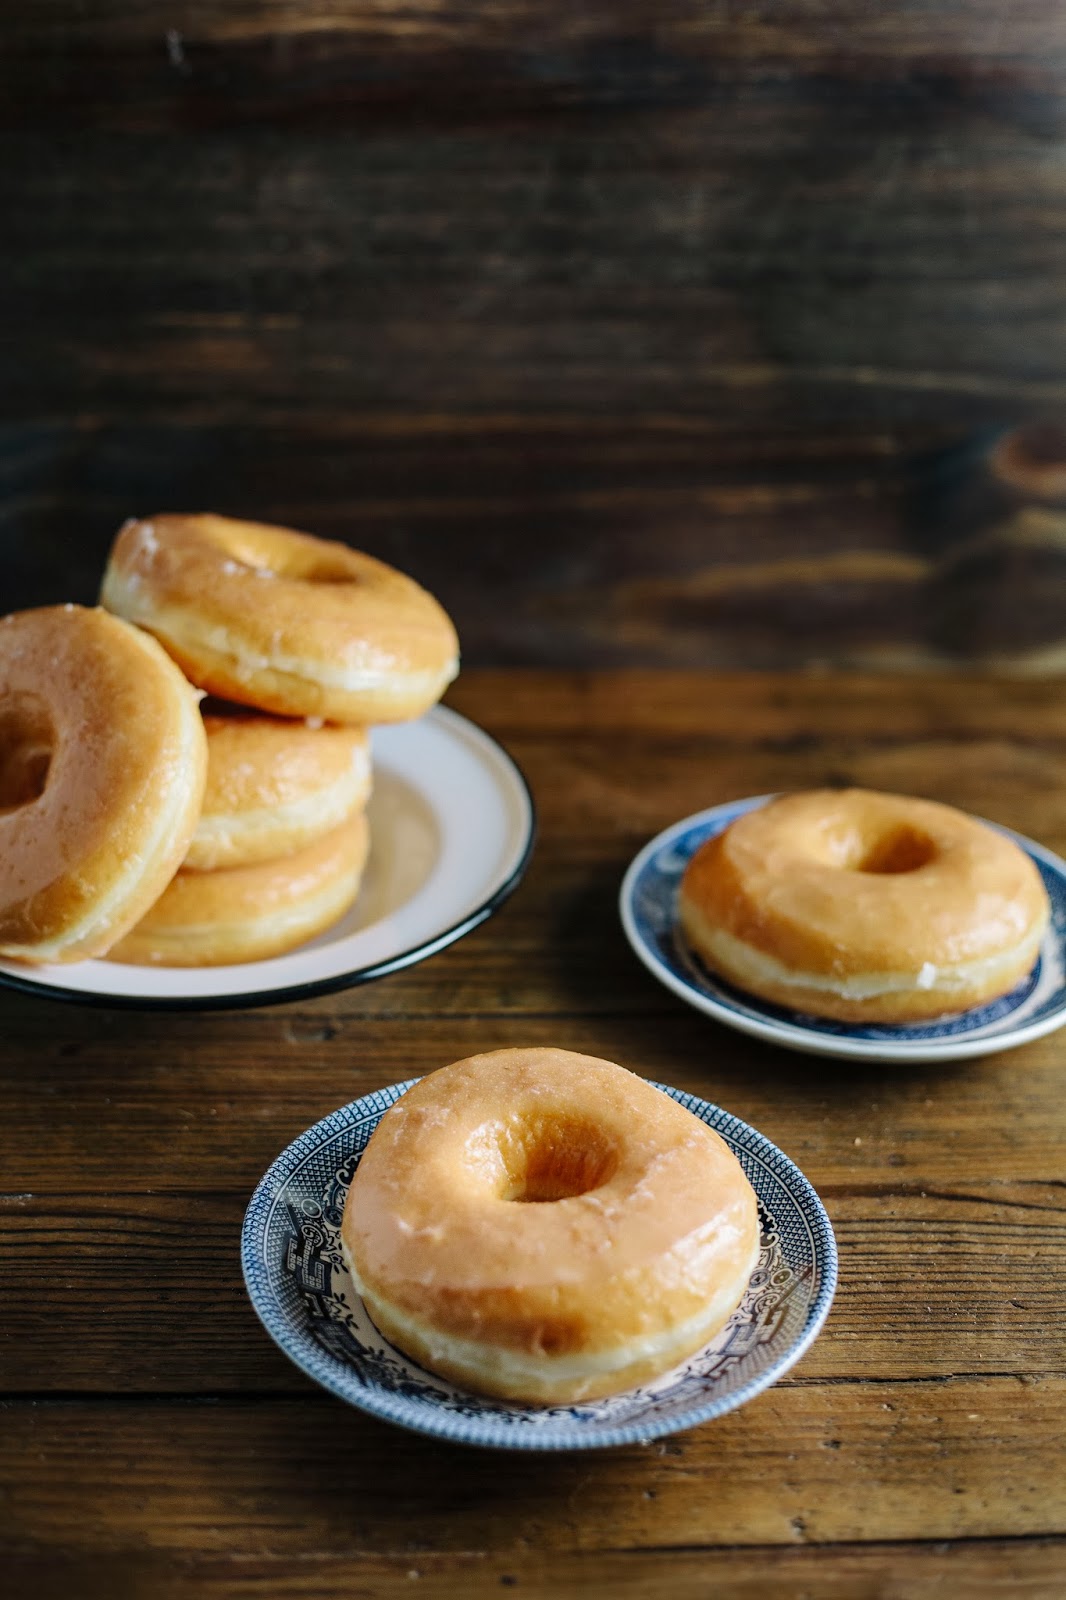
This recipe for donuts is based off their recipe for brioche in the cookbook. Although the recipe in the cookbook instructs you to shape the brioche in a loaf pan, I instead used a donut cutter to shape the dough into donuts and fried them up instead of baking. All in all, I think it only took about 10 minutes to make the dough itself, and then another 20 or so to fry up the donuts. It definitely helped me save some precious time and wasn’t as time consuming as the recipe for yeasted donuts that I’d previously tried.
As for the taste, the brioche is subtly flavored with honey, and produces a wonderful, buttery crumb when fried in a cast iron skillet. It’s everything a donut should be — light, fluffy and airy. To enhance the donut’s honey flavor, I dunked each donut in a bowl of honey glaze, which really brought out the honey flavor in the brioche’s crumb. Although the recipe produces about enough dough for three dozen sets of donuts, you can divide the dough into several portions and freeze it for up to two weeks. That way, you can have donuts almost every day for the next few weeks!
A few baker’s notes:
-
- Again, don’t panic if this recipe appears to make a large batch of dough. Simply freeze the excess dough you might have. Instructions for freezing are included in the recipe. To make a more manageable amount of donuts, divide the dough into three portions and freeze the rest. One portion of dough should make around six donuts.
-
- Remember that yeast is a living thing, so be nice to it. Don’t activate it by using boiling hot water — if the water is too hot, it will kill the yeast. Instead, be sure to use water that’s pleasant for a warm bath; you should be able to stick your finger in it and not scald yourself. I find that using water from the tap when it’s just starting to get warm is the perfect temperature for activating dough. I’ve also included the specific temperature in the recipe.
-
- The recipe requires you to roll out the chilled brioche dough before stamping out donuts. The dough may need to rest for about 10 minutes before you can roll it out easily. To get a bit more stretch in the dough, knead the dough for around 30 seconds by taking the ball of dough and folding it over on itself several times on a floured surface. It’s the only kneading you’ll need to do for this recipe.
- You don’t need a deep fryer to make donuts. I actually have a deep fryer, but prefer to use a cast iron skillet to fry donuts since I feel like it’s safer and easier to clean. Make sure your pot is deep enough to hold at least 2 inches of oil, with at least 2 inches of clearance from the top of the pot. You also don’t really need a candy thermometer, but it makes your life a lot easier if you’ve got one.


Get the Recipe: Brioche Donuts with Honey Glaze
Ingredients
For the Brioche Dough
- 1 1/2 cups lukewarm water, around 100 (F) or below
- 1 tablespoon active dry yeast
- 1 1/2 tablespoons kosher salt
- 8 large eggs, lightly beaten at room temperature
- 1/2 cup honey
- 1 1/2 cups (3 sticks) unsalted butter, melted
- 7 1/2 cups all-purpose flour
- vegetable oil, for frying (around 3 cups)
For the Honey Glaze
(makes enough for 6 donuts, quadruple if making 24 donuts)
- 1 1/2 cups confectioner's sugar, sifted
- 1 tablespoon honey
- 4 tablespoons whole milk
Equipment
- a 3-inch donut cutter, preferably with a 1-inch diameter hole (I used this Ateco cutter)
- a deep-fryer or a cast iron skillet (see baker’s notes above)
- a candy thermometer (I love my digital CDN one)
- a slotted spoon
- paper towels
Instructions
For the Brioche Dough
- In the bowl of a freestanding electric mixer fitted with a paddle attachment, combine 1 1/2 cups lukewarm water, 1 tablespoon active dry yeast, 1 1/2 tablespoons kosher salt, 8 whisked eggs, 1/2 cup honey and 1 1/2 cups melted unsalted butter.
- Sprinkle 7 1/2 cups all-purpose flour over the wet ingredients, before turning the mixer on to its lowest speed and mixing in the flour until just combined. You may notice lumps in the dough, but don’t worry — these will disappear in the finished product.
- Cover the bowl loosely with a flour cloth or a plastic wrap (it’s important to let this dough breathe a little, so your cover doesn’t have to be airtight) and allow the dough to rest at room temperature for 2 hours, before covering tightly with plastic wrap and refrigerating.
- The dough can be used as soon as it’s thoroughly chilled, at least 3 hours — it’s a little hard to work with when it hasn’t chilled properly, so be sure to chill it for as long as it needs to get it to firm up. You can refrigerate the dough for 5 days; after 5 days, divide the dough into 1-pound portions in an airtight container and transfer it to the freezer. The dough will keep for up to 2 weeks in the freezer. When using frozen dough, thaw in the refrigerator for 24 hours before using, before allowing the usual rest and rise times.
To Make the Donuts
- On frying day, dust the surface of the refrigerated dough with flour and use kitchen scissors to cut off a 1-pound portion. The portion should be around the size of a grapefruit. Dust the portion with more flour and quickly shaping it into a ball by stretching the surface of the dough around to the bottom on all four sides, rotating the ball a little bit as you go.
- Roll the dough into a 1/2-inch thick rectangle on a lightly floured surface. Using a 3-inch donut cutter, stamp out 3-inch diameter rounds with 1-inch diameter holes. Allow the dough to rest on a lightly floured surface for 15 minutes.
- Meanwhile, fill your deep-fryer or cast iron skillet with at least 3 inches of oil. Bring the oil to 360 (F) to 370 (F), as determined by the candy thermometer.
- Carefully drop your stamped donuts into the hot oil, two or three at a time depending on the size of your cast iron skillet. Be sure to leave plenty of room for the donuts to float to the surface. Do not overcrowd, or they will not rise nicely. Fry for 1 to 2 minutes per side, or until light golden brown. Remove with a slotted spoon, draining the donuts of grease on a plate lined with a paper towel, and let cool slightly before glazing.
For the Honey Glaze
- Place 1 1/2 cups confectioner’s sugar in a medium bowl and slowly whisk in 1 tablespoon of honey and 4 tablespoons milk. Continue whisking until you get a smooth, pourable glaze.
- Transfer the glaze to a shallow bowl and dip the tops of each donut into the glaze, before using a spoon to gently flip the donut to cover its bottom with glaze. Transfer to a wire rack over a baking sheet to catch any excess glaze drippings, before consuming immediately.
Great post!!!!! I loved it. AND YOU MADE DONUTS! just like we talked about. haha too funny.
Hi Michelle,
These doughnuts are so, so gorgeous! Thank you for giving the new book a spin, it is such a thrill to see what happens with the brioche in the hands of bakers! 🙂
Cheers, Zoë
Geez! These couldn't look more perfect. Now I am hungry.
Lovely!! I've used this dough to make doughnuts, but always rolled them in sugar – honey glaze sounds amazing. I'll have to try it soon.
What seriously lovely donuts! Gorgeous honey glaze as well.
Love the idea of these doughnuts; brioche is totally one of my favourite things to make and eat so eating it doughnut form sounds pretty perfect to me!
Michelle, I TOTALLY get what you mean. It seems insanely hard sometimes to balance a full-time job, exercising, a social life and putting together a quality blog. You seem to do it incredibly well. While you are admiring other blogs, I am always admiring yours. Your photos are gorgeous (I need you to be my tutor) and I'm constantly impressed with (and jealous at) how well you bake. Keep your head up, you're doing great things over there!
Aw thanks Erin! Hopefully we'll get to hang out soon at another blogger event.
Hey Michelle, for the record: your blog is pretty damn impressive! The photos are so fantastic and you make even the most complicated cake look simple to do (your baker's notes are such a help!)
And I'm right there with you on Manger, why can't we all live in Médoc and forage off the land?!
As someone who still has a baby blog and is trying to post more consistently, I'm actually *trying* to be where you are: scheduling when to post things, and creating an editorial calendar I can stick to! It's just perspective, right? 😉 Don't sweat it when things seems to have lost their luster, your donuts prove there's still so much inspiration to draw from!
Aw thanks so much!
Oh, I just found this, and I must make it ASAP!!! Since it is crazy-overload plum season here, I wonder how these would be as plum-sauce filled doughnuts…
Hi! Just started getting into baking due to lockdowns. Always wanted to make donuts and these look delicious! Can I use maple syrup instead of honey? Big fan of anything maple 🙂
Yes you can!
I know you said honey but do you mean liquid honey or creamed honey? I seen two recipes say this just want to make sure I get the right thing
Hi there,
I used liquid honey for this recipe.
hi I was looking to make these type of donuts what type of honey do you use? I would love to make your glaze for my donuts
I used liquid honey for this recipe; my favorite brand is from Jacobsen Salt Co: https://jacobsensalt.com/collections/jacobsen-co-honey
Hi. I’m an accomplished home baker. I made this recipe exactly as directed even weighed all my ingredients to make sure it was correct. I left the dough in the refrigerator for 2 days. When I took it out to make the donuts the dough was so incredibly sticky and soft it was impossible to form or roll. I tried immediately removing it from the fridge so that it was very cold. I really was hoping it would work due to the ease of the recipe. Unfortunately I wasted a lot of ingredients. Would love to have an insight or help you could offer as to what went wrong. Would be willing to try again if you have an suggestions.Thank you in advance.
I forgot t9 mention that I know it’s supposed to be soft but this was so soft it was not possible to work with it at all
I made this and had the same issue as Juliette.
I measured all ingredients by weight and refrigerated the dough for two days. The dough was basically soup when I removed it from the fridge.