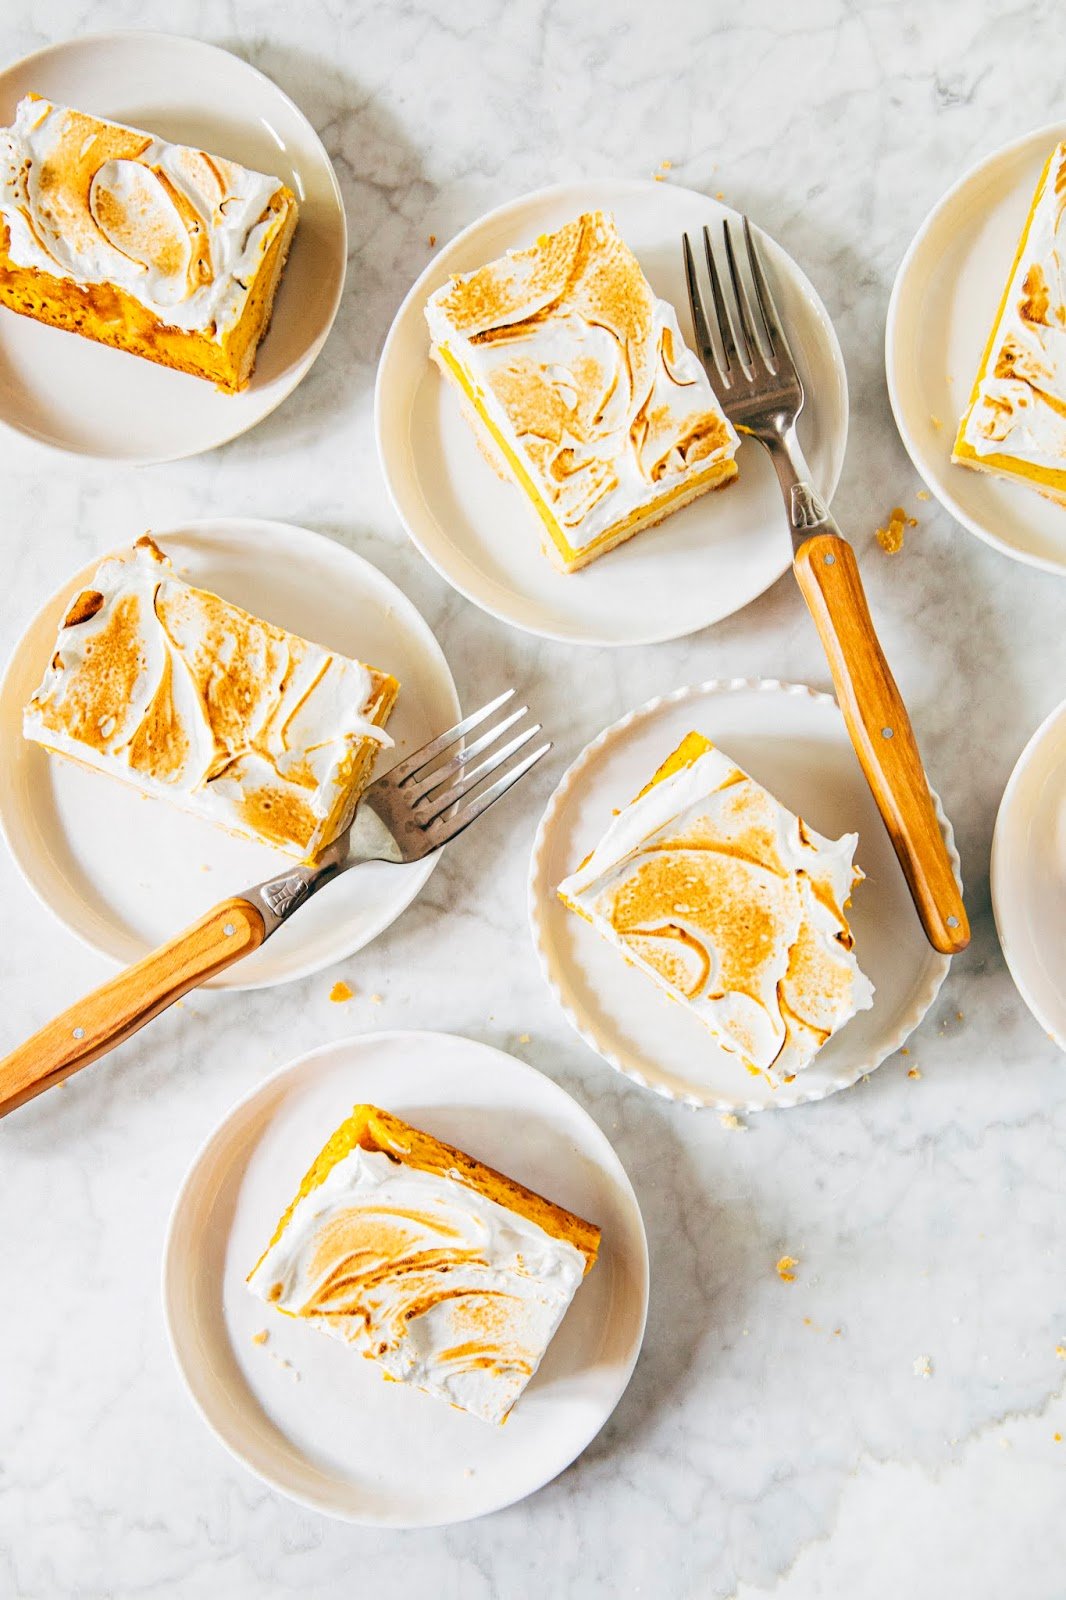
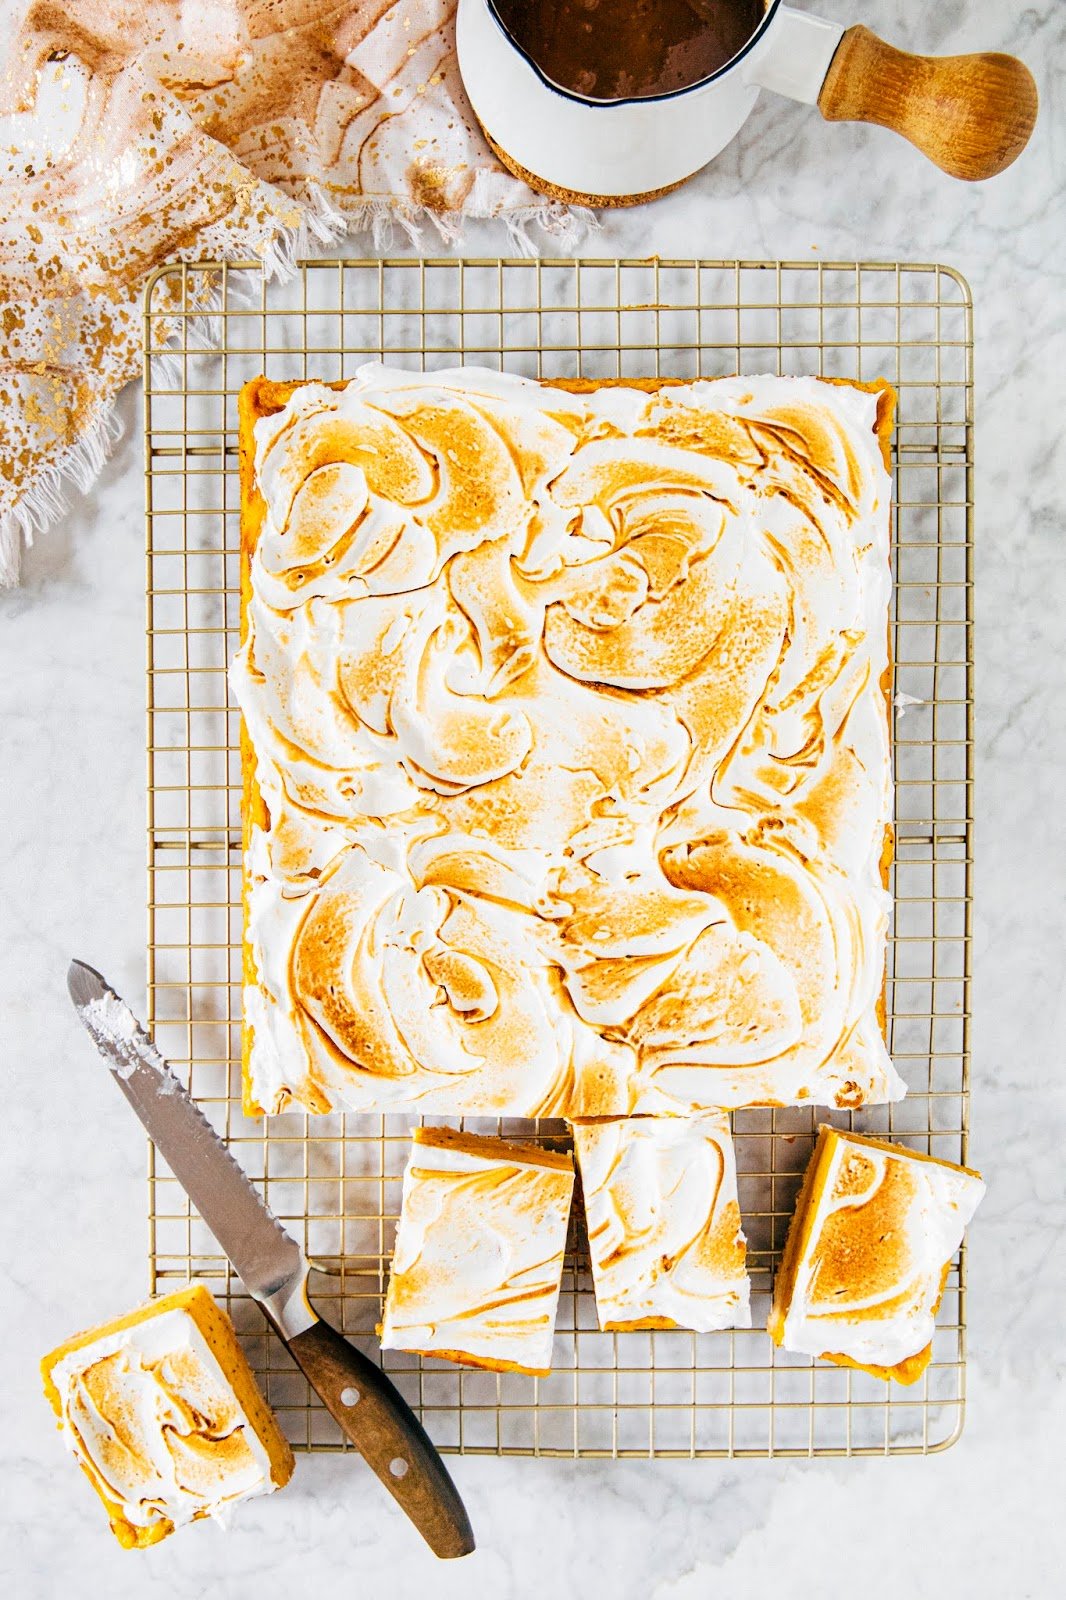
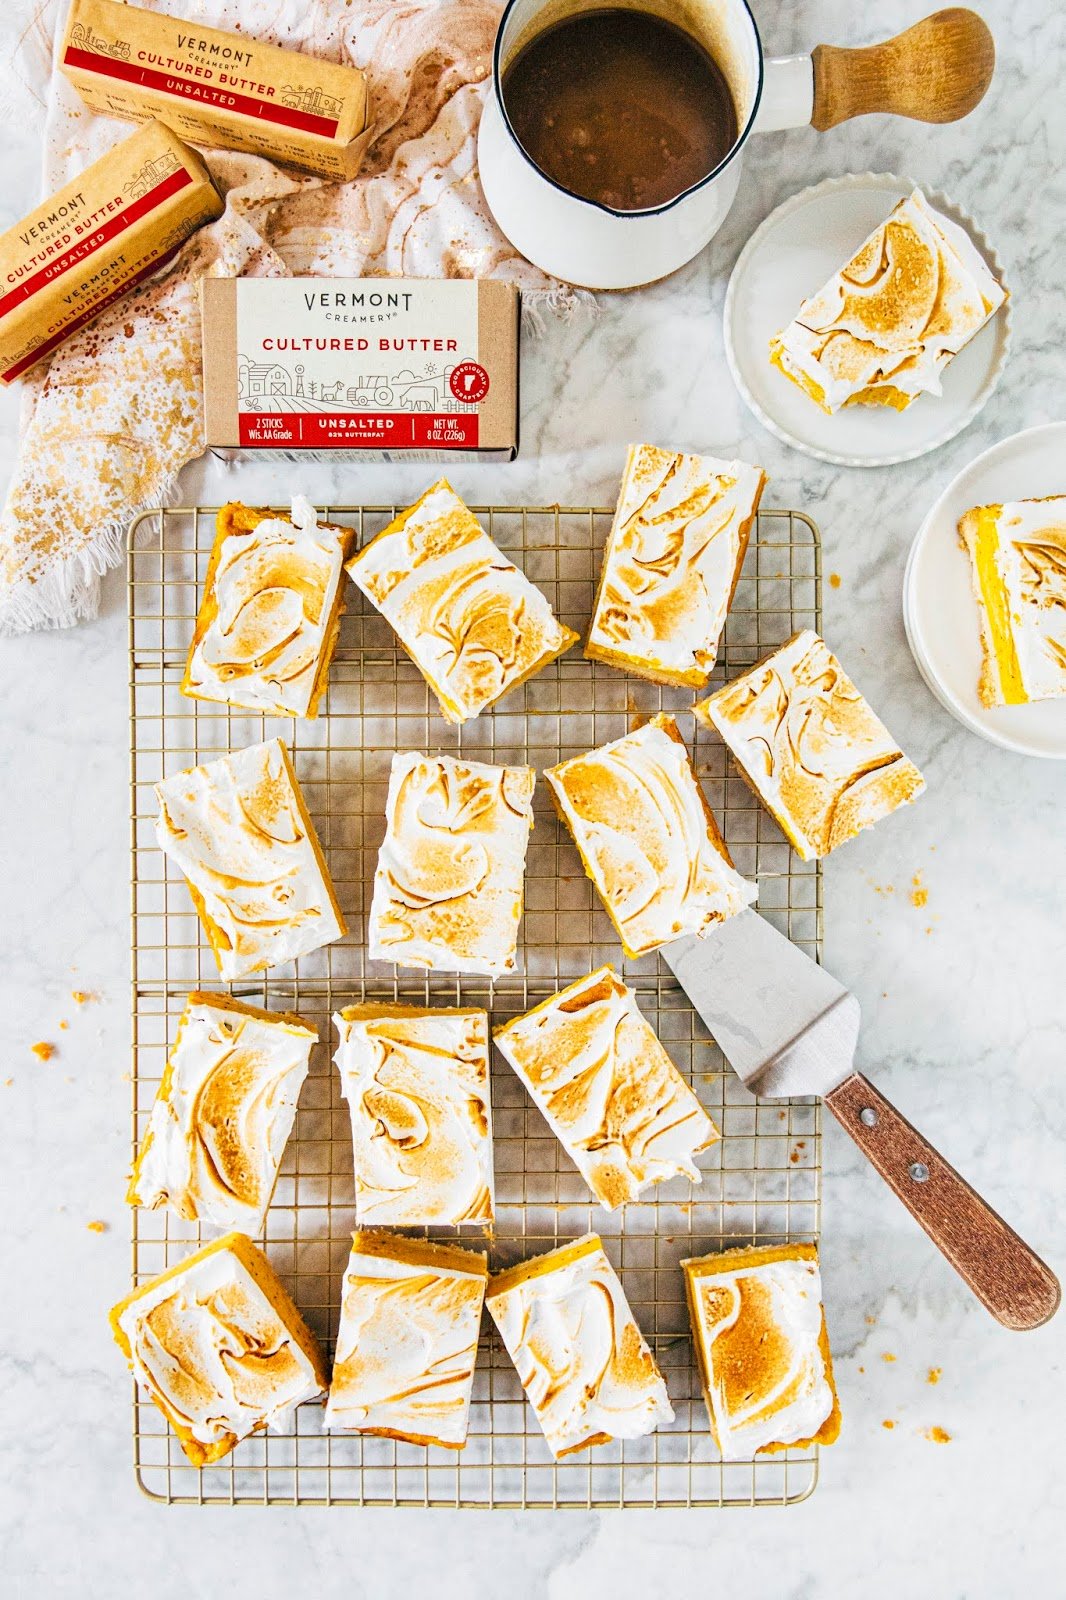
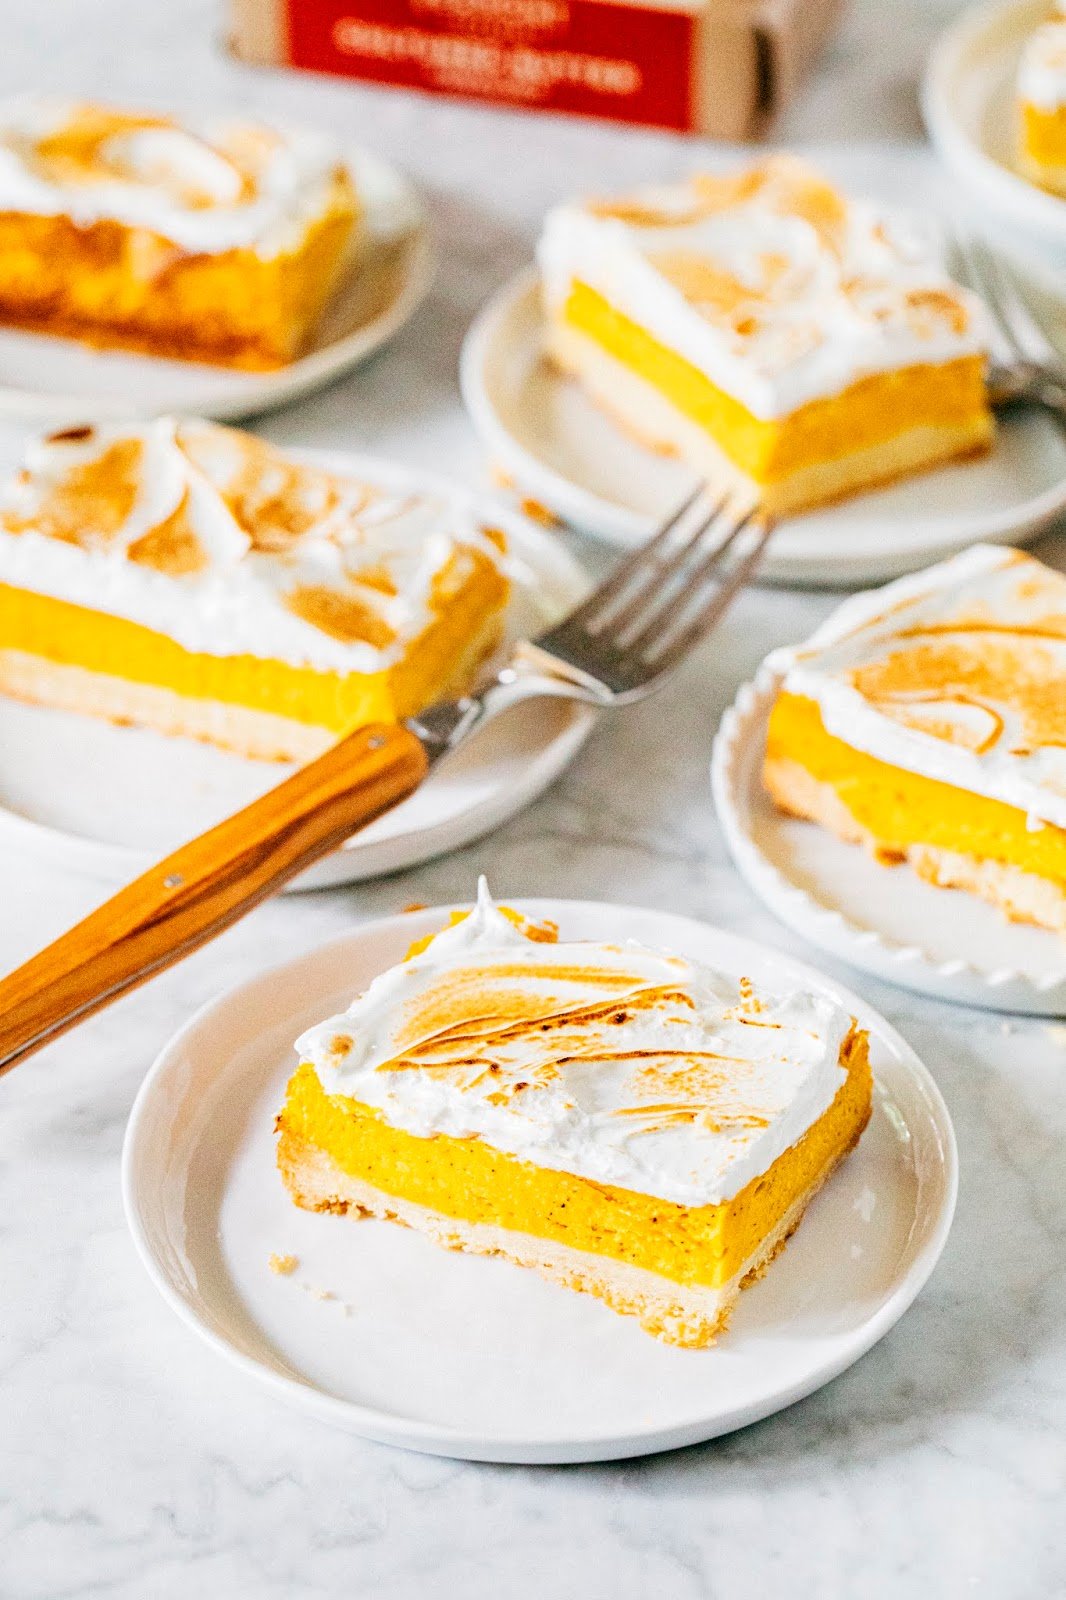
These brown butter sweet potato bars are the perfect Friendsgiving dessert: easy to transport, perfect for a crowd, and delicious to boot! The bars are topped off with a fluffy, marshmallow meringue and are on a brown butter shortbread cookie base made even more delicious with Vermont Creamery’s new cultured butter—jump to the recipe! As always, all thoughts and opinions are my own, and thank you for supporting the sponsors that keep Hummingbird High up and running!
What is Friendsgiving?
Historically, over the last few years, Erlend and I have celebrated Thanksgiving by ourselves. Both our families lived too far away—the flights were always too expensive and much too long for such a short holiday, and with Christmas and Hanukkah only a few weeks later, it was better to save up our limited PTO time for then.
As a result, we made our own Thanksgiving traditions. We started by celebrating with just the two of us, whipping up epic meals with non traditional, Asian-themed dishes like Chinese-style roasted duck, fish sauce brussels sprouts and rice cakes with caramelized potatoes and Korean gochujang sauce from the momofuku cookbook, and pumpkin coconut egg tarts and matcha cream pie. We had fun, but still—it was a lot of food for just the two of us!
Over the years, we invited other friends of ours—the ones also marooned by expensive flights and limited PTO—to our makeshift Thanksgiving meal. These friends would bring more traditional Thanksgiving offerings like green bean casseroles, mashed potatoes, and sometimes even a whole roasted turkey to our dinners. This year, as I looked around our table, I realized that our Asian-style Thanksgiving had fully evolved into an official Friendsgiving complete with a full turkey, stuffing, and all the Thanksgiving table trimmings.
So what is Friendsgiving? To me, it’s exactly what it sounds like: a Thanksgiving celebration, but with your friends instead of your family. Beyond that, Friendsgiving is what you make of it—it can happen instead of a traditional Thanksgiving with your family, or in conjunction with one (most folks celebrate Friendsgiving a week or so before the official dates of Thanksgiving itself). You can serve the traditional Thanksgiving table meal, or serve a menu of your choosing with a different centerpiece (ie, roast duck instead of turkey) like Erlend and I did in those early years. You can enlist friends to each bring a dish potluck style, or gather everybody early in the same kitchen to cook together. Because it’s a relatively new tradition, there are no rules—well, except one: share a wonderful meal in each other’s company. After all, your friends are the family you choose, right?
Friendsgiving Dessert Ideas
These days, our Friendsgiving celebration has evolved into more of potluck type situation. And being the baker of the group, I’m always assigned my favorite part of the meal: dessert.
And here’s the truth: bringing dessert to a potluck is more challenging than it seems. I’ve been burned in the past and brought something too finnicky and elaborate, or something that was too sensitive to temperature changes. I spent the entire car ride fretting nervously that it was going to collapse/melt on the way over and that we’d be left dessert-less (a legitimate worst case scenario for me). Honestly, it’s just not the worth the stress! Similarly, I’ve brought desserts that were too “fancy” and flavored with non-traditional flavors that barely went touched at the table. It turns out that, especially at Thanksgiving, people just want the comfort foods that remind them of home.
So here are my best tips for Friendsgiving desserts:
-
- Make a dessert that keeps well, with different components that you can make ahead.
I don’t know about you guys, but the holidays are ALWAYS the busiest time for me. There are work deadlines to meet, a ton of personal errands to run, and so on. The last thing I need to be doing is spending hours in the kitchen.So when I find myself strapped for time, I turn to recipes whose work I can divide up over a series of days to ensure that I’m only in the kitchen for a half hour at a time. What exactly does that mean? I take a complicated recipe like a pie, which would probably take around four to five hours to make consecutively, and split up the recipe steps: on the first day, I’ll make the crust (a 10-minute long project); on the second day, I’ll make the filling and assemble the pie (a 30-minute long project), and on the final day, I bake and serve the pie. This is actually the basis of my new cookbook, Weeknight Baking!
- Make a dessert that keeps well, with different components that you can make ahead.
-
- Make a dessert that can feed a crowd.
I don’t know if it’s just my friends or what, but I’m actually always surprised by how little mileage a regular 9-inch pie actually gets. We always end the night with barely enough slices for everybody, with folks competitively jockeying for seconds (true story: the winner of the last slice of pumpkin pie at last year’s Friendsgiving was determined by an arm wrestling match). As a result, I’ve started turning to “large format” desserts made in half sheet pans and 9 x 13-inch baking trays to ensure that there’s enough dessert for everybody.
- Make a dessert that can feed a crowd.
-
- Make a dessert that transports easily.
I mentioned this before, but it’s VERY important, especially if Friendsgiving is being held somewhere other than your house, to think about how well a dessert will hold up when being transported in a car, bus, or even subway ride (which I used to do all the time when I lived in New York City!). Avoid making layer cakes held together by airy and unstable toppings like whipped cream; avoid making desserts like souffle or ice cream, which are temperature sensitive and must be eaten immediately.
- Make a dessert that transports easily.
- Make a dessert that is “classic” and comforting.
The most crowd-pleasing desserts are always the ones with classic flavors like chocolate, salted caramel, brown butter, and more. They are classics for a reason!
With those Friendsgiving entertaining tips in mind, I have the perfect Friendsgiving dessert for you: Brown Butter Sweet Potato Squares.
Sweet Potato Pie… Kinda
These brown butter sweet potato squares were inspired by a classic Thanksgiving dessert: sweet potato pie. Think of it as sweet potato pie, but in bar form—their bar format makes them easier to transport and feed a larger crowd of people.
Although I came to close to dubbing these “sweet potato pie bars”, they’re definitely more “cookie bar” than “pie”. That’s because, instead of a traditional flaky pie crust, the bars are set on a brown butter shortbread crust. The shortbread crust is made with Vermont Creamery’s Unsalted Cultured Butter, which I love for its delightful tang and rich, silky notes of buttermilk and hazelnut. Their butter is made with only two ingredients—cream and cultures—and you can really taste how fresh and high-quality it is.
The bars are then topped off with a fluffy marshmallow meringue inspired by the sweet potato casseroles topped with mini marshmallows. For a show-stopping effect, I actually like to torch the meringue in front of my friends!
Best Sweet Potato Bars Recipe Tips
-
- At first glance, the recipe seems daunting: I’ve divided the work up into FOUR days. It’s a lot, I know, but there’s actually a TON of flexibility within the schedule, and most of the recipe time in inactive—that is, you’re just sitting and waiting for something to bake as opposed to prepping ingredients and making the dough/batter. The most time-consuming part of the recipe can be attributed to roasting the sweet potatoes; they officially take an hour to roast in the oven, but you’ll need to cool them with the oven too—this is the trick that gets them extra sweet and caramelized. You can roast the sweet potatoes up to 1 week in advance of making the shortbread crust and assembling the bars. If that still sounds like too much work for you, go ahead and replace the sweet potatoes with canned pumpkin puree! It’ll be just as tasty. You’ll need around 2 ⅔ cups for this recipe.
-
- Similarly, I instruct you to cool the bars and refrigerate them overnight before topping them with meringue and serving. This is because many of my friends preferred the bars chilled as opposed to fresh and warm from the oven—it’s the most classic taste/flavor they associate with Thanksgiving. But if you don’t mind being non-traditional, you can go ahead and serve the bars warm and save a day. Cool the bars on a wire rack for around 30 minutes before making the meringue and topping/serving the bars.
-
- Alternatively, if you want to make the bars all in one day, I suggest making the sweet potatoes first, then the crust. As the crust is in the oven, make the filling—once the crust is out of the oven, there’s no need to wait for it to cool before pouring the filling over the crust. Bake as instructed.
-
- Finally, if you want to wait another day and serve the bars a day after the meringue has been made and added to the bars, this works too. The meringue will keep overnight, but will lose some of its fluffiness. However, I wouldn’t torch them—instead, I highly recommend torching the meringue right before serving.
- To slice the bars cleanly, use a *hot* serrated knife. Bring a pot of water to boil and pour it into a tall, heatproof glass—stick the blade of the knife into the glass and wait 15 seconds. Wipe the blade off and slice the bars, repeating as needed.
Get the Recipe: Sweet Potato Bars Recipe
Ingredients
For the Roasted Sweet Potatoes
(makes enough for one 9 x 13-inch pan)
- 1 ½ pounds from around 4 medium-large sweet potatoes, scrubbed
For the Brown Butter Shortbread Crust
(makes enough for one 9 x 13-inch pan)
- 2 ¼ cup 10.15 ounce all-purpose flour
- ⅔ cup 2.65 ounces confectioners’ sugar, sifted if lumpy
- Pinch of kosher salt
- 1 cup 8 ounces Vermont Creamery Unsalted Cultured Butter
For the Sweet Potato Filling
(makes enough for one 9 x 13-inch pan)
- 1 cup 8 ounces heavy cream
- 2/3 cup 5.35 ounces Vermont Creamery Crème Fraîche
- ½ cup 4 ounces maple syrup
- 4 large eggs, at room temperature
- 1 ½ teaspoons ground cinnamon
- ¾ teaspoon kosher salt
For the Meringue Topping
(makes enough for one 9 x 13-inch pan)
- 4 large egg whites
- 1 cup 7 ounces granulated sugar
- ½ teaspoon pure vanilla extract
- A pinch of kosher salt
Equipment
- Special Equipment: Pie weights
- A food processor
- An instant thermometer, preferably digital (I use this one)
- A chef’s torch
Instructions
Day 1: Roast the Sweet Potatoes
- Prep Time: <5 minutes
- Work Time: 5 minutes
- Bake Time: 60 minutes
- Position a rack in the center of the oven and preheat the oven to 400 (F).
- Tightly wrap each sweet potato in a layer of aluminum foil and place on a parchment-lined half sheet pan.
- Bake for 60 minutes, or until the sweet potatoes can be pieced easily with a fork. Turn off the oven and leave the sweet potatoes inside to cool with the oven.
- Once at room temperature, place each sweet potato (still wrapped in the foil!) in an airtight container. Refrigerate until needed for the sweet potato filling (recipe below)—the sweet potatoes will keep in the refrigerator for up to 1 week.
Day 2: Make the Brown Butter Shortbread Crust
- Prep Time: 5 minutes
- Work Time: 15 minutes
- Bake Time: 30 minutes
- Position a rack in the center of the oven and preheat the oven to 350 (F). Lightly spray a 9 x 13-inch cake pan with cooking spray and line it with parchment paper, leaving a 2-inch overhang on the pan’s two long sides. Lightly spray the parchment, too.
- In the bowl of a stand mixer fitted with the paddle attachment, combine the flour, confectioners’ sugar, and salt. Beat on low until combined. Add the Vermont Creamery Unsalted Cultured Butter and beat on low until the dough clumps around the paddle and/or sides of the bowl, 2 to 3 minutes.
- Transfer the dough to the prepared pan and use a tart tamper or your hands to press it evenly over the bottom of the pan, all the way to the edges. Place a sheet of parchment over the dough and fill it with pie weights (in a pinch, use dried beans or uncooked rice). Bake for 30 to 35 minutes, until the crust is golden brown. Remove the pie weights and parchment. Cool the crust completely in the pan on a wire rack, then cover loosely with plastic wrap and store on the counter overnight.
Day 3: Make the Sweet Potato Filling, Assemble, and Bake the Bars
- Prep Time: 5 minutes
- Work Time: 10 minutes
- Bake Time: 35 minutes
- Position a rack in the center of the oven and preheat the oven to 350 (F).
- Once the oven is preheated, remove and discard the plastic wrap from the brown butter shortbread crust. Bake in the preheated oven for 10 minutes while you make the sweet potato filling.
- Make the sweet potato filling: remove the sweet potatoes from the refrigerator, remove and discard the aluminum foil. Place the sweet potatoes in the bowl of a food processor and add the heavy cream, Vermont Creamery Crème Fraîche, maple syrup, eggs, cinnamon, and salt.
- Process for 5 minutes, or until the sweet potatoes are completely mashed and you have a smooth mixture.
- Remove the shortbread crust from the oven and place on a wire rack. Immediately use a rubber spatula to scrape the sweet potato filling over the shortbread mixture, using an offset spatula to spread it evenly across the pan.
- Bake for 35 minutes, or until the filling is set but still slightly wiggly in the center. Cool completely on a wire rack, before covering with a loose sheet of plastic wrap and refrigerating overnight.
Day 4: Make the Meringue Filling and Serve (Finally!)
- Prep Time: 5 minutes
- Work Time: 15 minutes
- Whisk together the egg whites and sugar in a medium, heatproof glass bowl until combined.
- Place the bowl on top of a saucepan filled with 2 to 3 inches of simmering water and cook, over medium-high heat, until the mixture reads 170 (F) on an instant thermometer (if you don’t have a thermometer, cook the mixture until very warm), about 5 minutes.
- Remove from heat and immediately pour the mixture into the bowl of a stand mixer fitted with the whisk attachment. Add the vanilla and salt. Whisk on high until stiff peaks form, 5 to 7 minutes.
- Use a rubber spatula to scrape the meringue on top of the sweet potato filling, using an offset spatula to spread and swoop the meringue across the entire pan. Use a chef’s torch to gently toast the meringue; in a pinch, place the tray in the broiler and broil on high for 1 minute, watching carefully to ensure that it doesn’t burn.
- Serve immediately. Run a butter knife or an offset spatula along the edges of the pan and use the overhanging parchment as handles to lift the bars out of the pan and onto a cutting board. Use a hot serrated knife to slice into 20 rectangles, each about 2 ¼ inches wide and 2 ½ inches long, and serve. The bars are best the day the meringue is made, but can be stored in an airtight container in the refrigerator overnight.


