
This easy apple pie recipe uses a stand mixer to make the pie dough, very thinly sliced apples to speed up the baking process, and divides the work of the recipe up over a few days to ensure that you’re not stuck in the kitchen for hours at a time—jump to the recipe!

Easy Pie Recipes
If you’re a long-time reader of Hummingbird High, you should know by now that pie and I weren’t fast friends. In fact, quite the opposite—for many years, I hated making pie. I thought pie crust was a pain in the butt to make, especially with all the chilling and re-chilling of the dough. Worst of all, the pie lattices and designs that I always worked so hard on usually came out ugly and shrunken! What gives.
But determined to be a better baker, I decided that I would teach myself how to make a good pie no matter what. I embarked on a year long project that I dubbed #humhipieamonth, in which I made a resolution to bake a different kind of pie every month. I tried a ton of different pie doughs and fillings, and learned many new tips and tricks along the way.
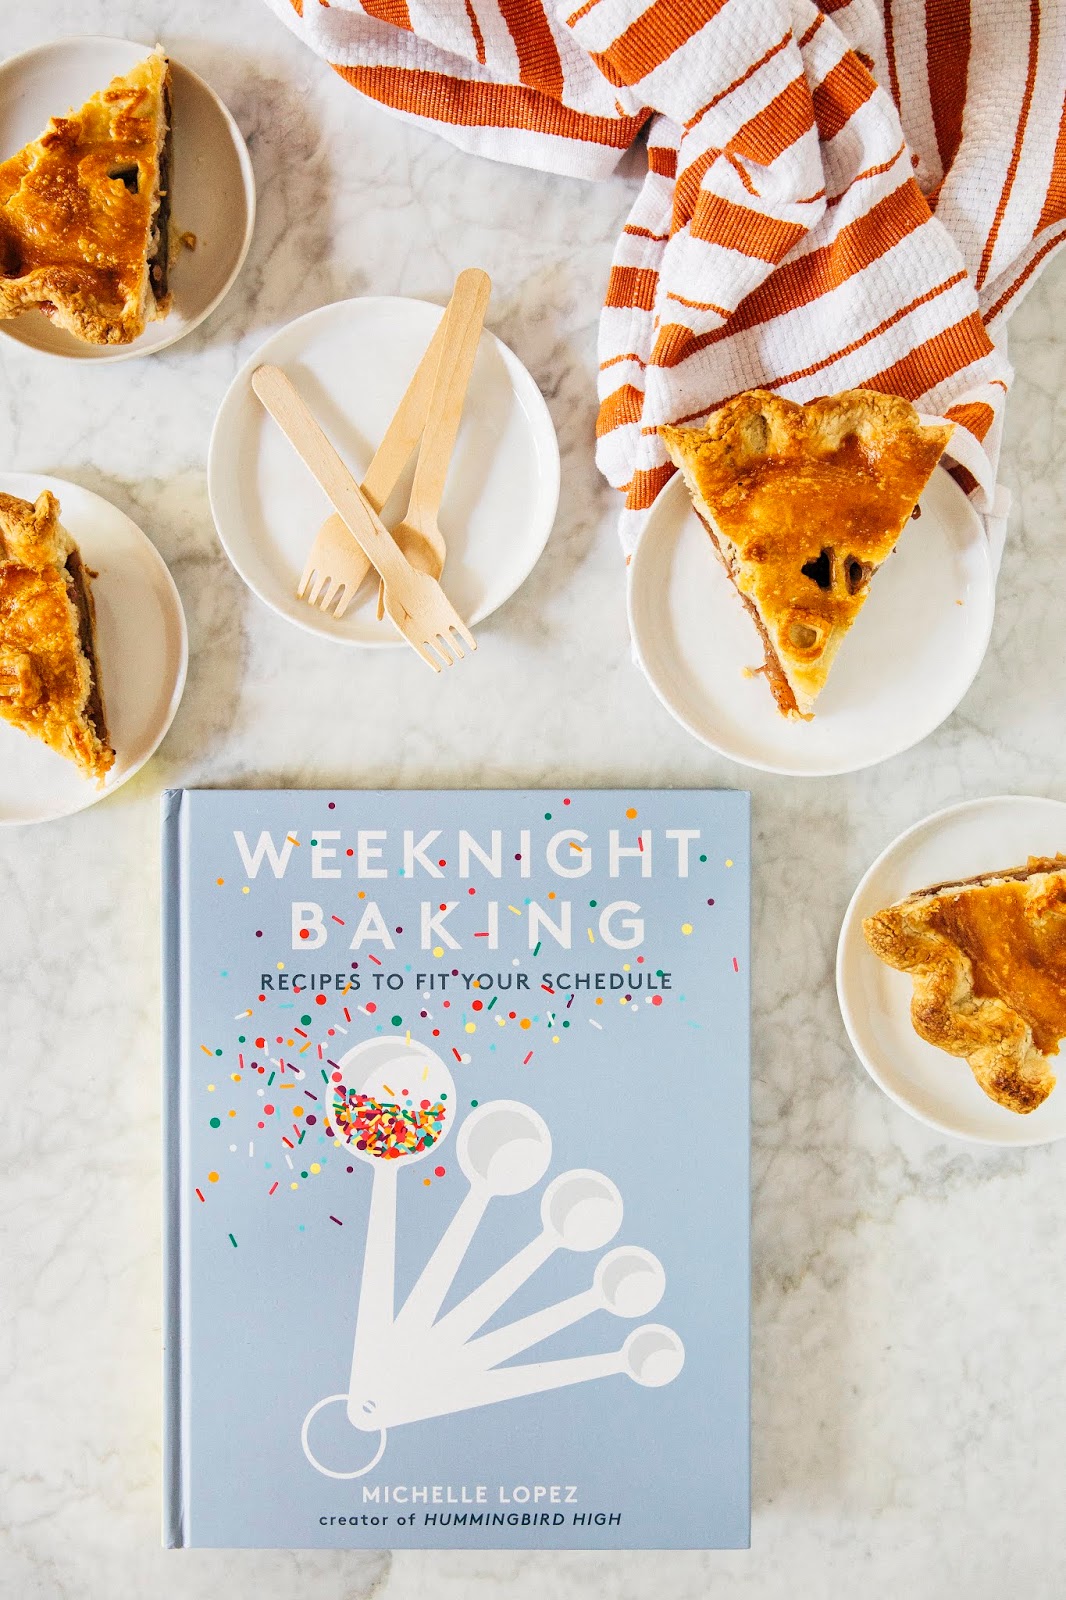
Fast forward to now: my first cookbook, Weeknight Baking, is coming out at the end of the month and is filled with recipes for desserts and baked goods that anybody can make on a weeknight hopefully without too much fuss (learn more here!). I knew that the book would be incomplete without a pie chapter, but let’s be honest—most pies are weekEND projects and tend to take hours at a time because of the nature of the pie making process. How on earth can pie be a weekNIGHT recipe?
Well, you start with a good pie dough recipe.

Easy Pie Crust
On paper, pie dough is a simple recipe. It requires only a handful of ingredients—flour, butter, and some kind of cold liquid (usually water), with a few teaspoons of sugar and salt for flavor. The difficulty comes in execution. To bring the dough together, all the ingredients must be kept cold. Most pie recipes instruct you to make pie dough in the following ways: using your hands to rub cold butter into flour, using a pastry cutter or two knives to “cut” the cold butter, or using a food processor to do so.
Unfortunately, the first two methods are time-consuming and messy—and the longer you take to blend the butter into the dry ingredients, the warmer your dough will be (leading to a pie dough that’s difficult to work with—that’s why many recipes instruct you to chill the dough for at least a few hours afterwards). Using a food processor is faster, sure, but it’s easy to overwork the butter into the pie dough (leading to a flat, dense, crust) since it’s hard to tell what’s going on, and it doesn’t eliminate the need for you to knead the dough together afterwards.
What if I told you there was a better way?
In Weeknight Baking, I instruct you to make your pie dough using a STAND MIXER. After chilling the ingredients for five minutes or so, you throw everything into the stand mixer and mix it on low speed like you would a cookie dough. It takes less than 5 minutes to come together and eliminates TONS of mess and work. Furthermore, unlike a food processor, a stand mixer allows you more control and visibility as the dough comes together—no flat, dense crusts here folks!

Homemade Apple Pie
The following apple pie recipe is based off the “Any Kind of Fruit Pie” recipe in Weeknight Baking. In the book, you can use the recipe to make a pie out of whatever fruit you happen to have on hand!
For today’s blog post, I used apples (it is October after all, prime apple season in Oregon). Some folks like to peel their apples before baking them into a filling, but I find that unnecessary—I like the texture and flavor the peel adds to the pie. My only advice is to core the apple (you can do this by using an apple slicer and corer like I did—well, technically, I think that’s a pear corer but they do the same thing, really—or use a sharp chef’s knife to do so), cut it into quarters, and then slice each quarter into ⅛-inch thin slices. Thin slices help the filling cook faster in the oven, helping prevent soggy-bottomed pie crusts and saving you time in the kitchen.
Be sure to read my recipe tips below to learn more time-saving tips and techniques from my upcoming book, Weeknight Baking. If you like what you read, be sure to pre-order the book—I go into MUCH more detail about the hows and whys of pie making there! Also, to see me make this pie in real time, head over to my Instagram account @hummingbirdhigh where I’m doing a demo of this recipe in Instagram Stories and a giveaway of some of my favorite pie making ingredients by Vermont Creamery. If you already pre-ordered a copy of Weeknight Baking, please send a copy of the receipt to michelle+VCPO@hummingbirdhigh.com to win a care package of my favorite fancy butters and other yummy baking ingredients from Vermont Creamery. The giveaway will end next Wednesday, October 9th—good luck!

Easy Apple Pie Recipe Tips
-
- Making pie is a time consuming process because the pie dough needs to be chilled after making and before rolling it out, then again after being rolled out and assembled into pie. You cannot skip this process—room temperature dough will stick to your counter and rolling pin, and if you do manage to wrestle it into the pie pan, it will likely melt and lose its shape during the baking process. Because of this constant resting and chilling, it’s rare that I make a pie from start to finish in one day. I’ve divided the recipe up over the course of 3 days to reflect this—it may seem like a lot, but I promise you’re only going to be in the kitchen working for 15 minutes at a time. If you INSIST on making this pie all in one day, you can rest the dough in the refrigerator for an hour, then freeze the assembled pie for at least 4 hours before baking.
-
- The first day, in which you make the pie dough, is the least intensive—it will take you around 10 minutes to make the pie dough and prep it for chilling overnight. Because it only takes 10 minutes, I suggest preparing the fruit for the apple pie filling at this time too. Prepping the apples is the most time consuming part of the recipe; you’ll need to core, then slice them very thinly according to my method above. You can store the sliced apples with the lemon juice in the recipe overnight in the refrigerator in an airtight container or ziptop bag; alternatively, you can toss the prepared apples with the rest of the filling’s ingredients (essentially making the filling) and store the entire thing overnight too. Don’t worry too much about your apples browning—they’ll lose their color in the oven anyway!
- Unlike my other recipes where I include weight measures for volume measures over 1 tablespoon, I don’t include weight measures for the apple in this recipe. Why? The weight of the fruit will vary significantly depending on the type of fruit you use, what season it is, and other factors. This is one of the few recipes where it makes sense to go by volume!

Get the Recipe: Easy Apple Pie Recipe
Ingredients
For the Double-Crust Stand Mixer All-Butter Pie Dough
- 6 tablespoons 3 ounces very cold water
- 1 tablespoon apple cider vinegar
- 1 cup ice
- 1 cup 8 ounces very cold unsalted butter
- 2 ½ cups 11.25 ounces all-purpose flour
- 1 tablespoon granulated sugar
- 1 teaspoon kosher salt
For the Easy Apple Pie Filling
- 4 ½ cups fresh apples, cored and cut into ⅛-inch slices (from about 4 to 5 medium-large apples—see baker’s notes)
- 1 tablespoon freshly squeezed and strained lemon juice
- ½ cup 3.5 ounces granulated sugar
- ¼ cup 1 ounce cornstarch
- pinch of kosher salt
For the Egg Wash
- 1 large egg
- 1 teaspoon water
Instructions
Day 1: Make the Pie Dough and Prep the Apples
- In a large liquid measuring cup, whisk together the water and vinegar. Add the ice and whisk. Refrigerate while you prep the rest of the ingredients.
- Cut the butter into 1-inch cubes and place them in a small bowl. Freeze while you prep the rest of the ingredients.
- In the bowl of a stand mixer fitted with the paddle attachment, combine the flour, sugar, and salt. Beat on low until just combined, about 15 seconds. Add the butter all at once and beat on low until the mixture has the texture of coarse meal, with pea-sized pieces of butter throughout, about 3 minutes.
- Remove the ice water mixture from the refrigerator. With the mixer on low, add 6 tablespoons of liquid from the ice water mixture. Beat on low for 2 to 3 minutes, or until the dough clumps around the paddle and/or the sides of the bowl. If the dough seems too dry, add more liquid from the ice water mixture 1 teaspoon at a time.
- Tip the dough out onto a lightly floured counter with the spatula. Quickly knead the dough into a rough ball. If making a double-crust pie, divide the dough in half with a bench scraper and shape each half into a rough ball (each should weigh about 11 ounces). Wrap each portion tightly in plastic wrap and flatten into a small disc. Refrigerate overnight.
- Next, prep the apples. Start by coring one apple and cutting the fruit into four quarters. Slice each quarter into ⅛-inch slices. Repeat until you have 4 ½ cups worth of fruit. Toss with the lemon juice and transfer to an airtight container or ziptop bag and refrigerate overnight.
Day 2: Make the Pie Filling and Assemble the Pie
- Make the filling: Remove the apples from the refrigerator and transfer to a medium bowl. Add the sugar, cornstarch, and salt and toss to coat.
- Make the pie crust: Remove one of the dough discs from the refrigerator and place on a lightly floured surface. Use a rolling pin to roll it into a 10- to 11-inch circle. If the dough is too hard to roll out, give it a few whacks with your rolling pin, rotating the disc after every whack to ensure that it's flattening evenly. Use cookie cutters to stamp out shapes in the dough to create ventilation for the filling. Freeze while you work with the second disc of dough.
- Remove the second dough disc from the refrigerator and follow the instructions above to roll it into a 10- to 11-inch circle. Transfer the dough circle onto your pie plate to make the bottom crust. Use a rubber spatula to scrape the apple pie filling into the bottom crust, spreading the filling evenly across the pan.
- Remove the top crust from the freezer and carefully transfer to the bottom crust, centering over the filling. Use kitchen shears to trim off any dough overhanging over the edge of the pie plate, leaving 1 inch of overhang. Fold the overhanging dough onto itself, aligning the edge of the dough to the inner edge of the pie pan. Pinch along the fold all the way around to create a crimp. Dust your fingers with flour. Take your thumb and press it into the folded overhang, using your thumb and index finger on the opposite hang to pinch around your thumb and create a crimp. Repeat, crimping the dough around the entire pan, flouring your hands as necessary to prevent the dough from sticking. Cover loosely with plastic wrap and freeze overnight.
Day 3: Bake the Pie
- Once the pie is frozen solid, position a rack in the lower-third of the oven and preheat to 375 (F). Line a sheet pan with parchment paper. Make an egg wash by whisking together the remaining egg white and water.
- Remove the pie from the freezer and place on the center of the sheet pan. Working quickly, use a pastry brush to brush the top of the pie with the egg wash.
- Bake in the preheated oven for 60 to 70 minutes, or until the fruit filling is bubbling slowly in the center. Cool completely on a wire rack before slicing and serving. The pie will keep at room temperature, under a cake dome or a large bowl turned upside down, for up to 1 day. After 1 day, cover loosely with plastic wrap and refrigerate for up to 2 more days.
I couldn’t find the recipe for My cherry pie recipe for Thanksgiving yesterday, and was stressing big time, because that’s my kid’s favorite dessert!
Scrolling through recipes online, I found THIS recipe! Once I realized the ingredients were at the bottom of the page, it was very easy, and it passed the taste test with MORE than 5 stars, replacing my old recipe!!!
Thank you, Hummingbird, for such a great pie recipe!!
Hi! What apples did you use? What other apples do you recommend?
I used honeycrisp apples, but really, you can use whichever baking apple you prefer! This list from Bon App has a roundup of good varieties of baking apples: https://www.bonappetit.com/test-kitchen/cooking-tips/article/the-3-best-apples-to-use-for-baking
Your recipes are perfection and I truly appreciate the superior detail. Would the pie crust work using shortening rather than unsalted butter? Same method if so?
Yes, same method should work for shortening!