
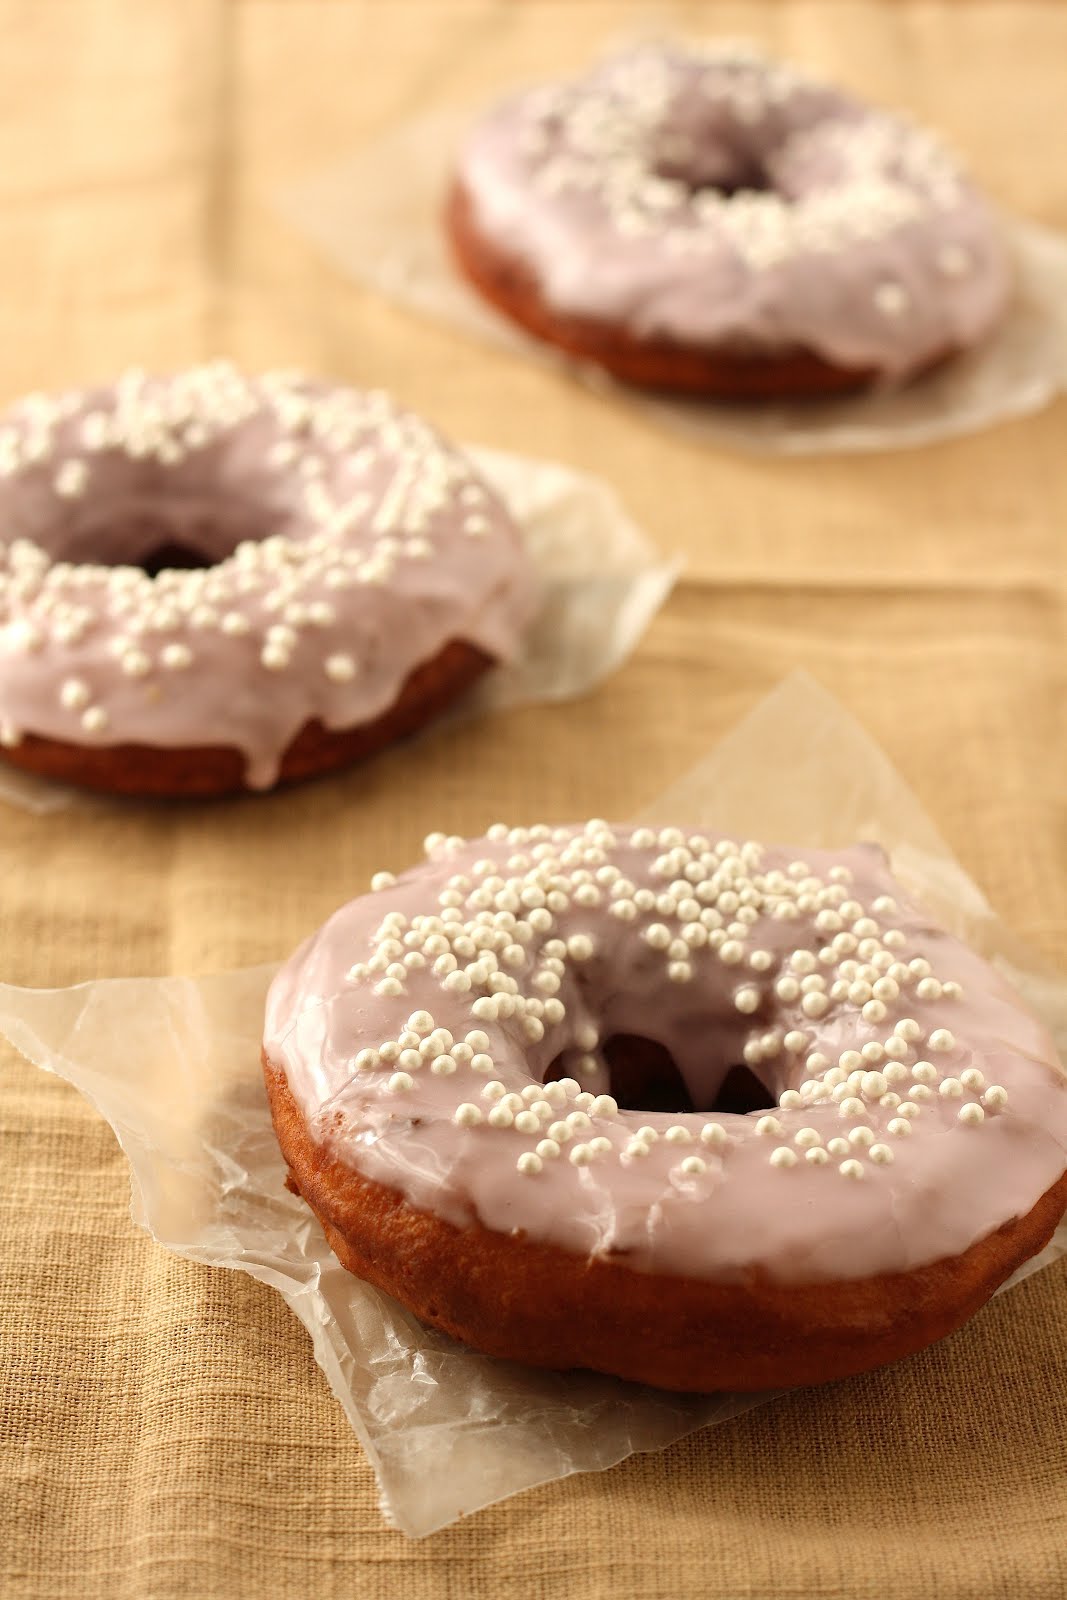
I’ve been in a bit of a blogging funk lately, feeling a little bit uninspired and having trouble coming up with recipes. While I’m normally excited to bake, I spent this weekend hemming and hawing. I knew I needed to try a new recipe to get back into the blogging groove. And nothing cheers me up like donuts:
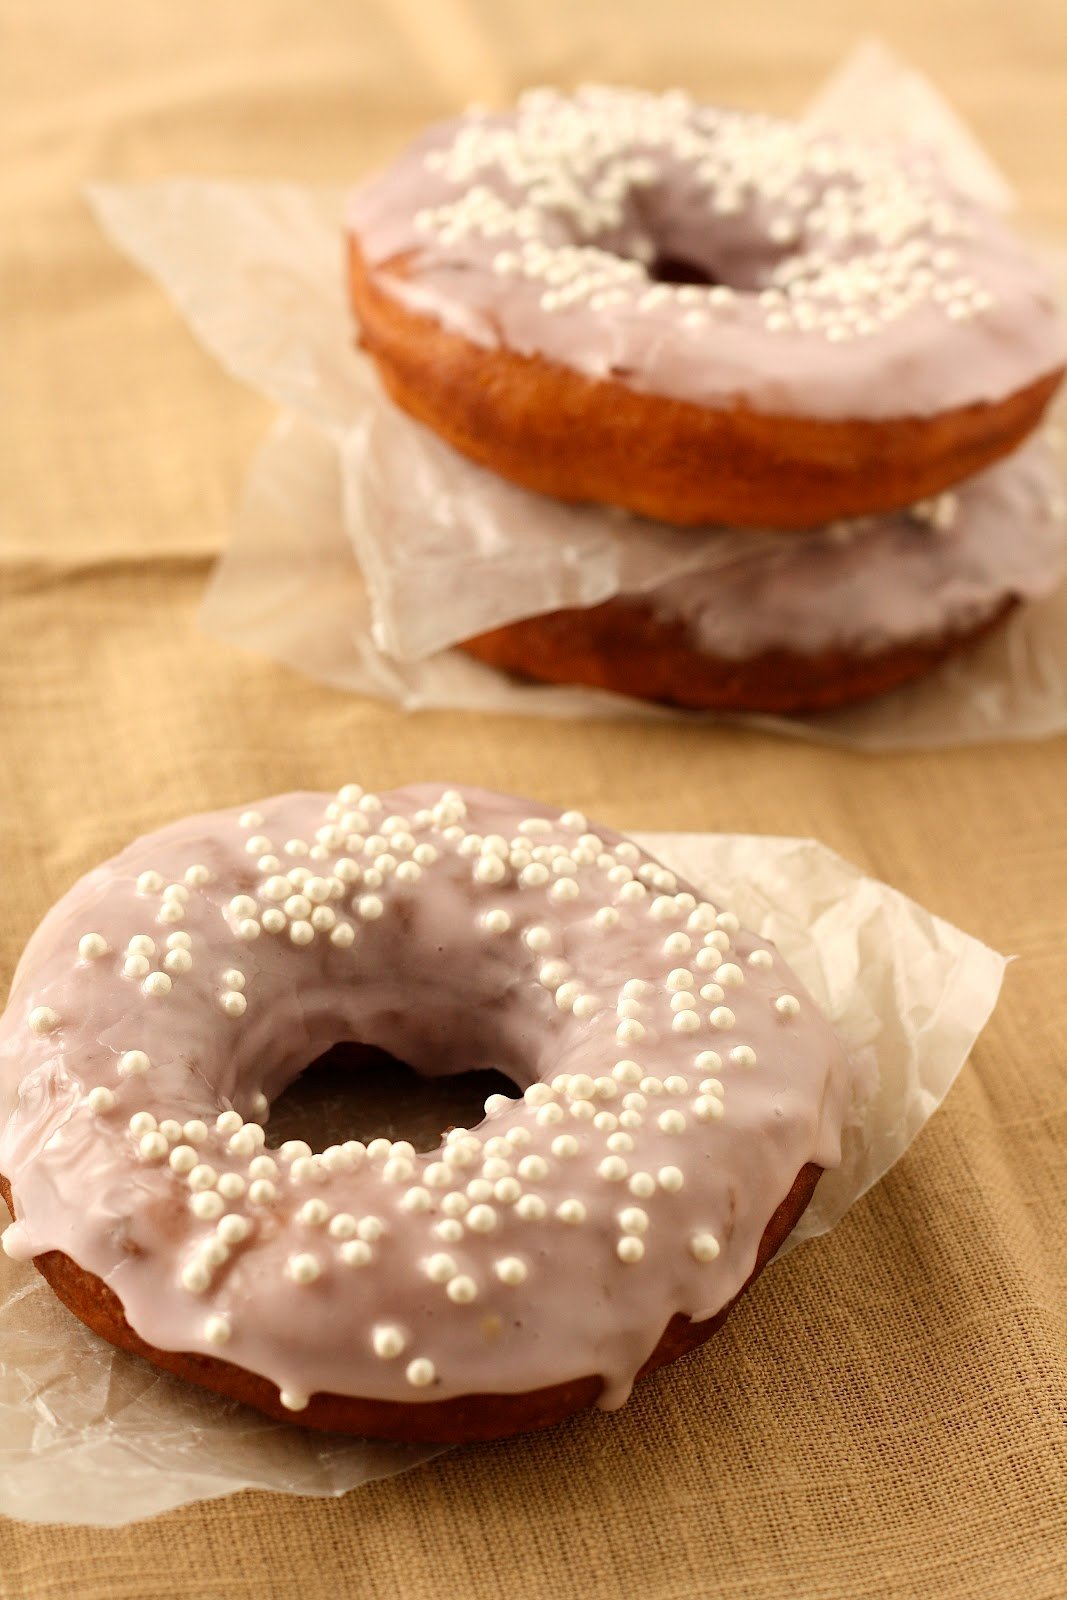
Donuts are delicious and, best of all, photogenic. I’ve been feeling a little bit down about my photography skills lately, struggling to get used to the green-tinted light that shines through the trees outside my window. I’ve also been baking baked goods that were incredibly hard to take good pictures of — check out my Chocolate Banana Pocky Cake, for instance. Delicious and awe-inspiring in real life, but in photos? Not so much. Photographing donuts was the pick-me-up I needed to get excited about my blog again.
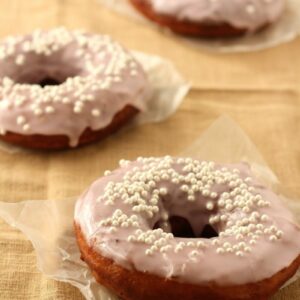
Now, yes, you may point out that I’ve baked donuts before — my recipe index shows a pretty sizeable collection of donut recipes. But ah, see. This recipe is new. This is the first time that I’ve ever made honest-to-goodness, classic, yeast-raised donuts:
My previous recipes for donuts were all based around a cake batter, using baking powder as the leavener. Why? Because to tell you the truth, I’m a little bit scared of yeast. I don’t understand the way it works like the way I understand how baking powder and baking soda do. But I think it’s about time to face my fear. Maybe the reason why I’m in a blogging funk is because I bake the same types of recipes over and over again. It’s time to branch out, and be more adventurous.
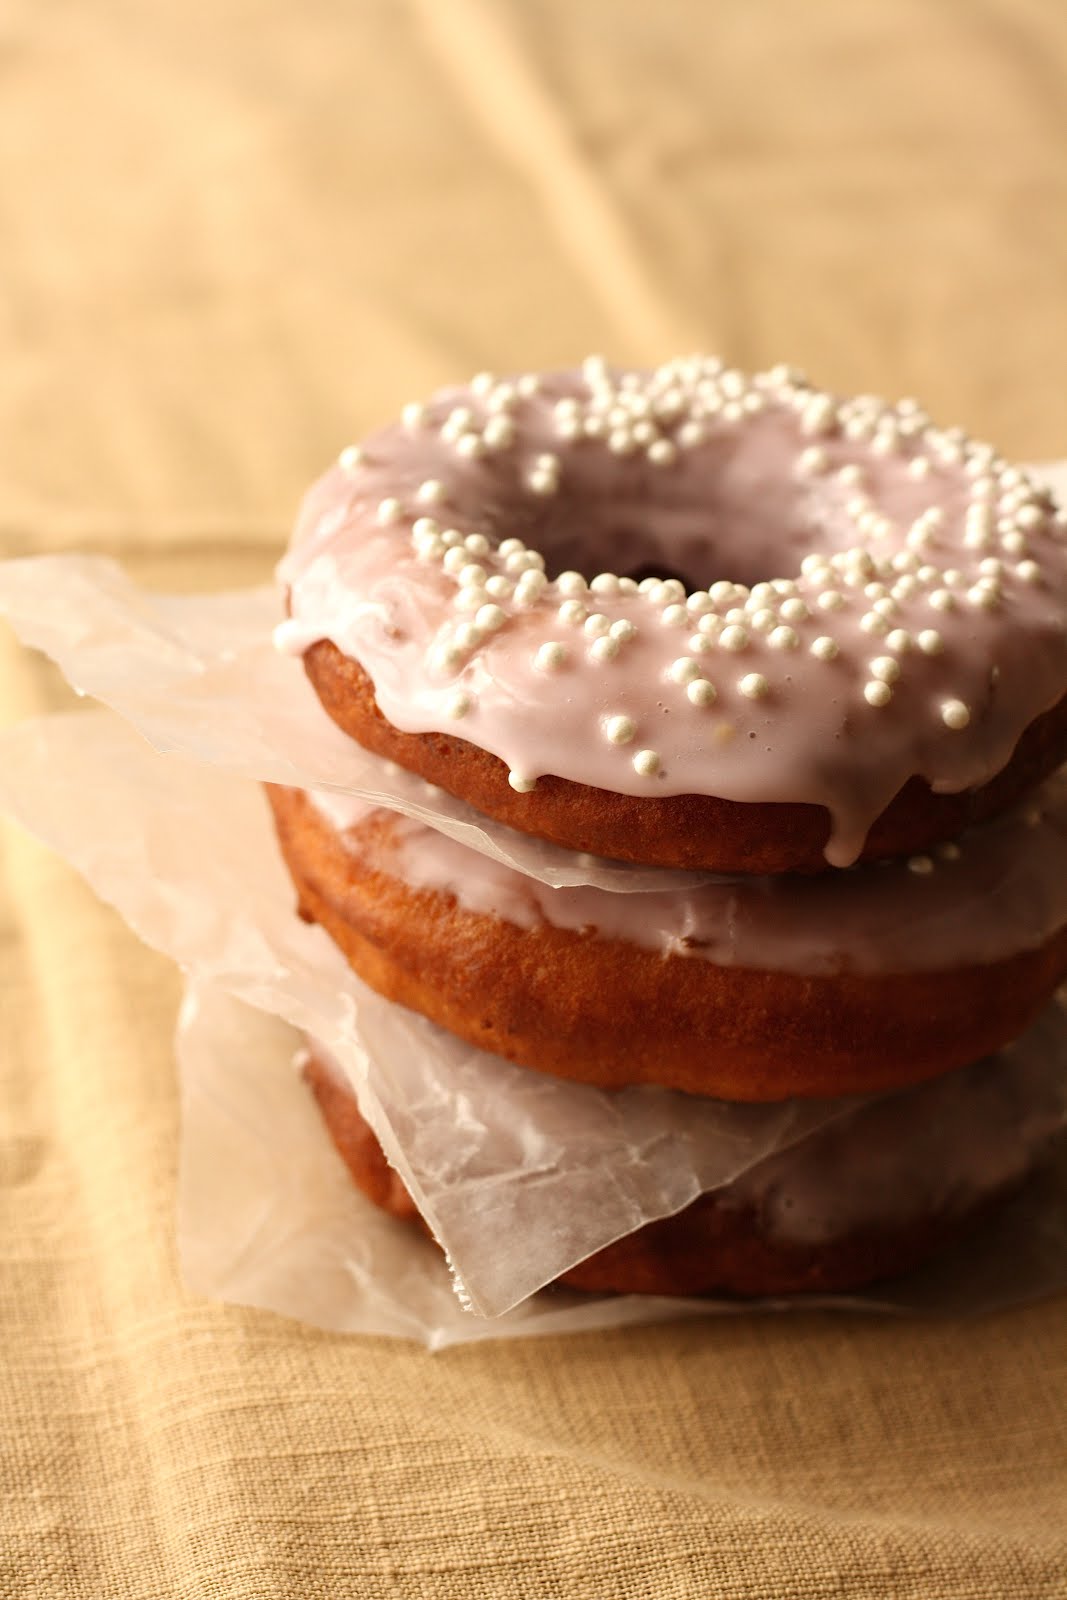
As for the baking process of these donuts, it was really not that bad at all. I used the Basic Raised recipe found in Lara Ferroni’s Doughnuts Cookbook. The resulting donuts are fluffy, subtly sweet, with a delicious bready flavor that you can only really get with using yeast. My fear of yeast is truly unfounded. The dough rose the way it was supposed to, without any issues. The only qualm I have about this recipe is that it takes a while for the dough to actually be ready, since there are many steps that require you to wait while the dough rises and/or proofs.
Oh well. At the end of the day, there’s no saying how long I’m willing to wait for a donut.

Get the Recipe: Classic Raised Donuts
Ingredients
For the Donuts
- 3 tablespoons active dry yeast, divided into 2 tablespoons and 1 tablespoon measures
- 1 cup whole milk, heated to 110 (F), divided into 3/4 cup and 1/4 cup measures
- 2 1/2 cups all-purpose flour, divided into 3/4 cup and 1 3/4 cup measures
- 2 tablespoons sugar
- 1/2 teaspoon salt
- 1 teaspoon vanilla extract
- 3 egg yolks, at room temperature
- 1/4 cup 1(/2 stick) unsalted butter
- 2 cups vegetable oil, for frying
For the Honey Glaze
- 1 1/2 cups confectioners’ sugar
- 1 tablespoon honey
- 1/4 teaspoon vanilla extract
- 3 1/2 tablespoons milk
- sprinkles and food coloring, for decorating
Equipment
- plastic wrap (like Saran or Glad)
- 1 non-terry cloth flour sack towel
- a 3-inch donut cutter (I used Ateco’s)
- an instant read thermometer
Instructions
For the Donuts
- In a medium bowl, dissolve 2 tablespoons of yeast into 3/4 cup milk. Add 3/4 cup flour and stir to create a smooth paste. Cover with plastic wrap and let rest in a warm spot for 30 minutes.
- Combine the remaining milk (1/4 cup) and remaining yeast (1 tablespoon) in the bowl of a stand mixer fitted with a paddle attachment. Add the rested flour mixture (from the first step), along with 2 tablespoons sugar, 1/2 teaspoon salt, 1 teaspoon vanilla, and 3 egg yolks. Mix until smooth. Turn off the mixer and add 1/2 cup of the remaining flour, mixing on low for about 30 seconds. Add 1/4 cup butter and mix just until it becomes incorporated, about 30 seconds. Switch to a dough hook and add more flour, about 1/4 cup at a time from the remaining 1 3/4 cup measure, with the mixer turned off. Knead the dough at medium speed between each addition, until the dough pulls completely away from the sides of the bowl and is smooth but not too sticky. Cover the bowl with plastic wrap and refrigerate for an hour and a half.
- When the dough is ready, line a flat surface with a lightly flour, non-terry cloth flour sack towel. Transfer the dough onto the flour sack towel and use a rolling pin to roll it flat with about 1/2 inch thickness. Use a donut cutter to cut out 3-inch diameter rounds, with 1-inch diameter holes.
- When you’ve finished cutting out the donuts, cover with plastic wrap and let sit in a warm spot to proof until they almost double in size. This should take about 5 to 20 minutes. Be sure to test the dough at 5 minute intervals, tough the dough lightly with your fingertip. If the dough springs back immediately, it needs more time. If it springs back slowly, it is ready. If it doesn’t spring back at all, it has overproofed — you can punch it down and reroll it at once.
- While the donuts are proofing, heat a heavy bottomed pot (I used a cast iron skillet) filled with 2 cups of vegetable oil to 360 (F). With a metal spatula, carefully place the doughnuts in the oil. Fry for 1 to 2 minutes per side, or until light golden brown. Remove with a slotted spoon, drain on a paper towel placed on a wire rack, and let cool slightly before glazing.
For the Honey Glaze:
- Sift 1 1/2 cups confectioner’s sugar into a medium bowl.
- Use a rubber spatula to stir in 1 tablespoon honey, 1/4 teaspoon vanilla, and 3 1/2 tablespoons milk until the sugar is completely dissolved and you are left with a liquid paste-like substance.
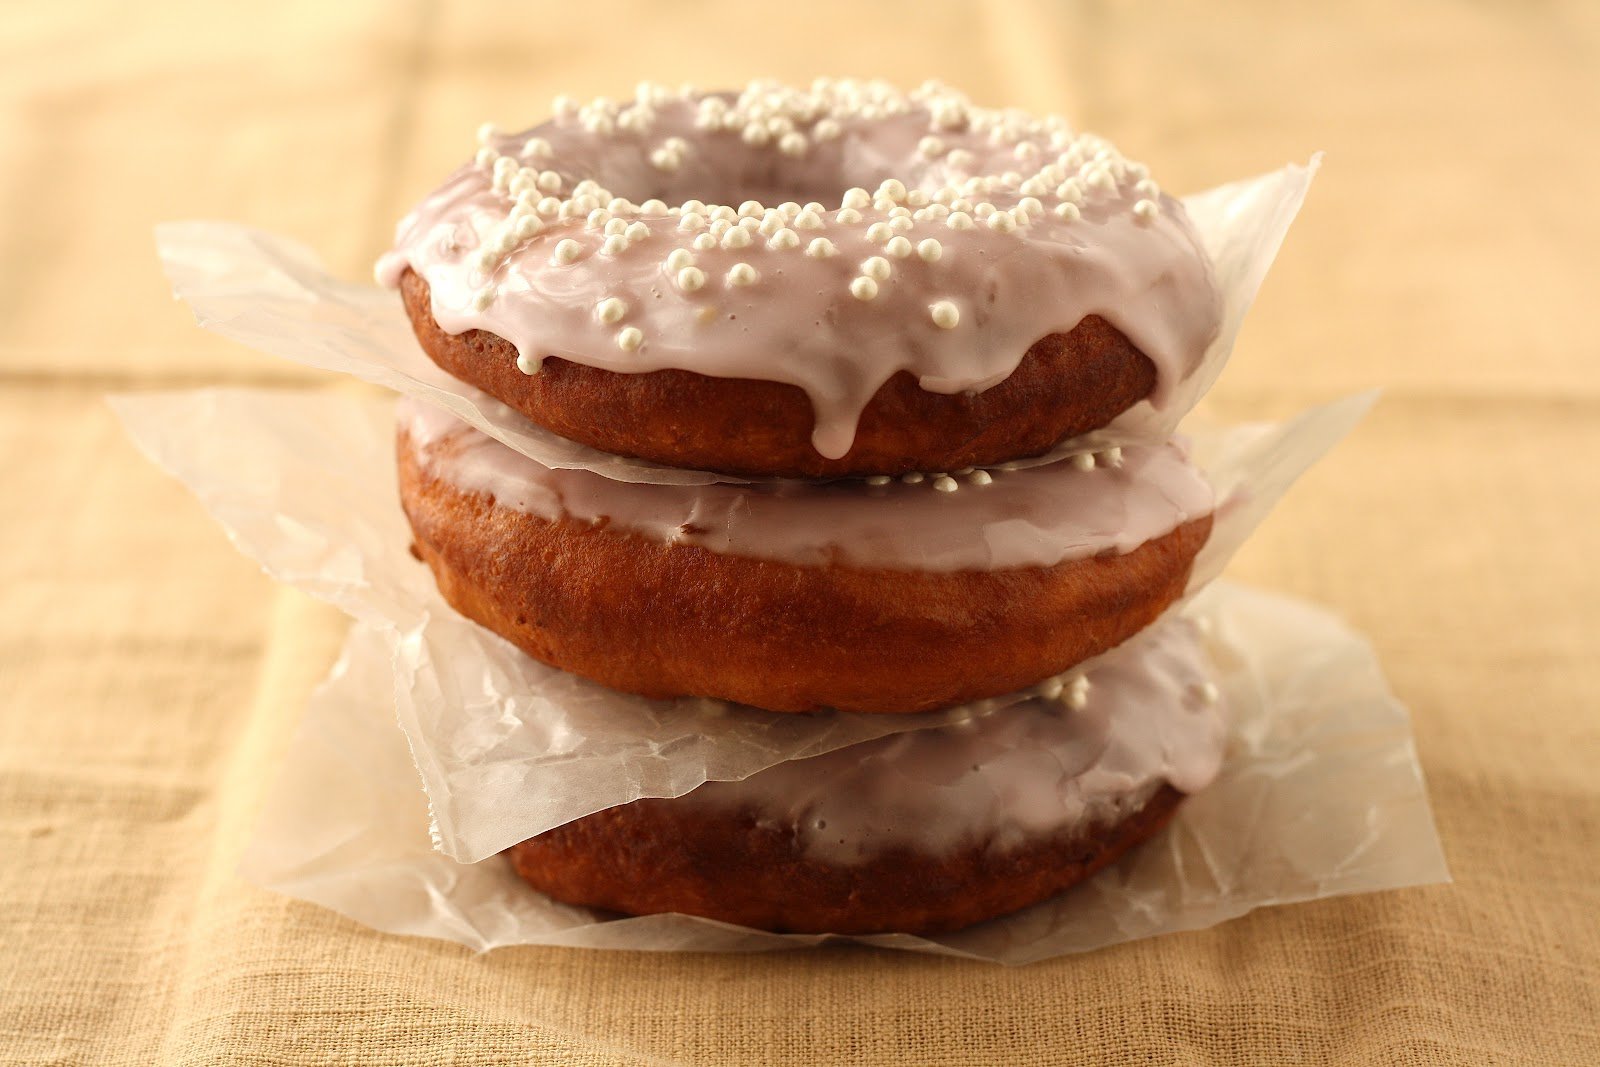
- If you are using food coloring, add in a couple drops and keep stirring the glaze until the color is uniform. Use immediately to glaze the donuts! If not, the glaze will harden. The best way I found to glaze the donuts was to actually dunk the top halves of each donut into the bowl containing the glaze. Once the top has been glazed, lay the undipped part of the donut on top of a cooling rack with a plate underneath — this will allow excess glaze from the donut to drip onto the plate.
- Once the donuts have been glazed, sprinkle immediately with your chosen decorations. If you wait to decorate the donuts, the glaze will harden and the decorations will not stay on the glaze.
Notes
Adapted from Lara Ferroni’s Doughnuts Cookbook
Did you make this recipe?Please leave a star rating and review in the form below. I appreciate your feedback, and it helps others, too!
Would these be good a day after making? To serve at a party? Thanks 🙂