About These Chewy 3 Ingredient Peanut Butter Cookies
Here’s everything I love about these 3 ingredient peanut butter cookies:
- They are 100% gluten-free (but don’t taste like it).
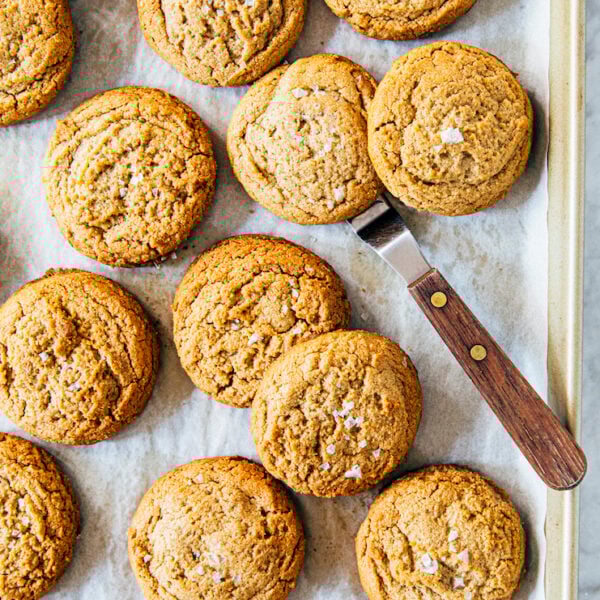
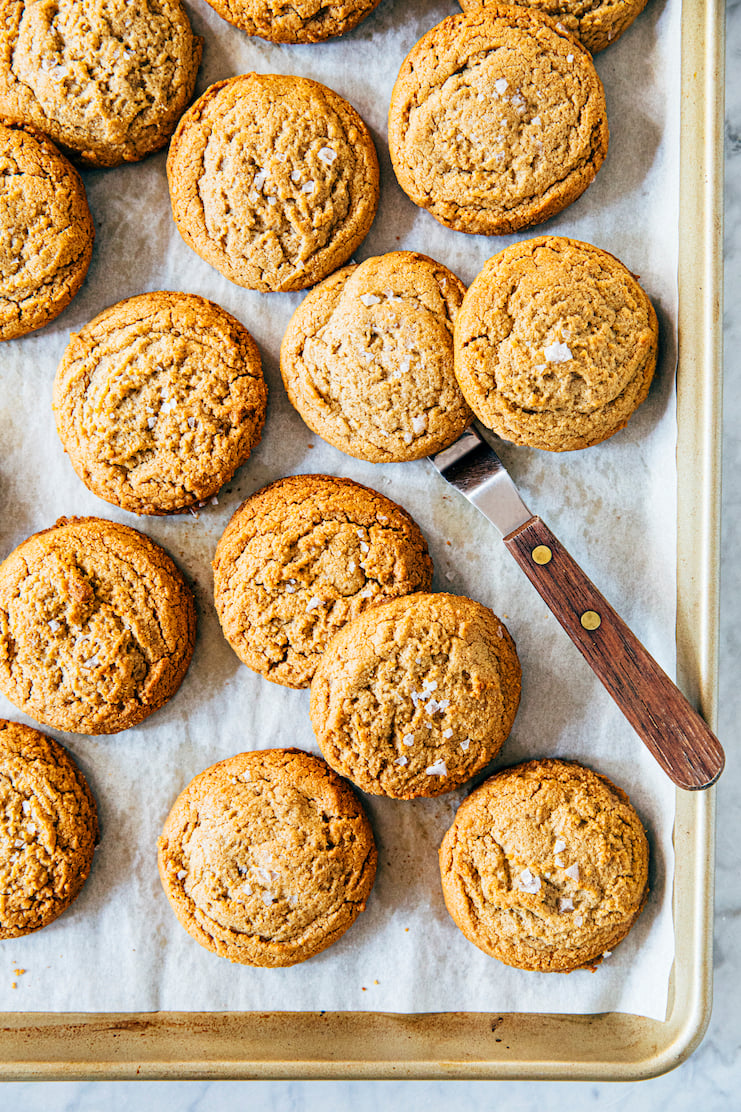
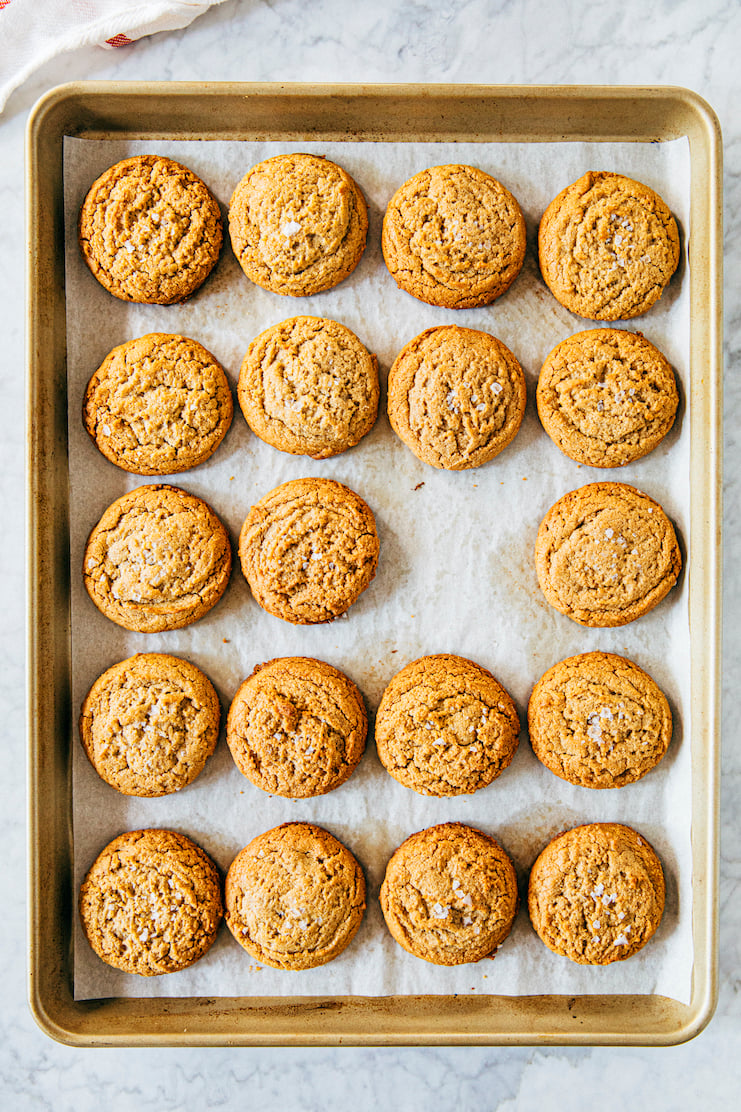
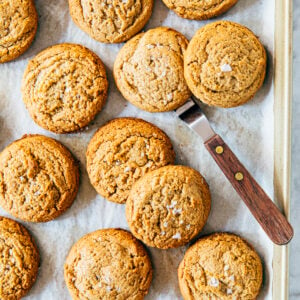
- They have the perfect texture: perfectly chewy in the middle, with crispy edges. If you love the texture of chocolate chip cookies, you’ll love these peanut butter ones, too!
- They come together quickly and easily—no stand mixer required!
For more delicious homemade cookie recipes on Hummingbird High, check out my Cookie Recipe collection! Popular recipes include this Snickerdoodle Recipe Without Cream of Tartar, these Ube Crinkle Cookies, and these Lavender Earl Grey Cookies.
What You Need
- Brown Sugar. Brown sugar is available in two varieties: light or dark. Dark brown sugar is my personal preference; because it contains more molasses, I find it to be more flavorful. However, you can use either in this peanut butter cookie recipe without altering its flavor too much.
- Peanut Butter. In the recipe below, I instruct you to use a processed peanut butter brand like Jif or Skippy. Unlike natural peanut butters, these brands often process their peanut butters by homogenizing them and adding sugar to keep them shelf-stable for longer. According to Ovenly’s cookbook, these types of peanut butter work best for this recipe as they help the cookies keep their shape in the oven.
Natural peanut butter, on the other hand, is typically made with just two ingredients: peanuts and salt (though, there are plenty of salt-free varieties too). When stored, the peanuts naturally separate from their oil, leaving a thin layer of oil on top. This type of peanut butter needs to be stirred or shaken vigorously before serving.
Despite Ovenly’s recommendation, I’ve used natural peanut butter in this recipe many, many times. I didn’t notice a dramatic difference when I did. The cookies maybe spread out a little more? But truthfully, this was likely mitigated by the recipe’s chill time. The recipe instructs you to refrigerate the dough for at least 1 hour, then freeze the cookie dough for at least 15 minutes before baking them.
Recipe Troubleshooting and FAQ
Why do you need to chill the cookie dough twice?
Okay, TECHNICALLY, you don’t need to chill the cookie dough twice. If you used conventional processed peanut butter to make the cookies, you can skip the first chilling period—where you chill the dough in the refrigerator—and only freeze them for 15 minutes while you preheat the oven. Freezing the cookies before baking them helps them retain their shape in the oven.
However, if you used natural nut butter, you’ll likely need to refrigerate the dough for at least 1 hour before scooping them. Natural nut butter makes a looser, more liquidy dough that doesn’t keep its shape when scooped.
Can you freeze the cookie dough?
Yes! Follow the instructions to refrigerate the cookie dough for at least 1 hour. After the dough has been chilled, use the cookie dough scoop to portion the dough into cookie dough balls on a sheet pan. Loosely cover the sheet pan with plastic wrap and freeze the whole thing (with the cookie dough balls still in the pan) for at least 1 hour, until firm. Once firm, transfer to a zip top bag and freeze for up to 3 months.
When ready to bake, there’s no need to thaw the cookie dough balls! You can bake from frozen. Simply place on a lined sheet pan, placing each cookie dough ball at least 3 inches apart, and bake for 20 to 22 minutes.
Best Recipe Tips
Ingredient Tip
- Ovenly’s cookbook recommends that you use a conventional, processed peanut butter like Jif or Skippy (Ovenly prefers the latter, but I’m a Jif girl myself). Why? These cookies retain their shape best with those types of peanut butter—learn more in the Ingredients section above.
Technique Tips
- The recipe instructs you to first whisk the brown sugar and eggs together, then add the peanut butter. Don’t dump everything in at once—if you do, it can be hard to make sure all the ingredients are mixing properly. At first, it will seem like there’s too much brown sugar and not enough eggs to moisten everything. Don’t panic! Just keep whisking, frequently tapping the whisk against the side of the bowl to help free it of any clumps. It’ll come together, I promise. Once it’s smooth, add the peanut butter and do the same thing with the tapping.
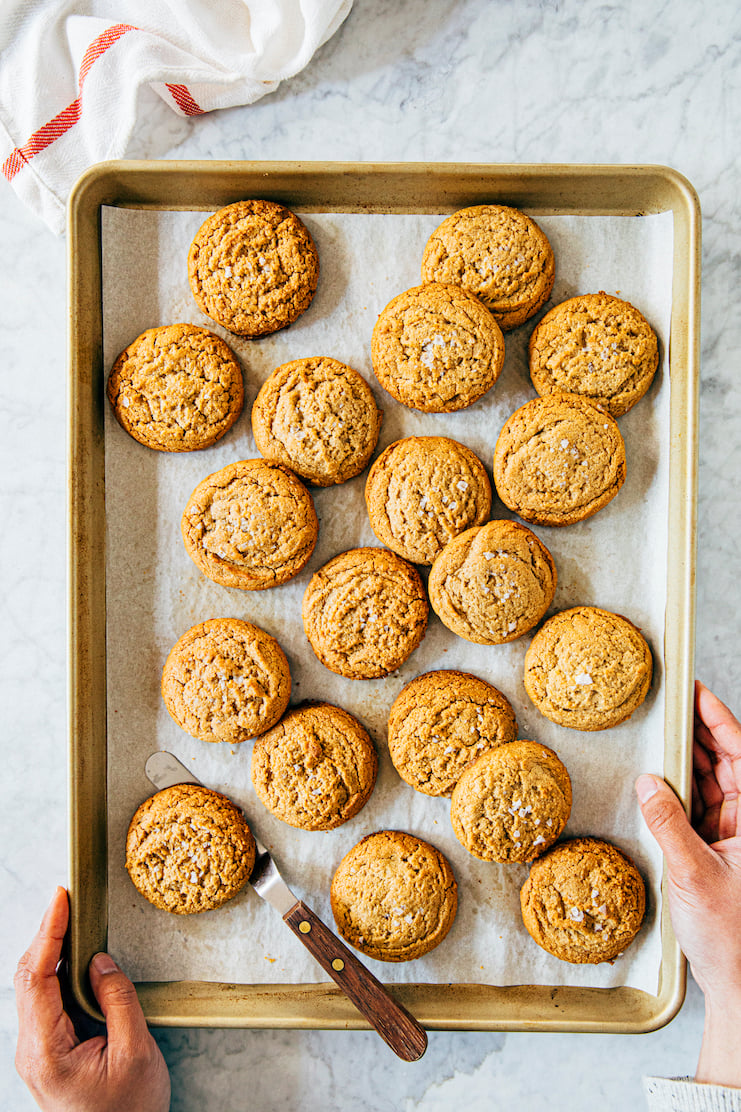
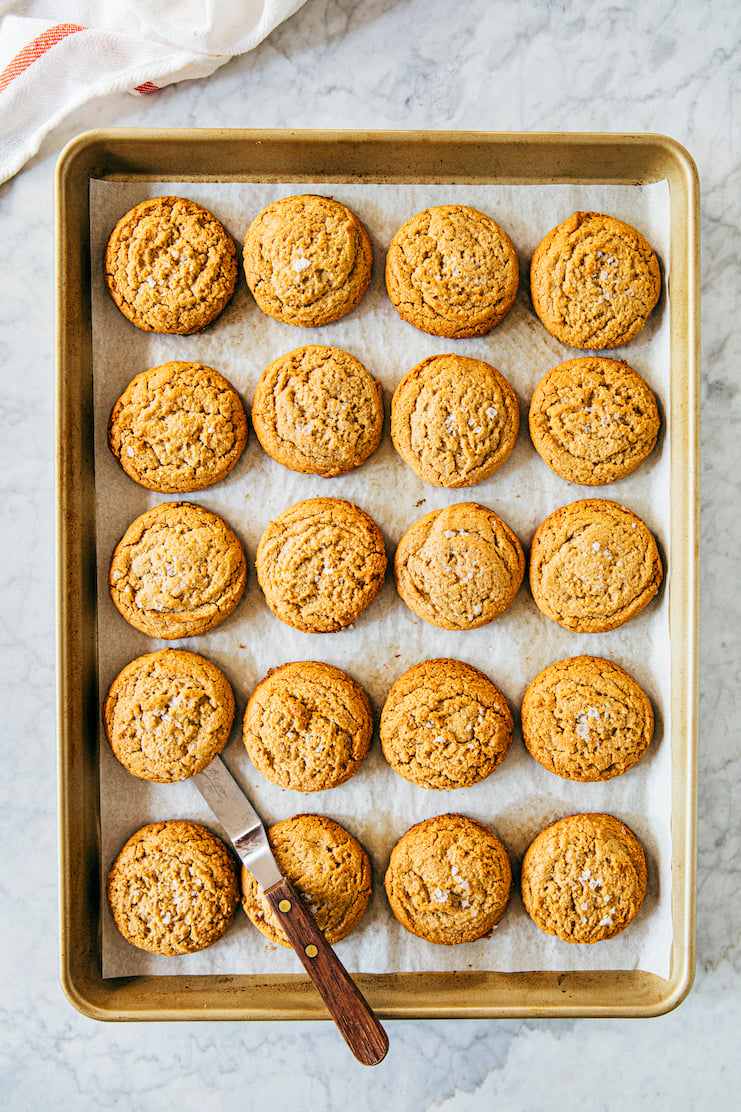
- Like with any cookie recipe, I recommend investing in a cookie dough scoop to make the job go by quicker and easier. My favorite cookie dough scoop size for cookies is a 3-tablespoon scoop. I used it to form my cookies. Doing so will technically result in 20 cookies, but if you scrape down the bottom and sides of the bowl with a rubber spatula, you’ll end up with enough dough for an extra cookie (for a total of 21 cookies).
Baking Tip
- I like to bake the cookies one pan at a time. I find that doing so makes the best cookies, ensuring that none of them have overly burnt bottoms or raw centers. However, to save time, you can bake two sheet pans at a time. Position a rack in the upper-third position of the oven, and a second one in the lower-third position of the oven. Bake a pan on each rack, swapping their positions half way through the Bake Time.
Video Tutorial
Use the video player below to watch my Instagram Story tutorial on how to make this 3 ingredient peanut butter cookies recipe! Clicking the left and right sides of the frame allow you to move through the different recipe steps.
Get the Recipe: Chewy 3 Ingredient Peanut Butter Cookies (Gluten Free!)
Ingredients
For the 3 Ingredient Peanut Butter Cookies
- 1 ¾ cups tightly packed (13.15 ounces or 373 grams) dark OR light brown sugar
- 2 large eggs, at room temperature
- 1 (16-ounce) jar peanut butter (around 1 ¾ cups, 16 ounces or 454 grams)
Instructions
For the 3 Ingredient Peanut Butter Cookies
- Make the cookie dough. In a medium bowl, whisk together the brown sugar and eggs until combined. Add the peanut butter and whisk until combined. Cover the bowl with plastic wrap and refrigerate for 1 hour.
- After 1 hour, remove the chilled dough from the refrigerator. Use a 3-tablespoon cookie dough scoop to portion the cookie dough into balls, placing them in tight rows on a sheet pan. Cover loosely with plastic wrap and freeze for at least 15 minutes.
- Prepare your oven and pans. While the cookies are in the freezer, prepare your oven. Position a rack in the center of the oven and preheat the oven to 350°F. Line two half sheet pans with parchment paper.
- After 15 minutes, remove the frozen dough from the freezer. Place them at least 3 inches apart on the prepared sheet pans.
- Bake the cookies. Bake one pan at a time (keeping the other in the refrigerator) for 16 minutes, until the edges have set but the centers are still gooey. Cool the cookies on the pan on a wire rack for 20 minutes, or until the edges and bottoms of the cookies feel firm to the touch. Repeat with remaining cookie dough balls.
- Serve and store. Serve warm or at room temperature. The cookies can be stored, in an airtight container at room temperature, for up to 3 days.
Notes
get new recipes via email:

buy the book
Weeknight Baking:
Recipes to Fit your Schedule
Over the past several years of running Hummingbird High, I kept a crucial aspect of my life hidden from my readers: I had a full-time, extremely demanding job in the tech world. In my debut cookbook, Weeknight Baking, I finally reveal the secrets to baking delicious desserts on a tight schedule.
These turned out so well! Perfectly crisp on the edges and a chewy soft centre and they were so easy to make. I added chocolate chips and made them bakery-style as recommended. Have frozen half the dough to make later too!
Thank you for this article. This is really helpful. Each and everything is perfectly conveyed.
Made them bakery style – soft center and crispy edges delicious! I so appreciate how thorough you are in your directions! Will definitely make these again!
Hi Michelle! Thank you for sharing this recipe! I have a couple of questions.
For the 1 3/4 cups of brown sugar, will this measurement be the same for both processed peanut butter and all natural?
I just made this last night but I noticed that the cookies did not spread at all when baking. They all remained the size of the cookie scoop measurement. I followed the recipe. I used all natural peanut butter (salted). Any ideas why?
Thank you for your help!
Hi! This is so hard for me to troubleshoot without being in the kitchen with you, but I can defs try! I just have to ask you a bunch of questions first:
1) Did you use cup measures or weight measures?
2) Did you make any modifications to the recipe I should know about?
3) What kind of peanut butter did you use?
4) How long did you chill/freeze the cookies for?
Hi Michelle! Thank you for getting back to me 🙂
1) I used cup measures
2) I decreased the amount of brown sugar by 1/4 cup
3) I used all natural peanut butter (salted), the brand from Trader Joe’s
4) I first refrigerated the dough for a couple of hours and then froze the cookie scoops for about 20 minutes.
When I realized that my cookies were not spreading out with the first batch, for the second and third batches I let them sat out for a little while on the counter thinking that the batter is too frozen but that did not help.
Thank you for your time and your help! I appreciate your questions!
Okay, cool! This is super helpful. I saw a few things that are potentially causing the issue.
1. Cup measures. How do you weigh out your ingredients? In general, the correct way is to set the measuring cup on the counter and scoop the ingredient into the cup. With brown sugar, scoop until it forms a small mound over the cup, pack it down with a knife, then add more brown sugar until its top is level with the top of the cup. And it’s really, really hard to get an accurate cup measure of peanut butter. Make sure to spray the measuring cup with a light spray of cooking oil first to prevent the peanut butter from sticky!
2. Decreasing sugar could be the MAJOR culprit. In general, sugar helps cookies spread. Specifically, the sugar melts in the oven, causing the cookies to spread accordingly. Decreasing it means that there’s less of the ingredient to achieve this effect. While it’s not a big deal for a lot of recipes, it’s a potentially big deal in this cookie recipe because it already has such few ingredients to begin with.
Hope that helps! Hopefully the cookies were still tasty despite not spreading that much :/
FYI
I am on a heart healthy diet and replaced the egg with ground flax.
The proportions are 1 tablespoon of flax and 3 tablespoons of water.
This equals one egg. For two eggs double the mixture.
Mix the flax and water well. Then refridgerate it for 15 minutes.
Add to your peanut butter and sugar
It works beautifully.
Really good cookies, and so simple to make. I found that I had to work pretty fast when scooping the dough onto the sheet to go in the freezer. My kitchen was pretty warm because I had already baked some biscuits, but the dough got pretty melty while I was scooping, so I just put it back in the fridge for a while. The end result was great! I may try next time sprinkling a little flaked salt on the tops. Thanks for a great recipe!
16 minutes bake time is too long…
Not sure when the Flour shortage was, but at the beginning of the Pandemic I weighed 180, pounds, 16 months later, and 16 months after discovering this Recipe, I weigh 200 pounds, so Baker beware if you decide to eat these daily as I have.
I have to agree with Ovenly, Skippy makes the best cookies, IF you like them to be thicker, have more of a mound. If you like them flatter/thinner, go with Jif or a Natural PB.
Freezing is absolutely critical, mostly if you don’t like them really thin. One of my Sons like them like that, so I forego the 15 minute freeze, and they’re thin and crispy.
I don’t cook them all when I make the dough, but freeze the dough balls and cook a cookie or two at a time. Good luck, this is the BOMB!!
What is the nutritional makeup for these cookies?
I made this recipe bakery style as listed, no changes. I used Justin’s creamy peanut butter. But the cookies didn’t spread basically at all. I made one batch straight from the freezer, the second batch had been sitting in the fridge after being in the freezer, and the third batch I left on the counter so it would warm up completely.
Each batch cooked up pretty much the same, little domes a half-inch to 1 inch thick. They definitely didn’t melt into flat cookies.
Do you have ideas on what would cause that?
I made this recipe because it is gluten free. It is very good! I also made it because it has brown sugar. Yum! But, I was wondering if I could substitute powdered sugar for the brown sugar because I also like that combination with peanut butter.
Hi!
Powdered sugar would be a difficult substitution for the brown sugar; it contains 10x the amount of sugar than either gran or brown sugar! You’d need to adjust the other ingredients accordingly. If you want to make your life easy, I suggest keeping the brown sugar as is and making some kind of powdered sugar glaze to dip the baked cookies in!
Made just as recipe says, dough very dry out of freezer, After 12 minutes still looks like cookie scoop. Not sure if eggs were big enough, could this be a problem?
Could be the eggs—use large or XL sized eggs—or the type of peanut butter you used?
A big “YES” from me! My mom makes a wonderful peanut butter cookie, but whenever I try, I am usually left with disappointment. NOT THIS TIME! This recipe is delicious, holds together very well, has an awesome texture and lasting moisture! So excited to share these delicious cookies with my students and my church! THANK YOU SO MUCH!
I just made these for my husband. The flavor is good and they held their shape really well. I actually had the opposite problem of this: At first, it will seem like there’s too much brown sugar and not enough eggs to moisten everything. Don’t panic! Just keep whisking…. Mine seemed like there was too much egg and was pretty wet. When I added the peanut butter it helped but still wasn’t as thick as it should be. It was still scoopable and they firmed up in the freezer but when I baked them , even adding 3+ minutes, they were still underdone in the middle. The last batch I baked about 21 minutes and those seemed good. I don’t know if it has anything to do with the high altitude here or not…I am in Colorado.
So I can never get enough of yummy chewy cookies, but, and I don’t say this with any thing but love for what you do, but when I made this, the cookies were kind of tough, flat, and super dense…and reminded me of almost like a peanut butter flavored taffy chew in the center texture wise, as for the flavor, there were such heavy notes of caramelized sugar I didn’t taste like a baked good… Just super heavy.. also took forever to bake enough … What have I done?
Delicious! I did add a smidge of vanilla.
I love this recipe it’s the best peanut butter cookies I’ve ever had
These cookies are delicious! I do add a teaspoon of vanilla paste. Everyone that tries them asks for the recipe.
Hello, our oven only works on convection bake, should there be any temperature or time adjustment; asking before I potentially ruin what sounds to be an amazing recipe. Thank you.
I would check for doneness earlier—convect bake tends to bake things quicker. They might also be more puffy, so if you want a flatter cookie consider baking at -10F the temp listed in the recipe.