So I didn’t realize that it was my birthday this weekend (TODAY!) up until literally two days ago. In my head, I thought that we were still at the end of winter/early spring (and NOT the middle of June, ahhhh). A big part of that disorientation comes from working on my book. This past year was especially rough; I’ve basically been in a constant sprint of meeting editing deadlines since the start of the year. Which seems appropriate, because literally two years ago on this date, my book went to auction (on my 30th birthday too, eeeep—do not recommend having a book auction on your birthday, lol).
And here’s something I haven’t told you guys about: the results of my book auction were disappointing. So disappointing that, up until the minute I held my breath and decided to reluctantly sign the contract with my publisher, I was convinced I wasn’t going to do the book at all. My expectations for my advance were inflated, but maybe not unjustifiable so. At the time, I knew that the book was going to be a lot of work (and even then, I’d grossly underestimated how much work it really, truly ended up being), that 15% of that money was automatically going to my literary agent with the rest to be stretched out over the years it takes to actually write a book. I deserved to have my work and time fairly compensated. I was also still working my tech job at the time, and the way I saw it then, it was a choice between keeping that or writing the book—I knew back then that I couldn’t do both at the same time (and oh boy, was I right about that), in addition to blogging too. Did I really want to leave my cushy six-figure-salaried and very stable job for something so unknown?
In the end, I still don’t know what compelled me to say yes to the book deal. I wish that I could say that, in the two years that have passed since then, it was obvious that it was the right decision. But that’d be a lie. The book took a massive toll on my health, both physically (I gained 20lbs on my 5″3 frame while developing the recipes, then went on several crazy diets to lose that weight) and mentally. If that’s something you’re interested in, I can talk more about the pros and cons of writing a book in the upcoming months. Because I’m going to stop myself here, before this birthday post turns out to be even more depressing, lol.
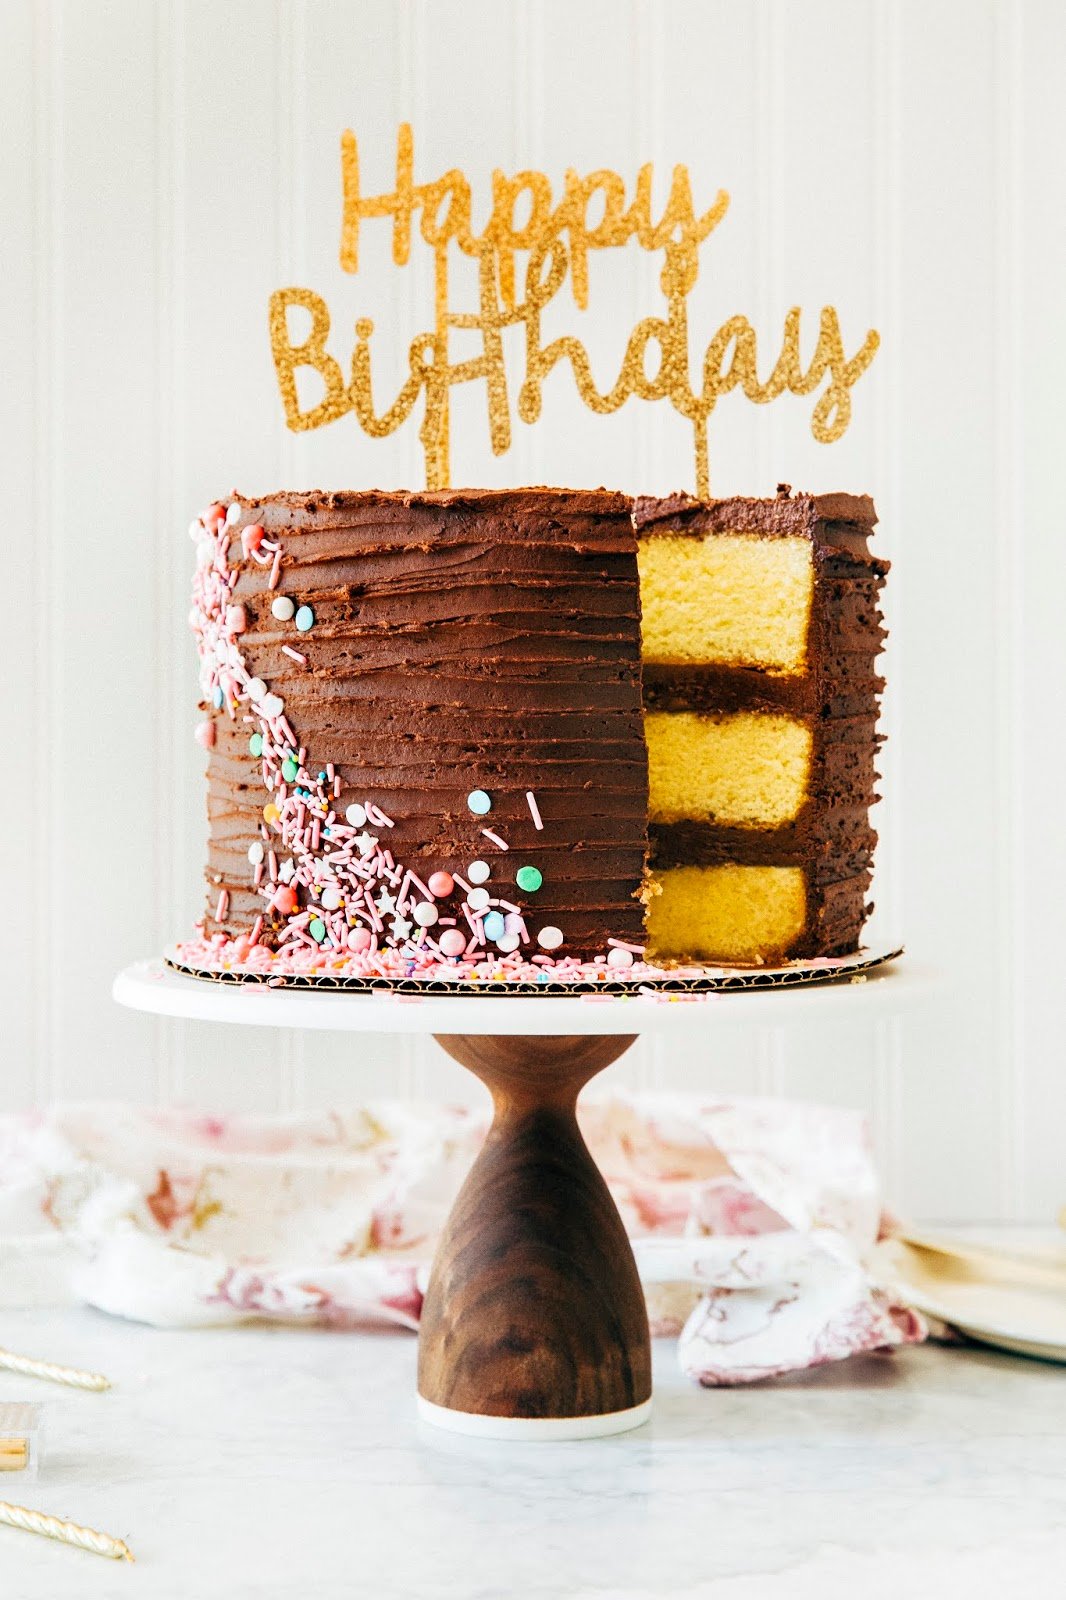
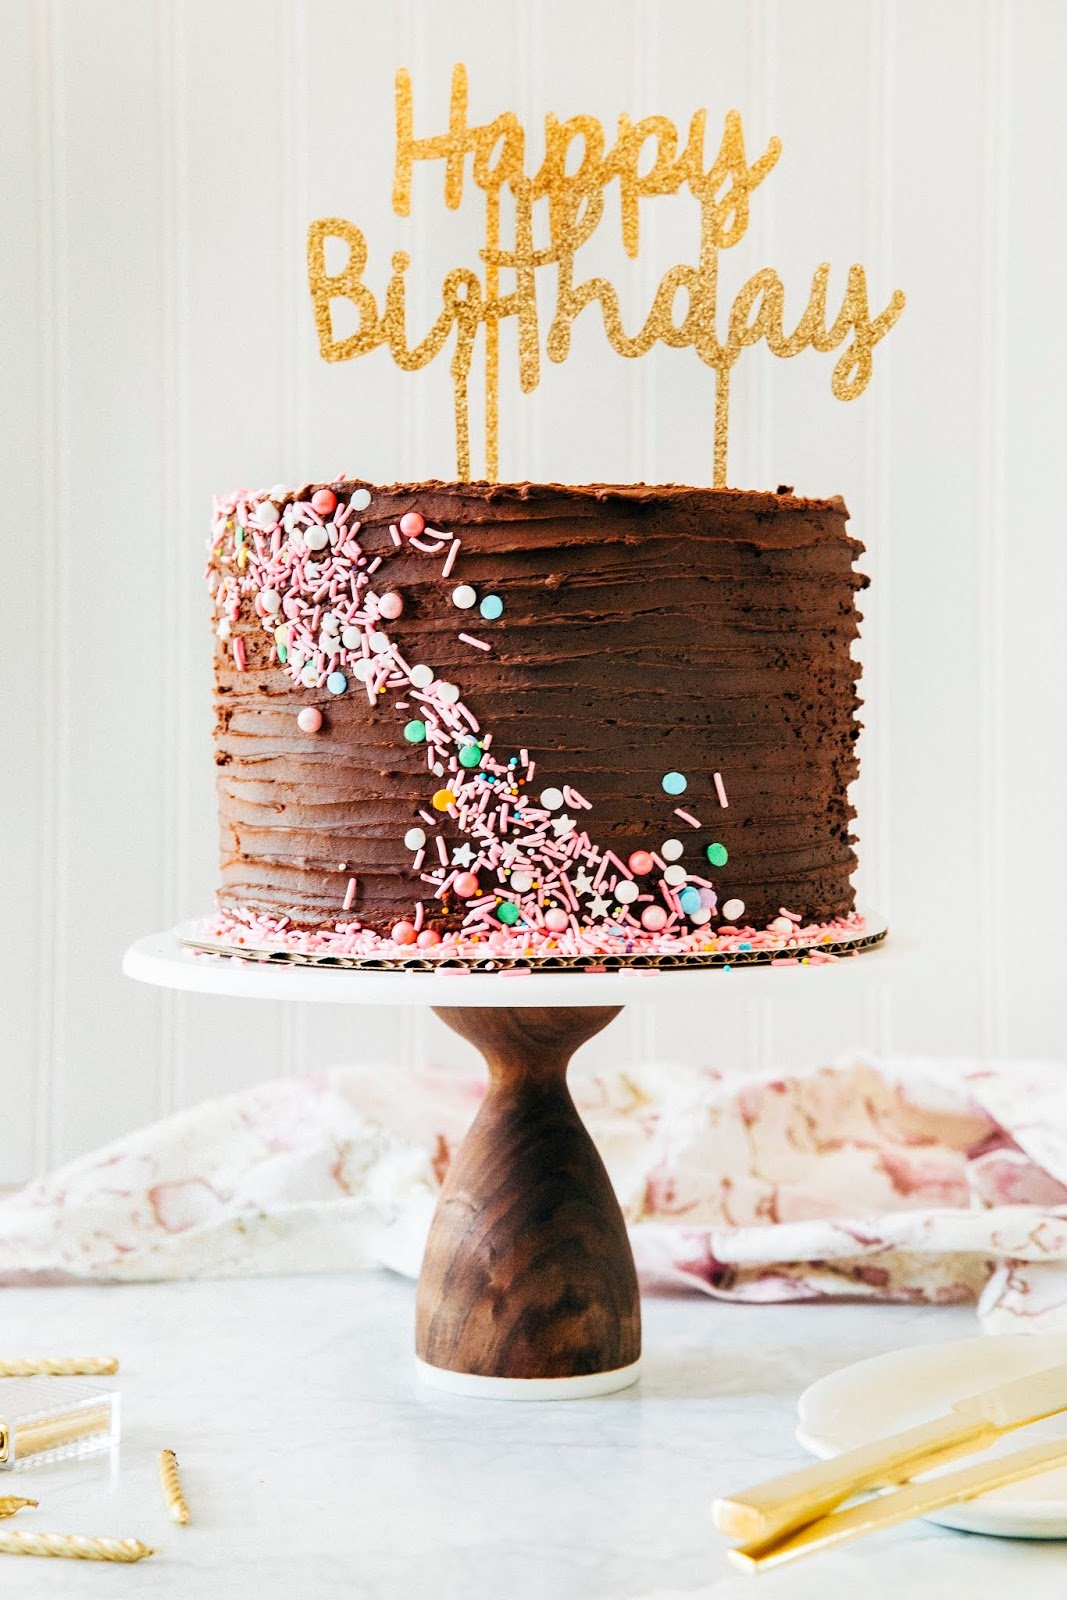
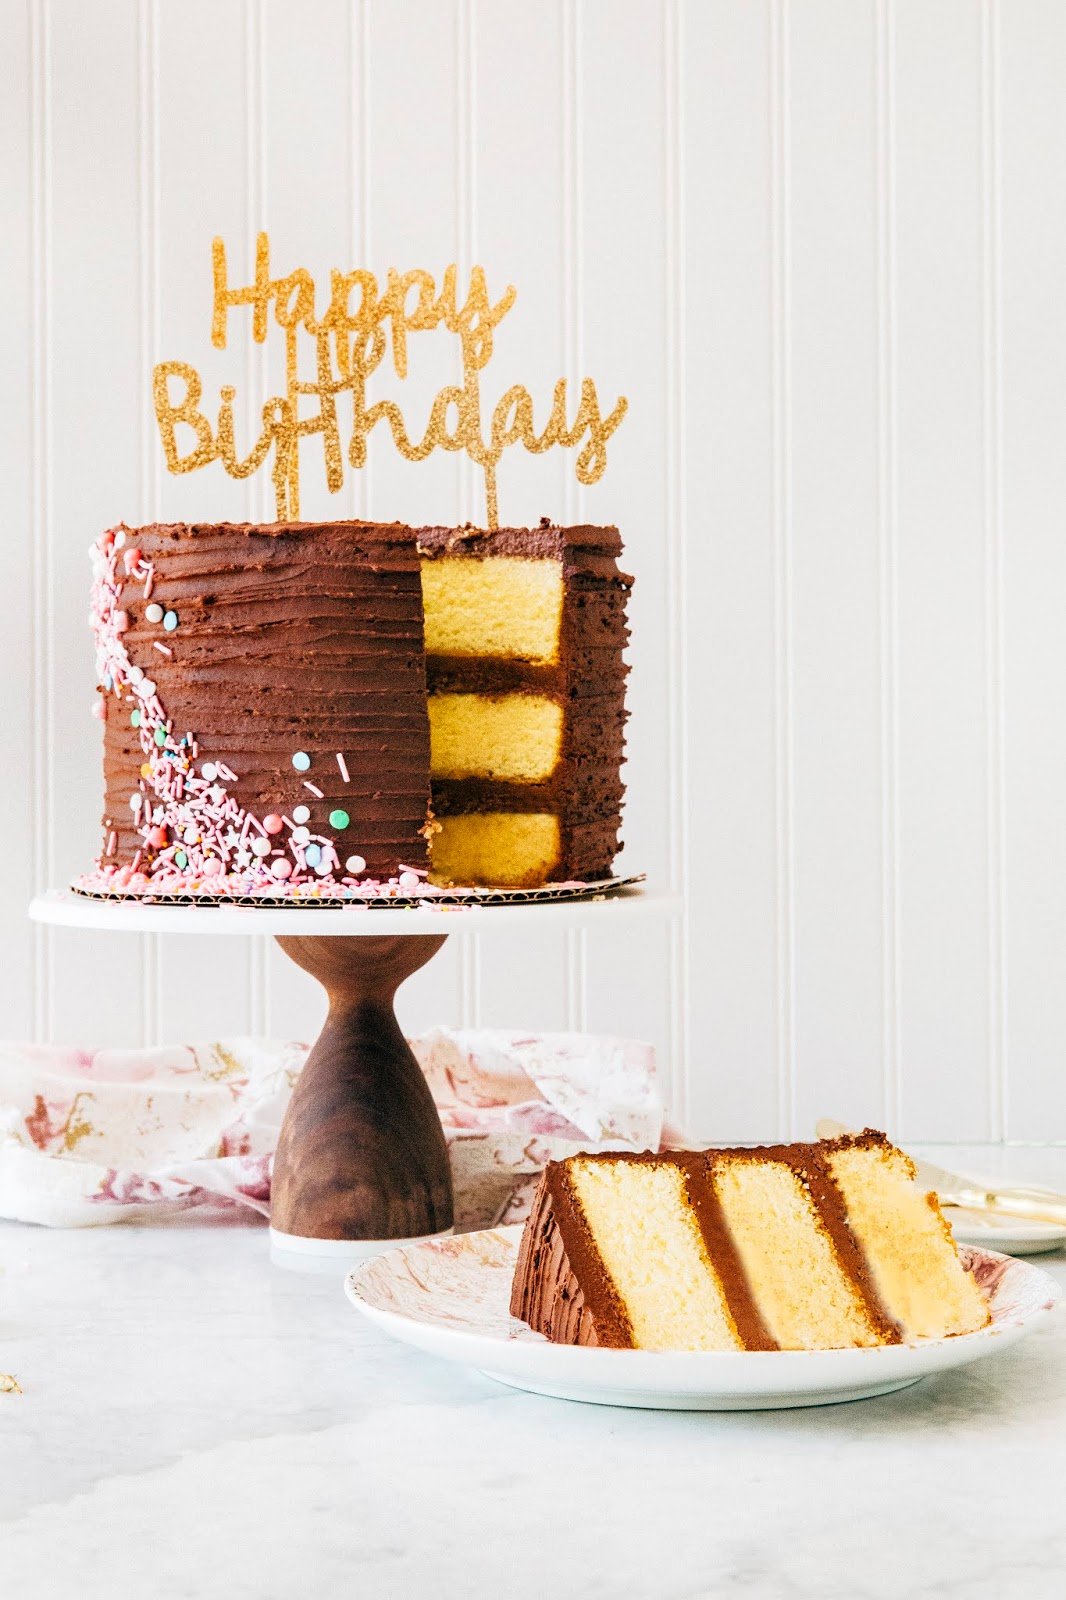
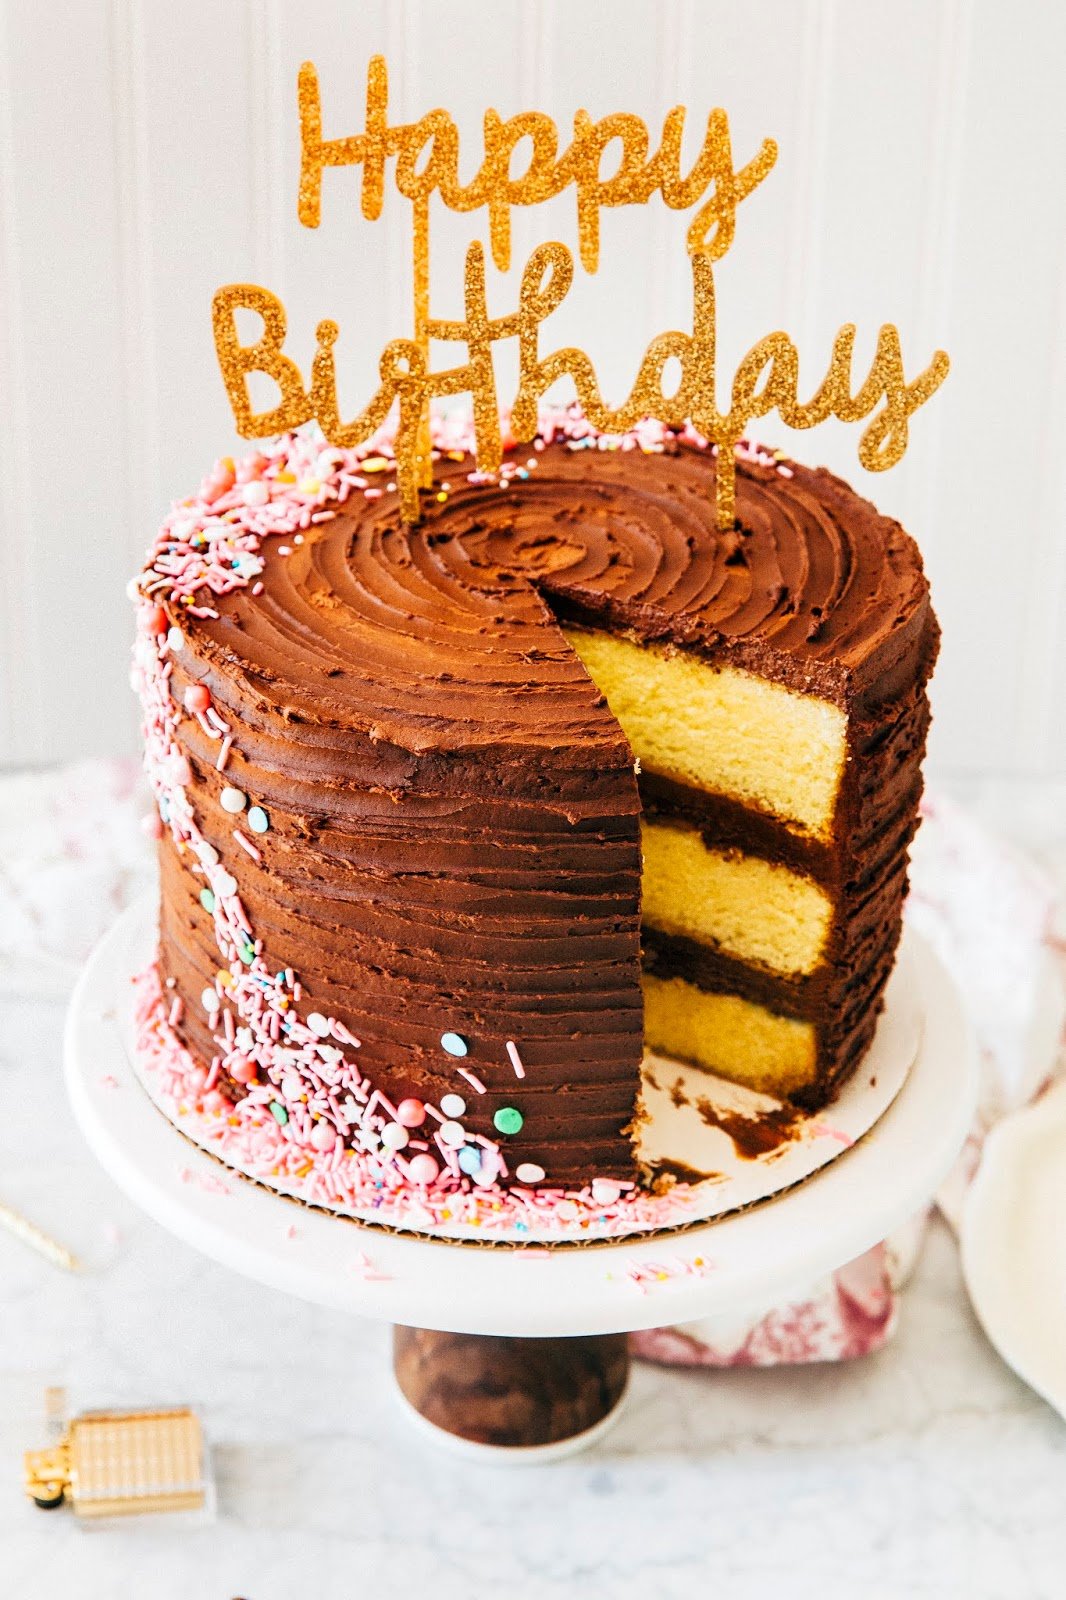
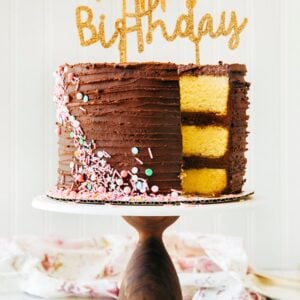
I will say though, that writing a book taught me many things in the kitchen and ultimately made me a better baker. To develop recipes for Weeknight Baking, I would spend days trying different recipes for the same thing, as well as remaking the same ones over and over. One of those recipes was for classic yellow cake, one of my favorite desserts to eat. I thought I’d seen all the different ways to make yellow cake, but this recipe from King Arthur Flour (which they dubbed their recipe of the year) surprised me. The recipe uses hot milk, which gives the cake a unique flavor and is an old-fashioned way of making the cakes more fine-grained and rise higher than it otherwise would. Topped with a creamy, classic chocolate frosting, it was the perfect birthday treat.
Some baker’s notes:
- Warning: each cake layer bakes up REALLY tall! Be sure to use a cake pan with sides that are at least 3 inches tall, or you’ll end up with some batter spilling to the bottom of your oven. In a pinch, use the original recipe’s quantities and bake in three 8-inch pans. I tried baking the original recipe in two 8-inch pans, like it instructs, and found that it *STILL* made too much batter—three 8-inch pans really is the way to go. If you go this route, I suggest checking for doneness at around the 30 minute mark.
Get the Recipe: Old Fashioned Yellow Birthday Cake
Ingredients
For the Yellow Cake
- 3 cups (13.5 ounces) all-purpose flour
- 1 tablespoon baking powder
- 2 teaspoons kosher salt
- 6 large eggs, at room temperature
- 3 cups (21 ounces) granulated sugar
- 1 1/2 tablespoons pure vanilla extract
- 1/4 teaspoon almond extract
- 1 1/2 cups (12 ounces) whole milk
- 6 tablespoons (3 ounces) unsalted butter, at room temperature and cut into 1-inch cubes
- 1/2 cup (4 ounces) canola oil
For the Chocolate Frosting
- 1 3/4 cups (5.25 ounces) natural cocoa powder, sifted if lumpy
- 6 cups (24 ounces) confectioners' sugar, sifted if lumpy, divided into 1 1/2 (6 ounces) and 4 1/2 cup (18 ounces) portions
- 3/4 teaspoon kosher salt
- 1/2 cup (4 ounces) hot water
- 1 tablespoon pure vanilla extract
- 1 1/2 cups (12 ounces) unsalted butter, at room temperature
Instructions
For the Yellow Cake
- Position a rack in the center of the oven and preheat to 325 (F). Generously spray three 8-inch cake pans with cooking spray and line the bottom of each pan with a parchment paper circle; spray the parchment paper too.
- In a medium bowl, whisk together flour, baking powder, and salt.
- In the bowl of a stand mixer fitted with the whisk attachment, combine eggs, sugar, and extracts. Whisk on medium-high for 3 minutes, until light, fluffy, and doubled in volume.
- While the eggs and sugar are whisking, heat milk in a microwave or in a heavy-bottomed sauce pot until just about to boil. Immediately add the butter and oil, whisking until the butter is completely melted. Place a plate over the mixture as a makeshift lid to keep things warm as you work with the other ingredients.
- Return to the egg and sugar mixture and reduce the mixer to low. Gradually add the dry ingredients from the first step, whisking on low until just combined, using a rubber spatula to scrape down the bottom and sides of the bowl as necessary. Slowly pour in the warm milk mixture and whisk until just combined.
- Divide the batter between the three cake pans (if you want even layers, use a digital scale to weigh the amount of batter as you pour into the pans—each pan will contain around 21.35 ounces of batter). Bake for 35 to 40 minutes, or until a skewer inserted into the center of each cake comes out with few crumbs attached and the cake bounces back when gently poked. Cool the cakes in their pans on a wire rack completely before frosting.
For the Chocolate Frosting
- In the bowl of a stand mixer fitted with the paddle attachment, combine the cocoa powder, 1 1/2 cups (6 ounces) confectioners' sugar, and the salt. With the mixer on low, slowly pour in the water and vanilla, using a rubber spatula to scrape down the bottom and sides of the bowl as necessary. Add the butter all at once and beat until dark and creamy, about 2 minutes. Gradually add the remaining confectioners' sugar. Once all the sugar is added, scrape down the bottom and sides of the bowl, then increase the mixer to medium-high and beat for 2 to 3 minutes, until light and creamy.



What if you want to do a two layer cake?
Two layer version available on King Arthur’s site: https://www.kingarthurflour.com/recipes/classic-birthday-cake-recipe
Hi there
We’ve been loving trying your recipes, since relocating to high altitude. Does this recipe need to be changed at all for around 5,000 feet? Thanks so much.
Charlie
Hi,
Sorry, this recipe is NOT for high altitude. These are the only high altitude recipes on my blog: https://www.hummingbirdhigh.com/category/high-altitude-baking
Hello,
My cake smells and tastes like eggs? I followed the recipe, I’m not sure what i did wrong!