
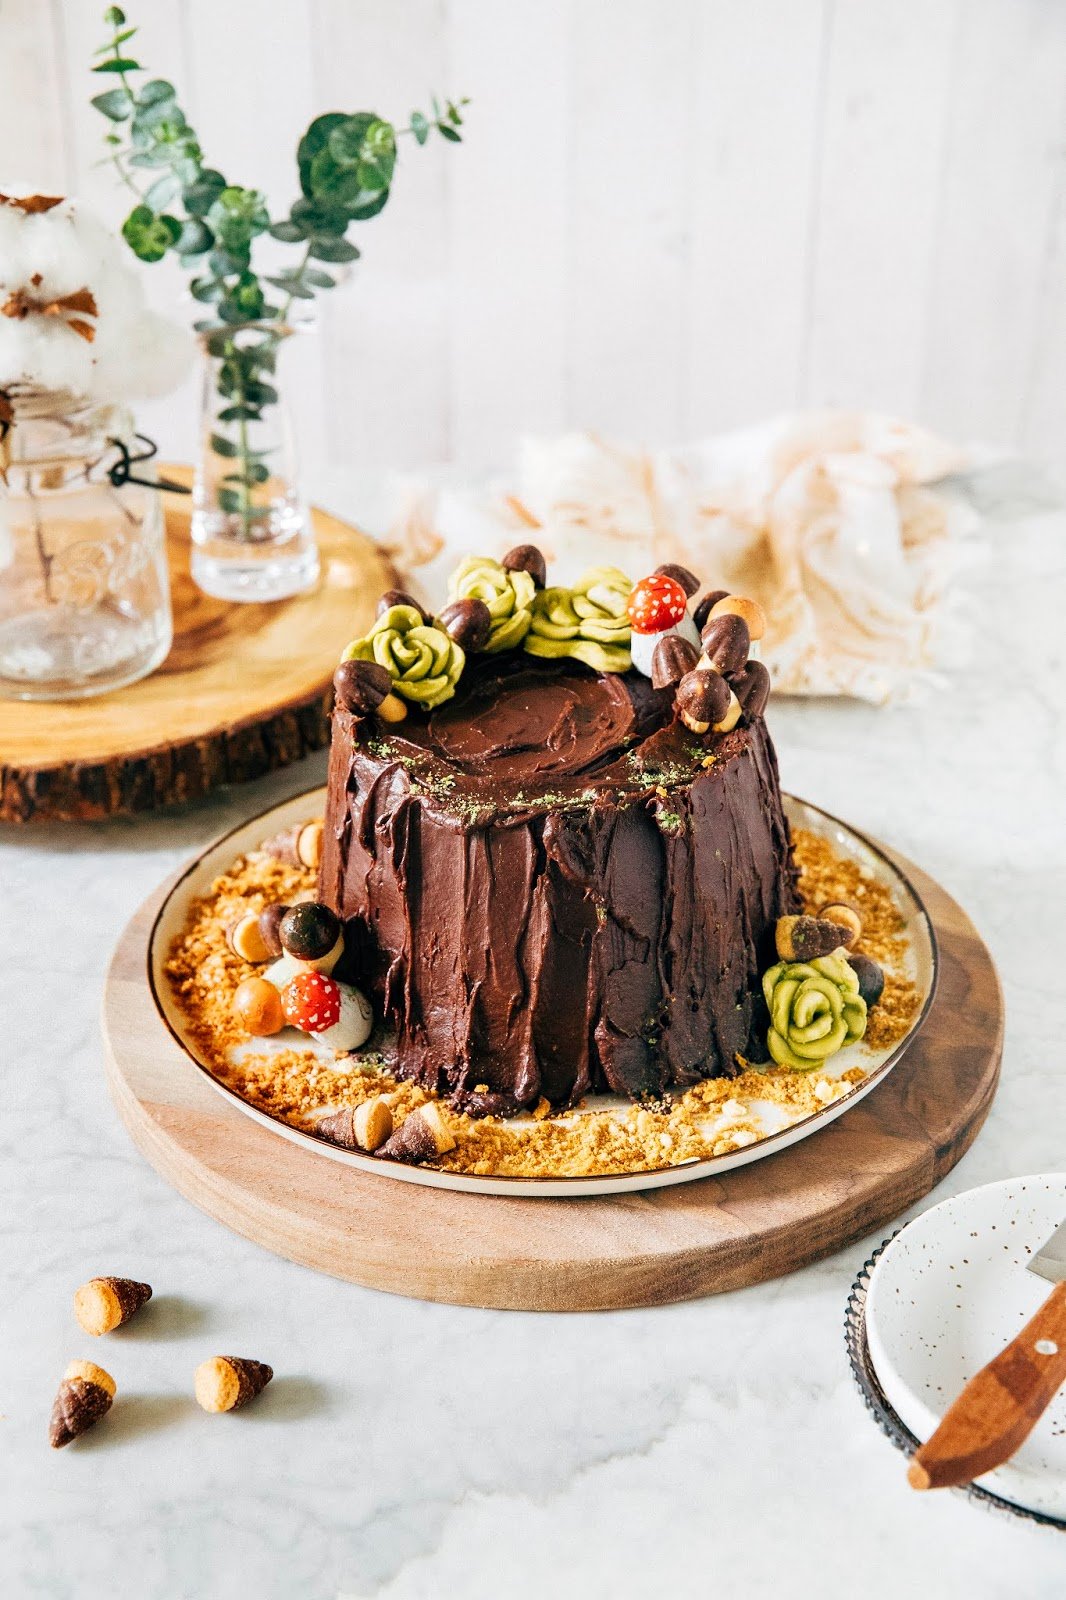
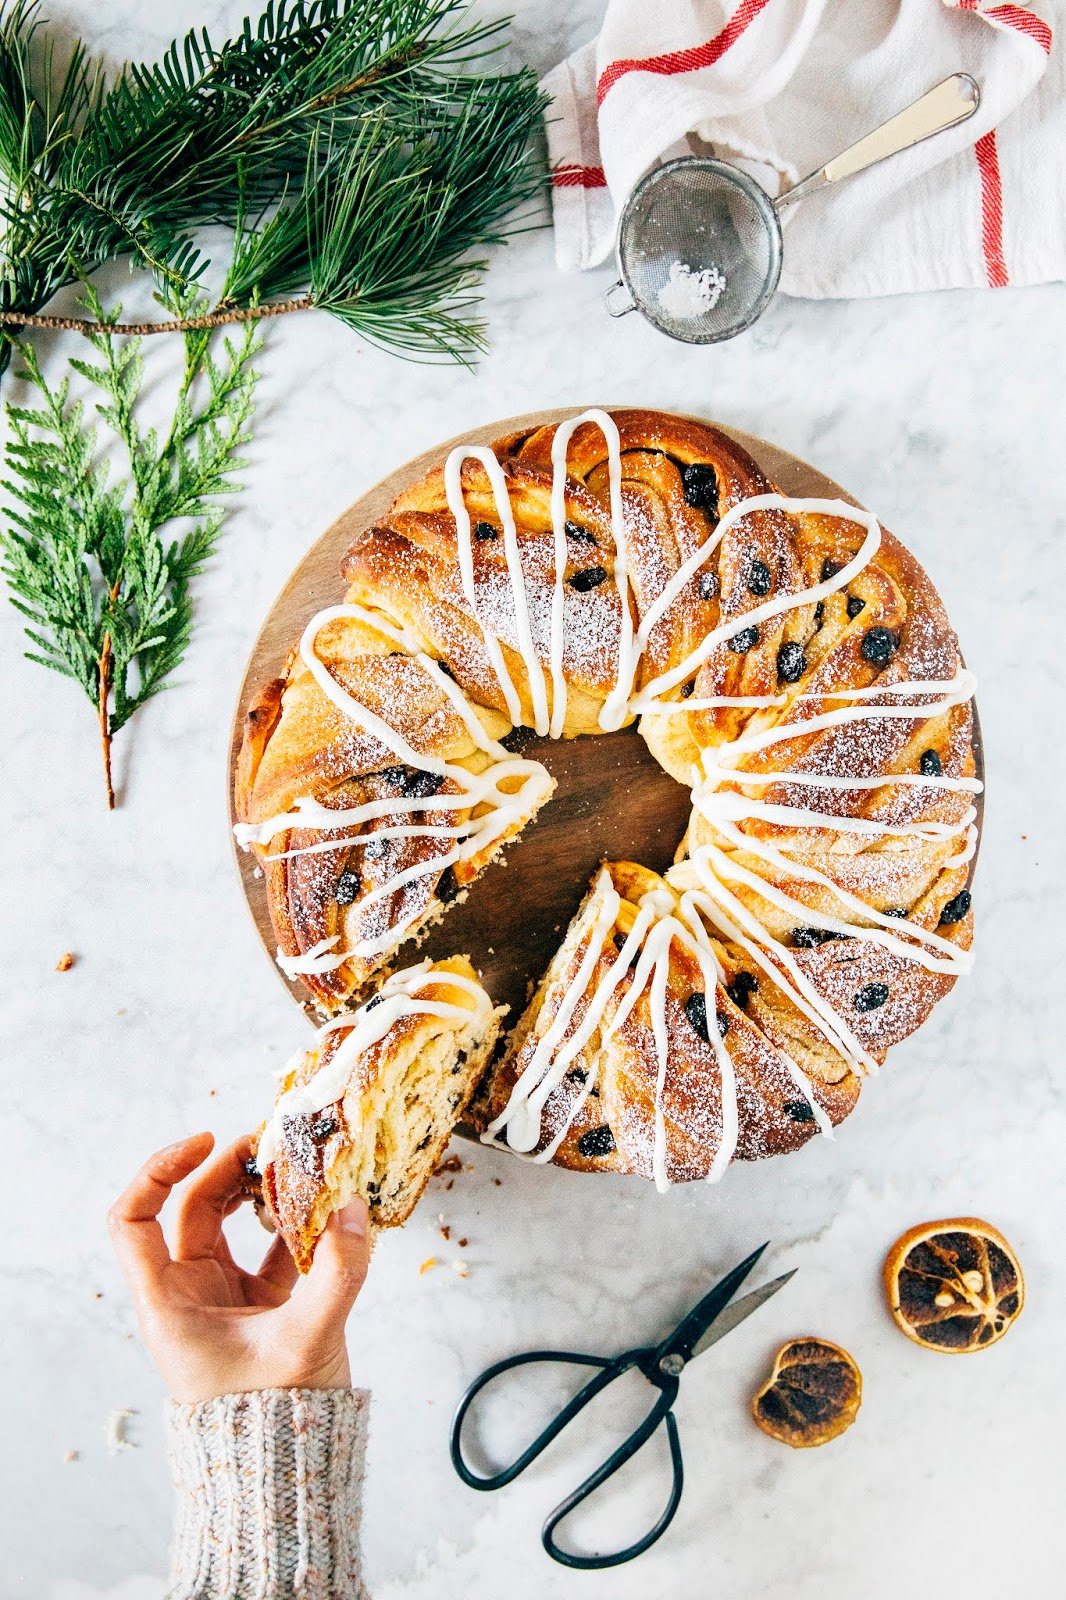
I’m finally back from my two weeks abroad in Europe! I spent the first week in France with one of my sponsors, Staub, and the second week in England to visit friends and old stomping grounds. If you’re a long-time reader of my blog, you’ll know that I have ties to England: in high school, I spent summers in the university town of Cambridge, and, later, my parents lived in London when I was in college in Portland. It was a pretty sweet deal: I’d spend school breaks and summers hanging out in their amazing apartment in Belgravia, a neighborhood pretty centrally located in London that is home to Dominque Ansel’s Bakery in London (where we had tea service one afternoon, check out Instagram Stories for the cute bites we had!) and that super Instagram-famous pink bakery with the flower archway. I don’t know if its because of my parents’ short time there, but to me, London always feels like a second home — I love everything about it, including the gloomy weather (that was miraculously perfect during my time there), its seemingly unconquerable hugeness, and the tireless hustle and bustle.
Erlend joined me for the first half of the week and we ran around the city, eating to our heart’s content with my Whole30 sadness long forgotten. Think: Turkish manti at Kyseri; bacon sandwiches at St. John Bread and Wine; Sri Lankan hoppers and curry at Hoppers; vegetables at Rovi, Ottolenghi’s new fire and fermentation focused restaurant; dope cocktails and the best biryani at Brigadiers; and many, many donuts from Bread Ahead Bakery in Borough Market. I then took a train down to Brighton to see Kiron, one of my oldest remaining friends from college, where we had Keralite fish curry at The Chili Pickle and super tasty Venetian food at Polpo. It’s funny to me that British food has historically been derided as some of the worst in the world; all I know is that a lot must have changed since then because everything we ate was incredible (but not necessarily British, so maybe that’s it? idk tho).
I also spent some of my time in both France and England prowling around grocery stores and searching for interesting ingredients to bake with. My haul in England was particularly stunning — one of my friends told me that The Great British Bake-Off had caused a massive revival in baking, so basic British grocery stores like Asda, Sainsbury’s, and Waitrose had all sorts of awesome baking ingredients that you usually have to buy at a specialty store or online in America. Think: pots of mirror glazes for cakes that you can just heat up and pour, sheets of edible gold leaf, and all sorts of sprinkles made of pastel colors you can’t get in the US and chocolate-covered popping candy.
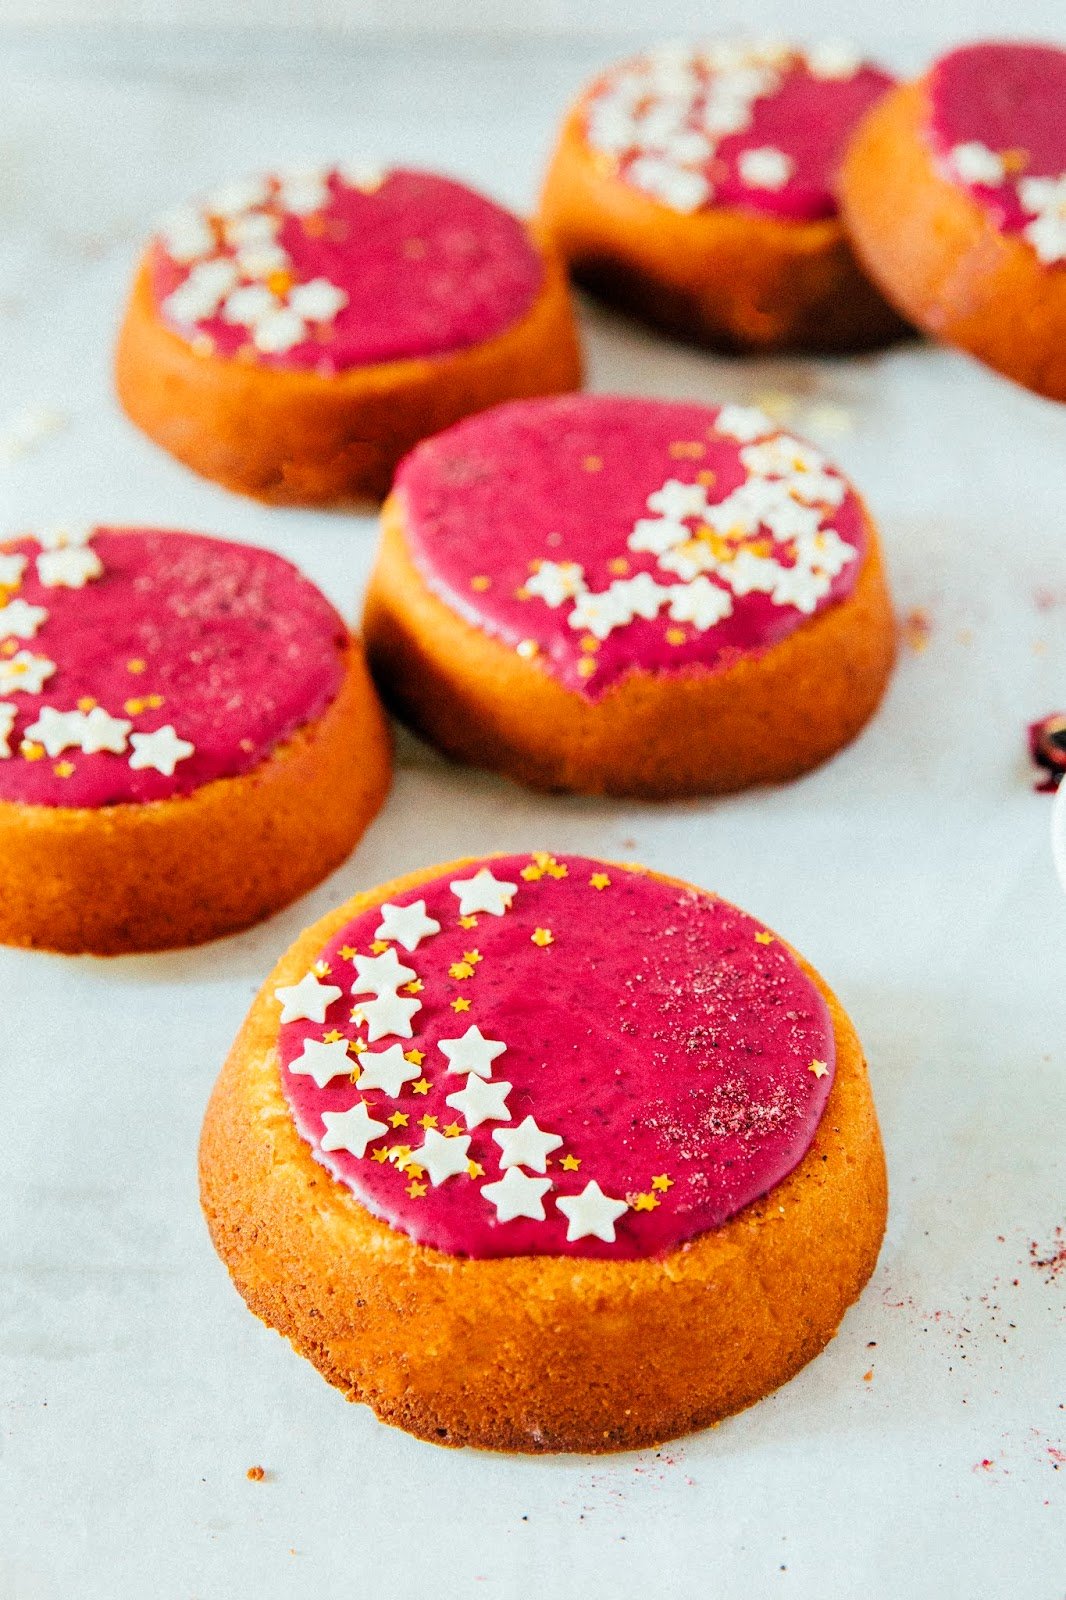
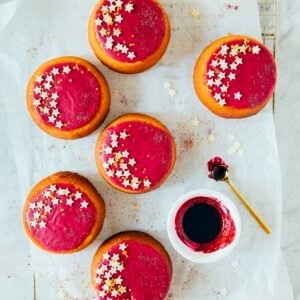
Which brings us to these mini cakes — these cakelets were made with yuzu zest I bought at Galeries Lafayette in Paris, and blackcurrant powder from Borough Market and white chocolate star sprinkles from Waitrose in London. It’s a modified and fancified recipe from a much underrated recipe of mine from yesteryear, in which I made these mini cakes but with lemon and beets. This time around, the blackcurrant powder gives a beautiful, all-natural deep color in the glaze, as well as a tartness that complements the aromatic yuzu zest. Be sure to read the baker’s notes if you’re looking for substitutions for these ingredients!!!
-
- Okay, I don’t expect you to fly to Paris for yuzu zest and London for blackcurrant powder. In a pinch, you can use ingredients that are more readily available at home! You can substitute the yuzu zest with fresh lemon zest, but note that the fresh stuff is more flavorful and you can get away with using 1 to 2 teaspoons as opposed to the 1 tablespoon in the recipe. For blackcurrant powder, you can buy a number of freeze-dried berries like strawberries, blueberries, and more at Trader Joe’s or Whole Foods; simply dump the freeze-dried fruit in a food processor and pulverize until you get a fine powder. For a stronger yuzu flavor, you can find usually find fresh yuzu fruit or juice at an Asian supermarket — or you can just use regular lemon juice like I did.
- I made these cakelets using this mini cake pan that produces six 5-inch cakes. If you don’t want to buy a mini cake pan, you can also use a jumbo muffin pan or a regular muffin pan — just note that a regular muffin pan will produce twice as many cakes. The recipe below instructs you to fill the mini cake pan with a specific quantity of batter; if using a muffin pan, simply fill each cavity two-thirds of the way up with cake batter.
Get the Recipe: Yuzu and Blackcurrant Cakelets
Ingredients
For the Yuzu Cakelets
- 1 3/4 cup (7.85 ounces) all-purpose flour
- 1/2 teaspoon kosher salt
- 1/4 teaspoon baking powder
- 1 cup plus 2 tablespoons (7.85 ounces) granulated sugar
- 1 cup (8 ounces) unsalted butter, at room temperature
- 3 large eggs, at room temperature
- 1/4 cup (2 ounces) freshly-squeezed lemon juice
- 1/4 cup (2 ounces) crème fraîche, at room temperature
- 1 tablespoon dried yuzu zest (see baker's notes for substitutions)
For the Blackcurrant Glaze
- 2 tablespoons boiling water
- 1 teaspoon blackcurrant powder, see baker’s notes for substitutions
- 1 cup 4 ounces confectioners’ sugar, sifted
Equipment
- Special Equipment: a mini cake pan (see baker’s notes for substitutions)
Instructions
For the Yuzu Cakelets
- Center a rack in the oven and preheat to 350 (F). Prepare a mini cake pan by spraying the bottom and sides of each cavity with cooking spray and set aside.
- In a medium bowl, combine 1 3/4 cup all-purpose flour, 1/2 teaspoon kosher salt, and 1/4 teaspoon baking powder and whisk to combine. Set aside.
- In the bowl of a freestanding electric mixer fitted with a paddle attachment, combine 1 cup plus 2 tablespoons granulated sugar and 1 cup unsalted butter. Beat on medium speed for 2 to 3 minutes, until light and fluffy.
- While the butter and sugar is creaming, combine 3 large eggs, 1/4 cup lemon juice, 1/4 cup crème fraîche, and 1 tablespoon yuzu zest in a large liquid measuring cup and whisk until combined. Set aside.
- Return to the butter and sugar mixture; reduce the mixer speed to its lowest setting and add the dry ingredients (from the 2nd step) in three parts, alternating with the wet ingredients (from the 4th step) in two parts, beginning and ending with the dry ingredients. Beat until the batter is just combined, scraping down the sides of the bowl occasionally with a rubber spatula.
- Use a 1-tablespoon cookie dough scoop to scoop approximately 1/2 cup plus 2 tablespoons of batter into each prepared cavity, or until each cavity is two-thirds of the way full. Bake for 20 to 25 minutes, or until the cakes appear matte and the shiny center has just disappeared — do not bake until the cakes are golden, or they'll be too dense and dry! Allow the cakes to cool in their pans on a wire rack for 5 minutes, before turning them out onto the wire rack to cool completely before glazing.
For the Blackcurrant Glaze
- While the cakes are cooling, combine 2 tablespoons boiling water and 1 teaspoon blackcurrant powder in a small bowl or ramekin. Whisk to combine and set aside until the cakes cool — the mixture should thicken and turn almost syrupy.
- In a medium bowl, combine 1 cup confectioners' sugar and 1 tablespoon of the blackcurrant mixture, using a rubber spatula to moisten the sugar with the blackcurrant syrup. The mixture will be thick and almost paste-like. If you find that the sugar isn't completely dissolving and you need more liquid, continue mixing while adding about 1/2 teaspoon of the blackcurrant syrup; you might even need to use up all of the syrup. But be careful not to add too much liquid to the glaze — the final product should be thick, to prevent it from dripping down the sides of the cakelets.
- Once you're satisfied with the thickness of your glaze, immediately use an offset spatula to spread the top of each cake with a generous coating of blackcurrant glaze. Top with the sprinkles and garnish of your choice — the glaze will harden and set fairly quickly, so be sure to decorate immediately after glazing.