Thanksgiving Lemon-Berry Cheesecake, Pt. 2: How to Hide the Cracks in Your Cheesecake
Interestingly enough, the first time I ever made cheesecake was also for another Thanksgiving dinner during my senior year of college. My parents, neither of whom were American, didn’t think it was necessary to fly me out to wherever they were living at the time (the Philippines? Sakhalin Island? I don’t even remember) for a four day weekend. So me and the few other friends whose parents had felt the same decided to have a ragtag, pot luck dinner together.
Of course, I volunteered myself for dessert. I wanted to make white chocolate-raspberry cheesecake! Being the inexperienced baker that I was — at the time, I cared more about the final product than the actual process itself — I google searched a recipe and actually used the first recipe in the results: Kraft Philadelphia Cream Cheese’s white chocolate raspberry cheesecake.
Not to be a snob, but it’s never a good idea to use brand-name recipes. Most of the steps tend to be oversimplified and err more on the side of haste than taste. Most brand-name recipes also tend to heavily favor the use of whatever product they happen to be swilling, compromising the final product’s flavor. But at the time, I thought the final product tasted good enough (I should have known when only 1 or 2 slices were actually eaten at the party, mostly by me) despite the fact that when I had pulled it out the oven, it looked like a train-wreck — the cake had risen unevenly, and the top of the cake was covered in all sorts of cracks. These cracks intensified when the cake cooled.
I later did research that day and discovered that most experienced bakers used a “water-bath” method to bake cheesecake. This consists of the cheesecake being poured into a springform pan that is wrapped in foil and then placed into a baking pan. The pan is placed into the hot oven and boiling water is poured into the baking pan around the foil. The foil serves to keep water from seeping into the springform and spoiling the cake. The water bath bakes evenly and gently to help keep the cake creamy throughout and prevent shrinkage and cracking.
If the pan is in water in the oven, the pan cannot get as hot. (Without a water bath, it will reach the same temperature as the oven because metal conducts heat so easily). When in water, the pan’s temperature won’t get higher than the temperature of the water around it. Since water requires a lot of energy to rise in temperature (and, in particular, to rise above boiling temp), the pan will stay below 212 degrees (as opposed to 350).
This means that the edges of the cake will cook at a rate closer to the rate that the middle of the cake cooks. And, that your cheesecake will be less likely to stick to the edges of the pan. The cheesecake normally cracks as it cools and the center is pulled toward the edges which are stuck to the pan because they are so cooked. This is the main source of cracking — other sources have also recommended putting a large bowl over the cheesecake when it is cooling, trapping heat inside the bowl and causing it to cool down more slowly. Other sources also suggest simply turning off the oven, and leaving the cake in there until ready to cool. It seems like the perfect cheesecake requires as much care in cooling as it does during the baking process.
Flash-forward three years later, to the night before Thanksgiving dinner. After reading through Susan Purdy’s cheesecake recipe in Pie in the Sky: Successful Baking at High Altitudes, I mistakenly decided to forgo the hassle of the water bath. Purdy was normally pretty meticulous in ensuring that she had all the details down in her recipes — I figured that the intensely buttered springform pan and the jelly roll pan base I was supposed to set the cake on would do the trick. Little did I know that apparently the jelly roll pan only catches the springform pan’s liquid residue and had nothing to do with actually regulating the springform pan’s heat.
When I pulled the cheesecake out of the oven, this is what greeted me:
 Cheesecake, first few minutes out of the oven
(iPhone camera)
Agh! It seemed like I had used a pan that was way too small for the cheesecake. The sides had puffed up and cracked dramatically! I frantically googled “puffed up cheesecake” to see if I had screwed up somehow. ‘No matter’, About.com’s Baking Tips for the Perfect Cheesecake, advised me. ‘A perfectly cooked cheesecake will be puffed up on its sides. This bloating will reduce when the cake is cooled. Just be sure to carefully cool the cake.’
Okay, disaster averted. Susan Purdy’s recipe recommended placing a cardboard disk over the cake to slow down the cooling (and subsequent cracking) process. The problem is, the cake had risen over the edge of the pan! How was I supposed to rest a cardboard disk on the springform pan? I shrugged, placed the disk on the ACTUAL CAKE ITSELF, and promptly fell asleep.
When I woke up, this was what awaited me:
 Cheesecake, after being cooled overnight
(iPhone Camera)
But alas, I had a Thanksgiving dinner to attend and no Hummingbird cupcake recipes perfected. I ignored the sign from God and got to brainstorming. What would be a good topping to use to cover up the cake’s cracked top? Susan Purdy’s recipe included a recipe for glazed mango topping, but mango was not in season and impossible to find in Colorado. Any kind of berry would be the intuitive choice for accompanying a lemon cheesecake, but I wanted something that would blow people out of the water.
Like candied rose petals.
 Homemade Candied Rose Petals
 (iPhone camera)
Candied rose petals are shockingly easy to make. All you need are 2 organic roses, 1 large lightly beaten egg white, 1/2 cup of sugar (in my case I used homemade vanilla sugar), and some wax paper. All you need to do is brush each side of the individual rose petal and dip into the sugar. Let dry on a sheet of wax paper. Voila! No need to pay exorbitant prices for an alleged luxury.
However, be warned. Each rose yields about 20-30 individual petals – it is a bit of a time consuming process, brushing each delicate petal’s side with egg white an dipping it into sugar. The sugar also begins to clump in the bowl, creating a giant mess. If you’re a lazy sack like I am, I thought I would be able to get away with creating some weird egg-sugar mixture and brushing the petals all at the same time. So I dumped a boatload of petals in a huge bowl, poured in some egg white, and tossed in some sugar and stirred everything together.
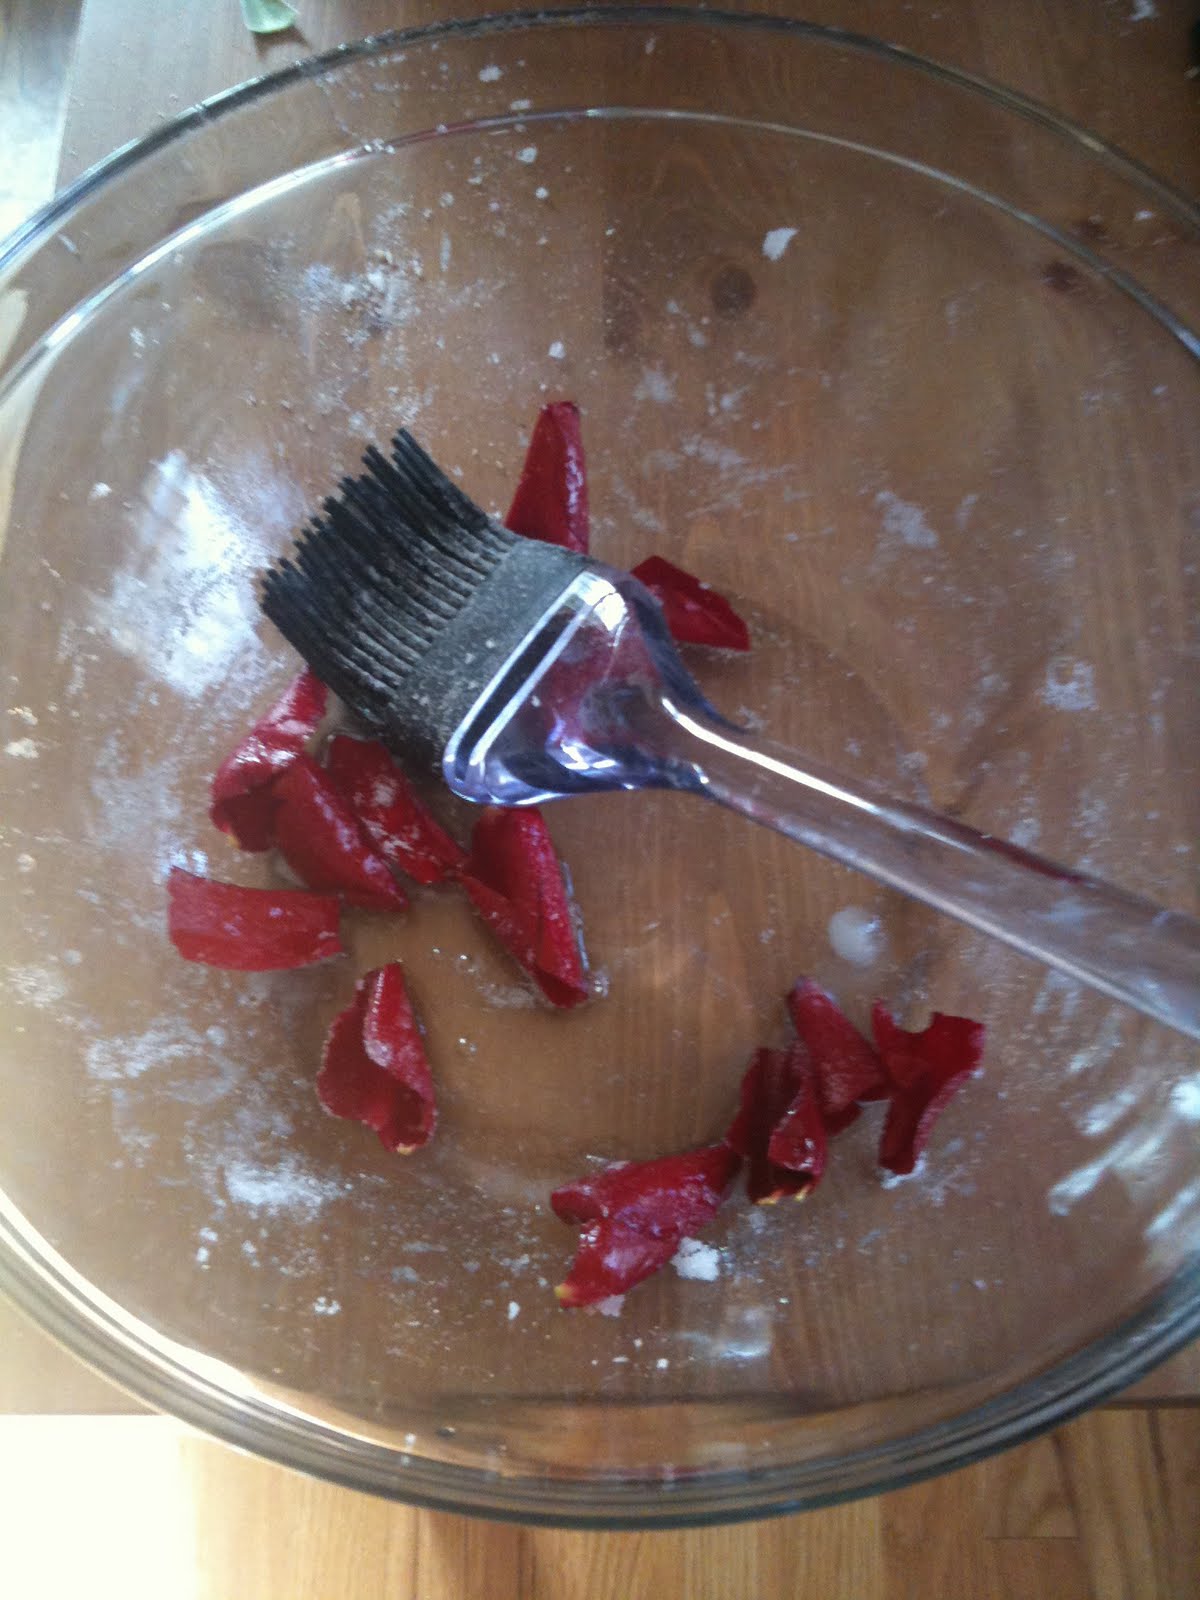 Candying rose petals in bulk
 (iPhone camera)
I then laid the petals to dry. After about 20 minutes, these were the results:
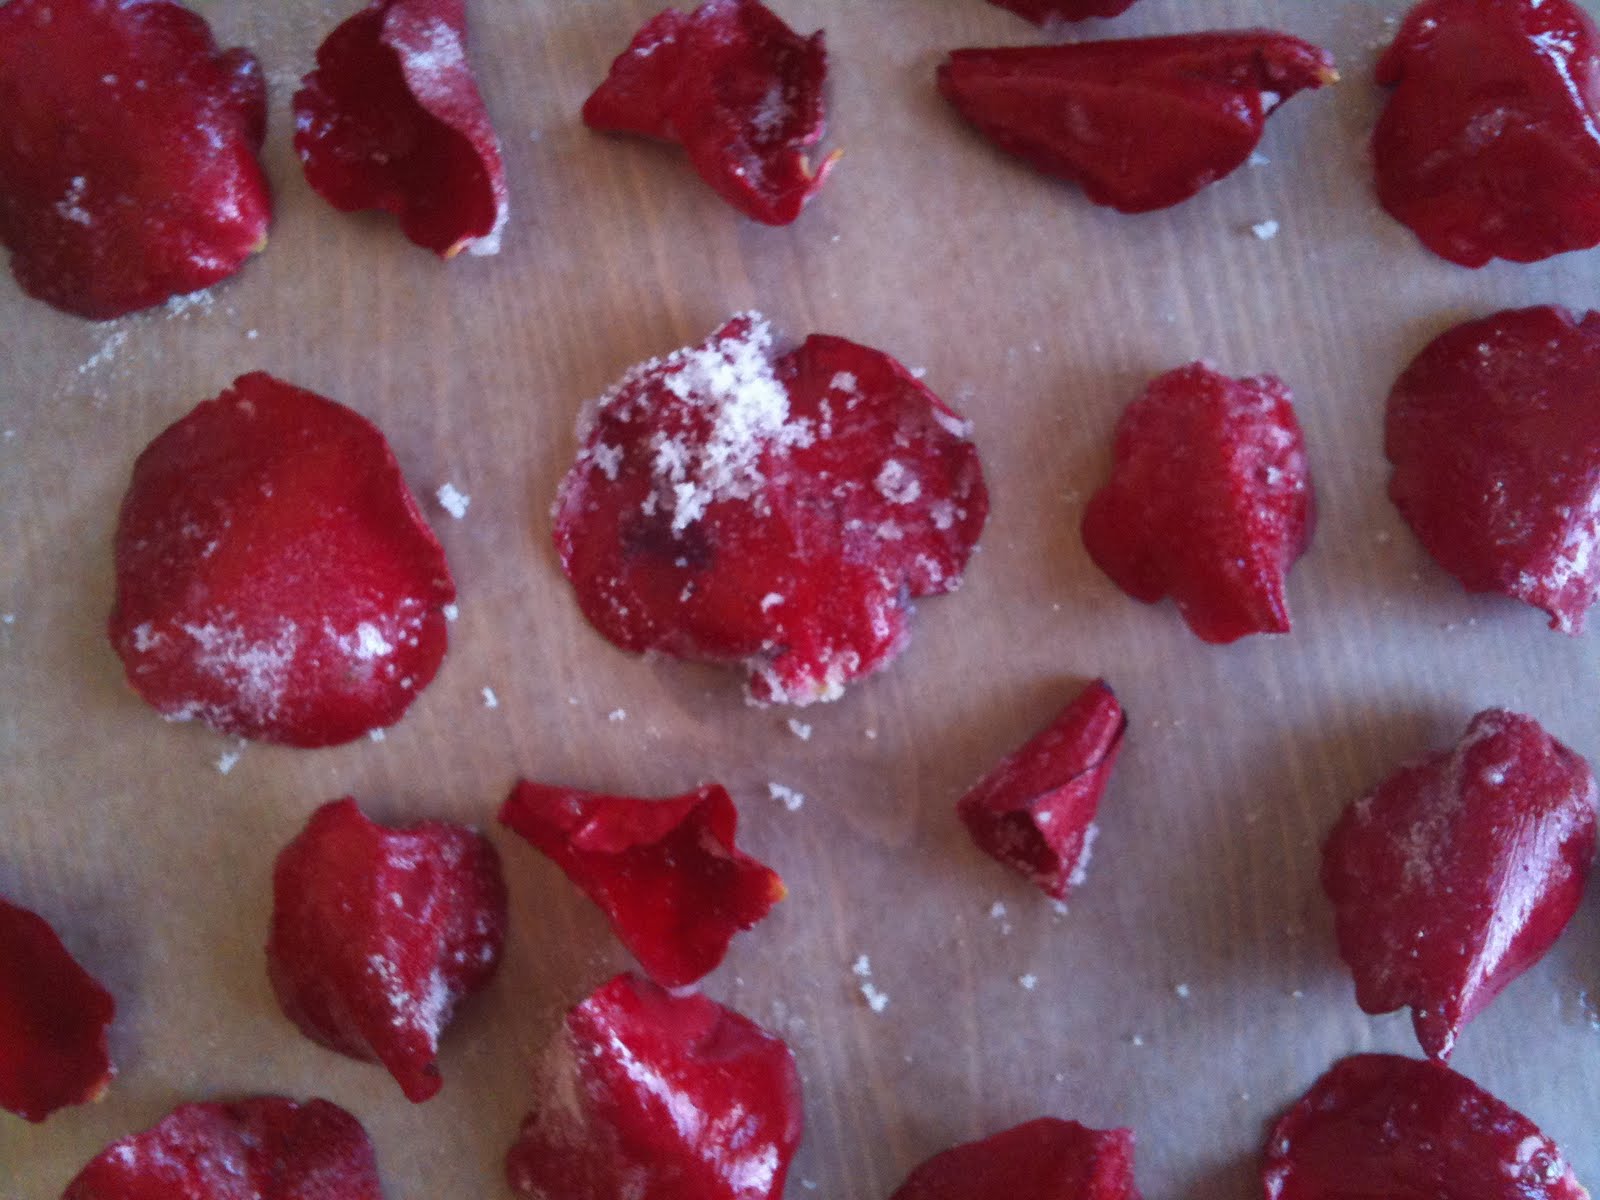 The results of candying rose petals in bulk
 (iPhone camera)
Sure, they looked good. But taste was another matter entirely. It turns out that rose petals are actually pretty bitter on their own; one needs a LOT of sugar to cut out the bitter aftertaste. My process of candying the rose petals in bulk failed miserably. The egg and sugar had mixed together during my frantic stirring and had created a shiny, tasteless gloss on the petals. It turns out the only GOOD candied rose petals are the ones that are extraordinarily crystallized in texture (as seen below):
 The good candied rose petals (iPhone camera)
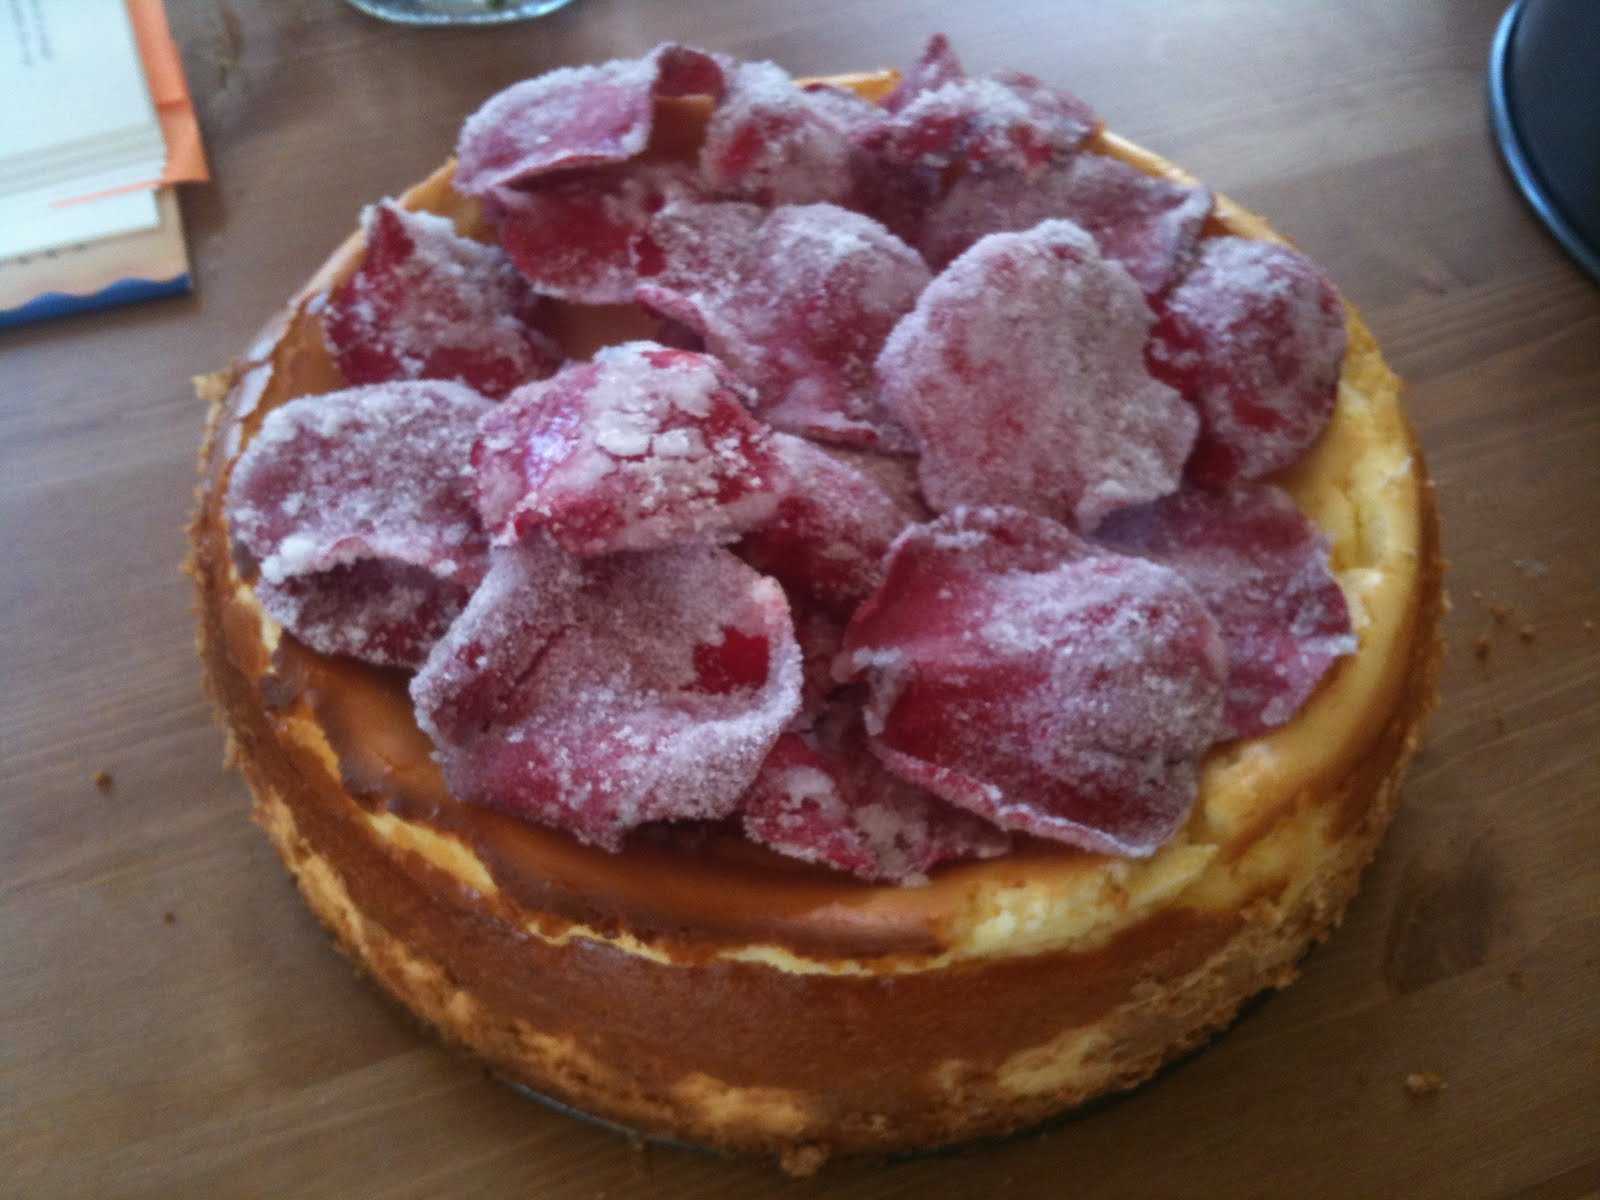 Cheesecake with a shit-ton of candied rose petals
(iPhone camera)
There was something a little off about the cake. But if you stepped back, it looked fine, right?
 (iPhone camera)
Right.
Content, I left the cake on the dining table and began cleaning up the kitchen. Five minutes later, I heard a shriek from the dining room.
“What did you put on the cake?!” My boyfriend exclaimed. “They look like animal tongues!”
Okay, so I knew I might have gone a little overboard. But animal tongues? Gross. That was when I finally gave in and substituted the pile of rose petals for honey-tossed blueberries and raspberries. In the end, this was probably a better idea:
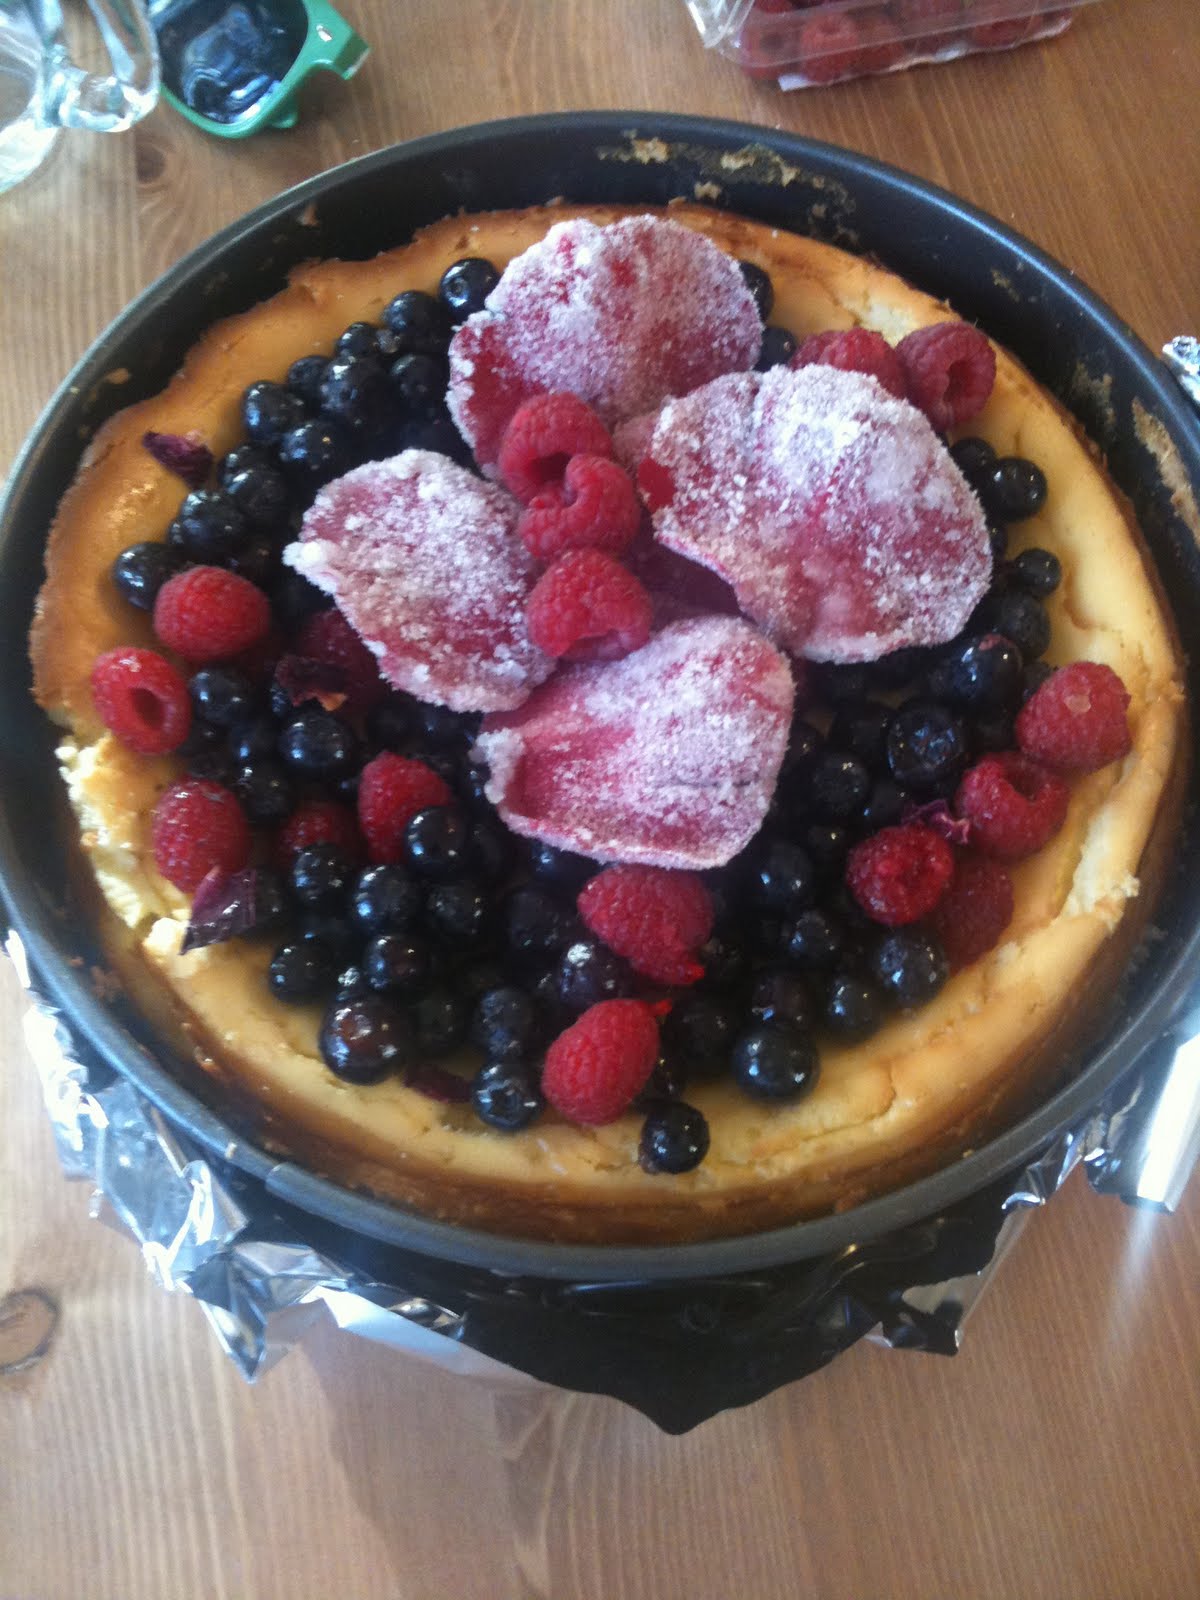 (iPhone camera)
So, moral of the story? Always use water-baths when baking cheesecake, and most certainly, do not overboard your cheesecake with candied rose petals.