
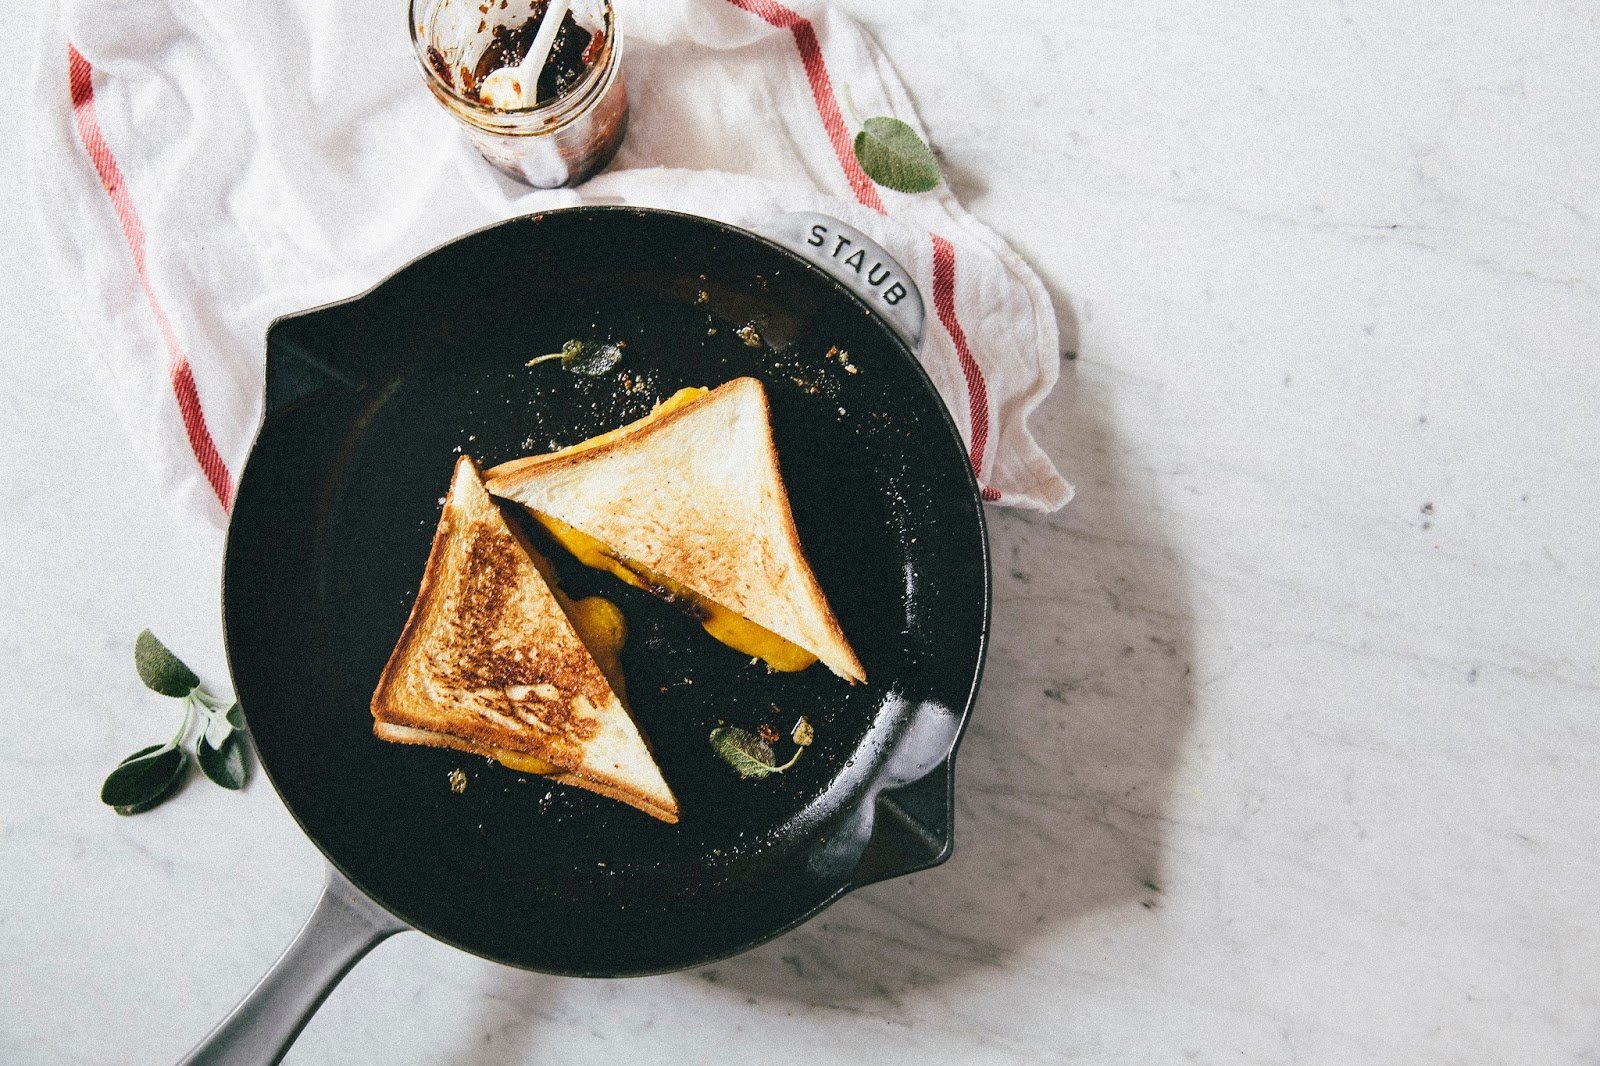
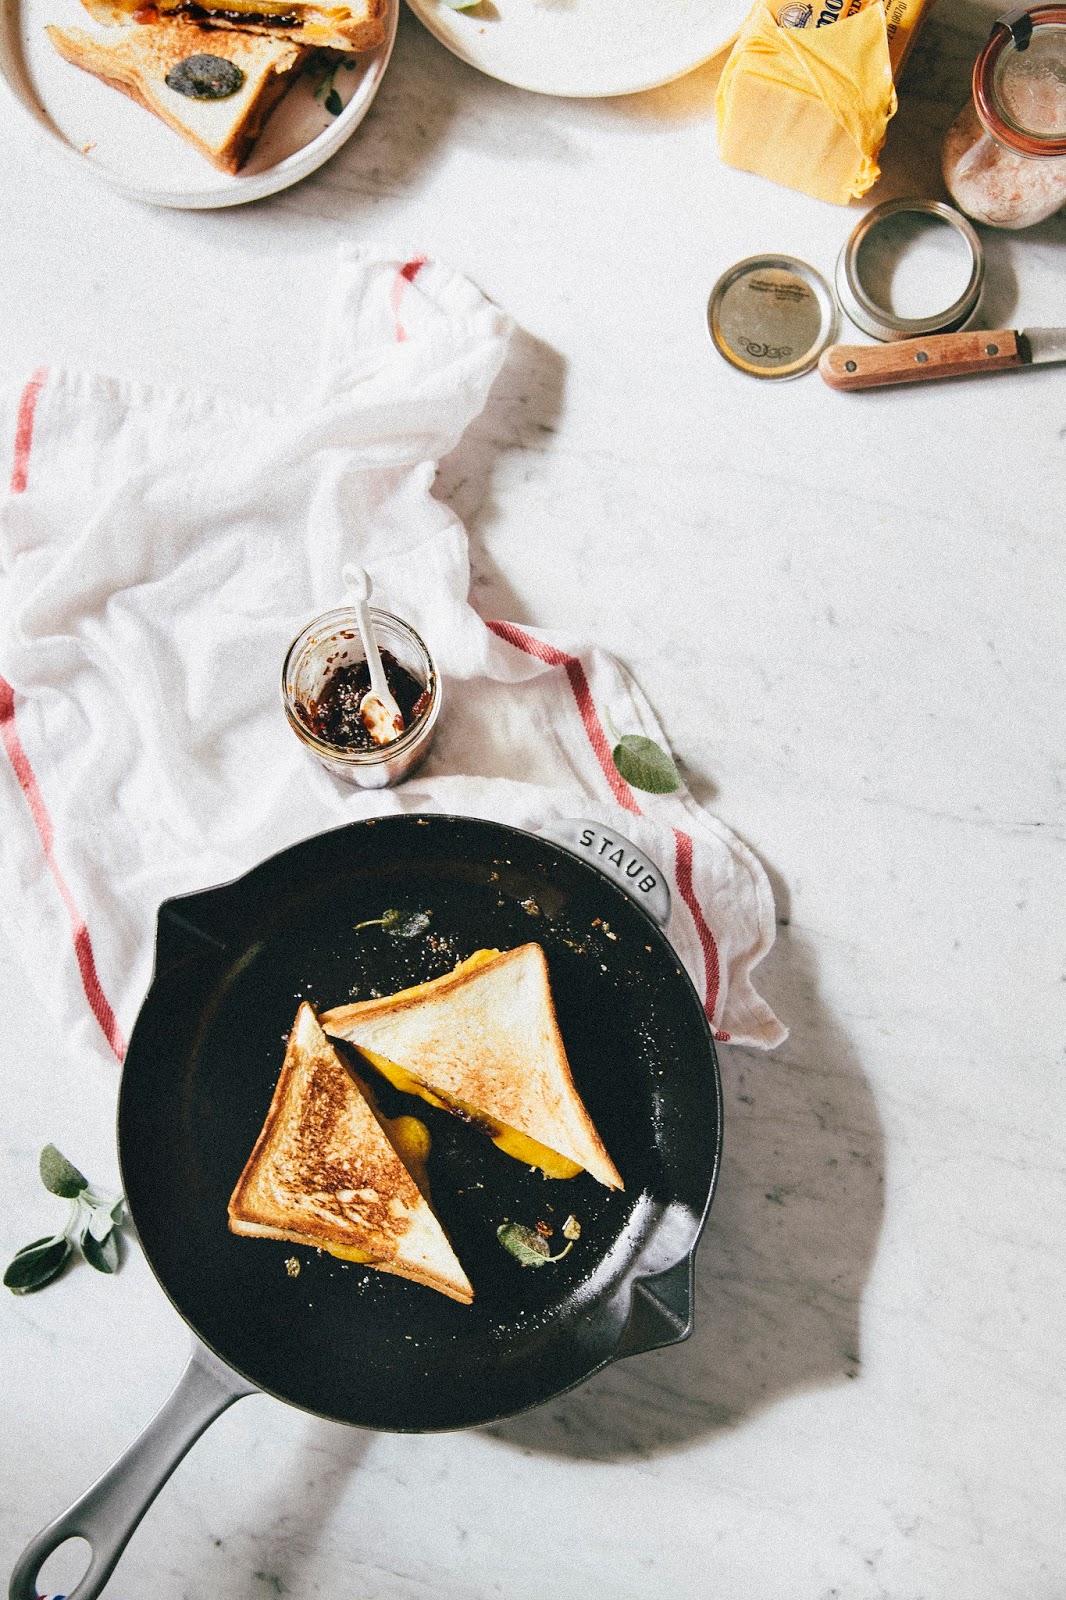
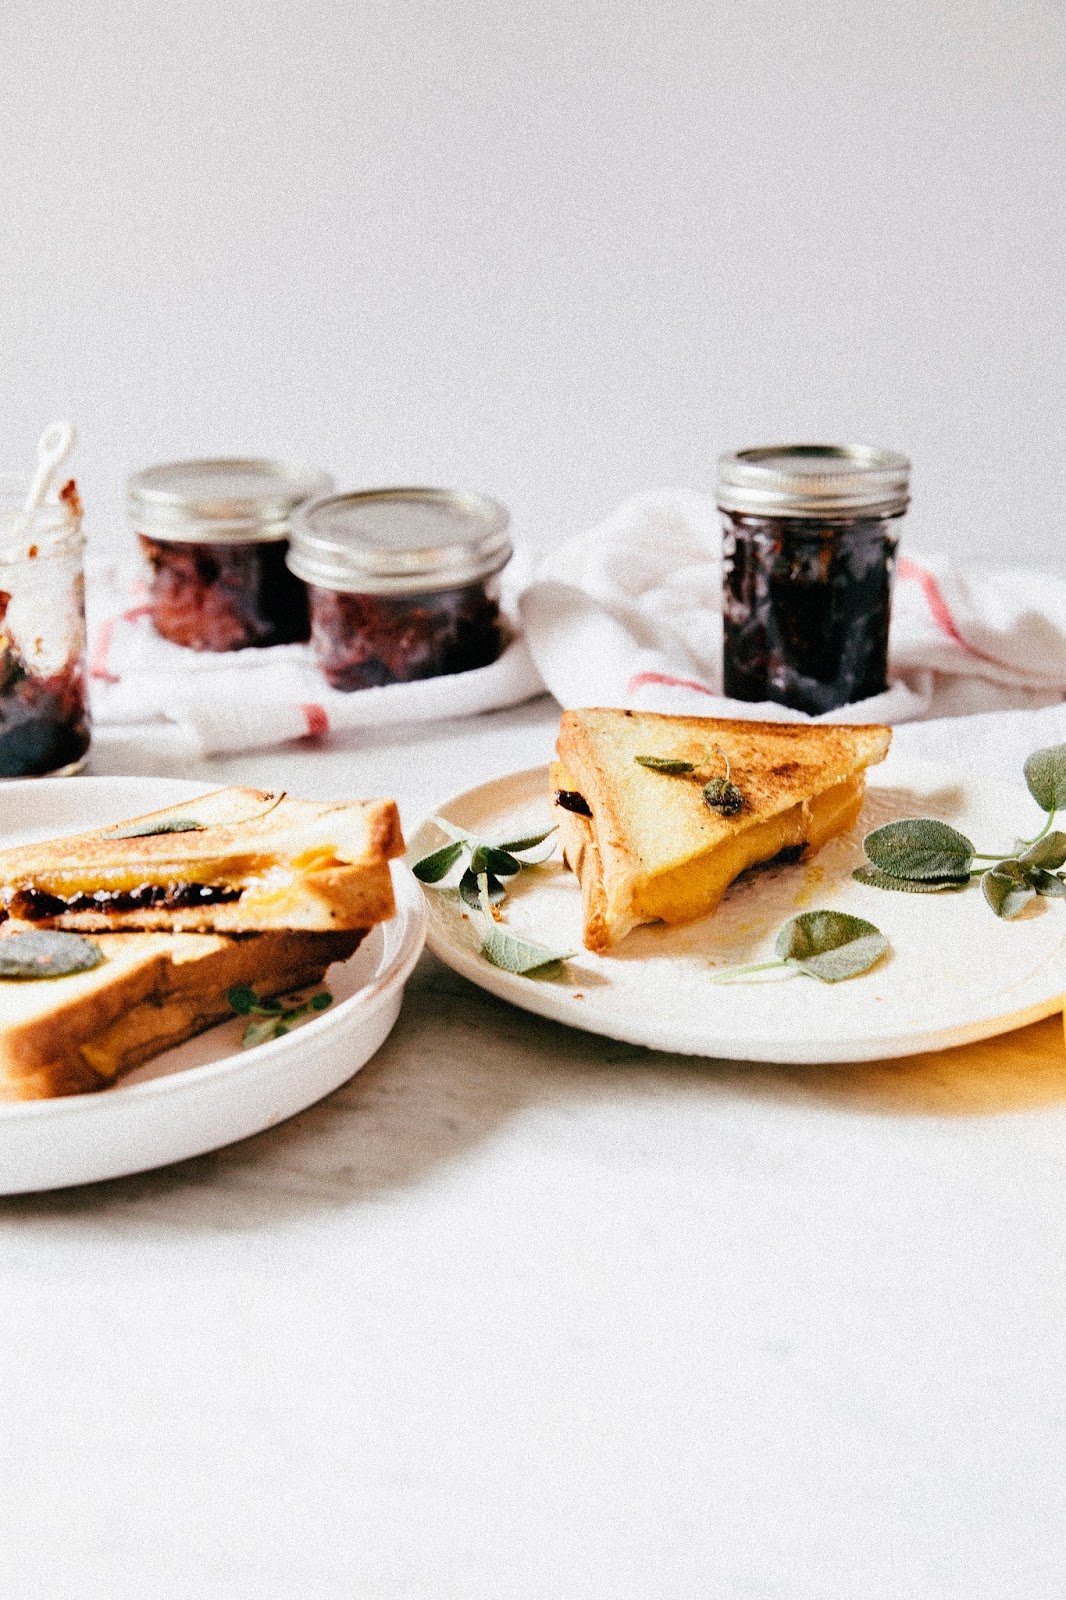
Is there anything more comforting than a grilled cheese sandwich? No, I really don’t think so. After a long, hard day of work, especially the kind when I’m too exhausted to cook myself a real meal, I usually make a grilled cheese sandwich. They’re my saving grace — easy and effortless, instantly comforting, and always tasty.
So today I thought I’d deviate from my usual baking and desserts recipes to share with you guys this humble grilled cheese sandwich. It deserves a spot on this blog, not only because it’s one of the recipes that has saved my life far too many times, but also because it’s simply delicious. And this one is particularly near and dear to my heart since a lot of the ingredients I’ve used are grown and made by yours truly. The sage comes from the herb box I’ve miraculously been keeping alive since Erlend’s departure, while the apple and cranberry chutney is one that I’ve made and canned myself to take advantage of this season’s bounty.

And yep, you read that right. Chutney that I’ve made and canned myself. While it sounds super crazy and impressive, it’s actually really freaking easy, I promise. I like to use the Boiling Water Bath Method to can and preserve foods. It sounds fancy and difficult, but it’s really not. At the end of the day, the mechanics behind canning are pretty straightforward — you simply fill sterilized jars with the prepared food that you want to preserve before covering and submerging the entire thing in boiling water. After you remove the jars from the water and they start to cool, heat escapes from the inside and takes with it all the air left in the jar. This escaping air pulls the lid down to create an airtight seal and just like that, you’ve preserved food that will last you for at least a year! Science — it’s pretty neat.
Without further ado, my guide to canning:
To can, you’ll first need to gather and prep all your canning equipment. You don’t need a ton of fancy stuff, but there are definitely a handful of requirements:
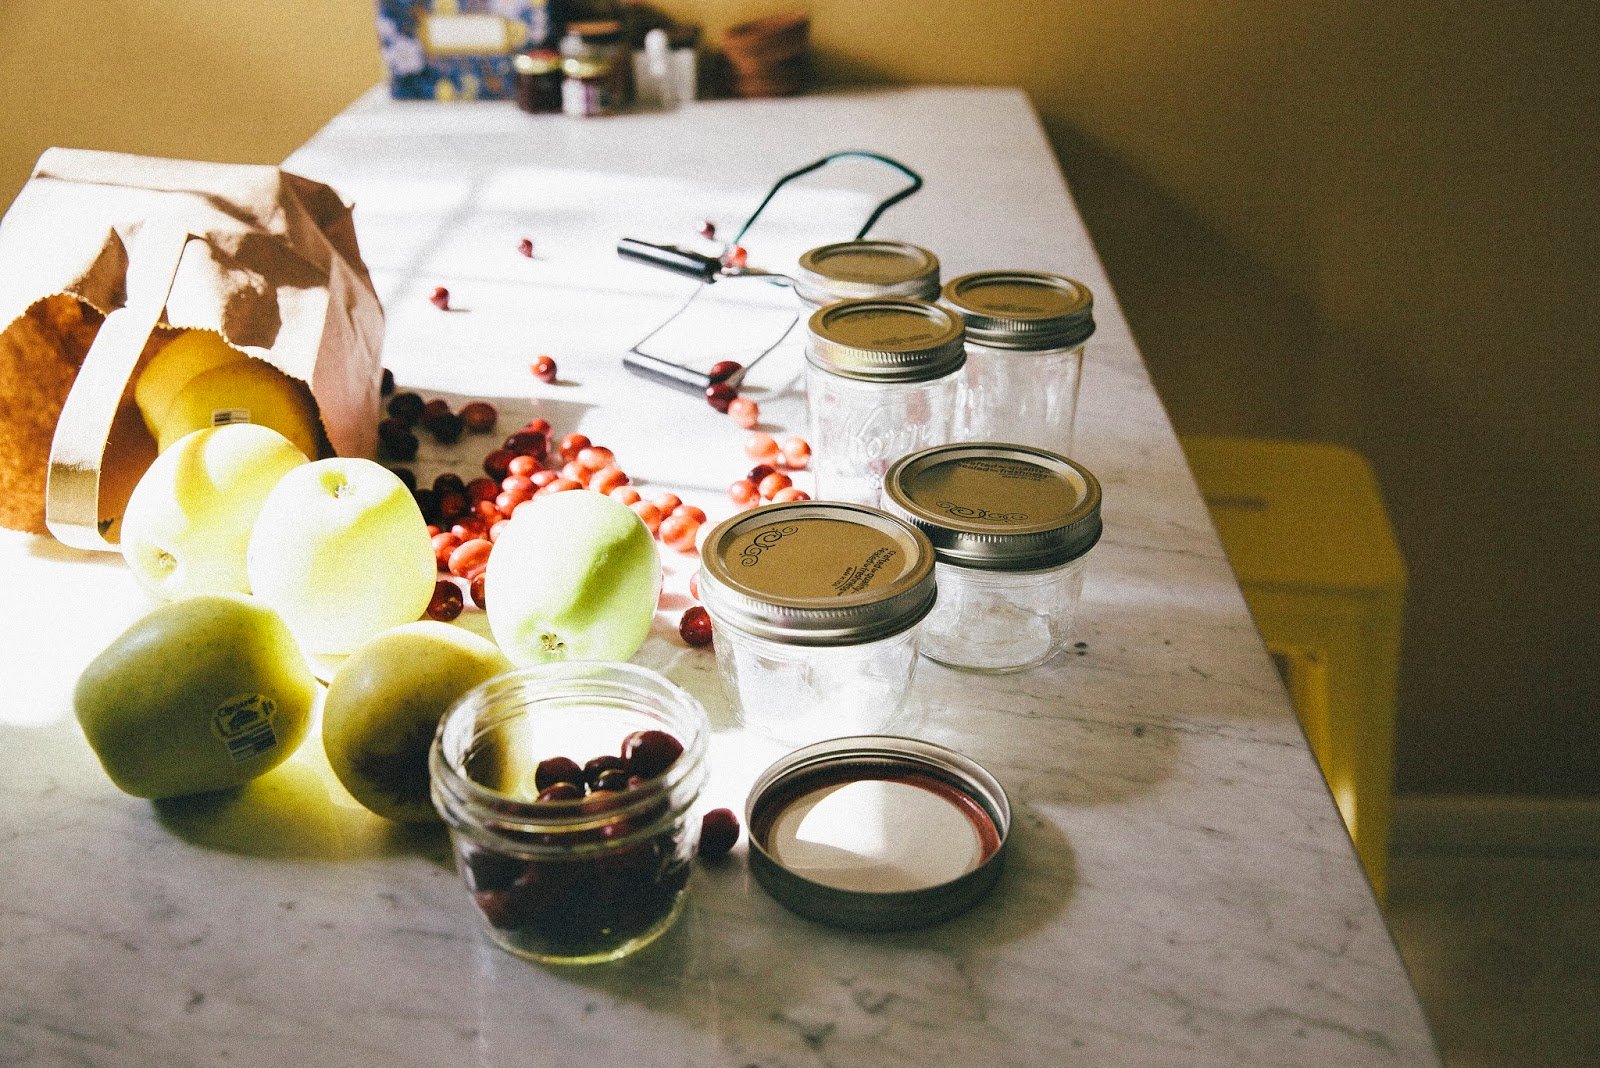
- Glass canning mason jars with metal lids and rings. This is the fun part! You can pick from a variety of sizes and shapes; if you’re working with a small batch recipe like this one, I recommend a variety of half-pint jars. However, if you’re using a variety of sizes, it’s best to have a couple or triple of the same bunch so that you can boil those jars in the same batch. I also prefer wide-mouth jars for easier funneling.
- A large, deep stockpot. The pot doesn’t have to be fancy, but it does need to be tall enough to hold enough water to cover the top of your tallest mason jar plus an extra inch or two of water.
- A canning wire rack or a silicone trivet small enough to fit into the stockpot. Without a rack or trivet at the bottom of the large stock pot, you run the risk of ruining your preservatives by overcooking the bottom (and maybe even cracking the glass jar!). You can get a special wire rack for canning like I did, or you can use any waterproof trivets (think: silicone or metal) that you might already have lying around. A vegetable steamer also works!
- Clean kitchen towels. When canning something, there’s generally a lot of dunking jars in and out of a vat of boiling water. Lining your countertops with clean kitchen towels is a great, easy way to minimize contamination, help prevent accidents, and makes for easy clean-up.
There are also other tools that are definitely “nice-to-have” when canning. These aren’t really necessary for the occasional cannist, but if you’re planning on making canning one of your hobbies and main sources of food preservation, I highly recommend investing in the following equipment:
- Mason jar canning tongs. You can use a regular set of kitchen tongs as well, but they won’t be as easy to use/grippable as canning tongs. Good canning tongs will be covered in rubber at both the lifting end (to provide grip on the slippery, wet jars) and the holding end (to prevent the tongs from burning up your hand when held over the steaming hot stockpot).
- Magnetic lid lifter. After sterilizing your canning jars, you’re supposed to handle the jars and lids as little as possible (or you run the risk of contracting botulism, YIKES). You can easily use the canning tongs to handle the jars, but it’s a little trickier to use them for the metal lids and rings. This is where the magnetic lid lifter comes in. But again, don’t be intimidated — this is just a nice-to-have! You can always use a clean kitchen towel to handle all these items after sterilization.
- Wide-mouth canning funnel. This funnel is a godsend if you’re canning something particularly messy, especially if you’ve gone against my advice and used small-mouthed jars.
- Cookie dough scoop. You can also use a plain old regular spoon or ladle, but the cookie dough scoop works the same way as the funnel by making your life much easier (especially if you’re working with a really sticky preservative).
- A wire rack. A second, larger wire rack is handy in drying your canning equipment after sterilization and allowing the preservatives to cool evenly after processing.
After you’ve gathered all your tools, it’s time to sterilize your canning equipment. Line the bottom of your stockpot with whatever trivet you’re using. Place all the jars, lids, and rings that you’ll be using in the stockpot on top of the trivet, and fill both the jars and pot with enough water to just barely cover the tallest jar you’ll be using.
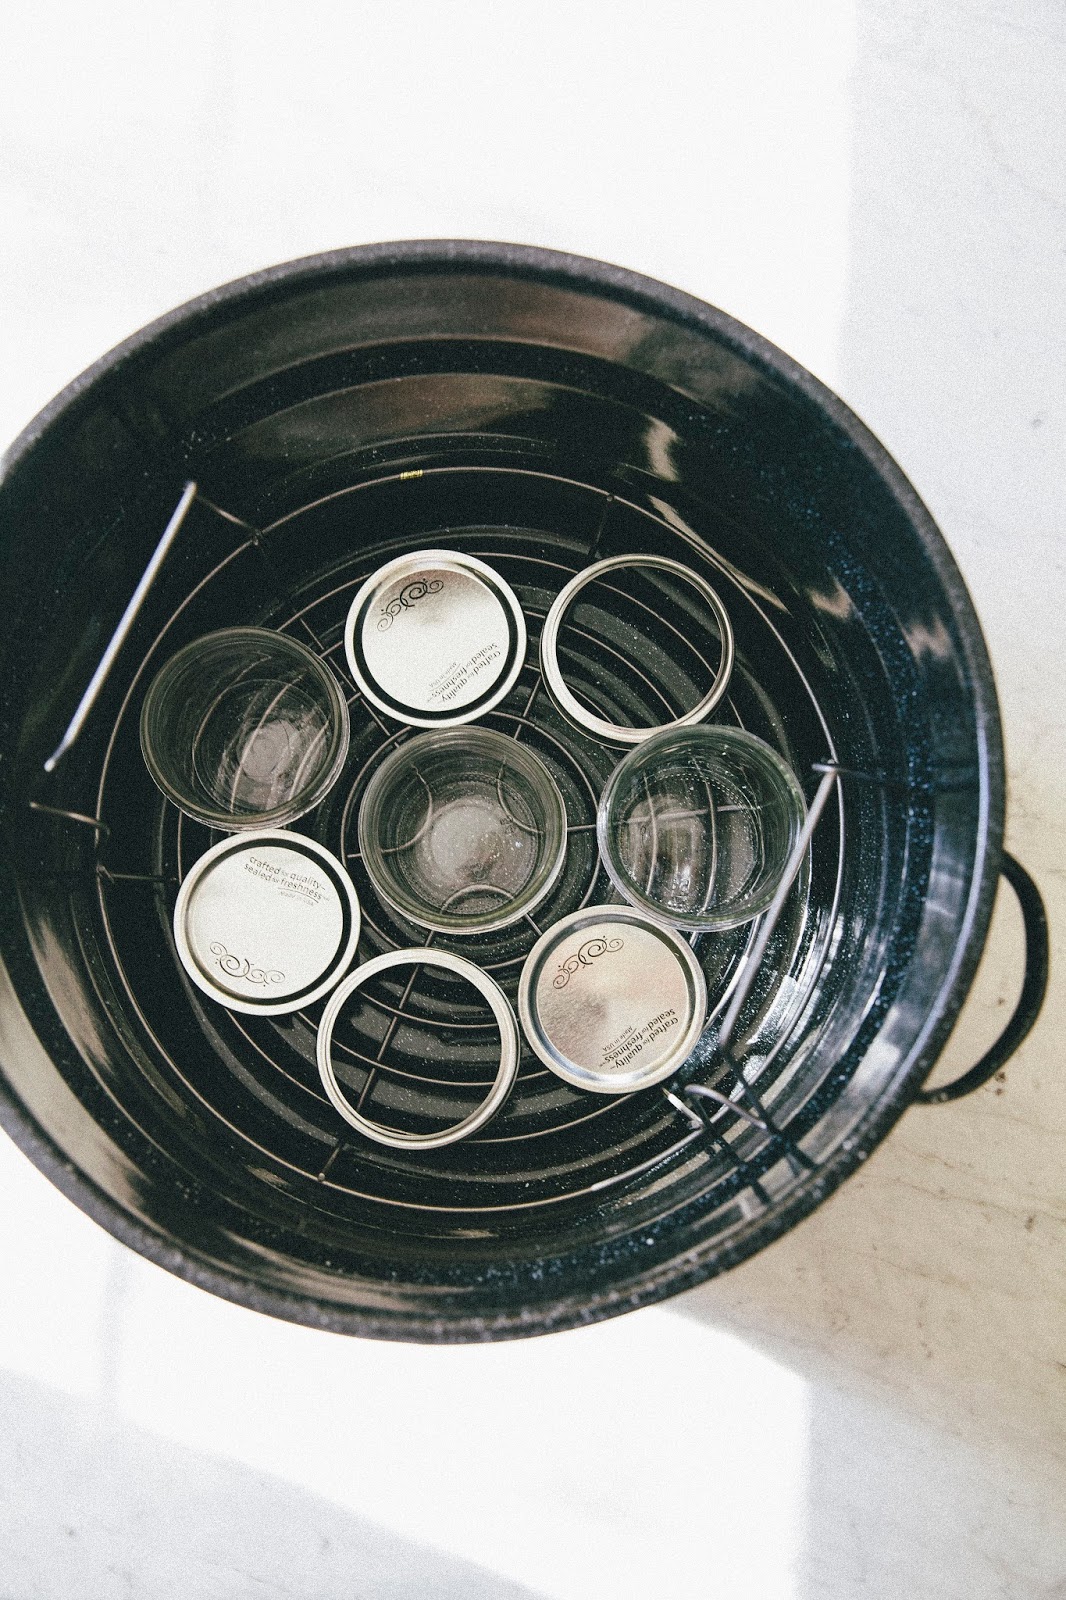

Add a generous splash of white vinegar to the pot to help prevent any minerals from depositing onto the canning pot or jars. Bring the entire thing to a boil over high heat, and boil for around 15 minutes, before using the canning tongs and lid lifter to fish out the mason jars, lids, and rings. Shake out any excess water over the towels and transfer to a dry wire rack to air-dry completely. Try and avoid touching the equipment after this point. It’s also best to keep the stockpot filled with the water and rack/trivet on the stove at a gentle simmer, ready to be used after you prep your preservatives.
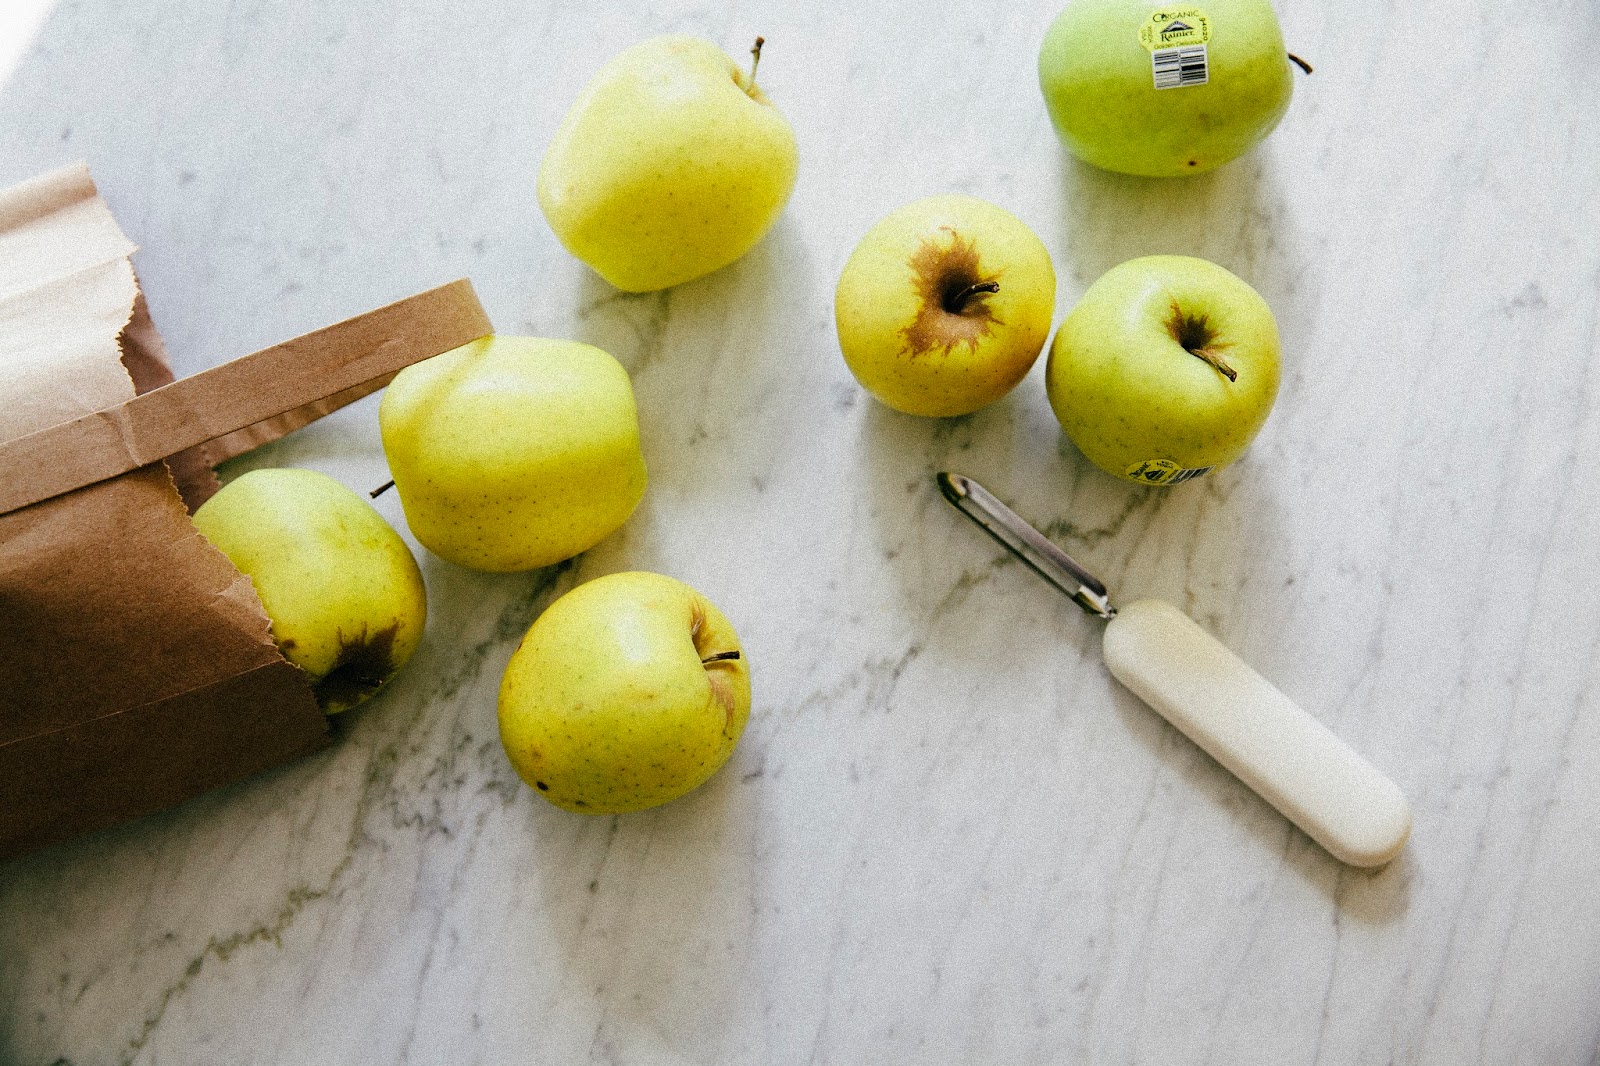
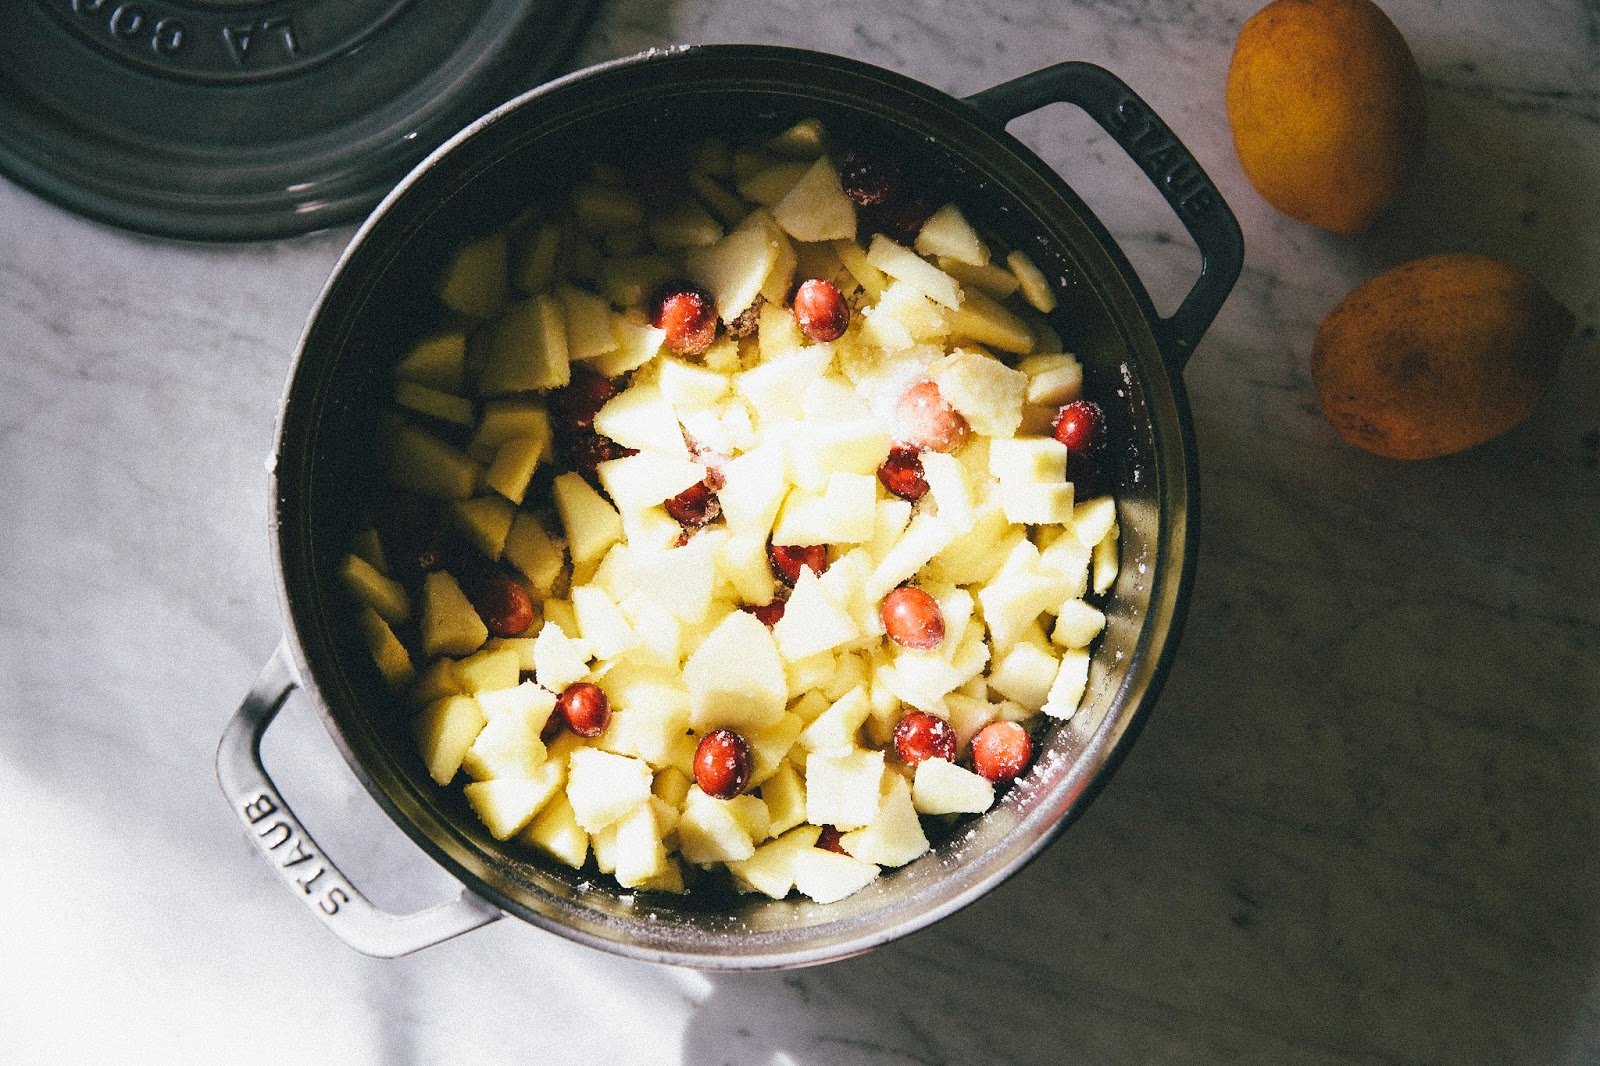
While the cans are being sterilized, prepare your ingredients for your preservatives; in this case, our apple cranberry chutney for our grilled cheese sandwiches! You’ll find the exact ingredient quantities in the recipe below, but the prep is pretty simple: simply peel and dice the apples into ½-inch chunks, before combining them in a pot with the cranberries, granulated sugar, and water. Use a rubber spatula or wooden spoon to combine all the ingredients together until the fruit is covered in a thick sugar syrup.

Bring to a boil over high heat, using a slotted spoon to skim off any foam that develops on top of the fruit and stirring occasionally to prevent the fruit from burning. Cook for 10 to 15 minutes, until the cranberries pop and the apples soften. Add the lemon zest, juice, and balsamic vinegar and simmer until the liquid in the pot begins to thicken. Since both apples and cranberries are naturally high in pectin ( a kind of thick, gelatinous natural sugar), you don’t need to add anything else to help set the chutney. However, it is important that you keep cooking the mixture until it’s thick and syrupy — there’s no right amount of time for this, you’ll just need to eyeball it.
Once the chutney is ready, it’s time for another fun part — filling the mason jars with the preservatives. Before you fill your jars, however, prep your boiling water bath by bringing the water in the stockpot from a simmer and back up into a boil. While the water is boiling, transfer the chutney into the prepared jars using the wide-mouth funnel and cooking dough scooper. You’ll need to leave about a ½-inch between the preservatives and the top of the jar.
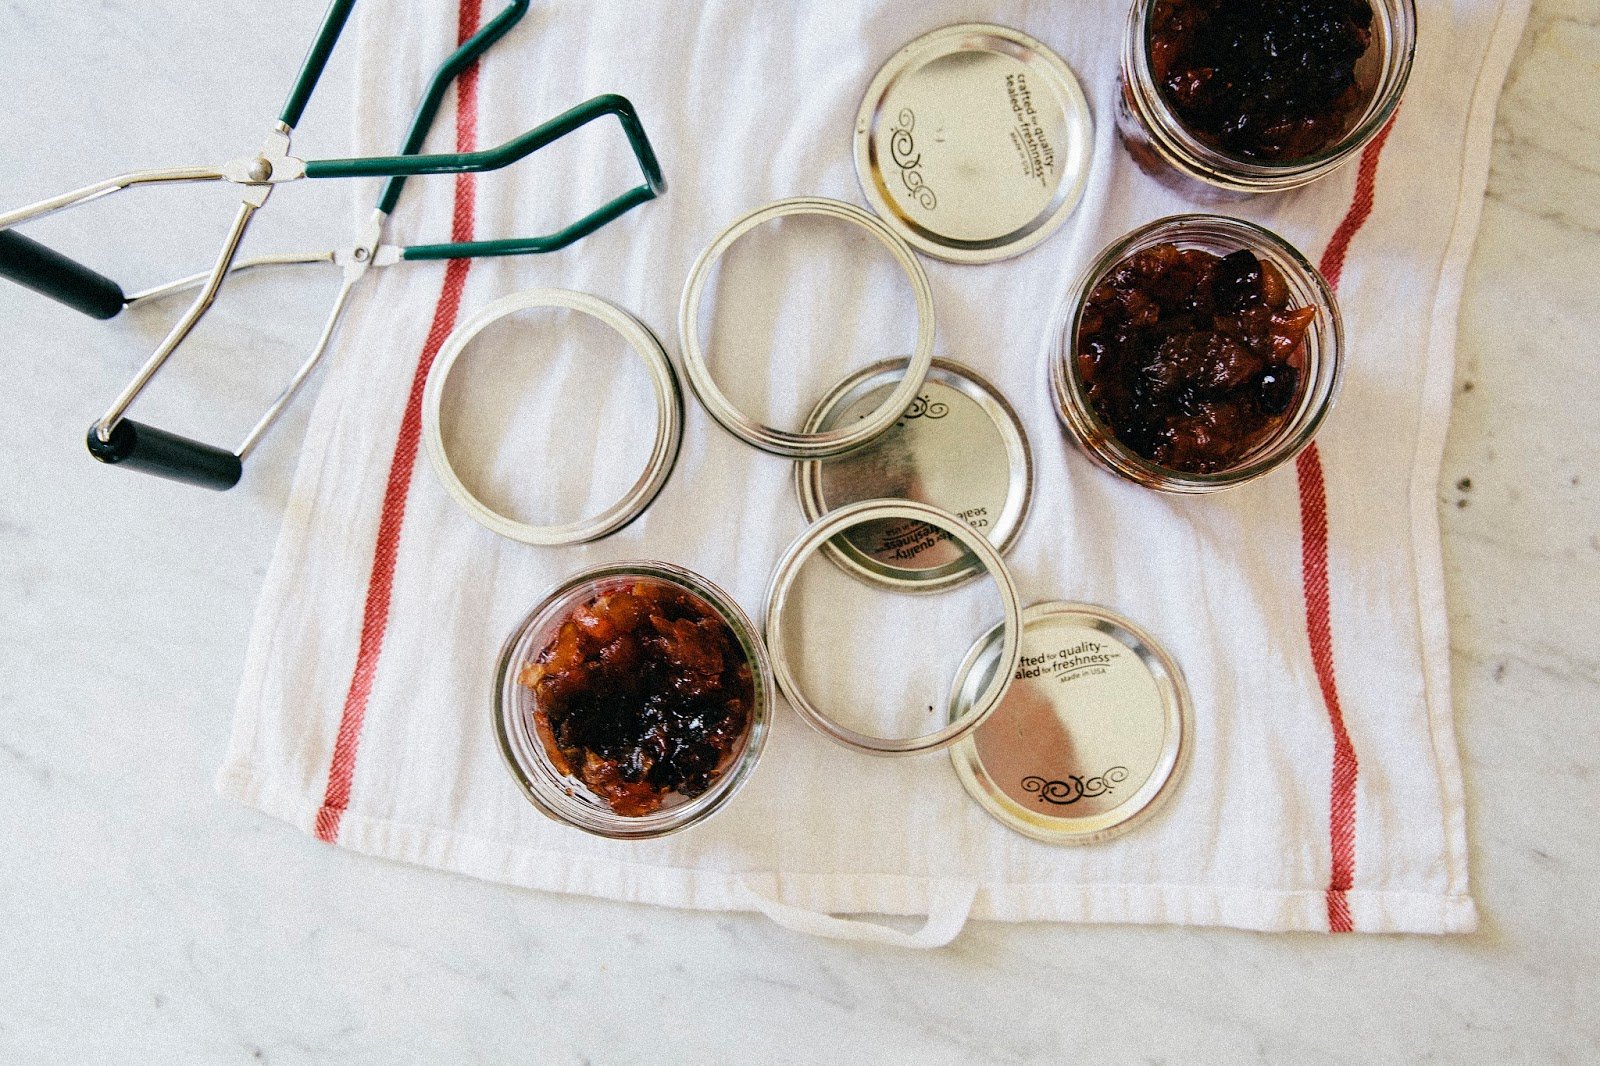
Now it’s time to cover and seal the mason jars. Wipe the rims with a hot paper towel before centering a lid on each jar and securing with a ring. It’s important that you don’t over tighten the rings as there needs to be enough space for the oxygen in the jars to escape. Only tighten as much as you can with the tips of your fingers, turning just until the ring meets resistance and no more.
Once all the jars have been filled and covered, return them back to the stockpot to process the preserves in the boiling water. Use canning tongs to lower each jar into the stockpot on top of the wire rack or trivet, ensuring that each jar is fully submerged and covered with about an inch of water. When the pot returns to a boil, boil the jars for 10 minutes. After 10 minutes, use the tongs to remove the jars from the water bath and place them on either towels or a wire rack to let them cool. The jars should begin to *PING* soon after they’ve been removed from the pot — that pinging is the sound of seals being formed as the center of the lids will become concave as the vacuum seal takes hold.
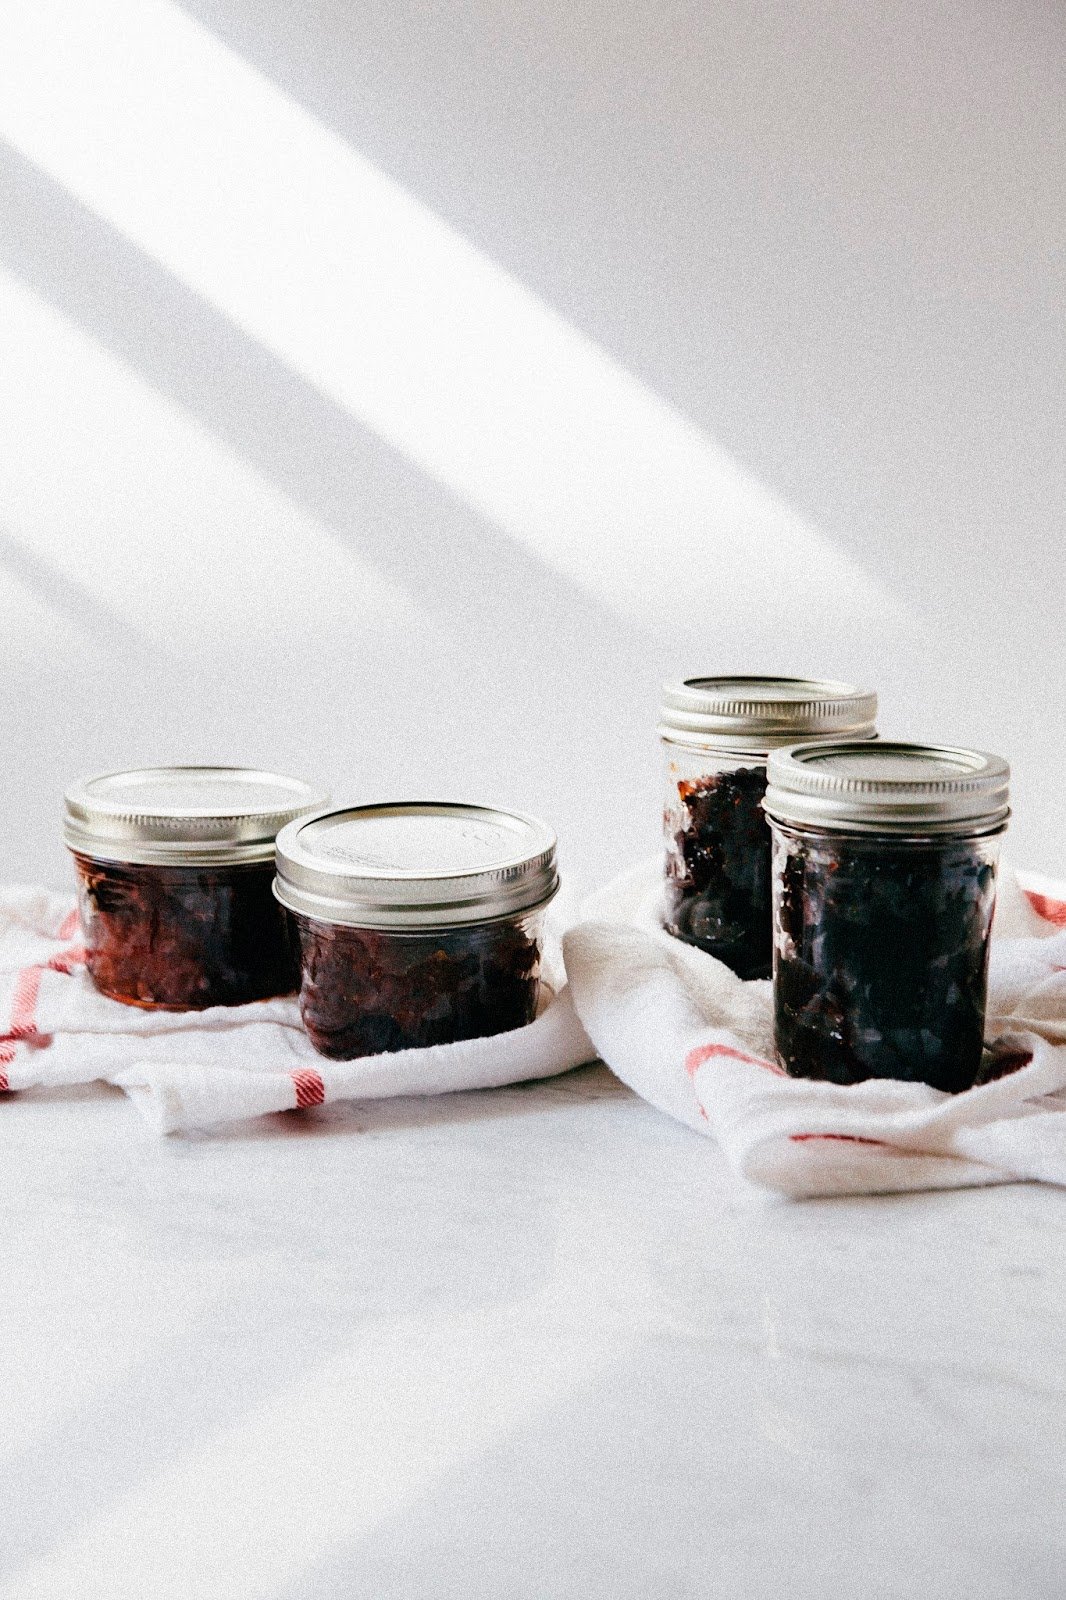
After the jars have cooled to room temperature, remove the metal rings and check the seals by grasping the jar by the edge of the lid and lifting it an inch or two off the countertop. The lid should hold. Store your jars in a cool, dark place for up to a year. Refrigerate all jars after opening and breaking the seal.
If the jars didn’t seal, there may have been a bit of product on the rim of the jar that prevented the lid from getting a good hold. Not a big deal though — simply refrigerate any unsealed jars and use first. Use them in these grilled cheese sandwiches, and all the grilled cheese sandwiches to come.
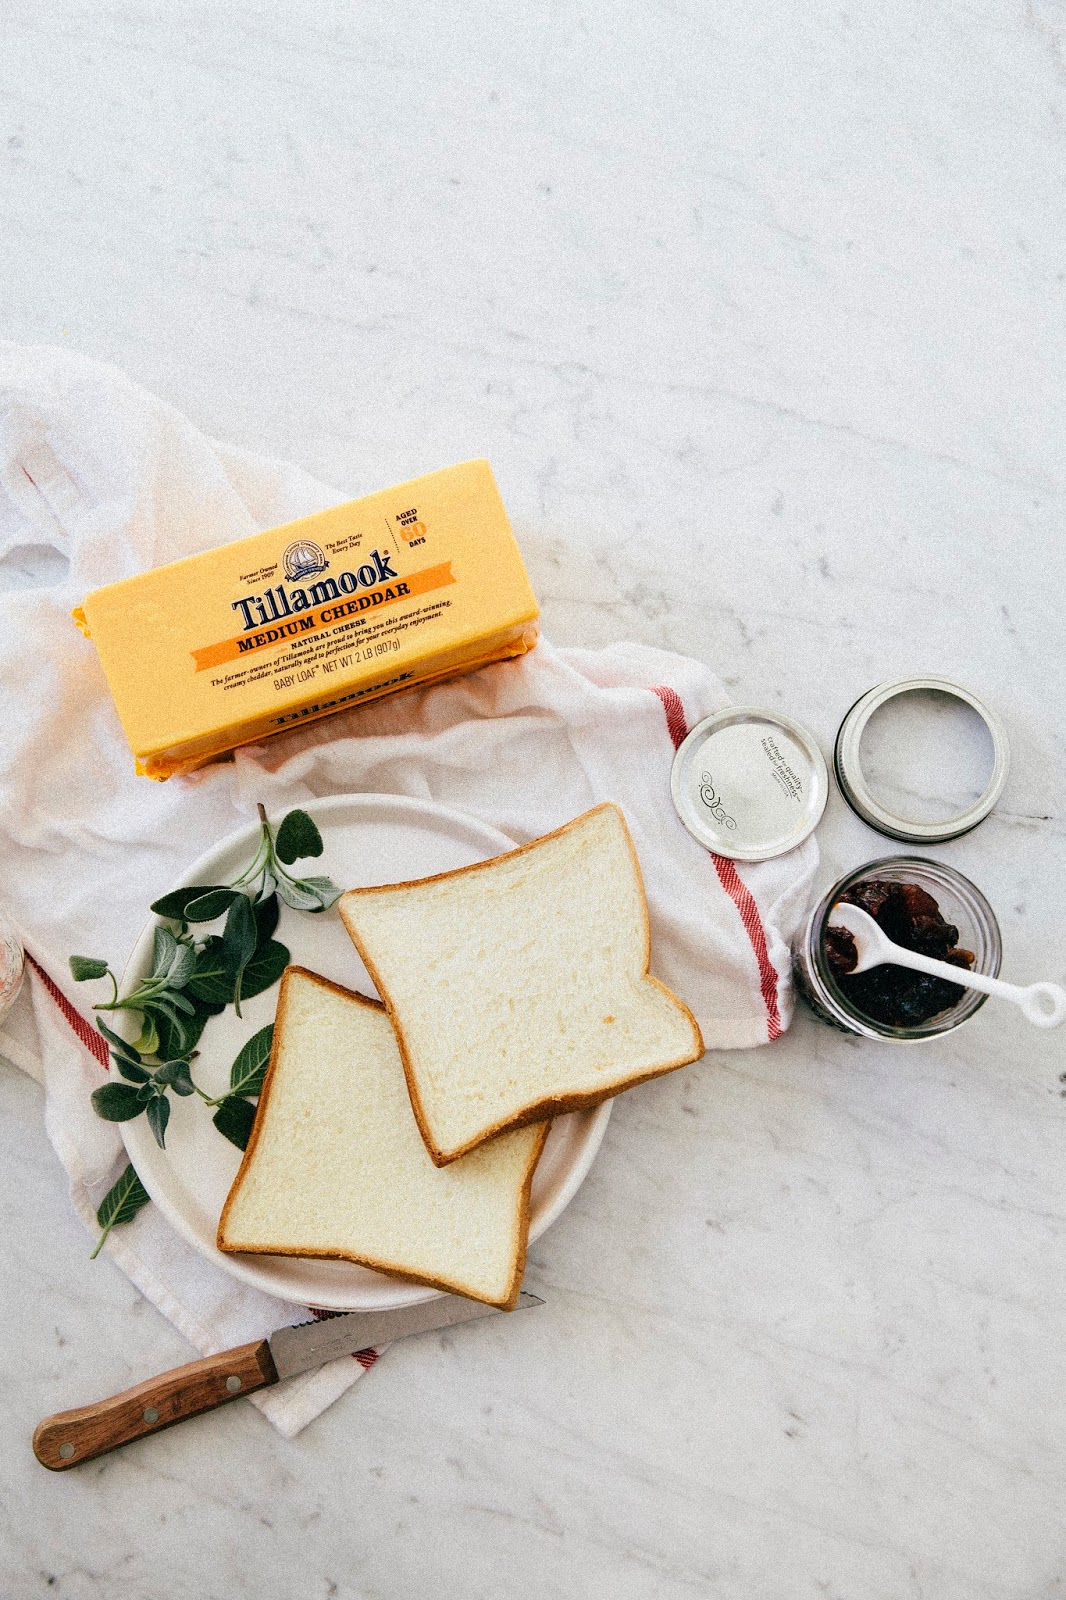
Thank you Tillamook for sponsoring this post by providing the compensation, ingredients, and equipment to make it happen. I fell in love with their butter, cheeses, and ice cream (specifically, the Tillamook Mudslide Ice Cream and their Oregon Strawberry Tillamookies) when I lived in Portland and all their products remind me of home. All thoughts and opinions are my own, and I really do use Tillamook cheddar cheese for all my grilled cheese sandwiches. Apparently they’ve been using the same cheddar recipe for over 100 years, which is crazy to me. But at the same time, why change something that’s already so perfect?


Get the Recipe: Grilled Cheese Recipe with Sage and Apple-Cranberry Chutney
Ingredients
For the Apple-Cranberry Chutney
(makes around 2 1/2 pints)
- 4 cups (2 pounds) Golden Delicious apples, peeled and diced into 1/2-inch chunks
- 3 cups (21 ounces) granulated sugar
- 1 cup (8 ounces) whole cranberries
- 1/2 cup (4 ounces) water
- 2 tablespoons freshly squeezed lemon juice
- 1 tablespoon balsamic vinegar
- fresh zest from a medium lemon
- a pinch of kosher salt
For the Grilled Cheese Sandwiches
(makes 2 grilled cheese sandwiches)
- 1/4 cup (2 ounces // 1/2 stick) Tillamook unsalted butter
- fresh sage leaves
- 4 slices bread (I like to use pain de mie, which is slightly sweet and fluffy)
- 4 ounces Tillamook Medium Cheddar Cheese, sliced into thin strips and squares
- 1/2 pint apple-cranberry chutney
Instructions
For the Apple-Cranberry Chutney
- Follow the canning instructions outlined above — first, prepare your canning equipment and sterilize all your jars, lids, and rings. Once you’ve completed the sterilization process, make the filling.
- In a large heavy-bottomed pot, combine 4 cups peeled and diced Golden Delicious apples, 3 cups granulated sugar, 1 cup whole cranberries, and 1/2 cup water. Bring to a boil, skimming off any foam that develops on top of the fruit. Cook for 10 to 15 minutes on medium heat, until the cranberries pop and the apples soften. Use a wooden spoon or a heatproof rubber spatula to stir the mixture frequently to prevent the fruit from sticking to the bottom of the pot and burning.
- Add 2 tablespoons lemon juice, 1 tablespoon balsamic vinegar, lemon zest, and a pinch of salt and stir into the mixture. Reduce the heat enough to be able to simmer the fruit gently without burning it. Continue simmering the mixture until the liquid in the pot begins to thicken and becomes syrupy (my mixture took around 15 minutes or so).
- Follow the canning instructions outlined above — ladle the mixture into the sterilized jars, wiping the rims with a hot paper towel before applying the lids and rings. Process in a boiling water canner for 10 minutes, before using canning tongs to fish them out and transfer to a wire rack lined with kitchen towels. After being processed, the sealed chutney should keep for about a year in a cool, dark place. Remember to refrigerate any jars after opening!
For the Grilled Cheese Sandwiches
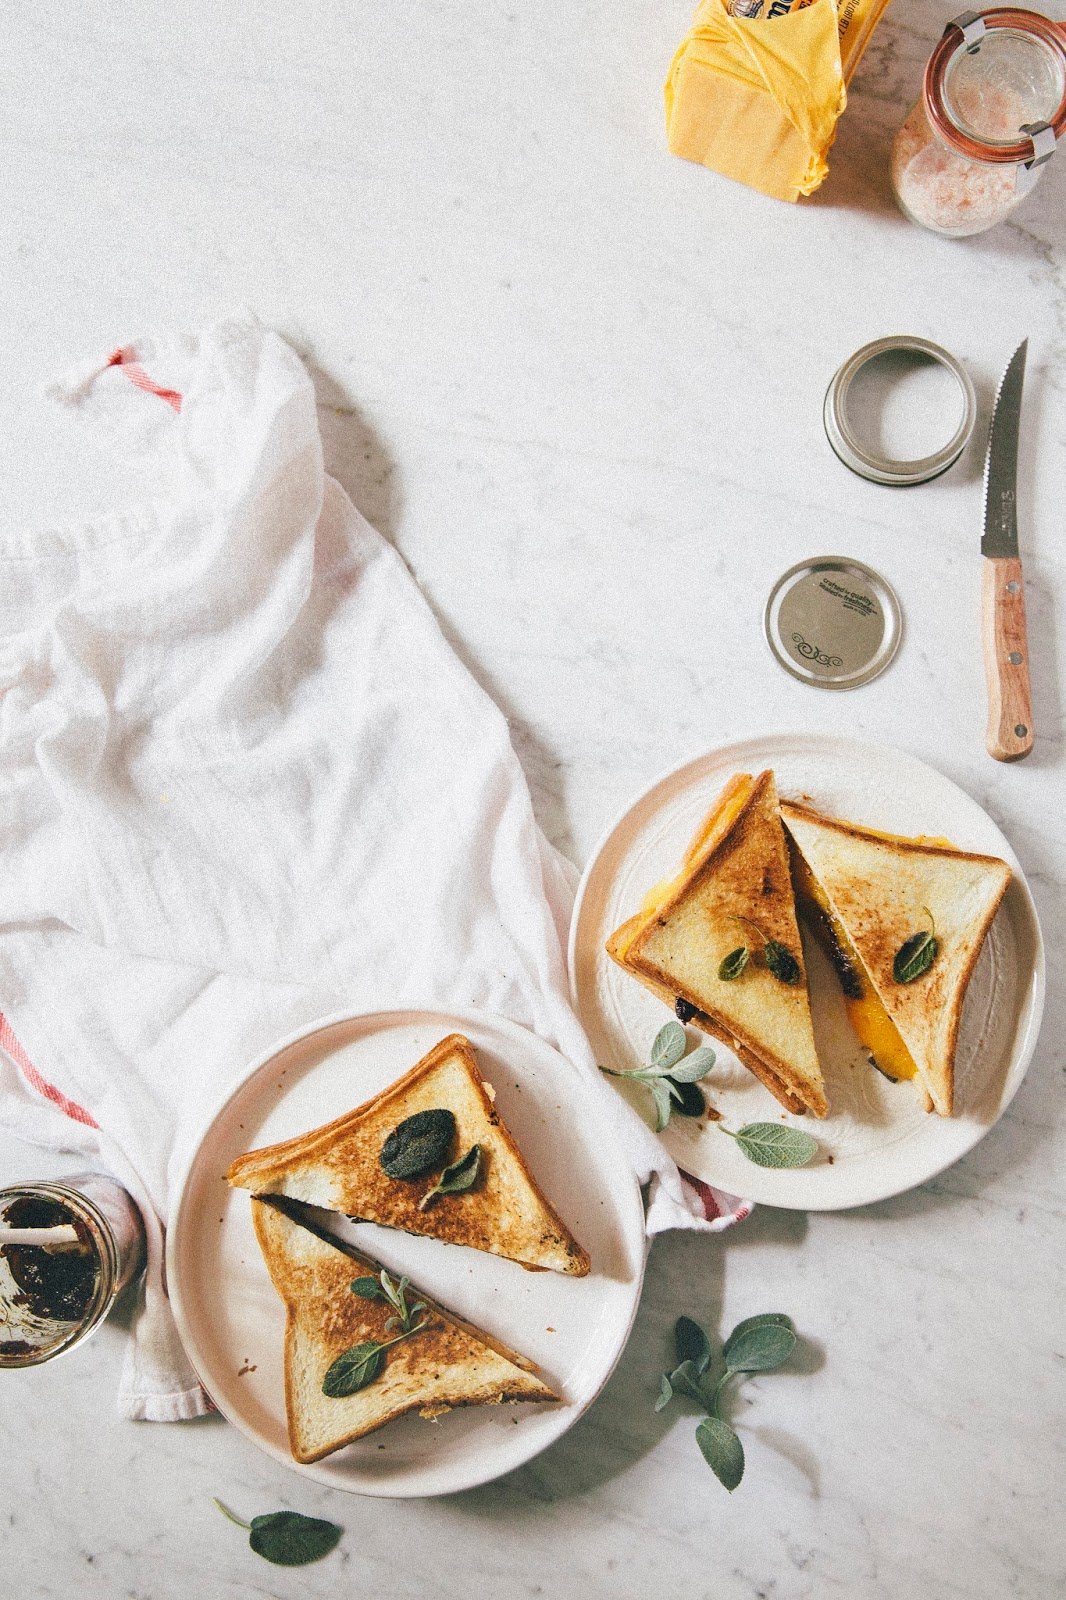
- Melt about 2 tablespoons of the unsalted butter in a large, non-stick skillet over medium heat until the foaming subsides. Reduce the stovetop heat to medium-low and add a handful of fresh sage leaves or so, swirling to toss the sage in butter. Add 2 bread slices and cook, swirling occasionally, until pale golden brown on the bottom side, about 2 minutes. Flip the bread and toast the other side for another 2 minutes or so.
- After the second side has been toasted, transfer to a cutting board. Place 1 ounce of Tillamook cheddar cheese on top of each slice. Use a spoon to dollop a tablespoon or so of apple-cranberry chutney on top of the cheese, spreading it evenly across the cheese. Close the sandwich.
- Melt another tablespoon of butter in the skillet over medium-low heat. Add the sandwich and cook, swirling occasionally and using a flexible metal spatula to occasionally press down on the sandwich, until one side is a deep, even golden brown, about 5 minutes. Add the remaining butter and flip the sandwich. Cook until this side is a deep golden brown and serve immediately with the sage leaves, which at this point are crisp from all that butter and gentle frying. Serve immediately, and repeat with any remaining ingredients to make additional sandwiches.