
When I first arrived in Oregon after years of living in Texas, I had no idea what Trader Joe’s was. There was one a few blocks away from my college campus, and I remember walking over with the intent of purchasing a bottle of Coca Cola and some trash bag liners, unaware that Trader Joe’s sold neither of those things. I’d mistaken it for a regular supermarket, and was miffed by the Trader Joes brand snacks, cereal, sauces and more.
Eventually, I came to rely on Trader Joe’s. To say that I did my grocery shopping there during my college years was a bit of an understatement — I survived off of their frozen foods section, and purchased the obligatory servings of fruit and vegetables needed to be healthy there. I’m pretty sure there was a good three or four years of my life in which every meal I’d made for myself consisted of food entirely from Trader Joe’s. Later, as I grew older and tried to eat healthier, I eventually realized that I could purchase far superior and fresher produce at farmer’s markets and other local grocery stores.
Which leads me to today. These days, I only ever head to Trader Joe’s when I’m feeling particularly uninspired for my blog. Specifically, I’ll head straight for their snacks section — because although Trader Joe’s is lacking in their produce department, they’ve got their snacks game DOWN. I’ll troll up and down the aisle to examine every single one of those plastic buckets filled with chocolate covered nuts and other candies to see if there’s anything I can use in my baked goods.
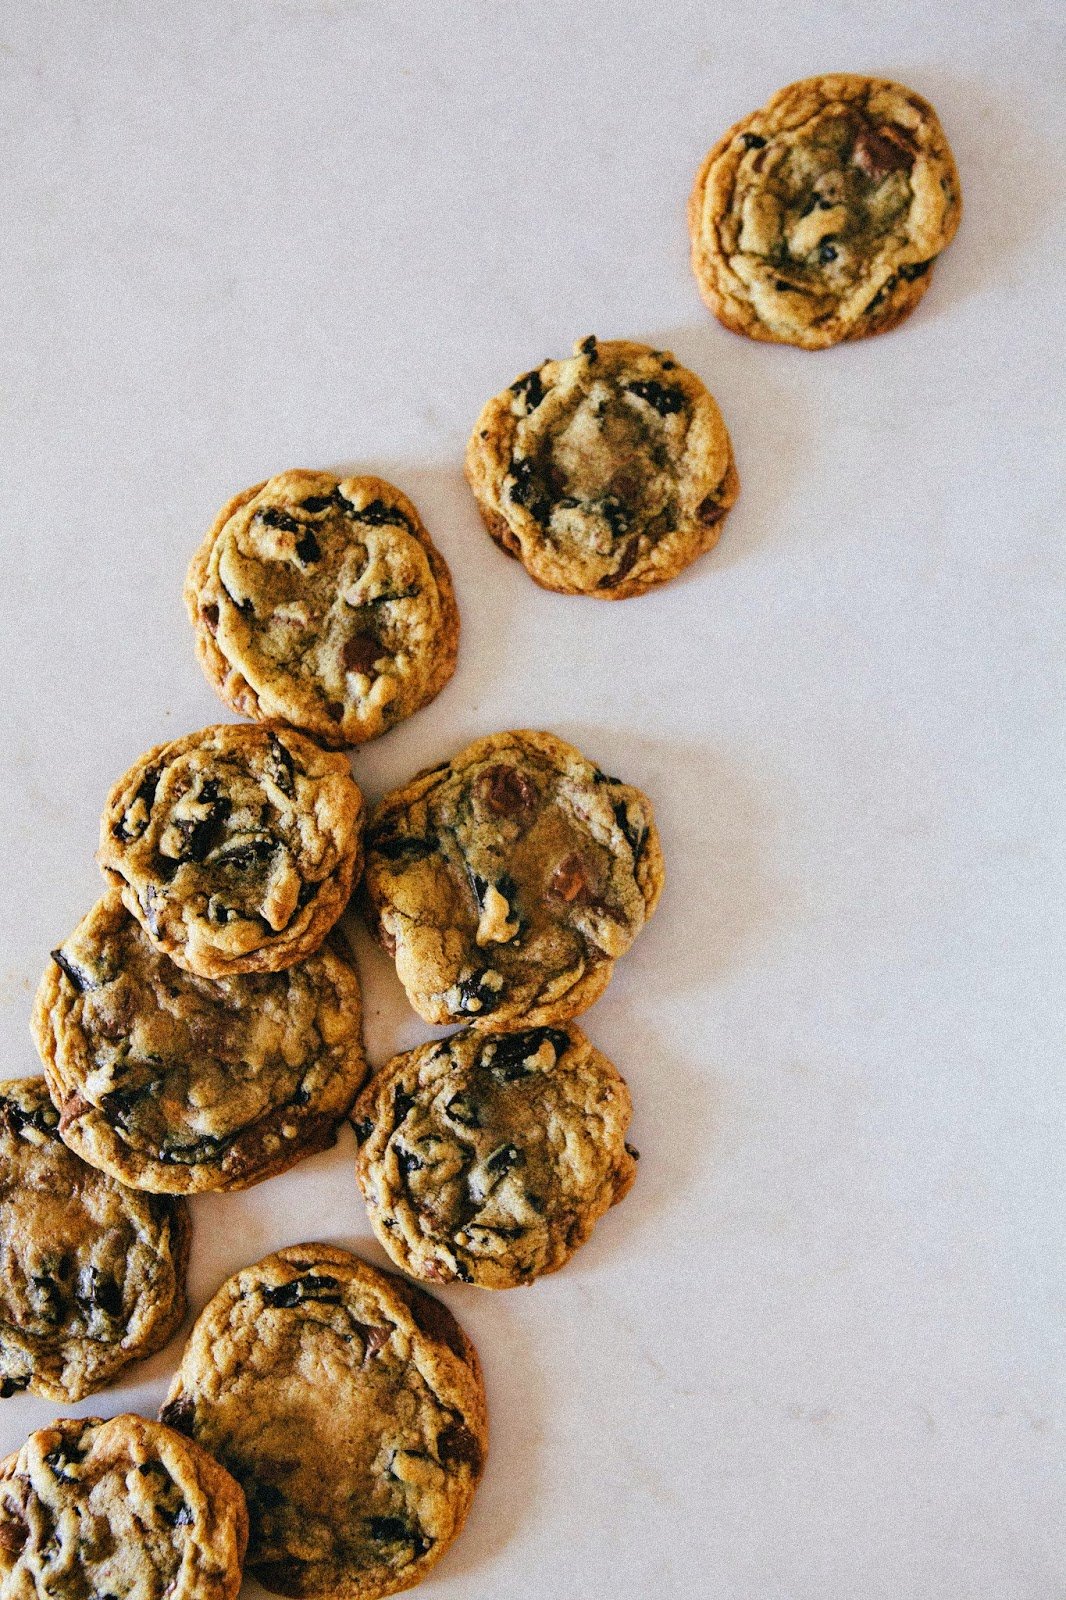
And on my latest trip, I decided to purchase this plastic bucket full of mini peanut butter cups. Now exactly how mini are these peanut butter cups? Pretty mini. Like, the size of a chocolate chip-mini. I’ve daydreamed about using these mini peanut butter cups in cookies since college, but it’s only now that I’ve actually come around to doing it.
And how was the result?
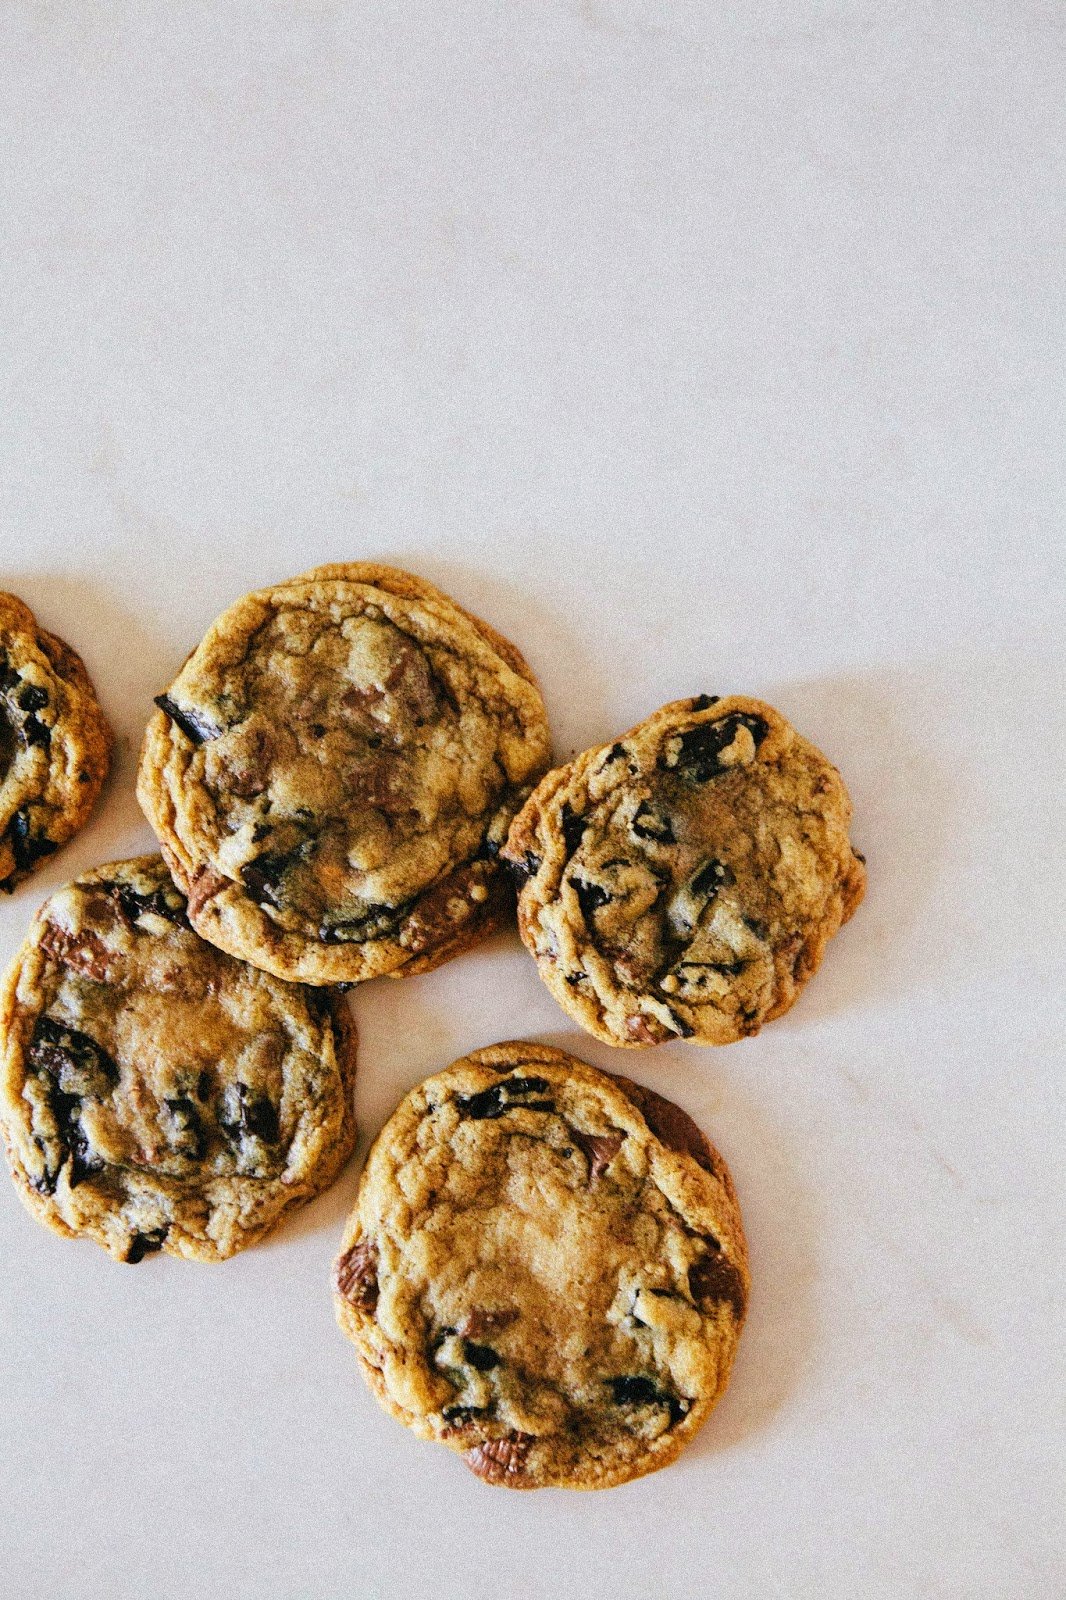
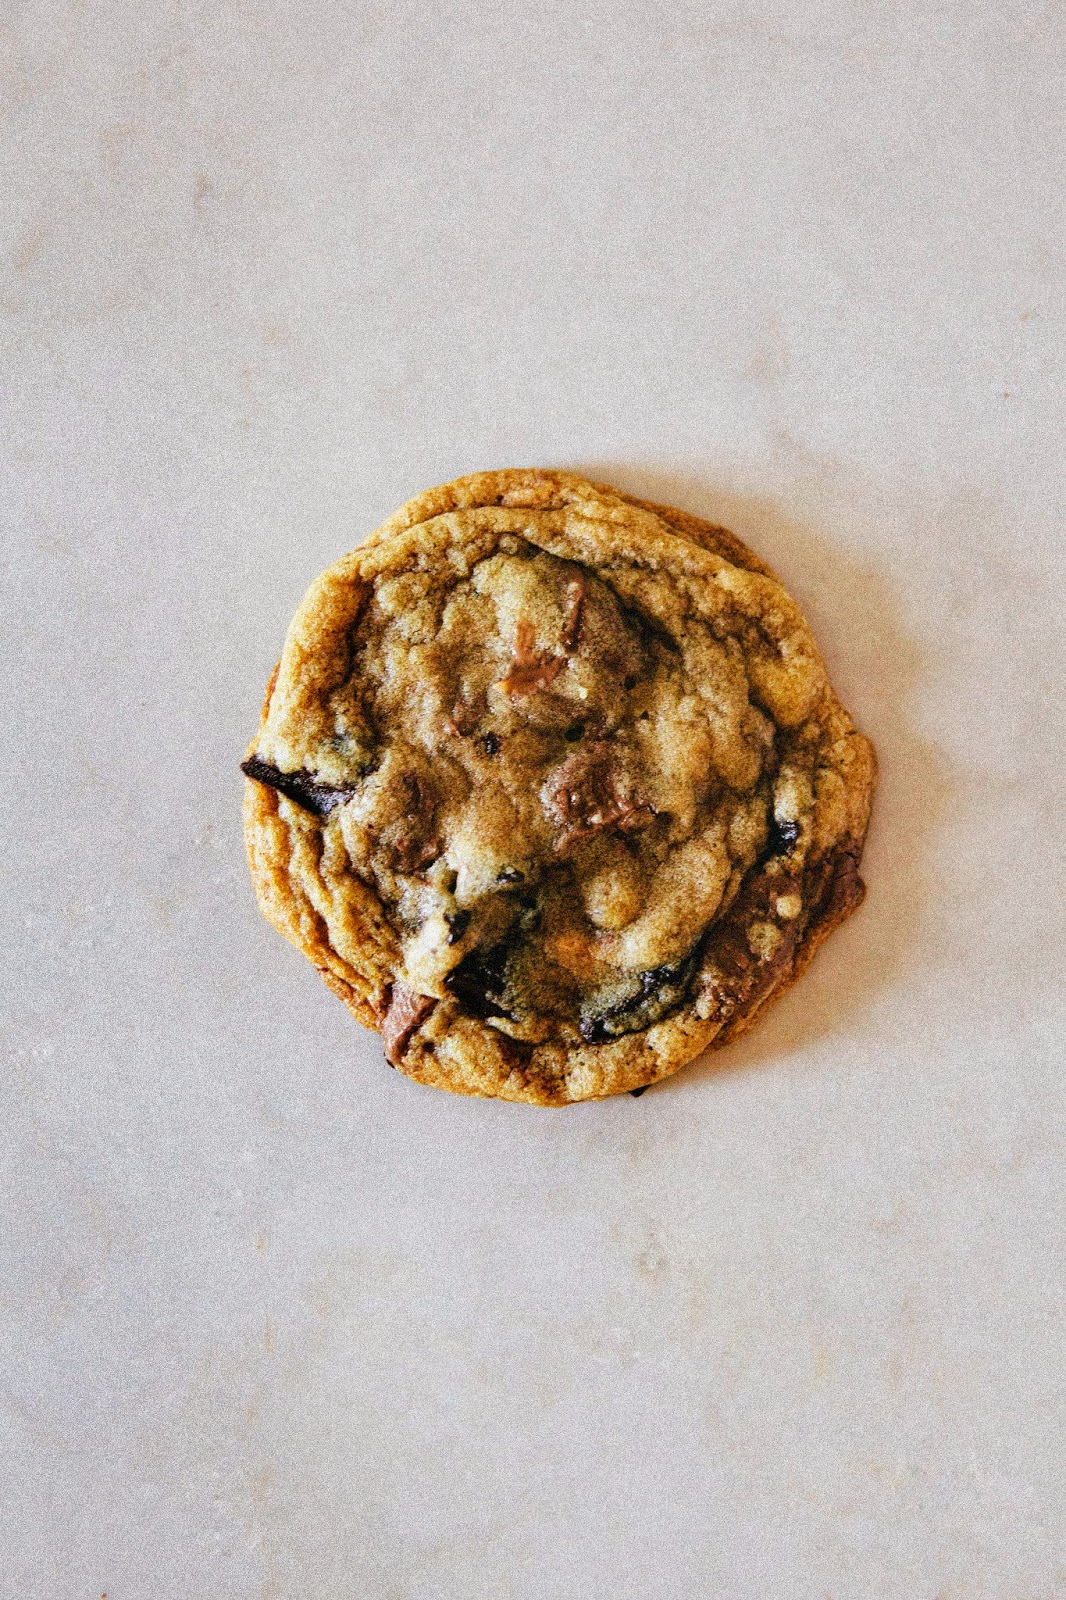
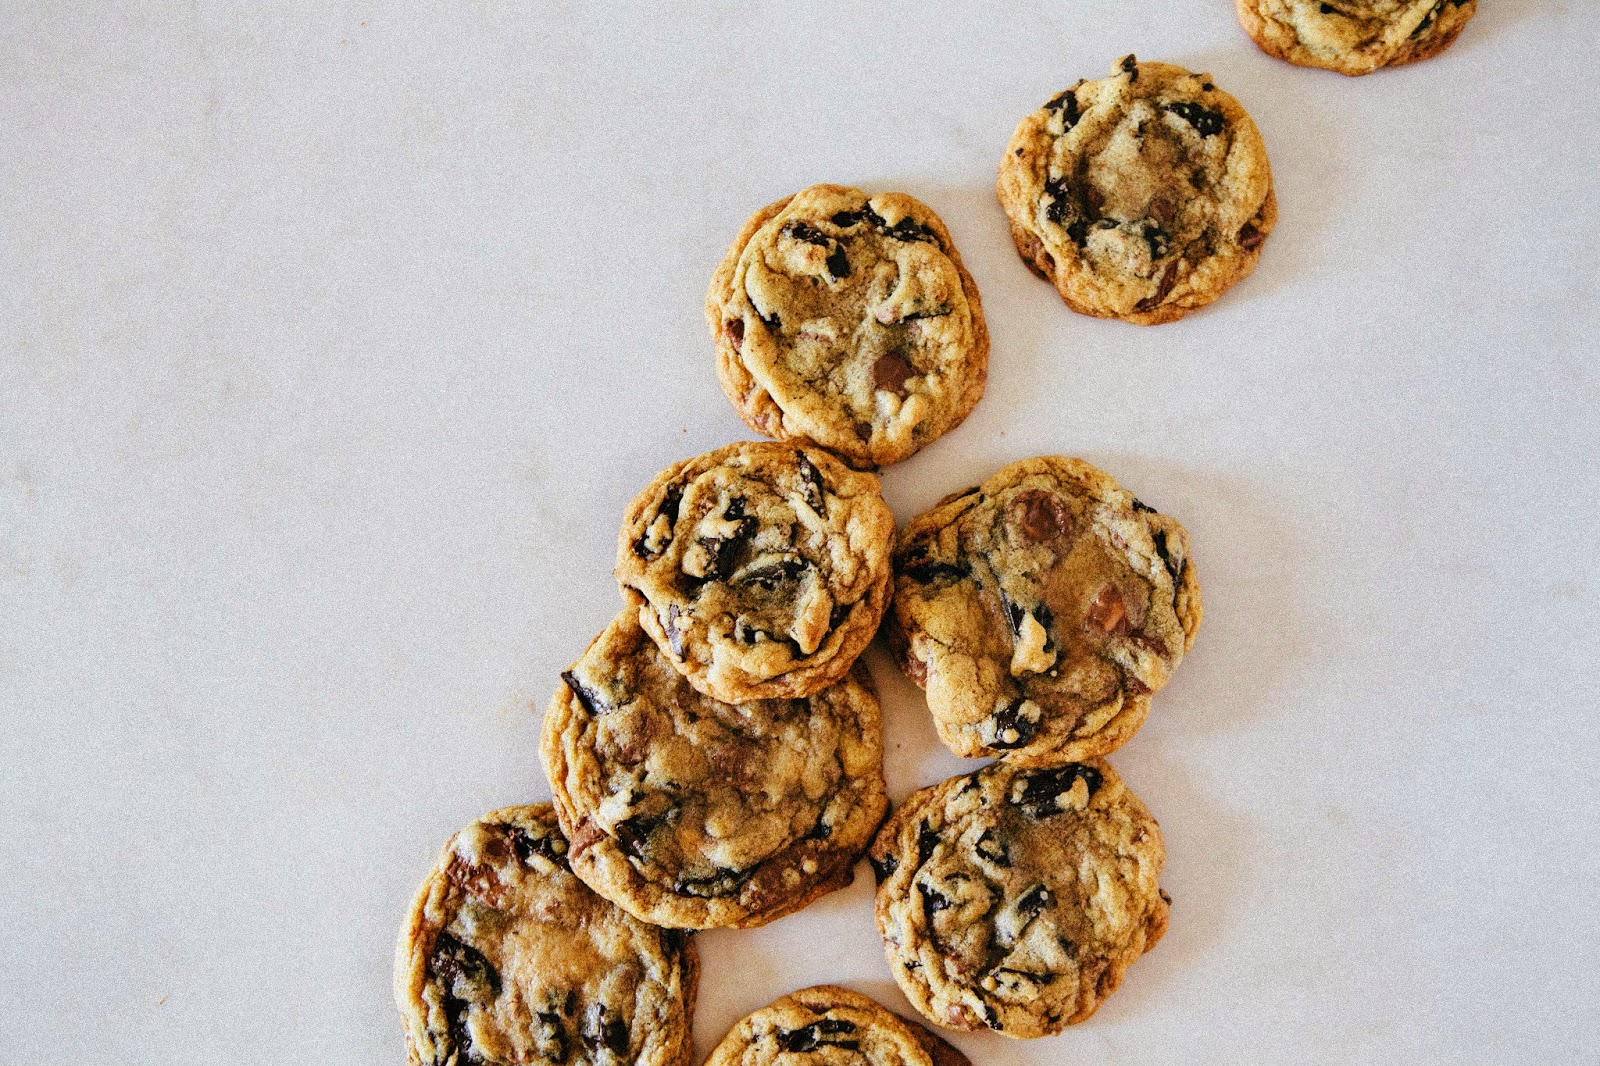
So… I’m usually not a fan of peanut butter cookies — I find them too dry and crumbly. Instead I opted to use these mini peanut butter cups in a chocolate chip cookie recipe, substituting about half of the original recipe’s quantity of chocolate chips for the mini peanut butter cups instead. The result was great; chocolate chip cookies basically, but with just the right amount of peanut butter to keep things nutty and interesting. Oh, and of course, minus the dryness that I hated in a regular peanut butter cookie. And when fresh out of the oven? The peanut butter turns molten, just like the chocolate chips. Absolutely delightful.
Some baker’s notes:
-
- No Trader Joe’s in your area? No worries! You can still purchase mini peanut butter cups online at King Arthur Flour’s store. Alternatively, you can use peanut butter M&Ms or Reese’s Pieces, but the texture will be different on account of their candy coating.
-
- So, this recipe allows for some flexibility. I threw in a lot of salt because I love the flavor of salted chocolate and salted peanut butter — for a more tampered taste, reduce the salt in the recipe by 1/2 teaspoon. Similarly, I love cookies that are soft on the inside, and crunchy on the outside. If you prefer cookies that are soft, bake for 10 minutes and allow to cool on the pan. For extra crunchy cookies, bake for 14. Bear in mind that you can choose your cookie texture by altering almost all cookie recipes in this way.
- Also, in this recipe, it’ll seem like the ingredient quantities are off — that is, there’s not enough flour to hold the chocolate chips and peanut butter cups together. But trust the recipe! It’ll work, I promise. But it’s very important that you chill the dough for the time I suggest, otherwise the cookies will spread too thin and flatten out.
Get the Recipe: Chocolate Chip and Peanut Butter Cup Cookies
Ingredients
- 1 1/4 cups all-purpose flour
- 1 teaspoon baking soda
- 2 teaspoons kosher salt
- 1/2 cup (1 stick) unsalted butter, at room temperature
- 1/2 cup dark brown sugar, tightly packed
- 6 tablespoons granulated sugar
- 1 large egg
- 1 teaspoon pure vanilla extract
- 1 1/2 cups semisweet chocolate chunks
- 1 cup mini peanut butter cups (see baker's notes)
Instructions
- In a medium bowl, whisk together 1 1/4 cups all-purpose flour, 1 teaspoon baking soda, and 2 teaspoons kosher salt. Set aside.
- In the bowl of a freestanding electric mixer fitted with a paddle attachment, combine 1/2 cup unsalted butter, 1/2 cup dark brown sugar and 6 tablespoons granulated sugar. Beat on medium-high speed until light and fluffy, at least 5 minutes. When the mixture is light and fluffy, lower the mixer speed to its lowest setting and add 1 large egg and 1 teaspoon pure vanilla extract. Continue mixing on low speed and add the dry ingredients (from the 2nd step), mixing until just incorporated. Add 1 1/2 cups semisweet chocolate chunks — be careful NOT to overmix. At this point, it's okay to have one or two flour streaks left in the batter.
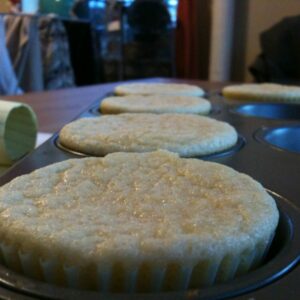
- Once the chocolate chunks have been dispersed throughout the dough, turn off mixer. Add 1 cup mini peanut butter cups to the dough, and use a spatula to mix them into the dough. Cover the bowl with plastic wrap and refrigerate until the dough is completely chilled, at least one hour.
- Once the dough has been chilled, center a rack in the oven and preheat o 350 (F). Prepare 2 baking sheets by lining with parchment paper.
- Use a 1-tablespoon cookie dough scoop to measure out heaping dough balls onto the parchment-lined baking sheets, spacing each dough ball at least 3 inches apart. Use your palms to roll each dough ball into a circle.
- Bake the cookies until the bottoms and edges are lightly browned and the tops feel firm, about 13 minutes. In my oven, only one cookie sheet will fit at a time — place the other cookie sheet in the fridge to chill while the other bakes. When the cookies are finished baking, transfer the cookie sheets to a wire rack and allow to cool completely.
i didnt know you lived in Texas…I went to college in Idaho and had no idea about TJ until I moved back to Texas. I rely on their snacks and frozen entrees alot as well..i need this cookie in my life.
Yup! I went to high school in Houston! Haven't been back in ages though, hoping to visit next year.
I've never been to a Trader Joes (Do they even have then in Canada?) but I've heard so many things from other bloggers! In my head it's this magical place where you can buy anything and everything and it's all wonderful. I'm sure if I ever went to one, I'd be pretty disappointed because of all the hype.
Hahha, yeah. Their snacks and frozen foods are great, but I prefer to buy meat and veggies elsewhere. But there's no denying these mini peanut butter cups, that's for sure.
buonissimi questi golosi biscotti
These look fantastic! Yum!
I walked past a TJ's the other day and didn't go in. Now I'm really regretting that decision because I think I need those mini peanut butter cups (and these cookies!!) in my life.
I remember so fondly splitting a bag of the TJ's (or is it "Trader Ming's") Orange Chicken with you. Signature meal of adolescence.
Yep, it's Trader Ming's. Ugh.
i think i haven't grown up yet, because i STILL love TJ's, questionable produce, racist names and all. LOL.
these cookies are on point! you know how you look at some cookies and you can just TELL that they are chewy and awesome and get in my face now? yeah. that's how i feel about these cookies 🙂
Totally obsessed with these cookies. We don't have a TJ's in New Orleans (yet), but they built one about an hour and a half away. Sometimes I get the special chance for a TJ's visit and I ALWAYS buy a tub of those peanut butter cups. They are so perfect for baking (and eating straight from the box while baking!).
Pinning these for later! I know I could throw down a couple of these bad boys.
Graham @ Glazed & Confused
Oh yes, I have had those peanut butter cups. Of course that means these cookies must be fabulous. Well, all your cookies are!
Did you know they now have TJ's in Texas?! Well, at least in Dallas and Plano. . cool that a trip to TJ's inspired these cookies! Just printed out the recipe and can't wait to try them!!
No way! I must let my TX friends know. I'm sure some of them will make the drive up from Houston/Austin to Dallas for TJs, right? Worth it! Thanks for the tip!
yeah, there's a TJ in Houston too. Love it!
Omg, Trader Joe's was like the reason we moved to the States! There's no TJ's in Canada, so we would always drive across the border and come back with coconut chips and bags of chocolate covered pretzels.
The recipe calls for 6 tbsp. granulated sugar. When should this be added in? It's not written in the directions!
Oops, add it with the butter and brown sugar. Editing the recipe now! Thanks for the head's up!
Mmmmm… Just discovered your blog and I recently moved to 6,500 feet elevation and my baking has tanked! Can you suggest adjustments for these yum nuggets?
These look great! I adore peanut butter! Would be perfect for my Virtual Bake Sale for Macmillan Cancer Support- check it out here http://www.foodnerd4life.com/virtual-bake-sale-2014/
FoodNerd x