
I’m probably the last person to find this out, but did you guys know that Peeps marshmallows come in all different flavors? There’s a birthday cake flavor and a cotton candy one (though both of which look like the chickies have caught some weird rash); there’s also candy corn and SUGAR PLUM DELIGHT. There’s even three different kinds of white mystery Peeps (which at first got me really excited because of my love for White Mystery flavor Airheads —but then I realized the mystery flavored Peeps weren’t the same flavor as White Mystery Airheads and I got disappointed).
So here I was, all excited to bring you what I thought was a unique and awesome post only to find out that my idea of flavored Peeps is not even original at all.
Oh, boo.

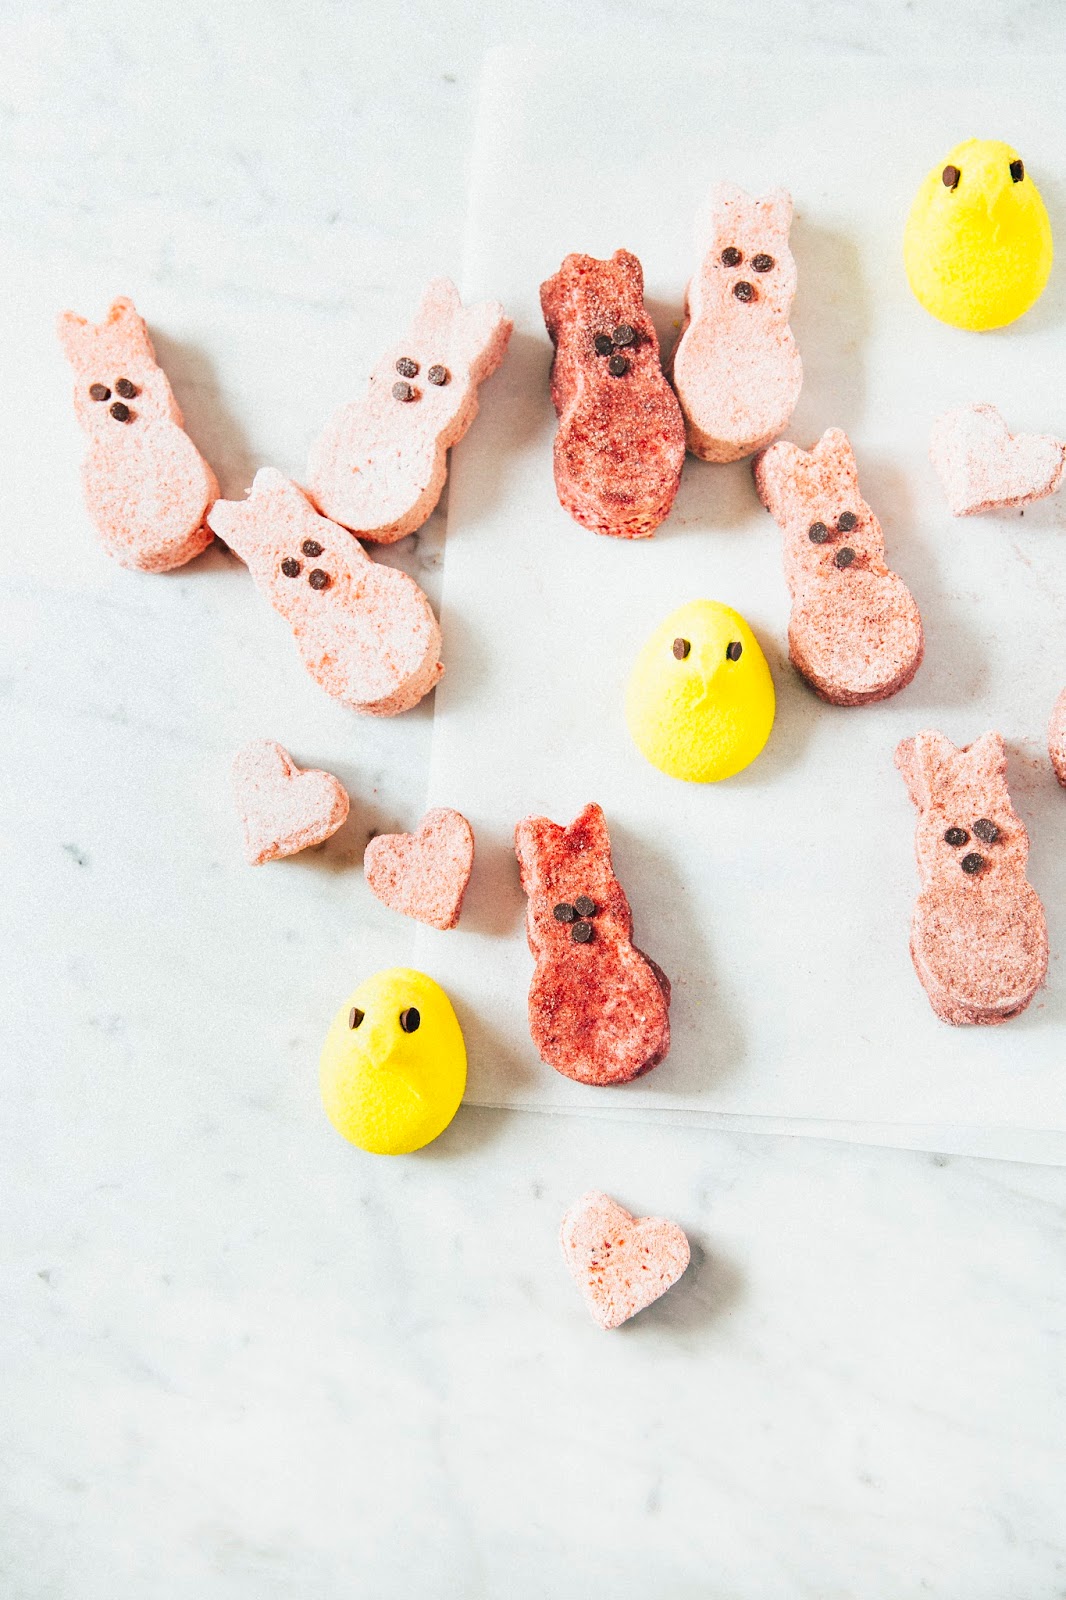
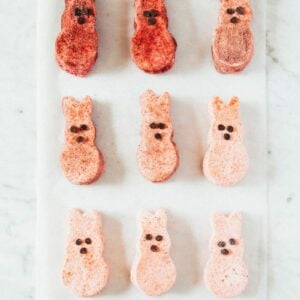
I wish I’d found this out earlier, before I’d enlisted Erlend to help me stamp out bunnies from a giant block of homemade marshmallow. It took around two hours to stamp out 24 or so bunnies, which is really depressing considering you can just drive to the supermarket and buy that same amount for around two dollars or so. Okay, maybe more. But whatever.
To be fair, we took wayyyyy longer than we really should have, mostly because we were too busy eating the leftover scraps and working ourselves up into a sugar frenzy. We frequently interrupted our stamping by daring each other to stuff as many as possible in your mouth all at once/act out dramatic Game of Thrones style beheadings/make bunnies and duckies do dirty things/get sugar dust all over our faces:


But oh well. I guess we didn’t find any strawberry Earl Grey flavored ones at the supermarket, so I’ll still consider this recipe a win. Should you decide to make your own homemade Peeps marshmallows, we got your back.
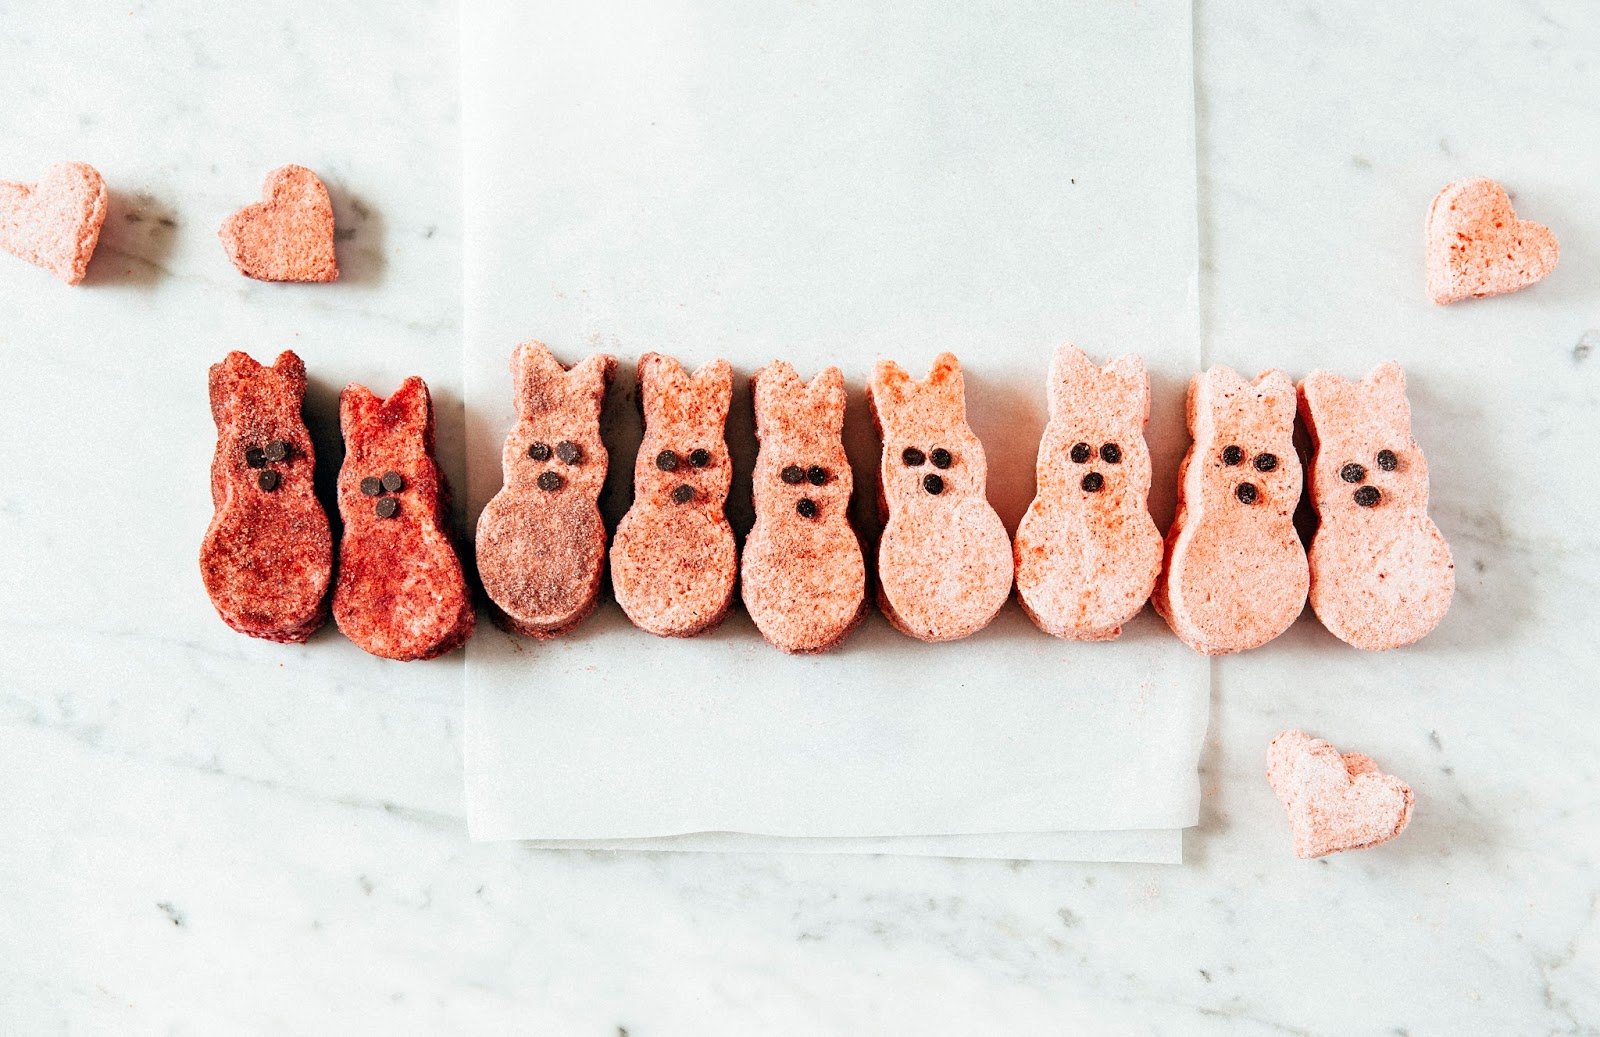
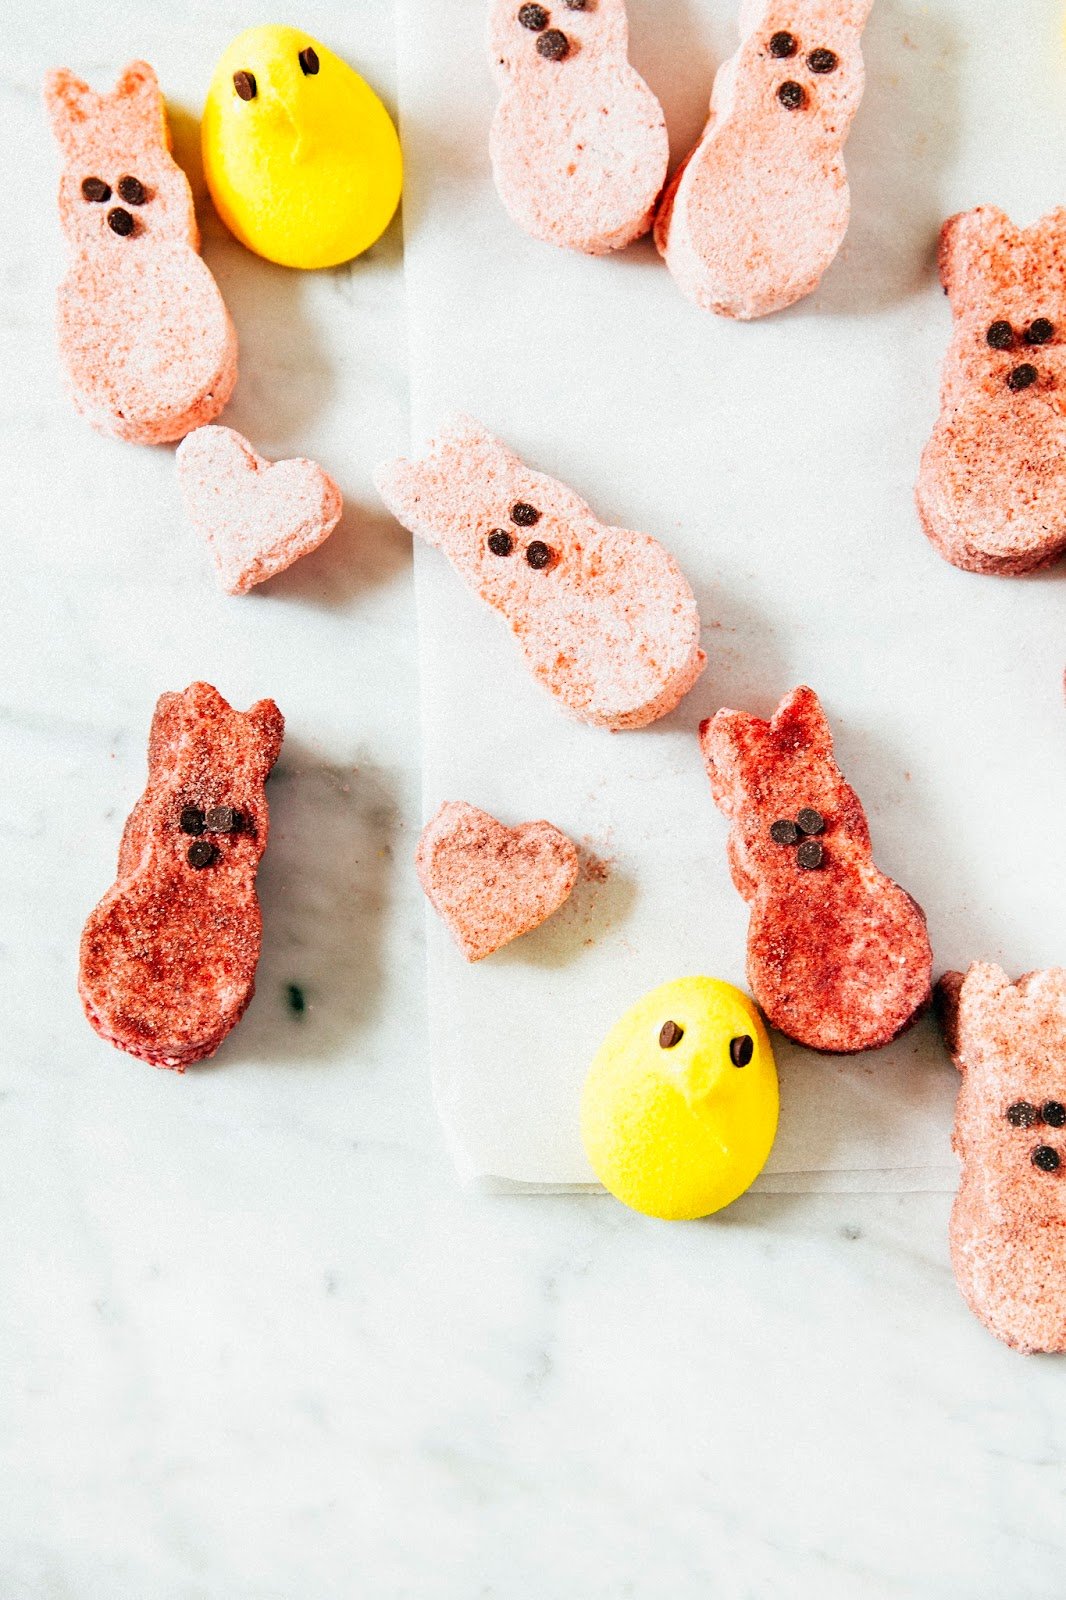
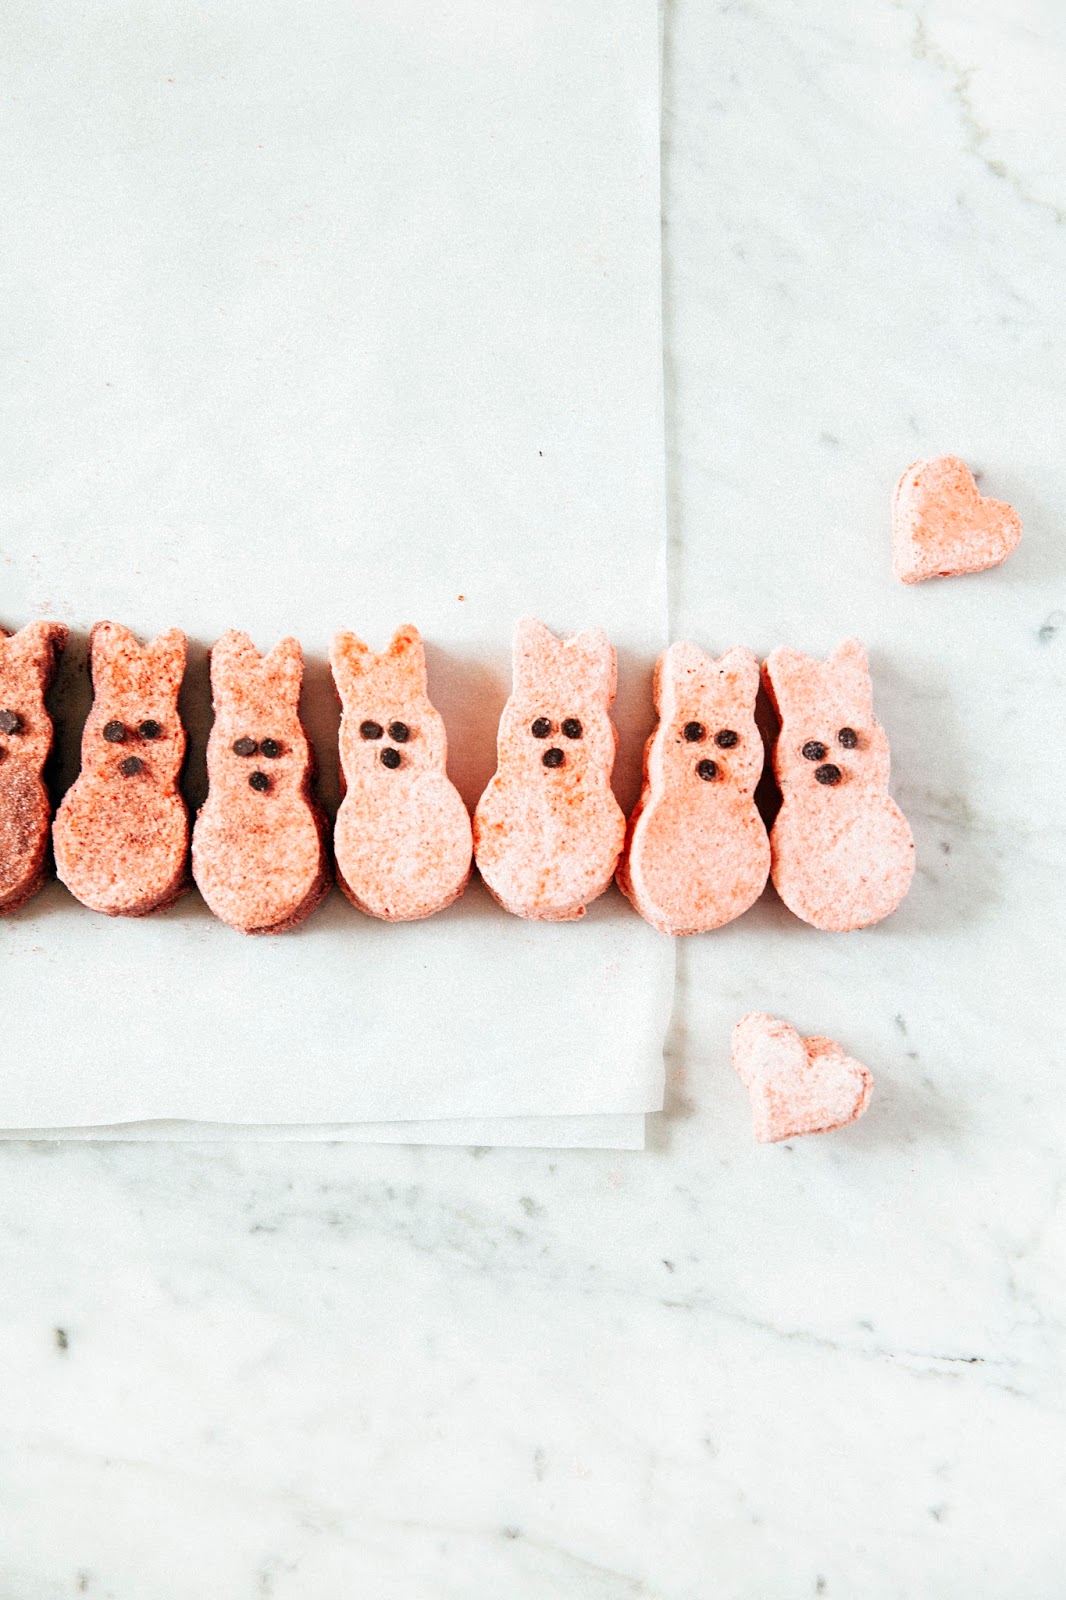
I adapted the recipe from this vanilla marshmallow recipe from Bon Appetit — it’s easy to customize by throwing in your favorite extracts, flavors, food colorings, whatever. Use a piping bag to create little duckies, or choose your favorite cookie cutters to stamp out shapes like bunnies and hearts.
Happy (early) Easter weekend! And Purim, for all you Jewish folks!

Some baker’s notes:
-
- Plan ahead for this one! If the marshmallow block is too sticky, it’ll be a pain in the butt to work with and make cute shapes. The marshmallow requires 4 hours to dry out at minimum, but really, it works best if it dries out overnight.
-
- To flavor and color the marshmallows, I used freeze-dried strawberries (like the kind that come with your Special K cereal!). Freeze-dried are basically dehydrated, shelf-stable strawberries and are available at Trader Joe’s, or online.
-
- There’s no need to buy special colored sanding sugar to coat your Peeps with — you can make it at home! Transfer some granulated sugar to a Ziploc bag and add a couple drops of food coloring. Seal the Ziploc bag and give it a good shake and watch the sugar absorb the food coloring! You might have to use your fingers to rub and break apart any big lumps, so it works best if you use a small amount of food coloring (just a couple drops will do the trick).
- I got my bunny cookie cutters from Sur La Table (I also thought that their cutters looked the most similar to regular Peeps), but Amazon has a great selection of bunny cookie cutters available too.
Get the Recipe: Strawberry Earl Grey Homemade Peeps
Ingredients
- 1/4 cup (2 ounces) cornstarch
- 1/4 cup (2 ounces) powdered sugar
- 1.5 ounces freeze dried strawberries
- 1 tablespoon loose Earl Grey tea leaves
- 1 cup (8 ounces) cold water, divided into two 1/2-cup portions
- 3 1/4- ounce envelopes (0.75 ounces) unflavored powdered gelatin
- 2 cups (14 ounces) granulated sugar
- 2/3 cup (6 fluid ounces) light corn syrup
- 1/4 teaspoon kosher salt
- colored sanding sugar (see baker's notes)
Equipment
- A food processor
- a candy thermometer (preferably digital — I love this CDN one)
- bunny cookie cutters
Instructions
For the Strawberry and Earl Grey Marshmallow Base
- Prepare a 9 x 13-inch baking pan by spraying liberally with cooking spray. In a small bowl, whisk together 1/4 cup cornstarch and 1/4 cup powdered sugar. Sift a small amount evenly across the baking pan, and set aside the rest.
- Combine 1.5 ounces freeze dried strawberries and 1 tablespoon loose Earl Grey tea leaves in a food processor. Pulse repeatedly until all the strawberries and tea leaves have crushed into a fine powder. Set aside.
- Pour 1/2 cup cold water into the bowl of a freestanding electric mixer fitted with a whisk attachment. Sprinkle 3 envelopes powdered gelatin over the water, and give the mixture a quick whisk to make sure all the gelatin granules are wet. Let stand until the gelatin softens and absorbs water, at least 15 minutes.
- While the gelatin is blooming, combine 2 cups granulated sugar, 2/3 cup light corn syrup, 1/4 teaspoon kosher salt, and the remaining 1/2 cup water in a medium, heavy-bottomed sauce pot. Use a heatproof rubber spatula to stir over medium-low heat until the sugar dissolves, scraping down the sides of the pan. Attach a candy thermometer to the side of the pan, increase the heat to medium-high, and bring the syrup to a boil. Boil without stirring until the syrup reaches 240 (F). When the syrup reaches 240 (F), immediately pour the syrup into a liquid measuring cup.
- Turn on the mixer to its lowest speed and slowly pour the hot syrup into the mixer bowl with the gelatin mixture in a thin stream down the side of the bowl — avoid pouring the syrup onto the whisk, as it may splash and send boiling syrup everywhere! Once the syrup is completely added, gradually increase the mixer speed to its highest setting and beat until the mixture is very thick and stiff, about 15 minutes. In the last minute, add the strawberry and Earl Grey powder (from the 2nd step) and continue whisking for another minute, until the mixture is a pale pink color.
- Scrape the marshmallow mixture into the prepared pan, using a wet offset spatula to smooth the top — this is probably the most difficult part of the recipe as the marshmallow mixture is going to be incredibly sticky. It really helps if your spatula is wet! It's also not the world's biggest deal if the mixture isn't perfectly smooth — you're going to end up inverting the marshmallow block.
- Sift a generous dusting of the cornstarch and powdered sugar mixture (from the 1st step) over the marshmallow mixture and let stand uncovered at room temperature until firm, about 4 hours, but preferably overnight.
For the Sugar Coated Peeps
- Once the marshmallow base has dried out and firmed up, prepare your work surface by sifting a generous dusting of the remaining cornstarch and powdered sugar mixture. Coat your cookie cutters with a generous layer of cooking spray.
- Run a butter knife along the edges of the marshmallow in the pan, and turn the marshmallow slab out onto the mixture. Use your cookie cutters to stamp out marshmallow shapes. Toss each in a bowl of sanding sugar, making sure that all sticky surfaces are covered. Transfer marshmallows to a wire rack, shaking off any excess sugar.