This post is sponsored by LouAna Oils, who provided the ingredients and compensation to make the post happen! LouAna Oils offers a wide range of quality oils and sprays that I use in my everyday cooking and baking. As always, all thoughts and opinions are my own; thank you for supporting the sponsors that keep Hummingbird High up and running!
Christmas is nearly here, and Erlend and I are realizing that this will be our first official Christmas in Portland where we have no travel or concrete plans set ahead of time. For the last few years, we traded off spending the holidays either with his parents in New York City or with my family in Manila. But because this year was especially hectic for us—Erlend with his new job, me with my mountain of cookbook edits and the multiple things I’m always juggling at any given time—neither of us made any concrete plans with our families and now find ourselves simply, well, here. Although that sounds a little sad, I’m actually pretty grateful for the time off without having to deal with long travel (though I still will miss both our families; don’t worry mom, I miss you!).
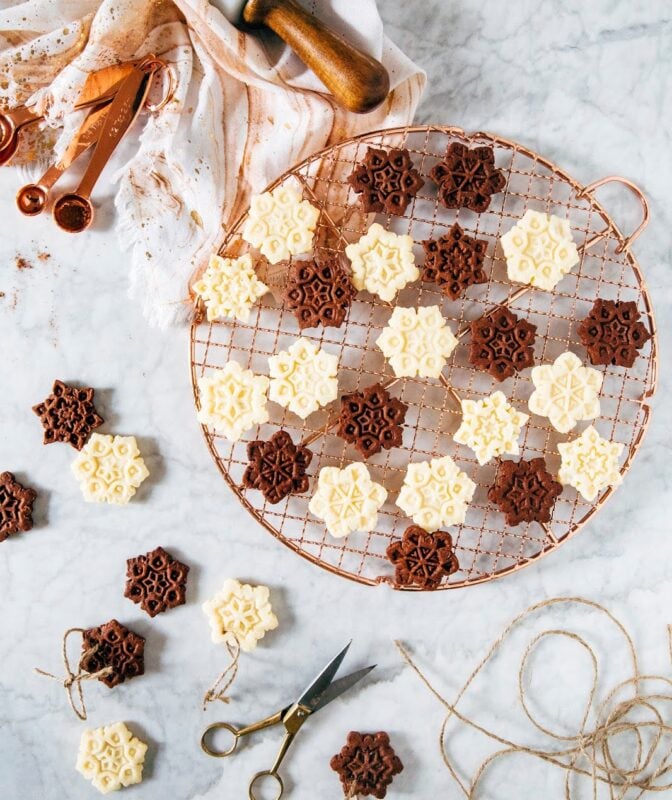
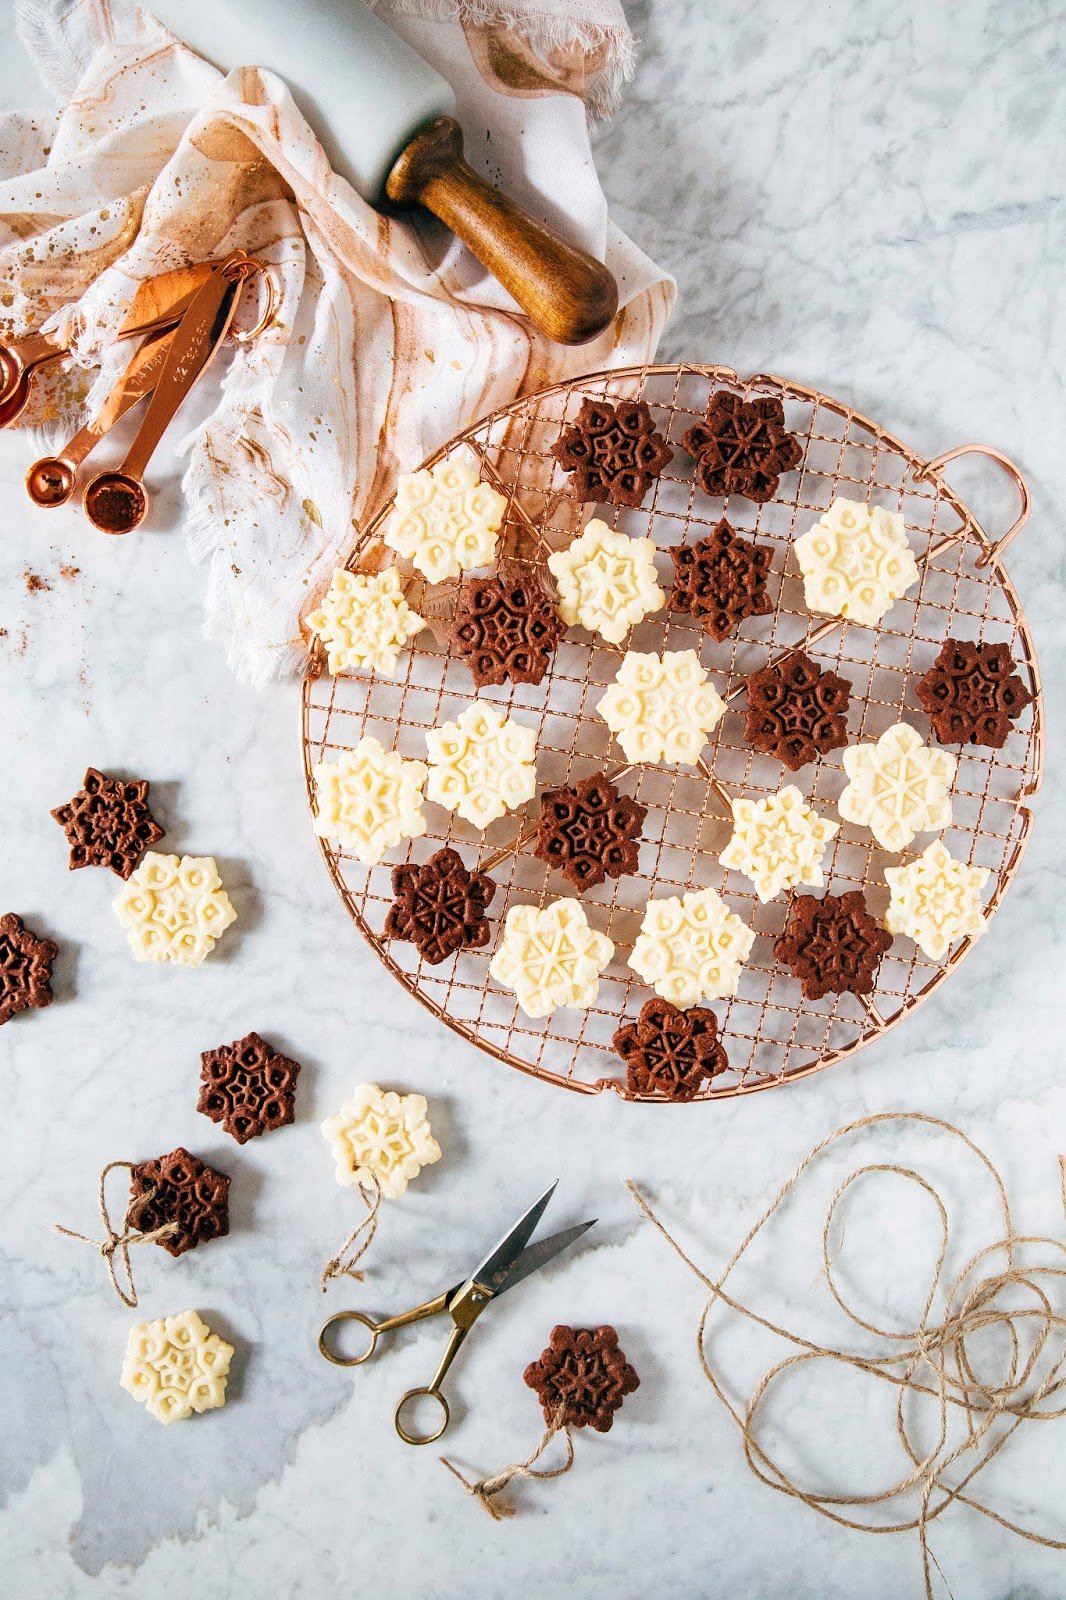
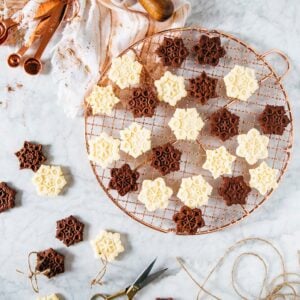
And now that work is finally starting to abate, I’m finding time here and there to be more festive and get in the holiday spirit. I mentioned in a previous post that neither Erlend nor myself are particularly into decorating for the holidays, but I think that might actually have to take that back and admit that I kind of am, but only in a very last minute and extremely edible kind of way. Because first there was this cinnamon raisin wreath bread, then there was that edible tree stump subbing in for a more traditional Christmas yule log, and now these snowflake ornament cookies! Our house is finally starting to fill up with lots of holiday decor, all of which happens to be fully edible, tasty, and delicious.
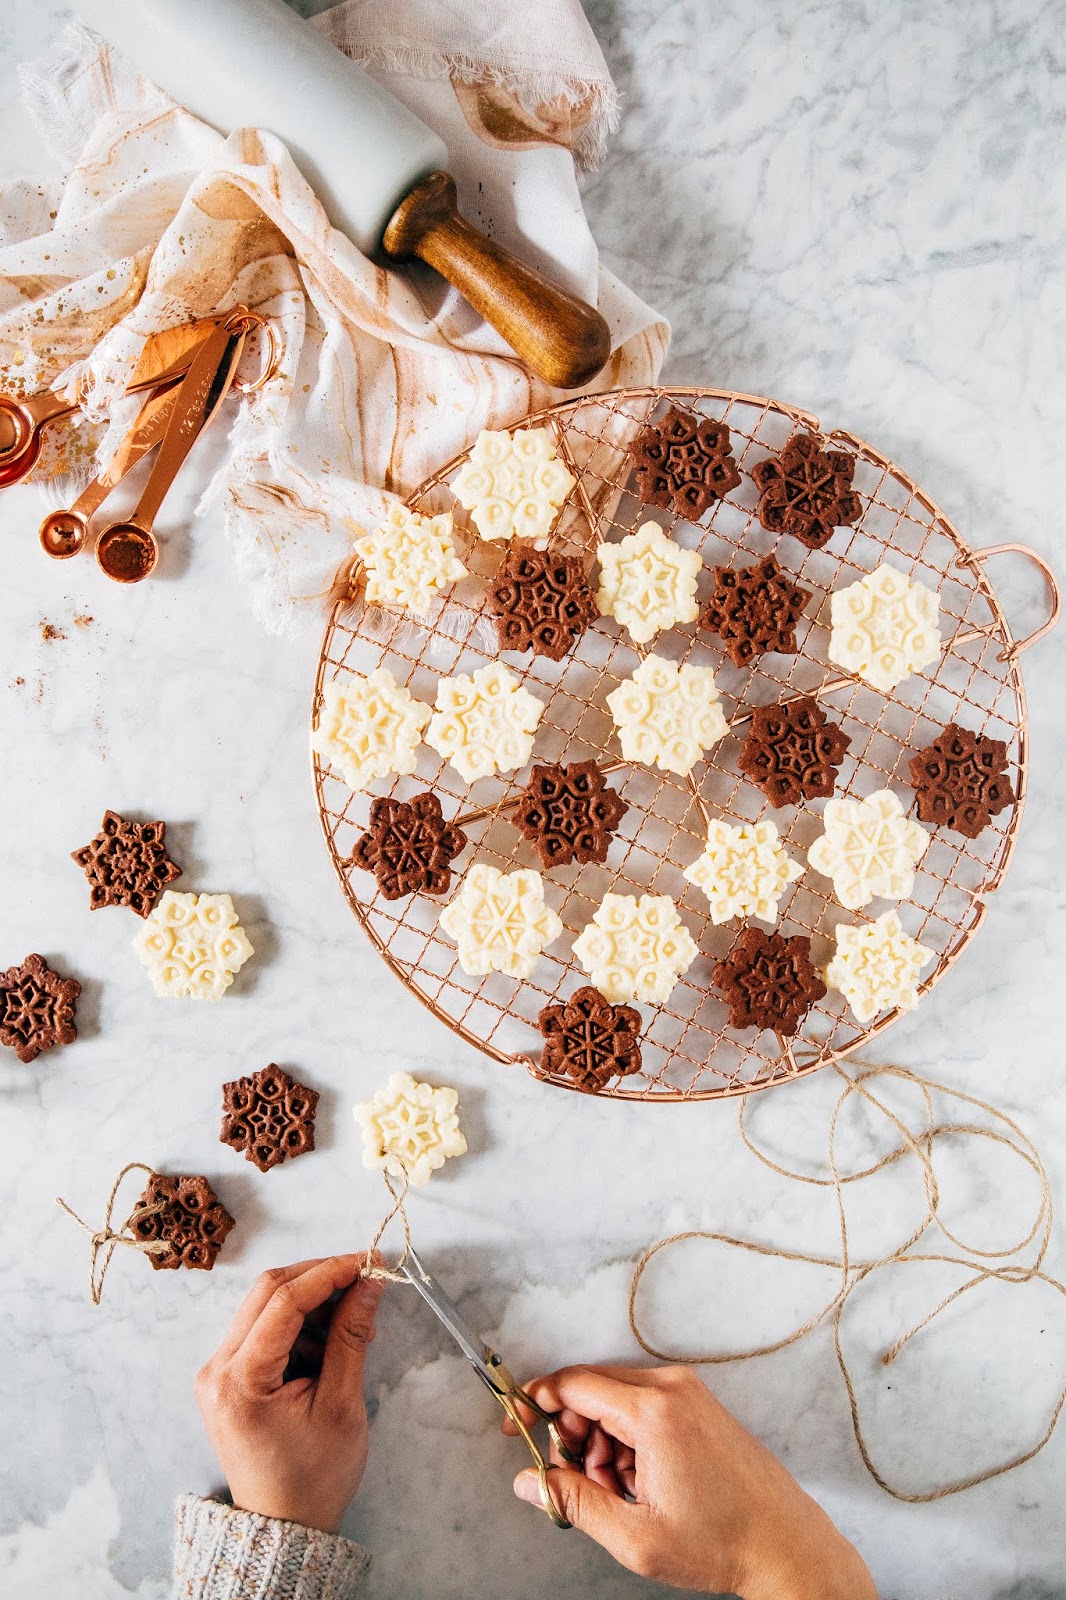
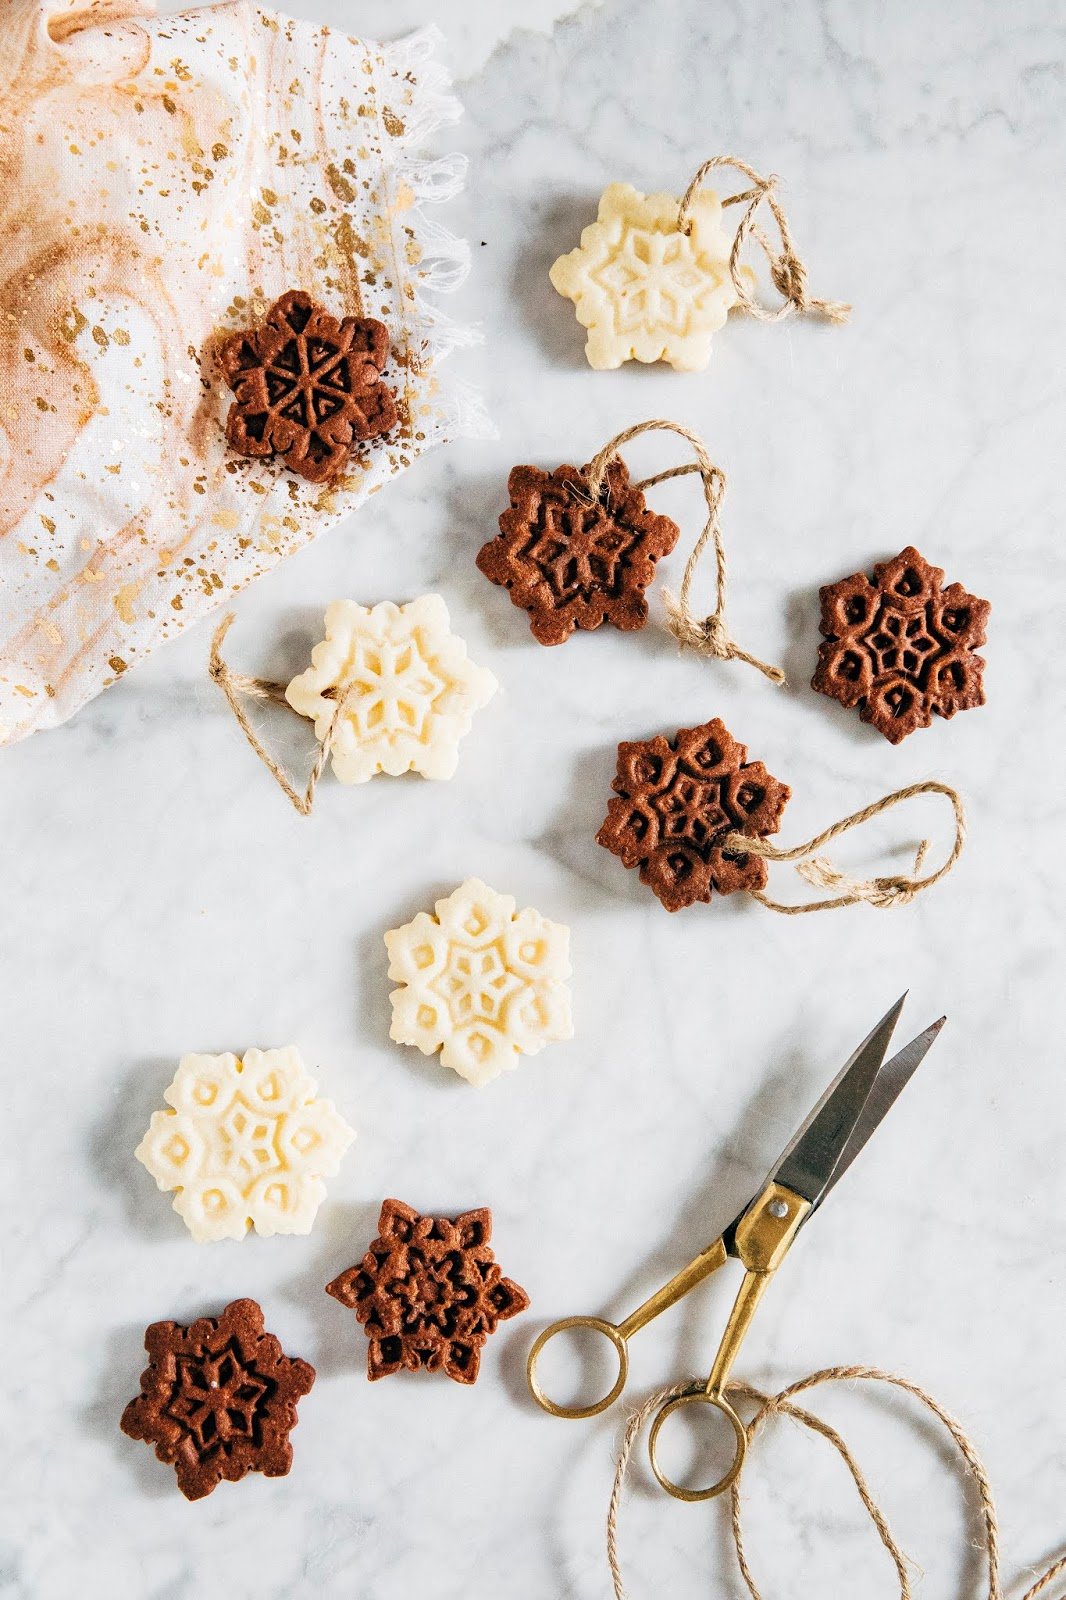
Which leads me to these cookies! These are the cutout sugar cookie recipes in my upcoming cookbook, but with one change: I’ve swapped out half the butter for LouAna Refined Coconut Oil. I use coconut oil a lot in my everyday cooking, and, in a pinch, my baking too — it turns out you can pretty much substitute coconut oil with butter 1:1 in almost any recipe. Just be sure to opt for the refined variety since the unrefined kind will leave a coconutty taste to your baked goods (which may or may not be desirable depending on what recipe you’re working with, so use your judgement).

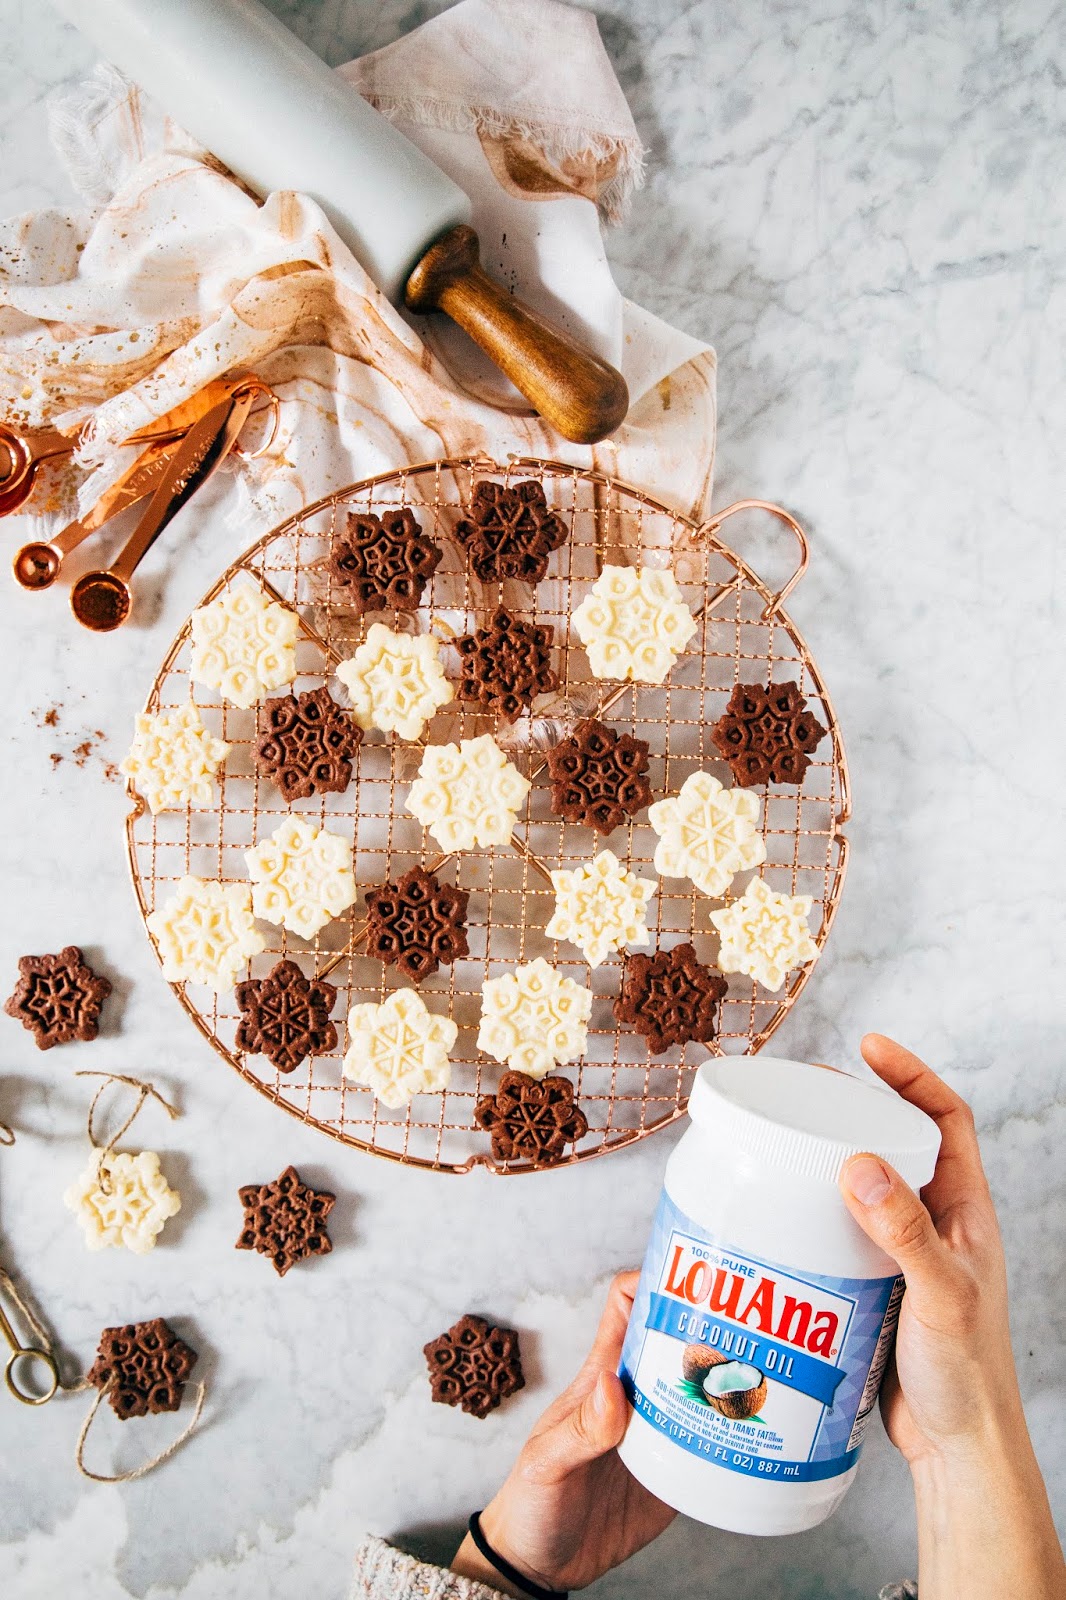
Beyond flavor, LouAna Refined Coconut Oil actually makes the dough for these cutout cookies easier to work with — the coconut oil helps it solidify faster, which means that after rolling out the dough, you can stick it in the freezer for as little as 5 minutes and have the perfect slab of dough to shape, mold, and stamp into perfectly Instagrammable cookies that will keep their shape in the oven! It’s such a neat time-saving trick that I’m seriously considering rewriting the recipe in #weeknightbakingbook to incorporate coconut oil. Plus, the coconut oil also helps keep the sugar cookies a pale white that you wouldn’t get with butter, while adding a subtle nutty flavor to the cocoa ones. Enjoy!
-
- The recipe will yield more or less cookies depending on the size of your cutter; for these cookies, I used these 1 1/2 inch snowflake cutters that also stamped elaborate snowflake designs on them. If you’re opting for cookie stamps over cutters, be sure to dip each stamp in flour before using to prevent the dough from sticking to the cutter. If you find that the dough is peeling away with the cutter, it’s likely that the dough has gotten too warm — simply stick it back in the freezer and try again in another 5 to 10 minutes. For cookies with the most distinct shapes and definitions, be sure to roll the dough out to 1/8-inch thickness; although 1/4-inch thickness will work, they won’t be as sharp as the 1/8-inch thick ones.
-
- This recipe works best when the LouAna Refined Coconut Oil is firm yet creamy; note that coconut oil is solid at below 76 degrees, and liquid any temperature above that. Melted coconut oil won’t bind the dry ingredients as well as the solid stuff — aim for coconut oil that is around solid yet soft enough to easily scoop without struggling, around 70 to 74 degrees.
- I love the combination of chocolate and coconut, so I swapped in coconut extract for vanilla for the cocoa cookies; the extract helped enhance the natural flavors of the LouAna Refined Coconut Oil. In a pinch, you can use pure vanilla extract but know that your cookies won’t taste as nutty as my cocoa ones did.
Get the Recipe: Coconut Oil Cut Out Sugar Cookies
Ingredients
For the Vanilla Coconut Oil Cut Out Sugar Cookies:
- 3 1/3 cups (15 ounces) all-purpose flour
- 1 1/2 teaspoons baking powder
- 1/2 teaspoon kosher salt
- 1 cup (7 ounces) granulated sugar
- 1/2 cup (4 ounces) LouAna Refined Coconut Oil, at room temperature (see baker's notes)
- 1/2 cup (4 ounces) unsalted butter, at room temperature
- 1 large egg
- 1 teaspoon pure vanilla extract
For the Cocoa Coconut Oil Cut Out Sugar Cookies:
- 2 3/4 cups (12.35 ounces) all-purpose flour
- 1/2 cup (1.5 ounces) natural unsweetened cocoa powder
- 1 1/2 teaspoons baking powder
- 1/2 teaspoon kosher salt
- 1 cup (7 ounces) granulated sugar
- 1/2 cup (4 ounces) LouAna Refined Coconut Oil, at room temperature (see baker's notes)
- 1/2 cup (4 ounces) unsalted butter, at room temperature
- 1 large egg
- 1 teaspoon coconut extract (in a pinch, use pure vanilla extract)
Instructions
- Combine the dry ingredients in a medium bowl and whisk until well combined; set aside.
- In the bowl of a freestanding electric mixer fitted with a paddle attachment, combine 1 cup granulated sugar, 1/2 cup LouAna Refined Coconut Oil, and 1/2 cup unsalted butter. Beat on medium-high speed until very light and creamy, about 5 minutes. Once light and creamy, use a rubber spatula to scrape down the paddle attachment and sides of the bowl. Turn the mixer back on to its lowest setting and add 1 large egg and extract; continue mixing until combined. Once the egg is fully incorporated and with the mixer still on its lowest setting, add the dry ingredients a quarter cup at a time. Continue mixing just until the dry ingredients incorporate into the mixture and a dough forms into large clumps.
- Stop the mixer and turn the dough out onto a parchment lined surface. Use your hands to knead it into a rough ball; divide the ball in half. Place one of the dough balls in the center of the parchment paper and place another sheet of parchment paper on top of the ball. Use a rolling pin to roll the dough into a rough oval slab about 1/8- to 1/4-inch thick (see baker’s notes). Scoot the dough slab onto a sheet pan and set aside. Roll out the second ball of dough between two new sheets of parchment paper and carefully transfer the slab on top of the previous one and transfer to the freezer to chill for 5 minutes.
- While the dough is freezing, prepare your cookie cutters or stamps by covering with flour. Line a sheet pan with parchment paper and set aside.
- After 5 minutes, remove one of the dough slabs from the freezer — at this point, it will be fairly solid and stiff. You should still be able to stamp out shapes; if it’s too hard, let the dough sit untouched at room temperature for another minute or two before trying again. Working quickly, stamp out cookie shapes, transferring them to the parchment lined sheet pan as you go, making sure to leave at least 2 inches between each cookie. Transfer to the freezer.
- Repeat the process with the second slab of dough, transferring the cut out shapes onto another parchment lined sheet pan.
- Gather and re-roll any dough scraps into a ball; repeat steps 3 to 7 as necessary until all the dough has been stamped into cookies.
- Freeze the cookies on their sheet pans for at least 1 hour; the cookies will keep in the freezer for up to 1 month. If freezing for longer than a few hours, carefully wrap each sheet pan in plastic wrap to prevent the dough from absorbing weird flavors and odors.
Baking the Cookies:
- Center a rack in the oven and preheat to 350 (F).
- Once the oven is preheated, transfer a sheet pan of cookies straight from the freezer to the center rack of the oven (the frozen trays will help the cookies keep their shape in the oven). Bake for 10 to 12 minutes, until the edges of the cookies are just starting to brown. Transfer to a wire rack and let cool completely on their sheet pans.
- Repeat with remaining sheet pans.
tasty! i wouldn’t expect a strong coconut flavor, but these are a good way to use up excess coconut oil (my roommate has a bigggggg vat).
i was way too lazy to roll and punch out cookies, so i used a cookie scoop and pressed the dough balls down with a sugar-dipped bottom of a glass. definitely more rustic-ly shaped, but faster and equally as tasty!
I could NOT get this dough to come together. I followed the recipe exactly and triple checked my ingredients but still got a super coarse crumbly texture that fell apart as soon as I tried to manipulate it. I ended up having to add some soy milk to get a workable dough, resulting in smashed medallions – which are serviceable, but definitely not the cutouts I hoped for. I think your ratios might be off.
In the end, the cookie texture is nice. Good snap if you bake them long enough. I added some peppermint extract and covered them with chocolate. A good approximation of a thinmint if you haven’t got a girlscout in your life.
This dough was very crumbly, it didn’t come together nicely at all, I weighed out my ingredients as well. I added 2tbsp of water to bring it together but even then the dough still fell apart. Very disappointed considering the cost of baking supplies these days.
The dough itself smells amazing