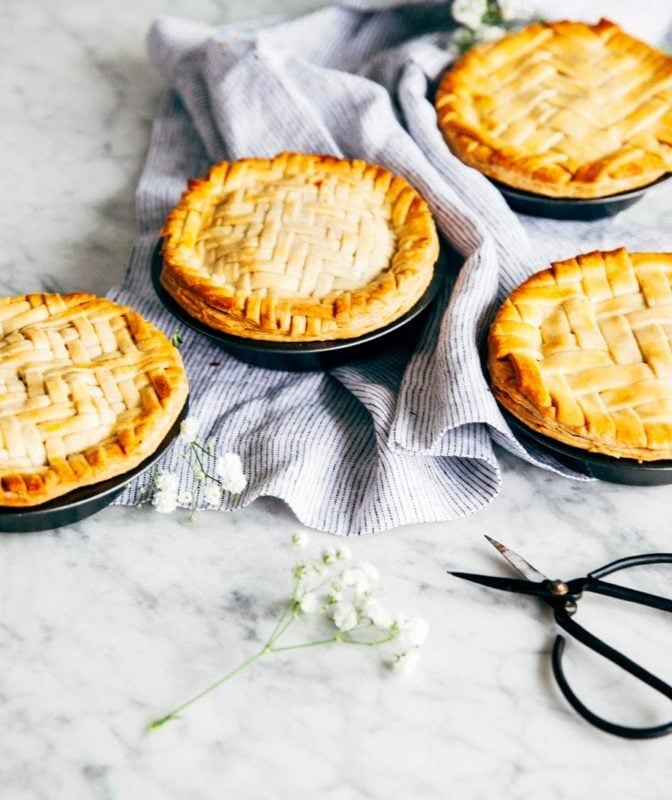
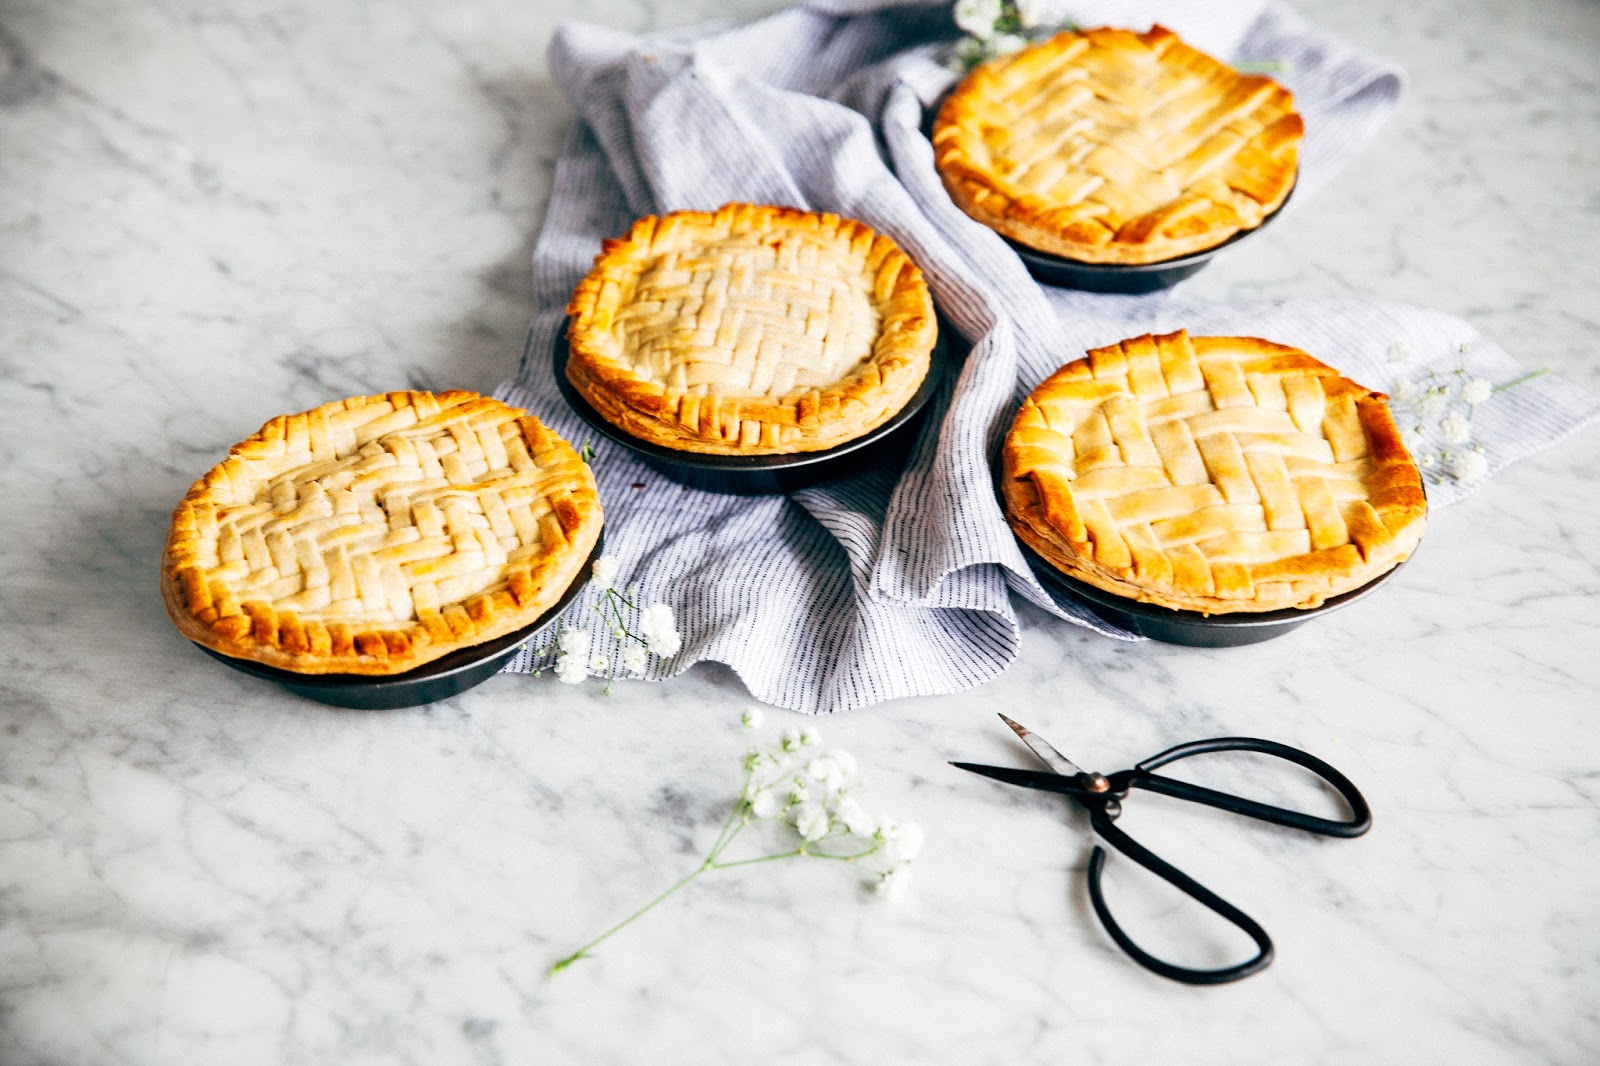
A few weeks ago, I headed to my friend Erin’s apartment to weave these beautiful, herringbone mini pies. She’d posted a beautiful, regular-scale version of a herringbone lattice pie the week before and I hadn’t been able to stop staring at the photo. I kept trying to reverse engineer the pattern in my head. I thought I’d figured out everything there was to do with pies, you see. I’d spent the last year baking a pie a month, a project that had exposed me to a variety of pie making styles and lattice crusts. But it turns out that I’d missed this one. Finally, I texted her, inviting myself over: “Teach me your ways!”

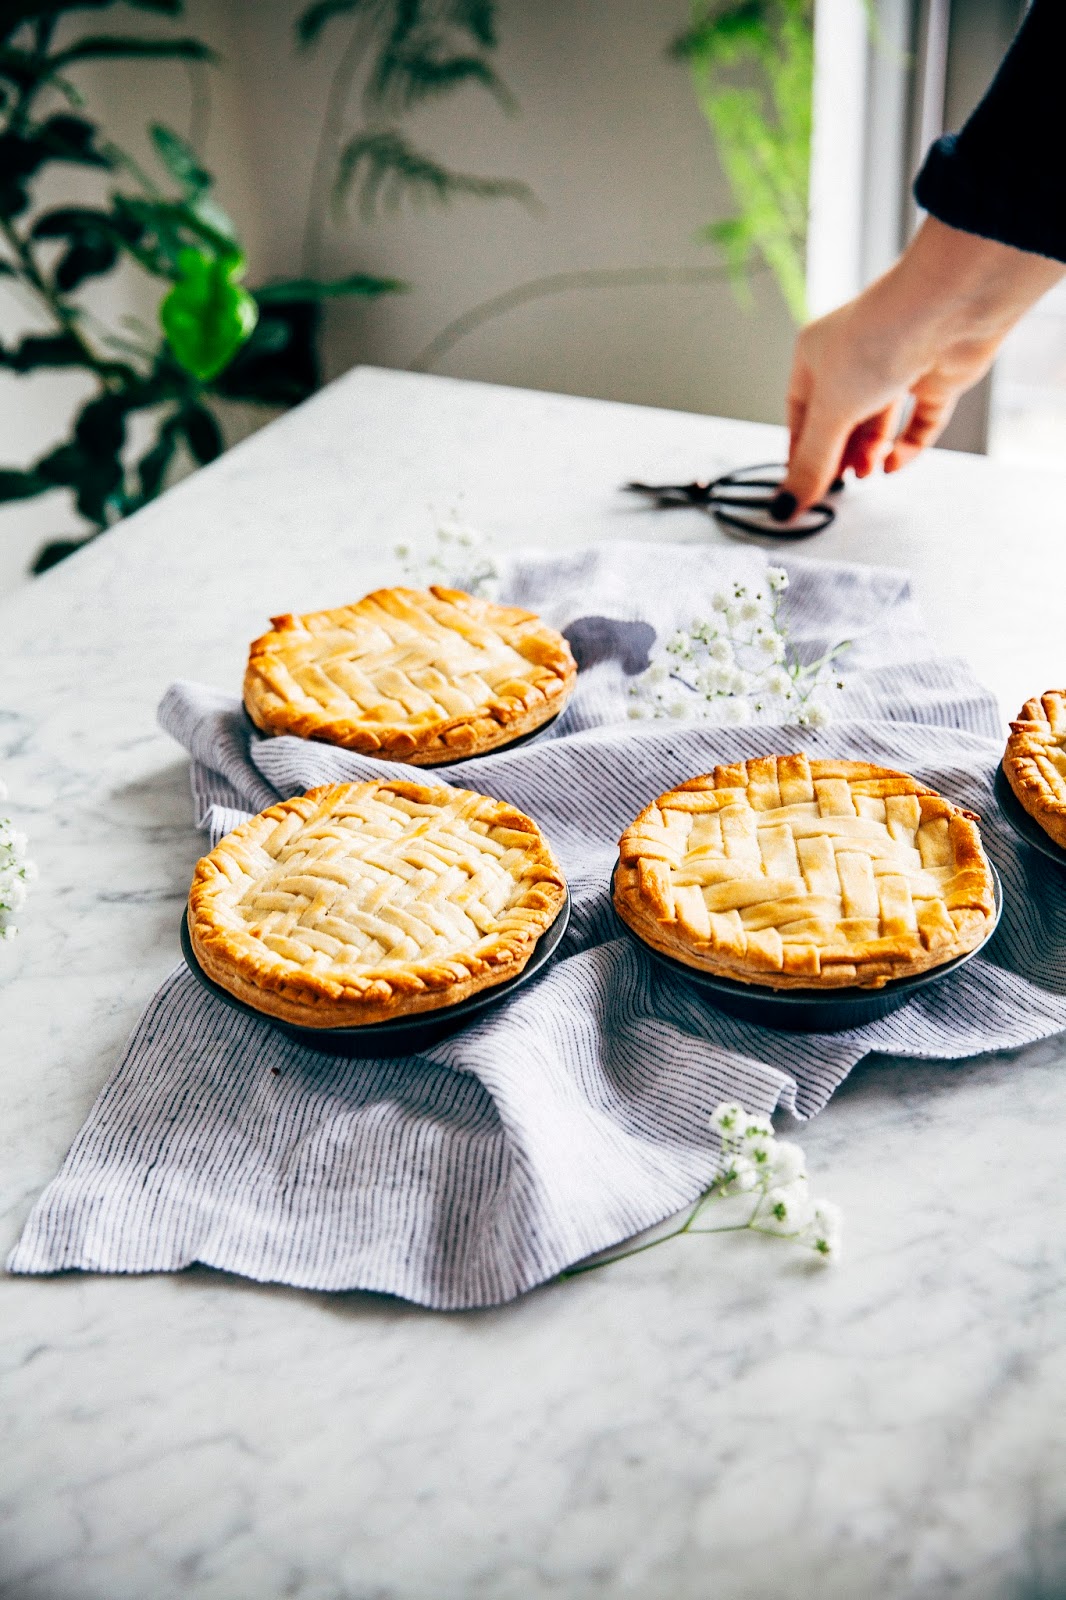
It was a gloomy Saturday, and I arrived at Erin’s bright, plant-filled apartment in East Williamsburg armed with a sweetgreen salad and a bag of apples and pears from the Union Square Farmers Market. I sat, unhelpfully alternating bites between my salad and the delicious honey lavender cake she’d made the day before, as she prepped the fruit and patiently answered my questions about her apartment, the lattice we were about to make, and their upcoming trip back home to New Zealand.
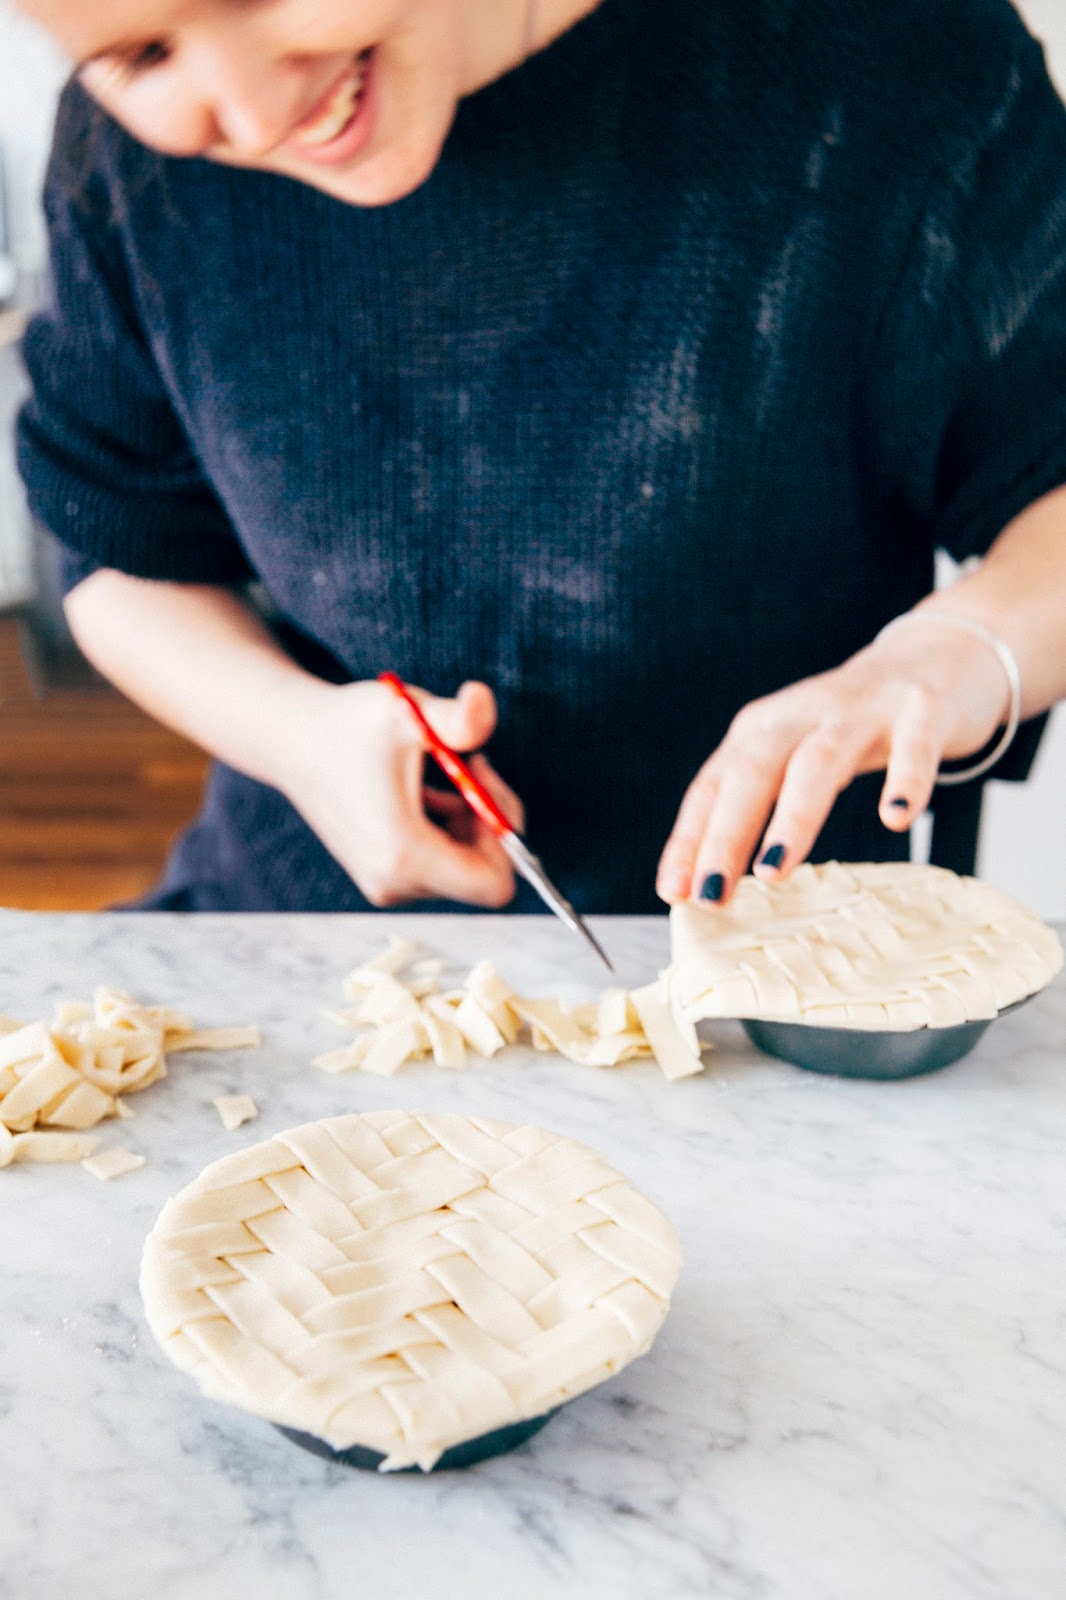
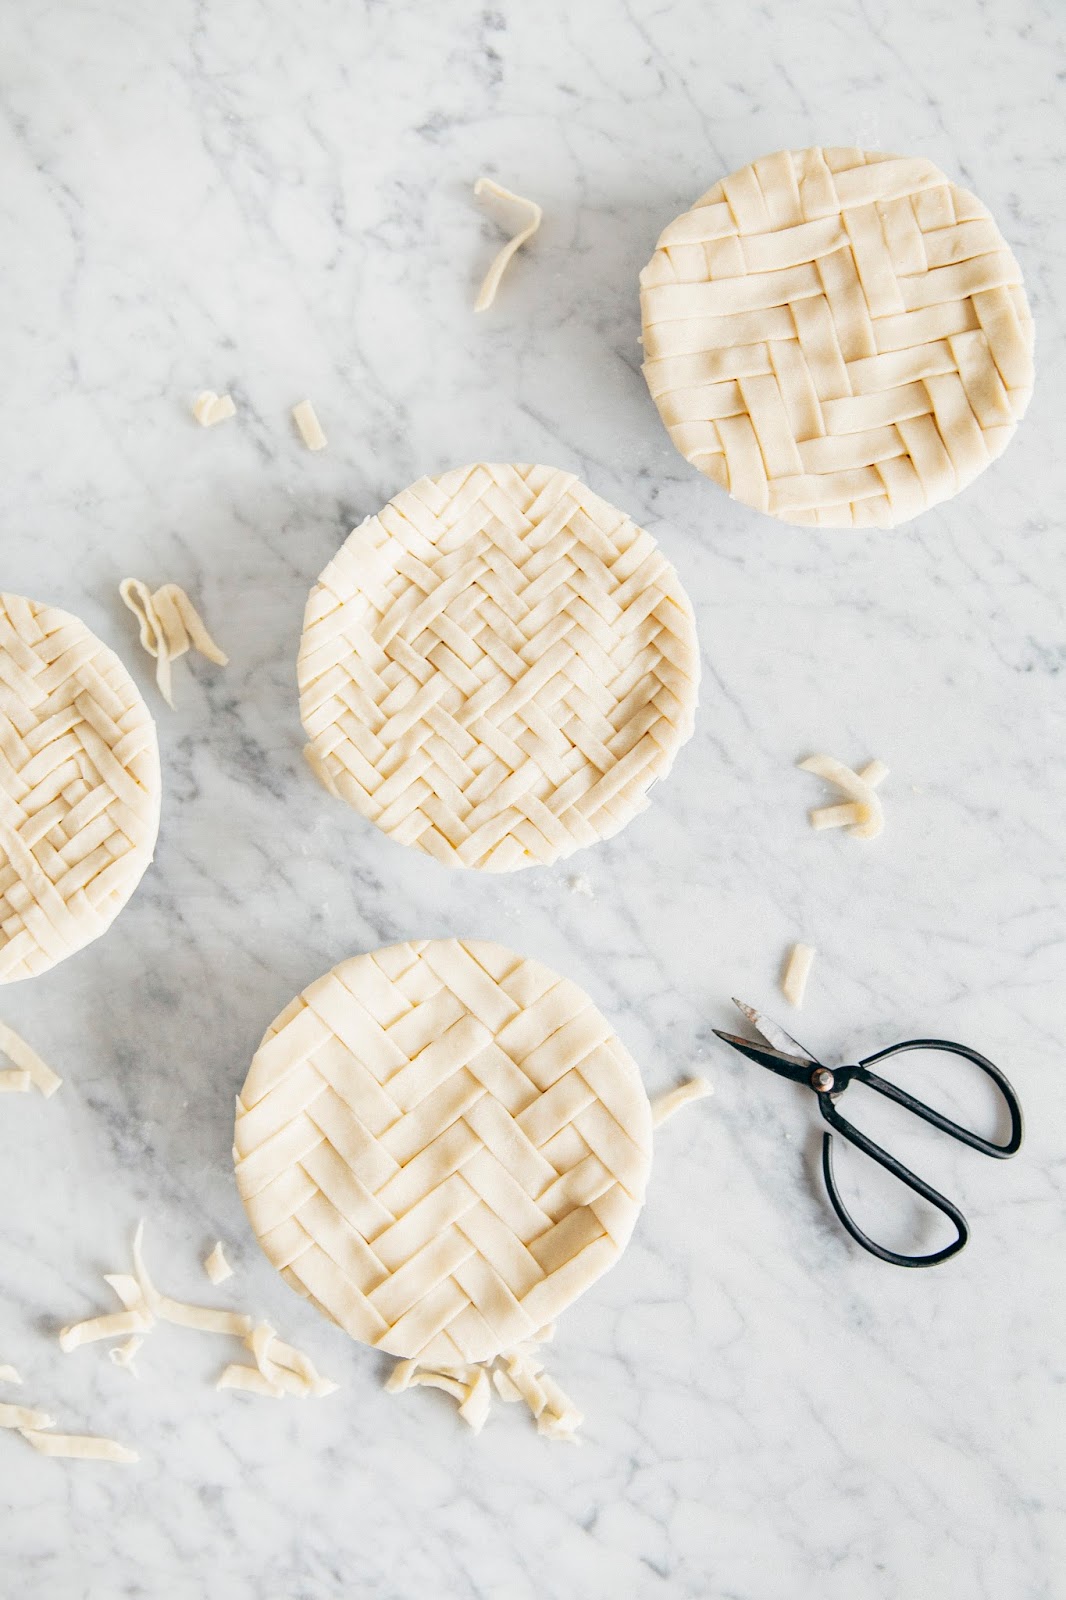
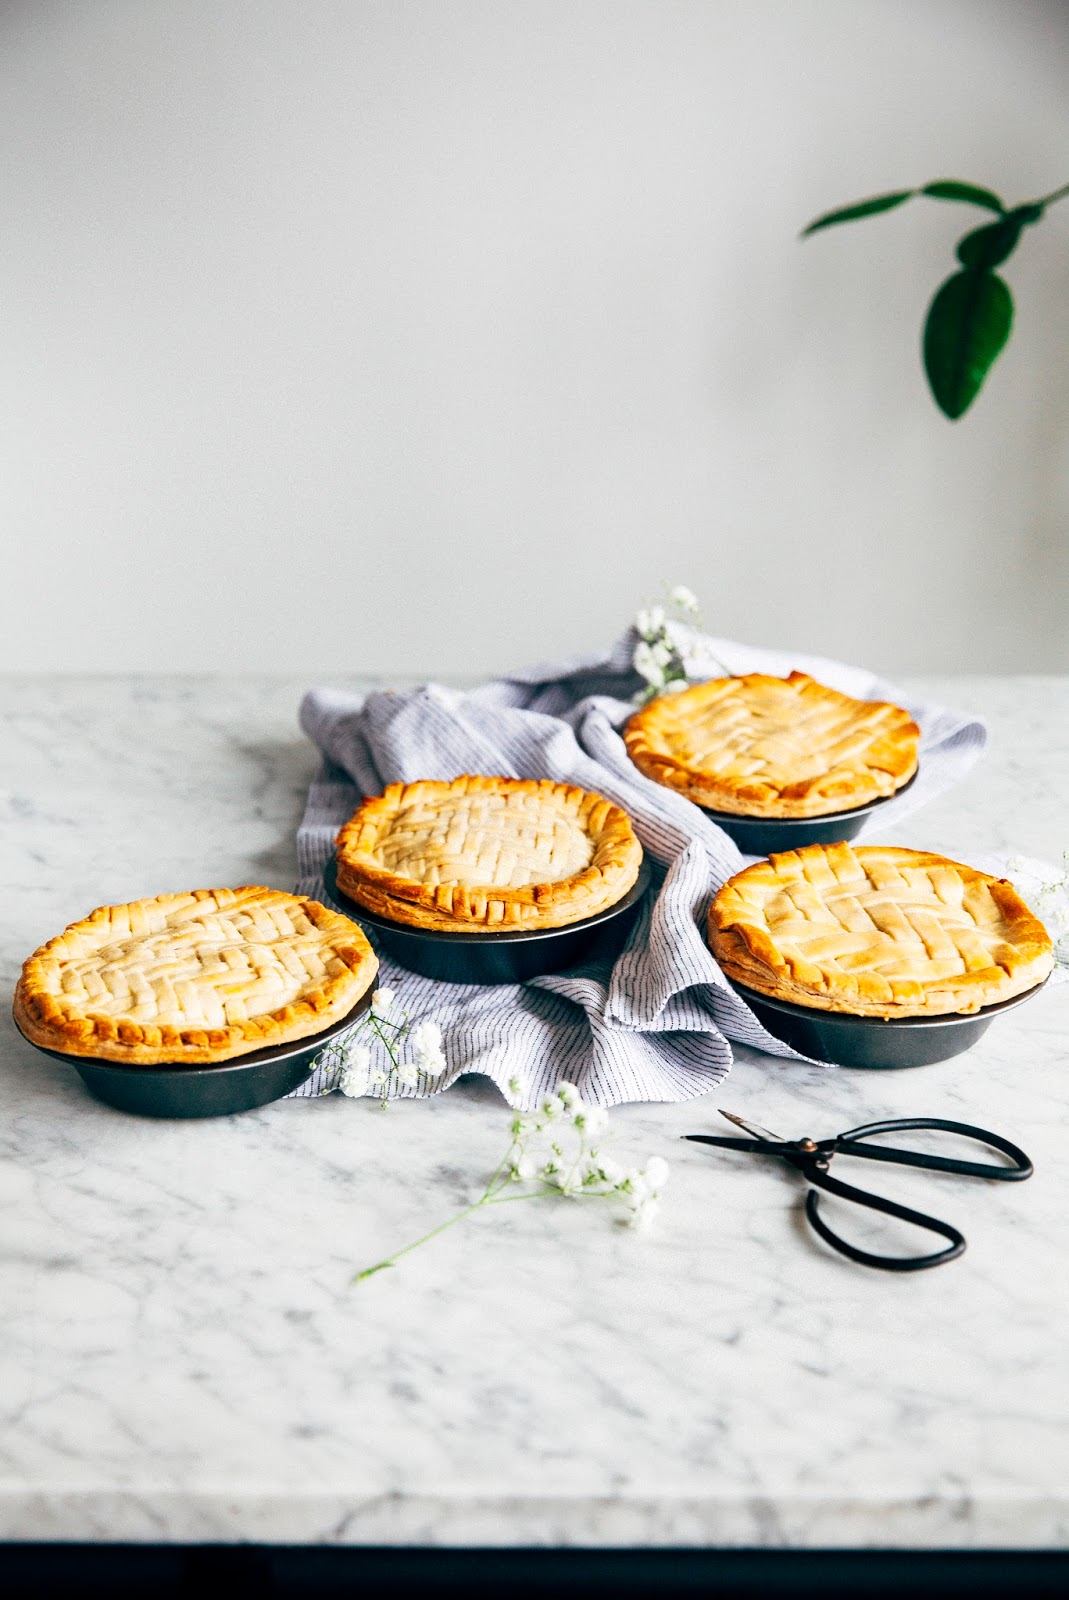
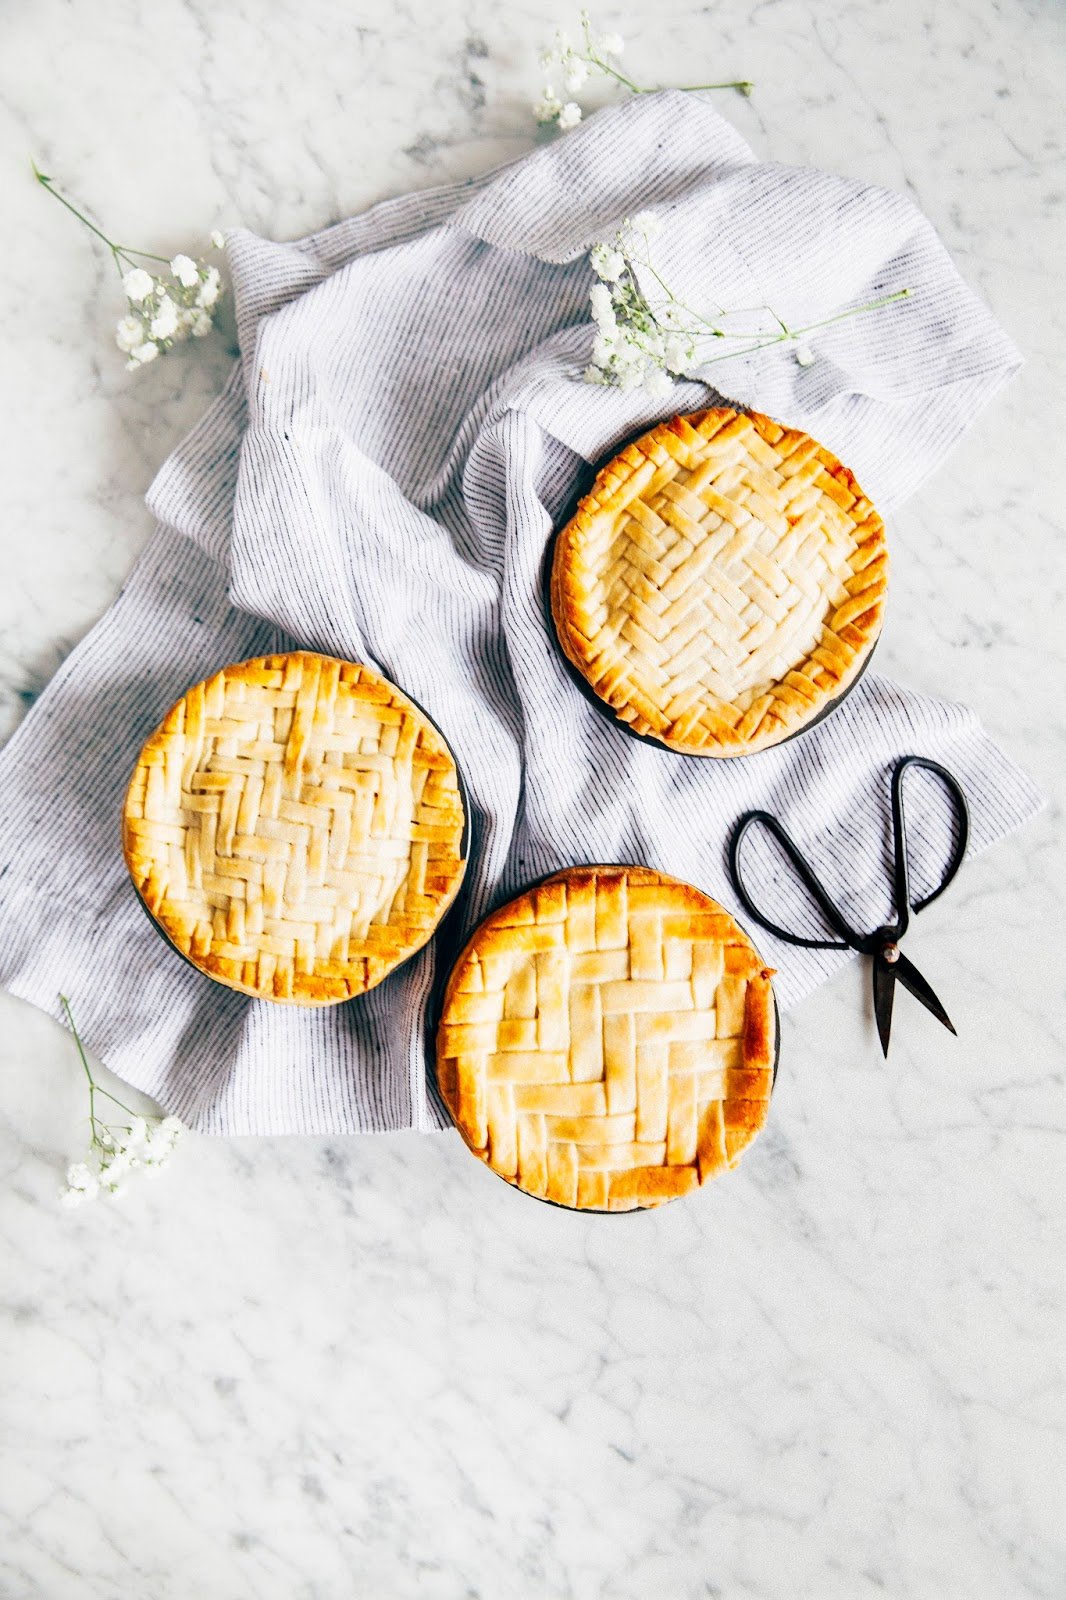
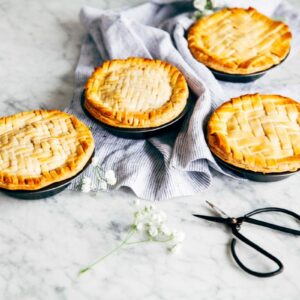
Later, we both sat at her marble topped kitchen cart, ready to weave. I’d rolled out the dough and fitted them to the mini pie tins; Erin had processed the pie dough through a fettuccine machine to shape them into thin, even strips for our lattice. She pulled up Stella Parks’ herringbone lattice tutorial on Serious Eats and began reading it out loud; each of us folded and braided the pie dough to match Stella’s instructions. Rich, her husband, put on a soundtrack of the Pandora Bon Iver radio station and flitted around us every so often, taking photos of us in action. Braiding the pie wasn’t difficult, but it was absorbing, quiet work — each pie took about 20 minutes to weave.
If you’re wondering why I went through a seemingly ordinary and maybe even banal day in such great detail, it’s because of this: it was wonderful.
A lot of the work that I do is solitary. Which is strange, because technically, I’m actually always talking to people. I spend the day writing emails, text messages, and leaving comments on social media. With G-chat and iMessage, I can have an entire novel’s worth of conversations with friends, coworkers, and acquaintances in an hour, during which we’ll jump back and forth between work, gossip, and something completely random, before ending up right where we started. But still. Despite (and possibly because of) all this digital conversation, I go embarrassingly long stretches at a time without having said a single word out loud to another person.
But there’s often a fine line between artistic, romantic solitude and, well, plain old isolation. When I spend so much time in my head, it can start to feel like I’m just there alone by myself, doing the things that I do. But that’s not true. Behind every blog is a living, breathing, and very real person with whom I share an entire universe with. We’re driven by the same passion and interests, and are overwhelmed and struggling with the same challenges. It’s amazingly wonderful how therapeutic it can be to actually get together and share our craft, trade tips and techniques, and collaborate in real life. That day, I went home from Erin’s place and felt like some of the world had been lifted from my shoulders.
Therapy lattice, indeed.
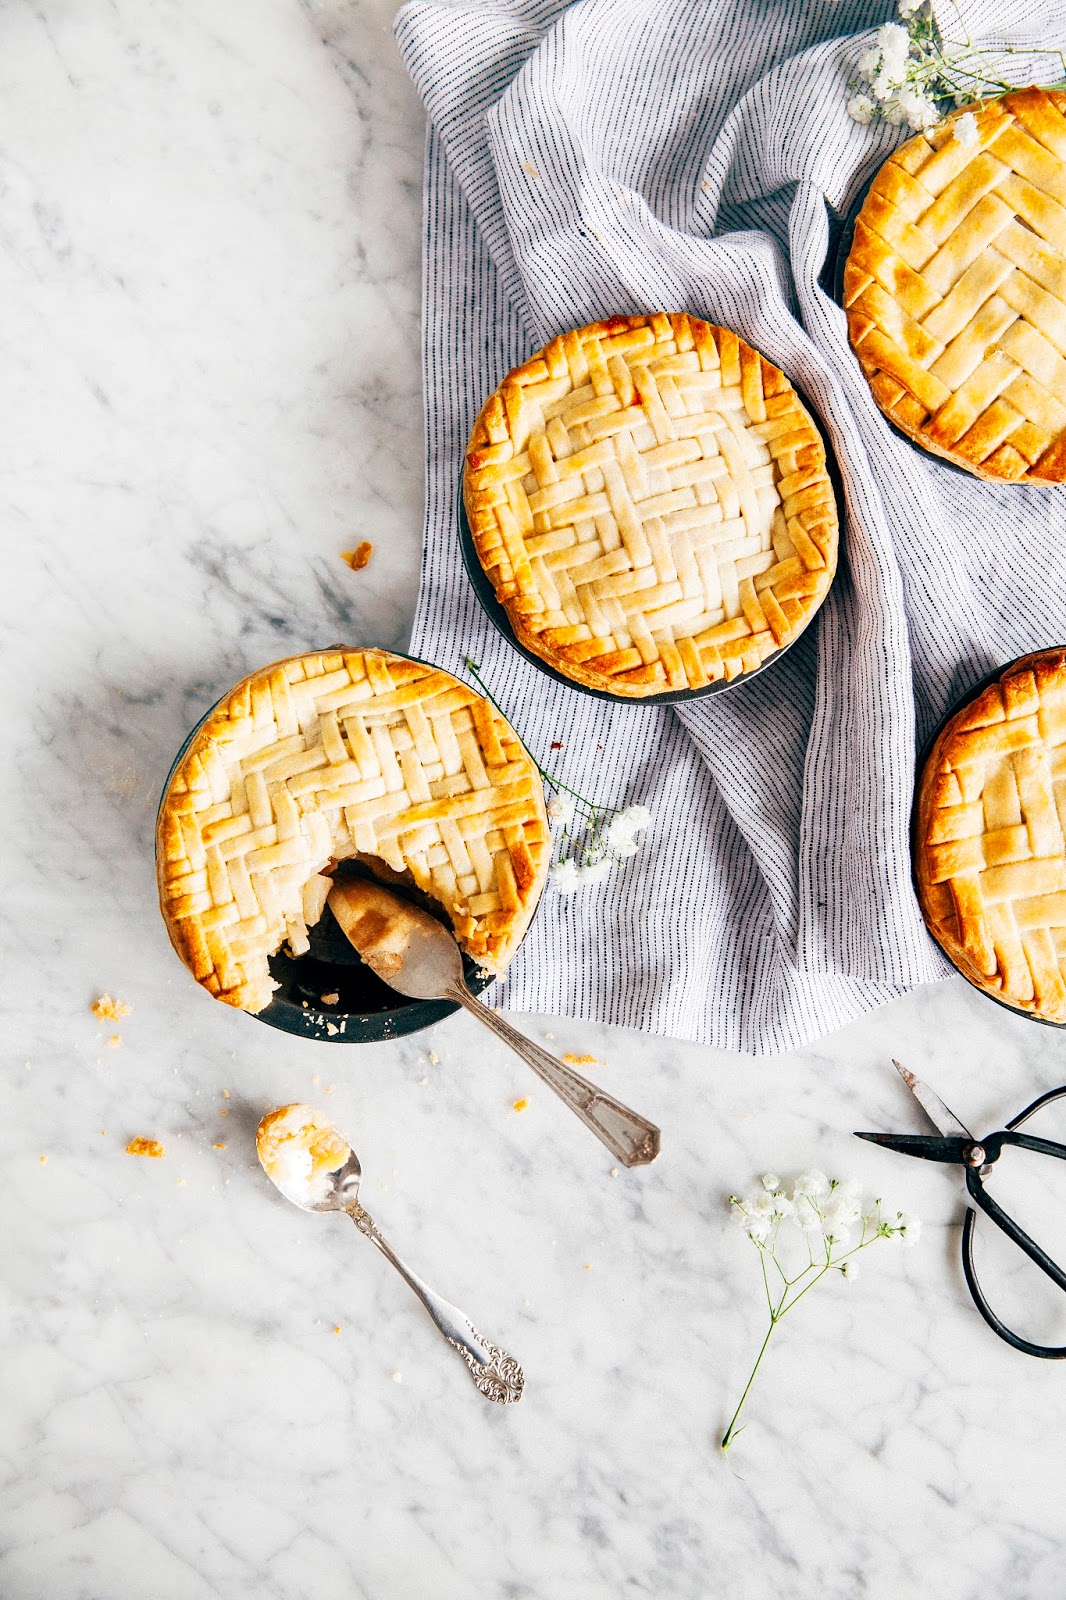
The pie dough is made from the now ubiquitous Four & Twenty Blackbirds all-butter pie crust. We made up the recipe for the filling on the spot, and followed the crazy talented Stella Parks’ herringbone pie crust tutorial word for word. You can check it out (complete with a video!) on Serious Eats. You can also see more of these pies and hear Erin’s side of the story on her pretty blog, Cloudy Kitchen. Enjoy!
- To get the pie dough into thin, even strips, we used two different types of pasta maker attachments for Erin’s KitchenAid mixer. There’s pros and cons to using the pasta maker. The major pro is obvious: you get thin, even strips without the usual hassle of doing it by hand. You’ll likely also have no trouble getting the pie to keep its shape while baking. And that’s because of the con: using a pasta machine will almost always guarantee that your pie crust will be denser (it definitely won’t be as tender and flaky) and slightly overprocessed. The tradeoff is up to you; we’ve included instructions on how to make the pie by hand and how to make it with the help of a pasta machine in the recipe below. If you decide to go with the pasta machine, note that we used the fettucine machine (available from this attachment set) for the skinnier lattice, and the lasagnetti machine (available from this attachment set) for the thicker lattice. Pro-tip: it’s much easier to braid when it’s skinnier.


Get the Recipe: Apple and Pear Mini Pies
Ingredients
For the Pie Crust
(makes four 5-inch pies)
- 2 1/2 cups (13.75 ounces) all-purpose flour
- 2 teaspoons granulated sugar
- a pinch of kosher salt
- 1 cup (2 sticks // 8 ounces) cold unsalted butter, cut into 1-inch cubes
- 1 cup ice
- 1 cup (8 fluid ounces) cold water
- 1/4 cup (2 fluid ounces) apple cider vinegar
For the Apple and Pear Filling
(makes four 5-inch pies)
- 2 large firm baking apples
- 2 large firm pears
- juice of 1 lemon, strained
- 1/4 cup (1.25 ounces) all-purpose flour
- 3 tablespoons granulated sugar
- 2 tablespoons raw sugar
- 1 teaspoon ground cinnamon
For the Egg Wash
(enough for four 5-inch pies)
- 1 large egg
- 1 tablespoon water
Equipment
- a pasta maker (optional, see baker’s notes)
Instructions
For the Pie Crust
- Place 2 1/2 cups all-purpose flour, 2 teaspoons granulated sugar, and a pinch of kosher salt into a large bowl. Add 1 cup cubed butter and toss to coat. Working quickly and using a pastry blender or your hands, cut the butter into the flour until there are only small pea-sized chunks remaining. If you are going to do a detailed lattice, you want to take it a little further than you usually would to ensure that the dough is pliable and stable enough to be cut into small strips.
- Combine 1 cup ice, 1 cup water, and 1/4 cup cider vinegar in a bowl. Sprinkle a few tablespoons of the ice water into the flour and butter mixture, and using a stiff spatula or your hands, mix in well. Continue adding water a tablespoon at a time, until you have a dough that holds together well, but is not too wet. Squeeze together with your fingertips to make a homogenous dough. Shape into two discs and wrap in plastic wrap. Rest in the fridge for at least two hours, or preferably overnight.
- On a lightly floured surface, roll out one disc of dough until it is approximately 1/8″ (3mm) thick. Line four 5 inch miniature pie dishes with dough, leaving some overhang. Refrigerate while you prepare the pie filling.
For the Apple and Pear Filling
- Peel, core, and thinly slice 2 large apples and 2 large pears and place in a large bowl. Add juice from 1 lemon and toss well to evenly coat the fruit. Sprinkle with the granulated sugar. Mix well to combine, and leave to sit for 20-30 minutes.
- In a large bowl, combine 1/4 cup all-purpose flour, 3 tablespoons granulated sugar, 2 tablespoons raw sugar, and 1 teaspoon cinnamon. Transfer the fruit to the bowl, leaving behind any excess liquid. Toss well to combine.
Assembly and Baking
- Divide the filling between the four lined pie dishes. If you are making a lattice the regular way, roll out the second disc of dough on a floured surface into a large circle, until 1/8-inch thick. Cut the dough into thin strips of equal width. If you are using a pasta maker for the lattice, pass floured slices of dough through the widest setting on your pasta maker multiple times, folding and pressing it back together between passes until it is smooth and homogeneous. Decrease the thickness on the machine to the second widest setting, and pass the dough through several times. Pass the dough through the cutting attachment of the machine, and place the cut strips onto a baking sheet. Prepare the strips for 1 to 2 pies at a time, and make more as you need them to ensure that the dough does not dry out too much.
- Arrange the strips on top of the filling, either in a regular lattice, or follow the steps in this tutorial to create a herringbone lattice. Trim the edges of the pie using kitchen shears. Transfer the pies to the freezer for 15 to 20 minutes to allow the pastry to firm up.
- While the pies are freezing, preheat the oven to 400 (F). Place a baking sheet on the center rack of the oven.
- Remove the pies from the freezer. In a small ramekin, combine 1 large egg and 1 tablespoon water and whisk well to make egg wash. Brush with the egg wash using a pastry brush. Place on the baking tray and bake for 15 minutes, until the pastry is beginning to set and go golden. Reduce the temperature to 375 (F), and cook for a further 20 minutes or until the pastry is a deep golden brown. Remove from the oven and cool completely on a wire rack.