
For a long time, I thought the New York Times chocolate chip cookie recipe had ruined me for good. Based on a recipe from famed chocolatier Jaques Torres, it makes a cookie SO GOOD that I find myself daydreaming about baking and eating it once a week. And I probably would, if it weren’t incredibly, incredibly, incredibly fussy to make. The uses two types of flour and rare (not to mention, expensive!) disk-shaped chocolate chips called feves. And to add insult to injury, it makes you wait at least 24 hours before you can eat it.
So what happens when I just need a chocolate chip cookie right here, right now?
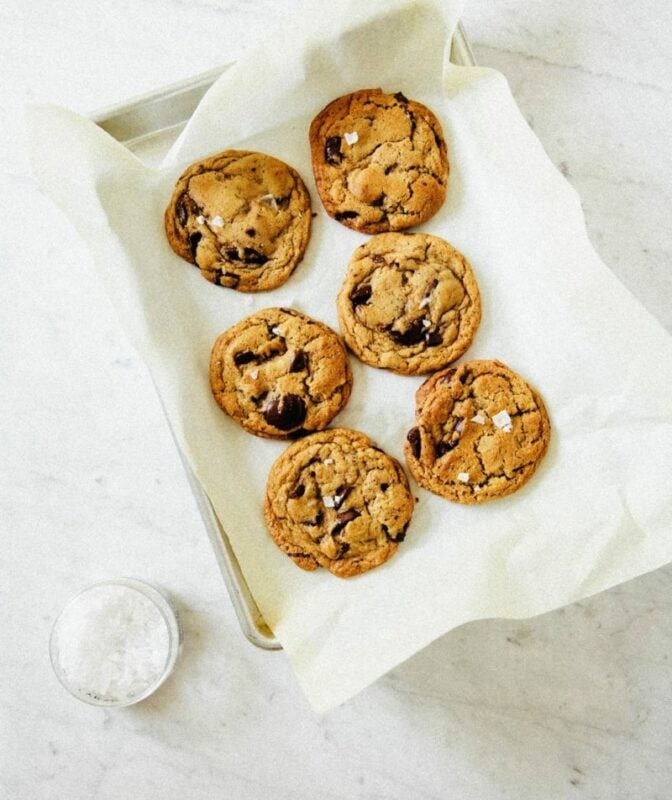
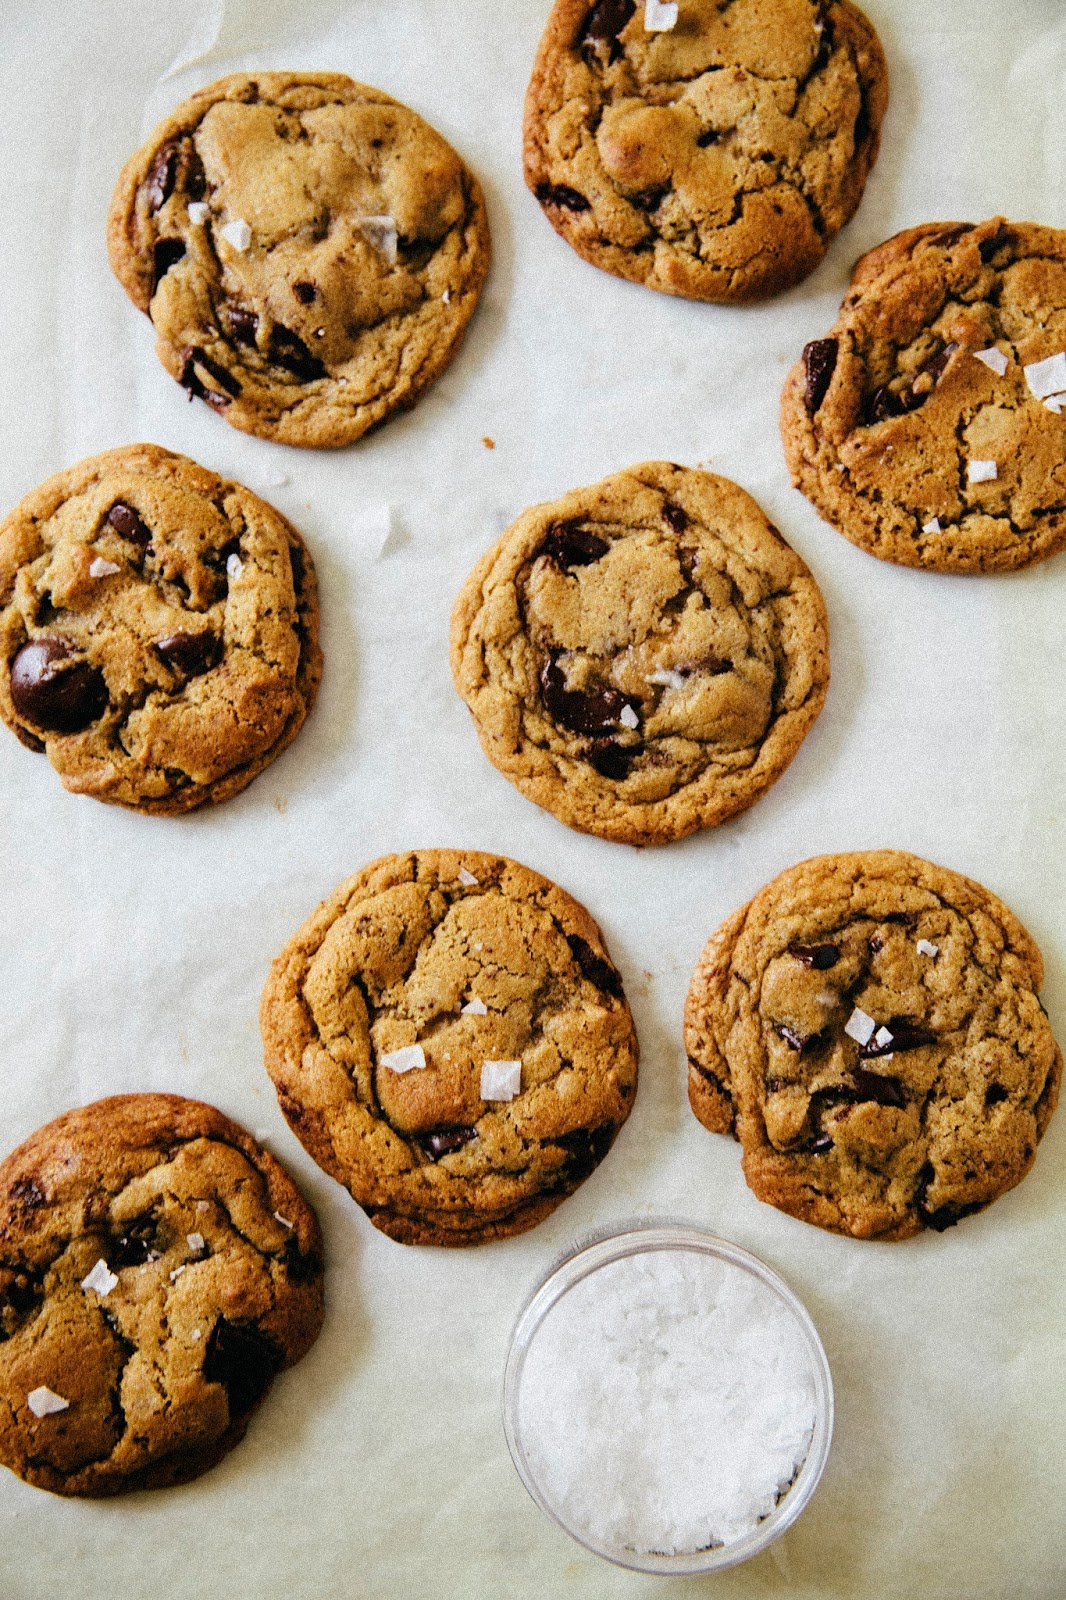
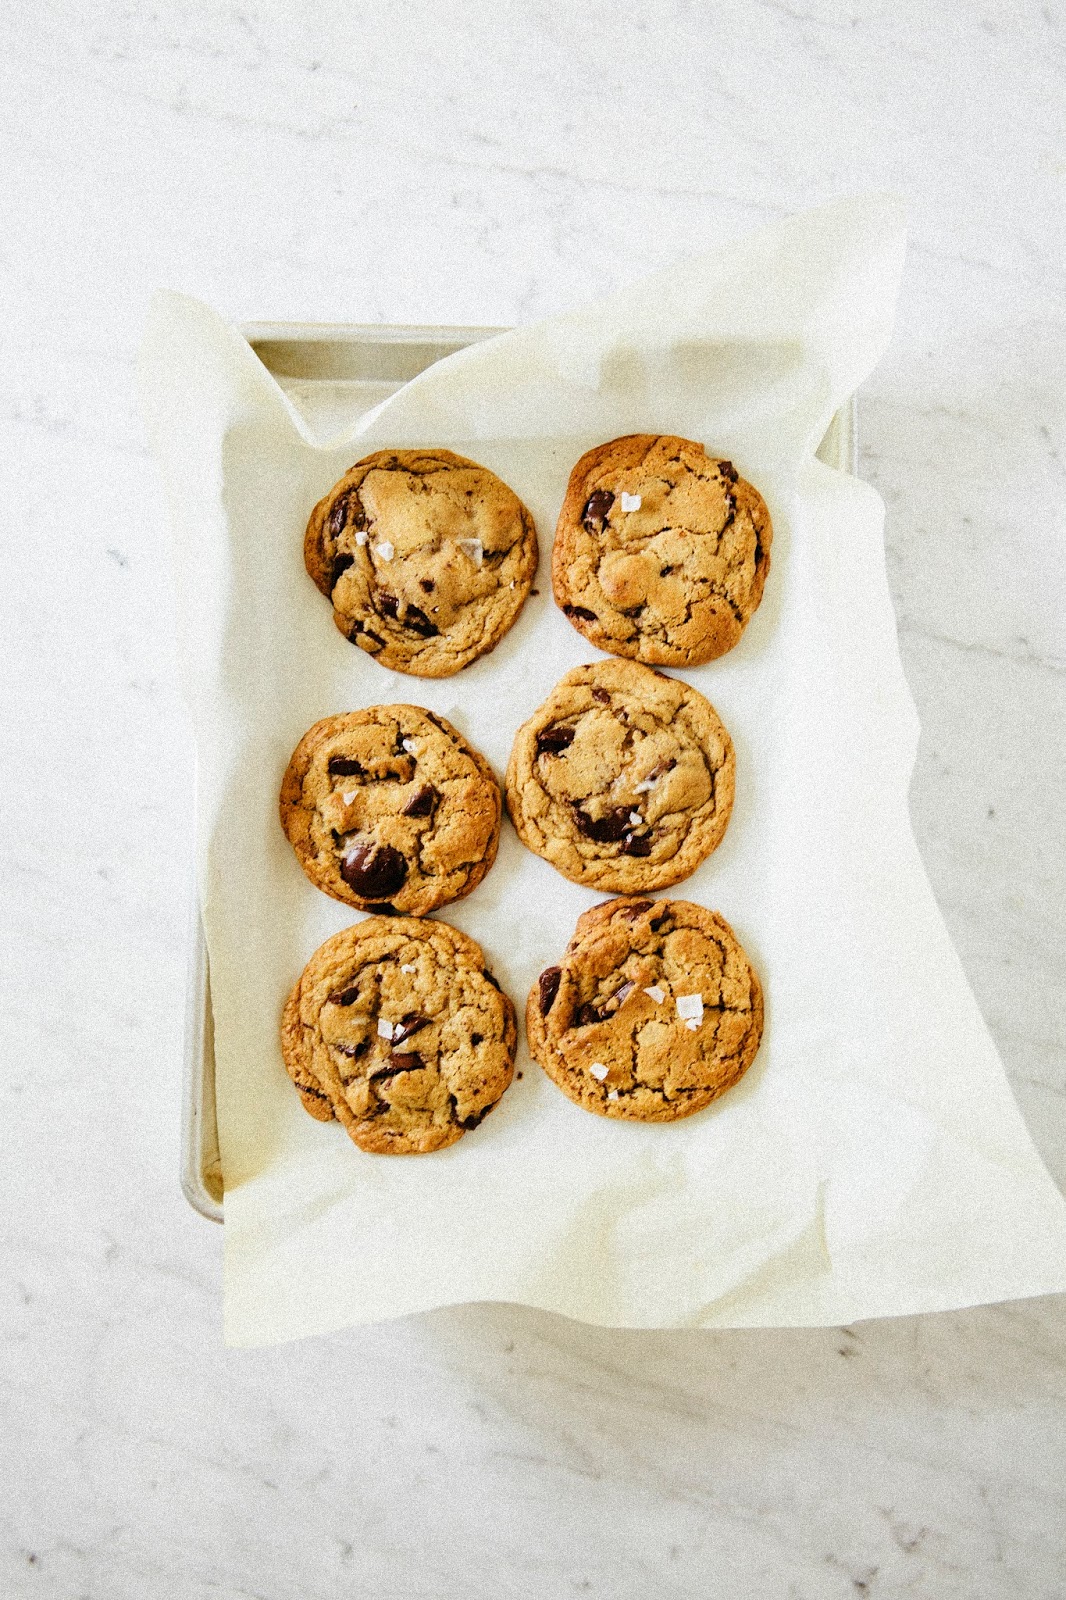
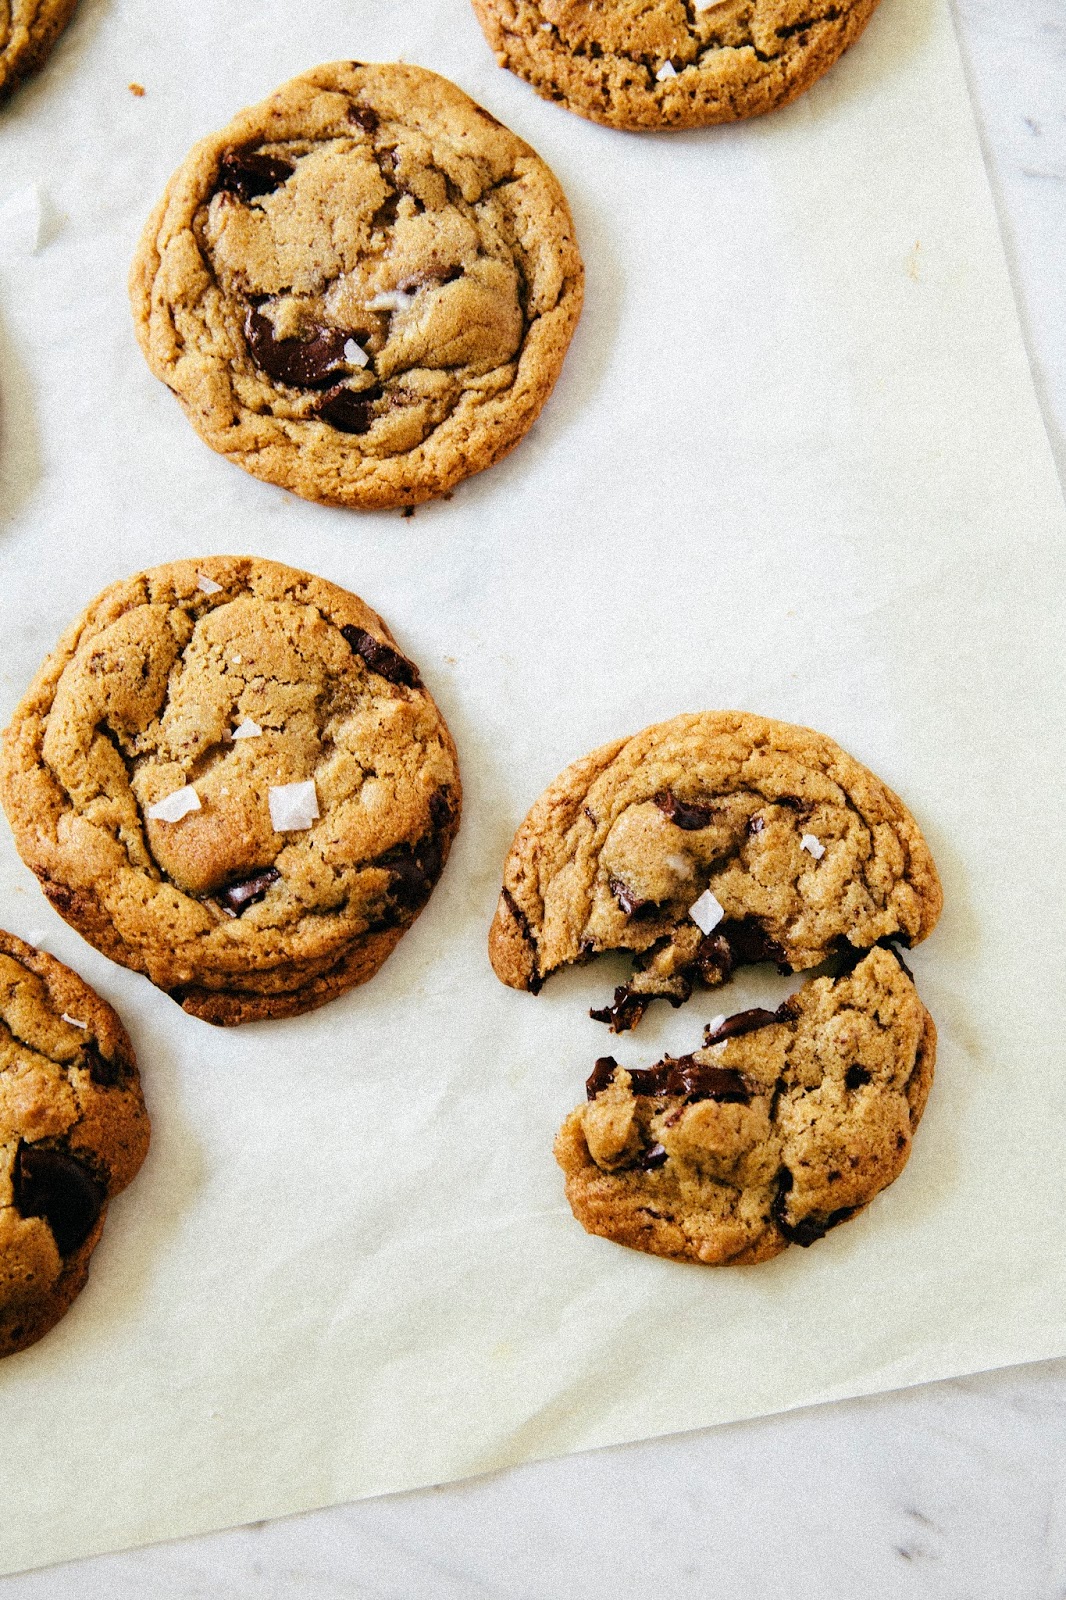
Tara, the incredibly talented blogger behind Seven Spoons, saves the day with her recipe for Basic, Great Chocolate Chip Cookies. The recipe, found in her beautiful cookbook, is pretty much the exact opposite of the New York Times recipe. It’s the least fussy thing ever. There’s no need for a mixer; heck, you don’t even need to bring the butter in the ingredients list to room temperature before using! And even with the incredibly simplified baking process, it produces a chocolate chip cookie that’s just as good as the one from the New York Times — crisp on the outside, chewy in the center, and the perfect balance of sweet and salty:
The only problem is that with Erlend all the way over in New York, it’s literally just me, my cat, and two dozen incredibly delicious cookies in my apartment. And if you know me in real life (which, shameless plug, follow hummingbirdhigh on Snapchat for a glimpse, though I’ll admit I have no idea what I’m doing or how to really use the damn thing), you know that I can plow through 24 chocolate chip cookies in just one sitting. Without even taking a breath. For real.
So in order to prevent myself from gaining 200lbs, you know what I do? I allow myself one on the day that I make the dough, and freeze the rest. After measuring the dough out into cookie dough balls, I unceremoniously stuff them into a square baking pan to basically create a homemade version of the Nestle Tollhouse slice-and-bake cookies from my childhood that I loved, loved, loved. Only this time, with homemade quality dough that doesn’t use and any weird preservatives or ingredients.

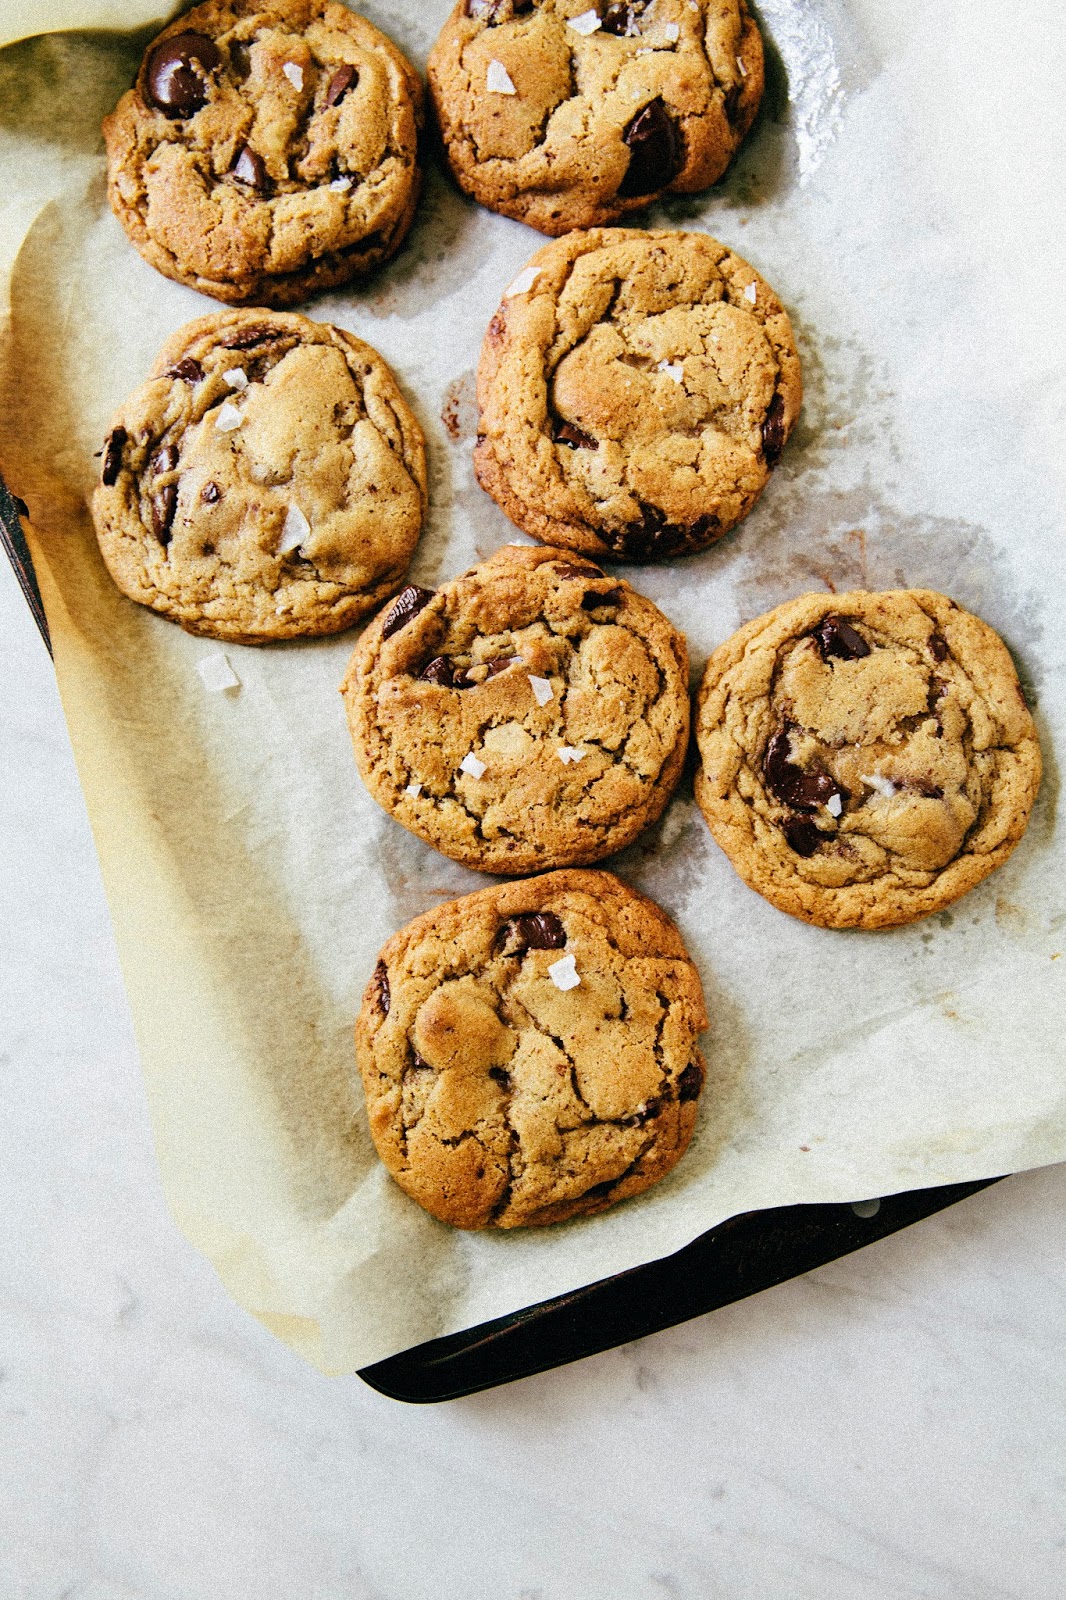
Plus, the kicker? There’s some crazy voodoo cookie dough magic that happens the longer the cookies sit in the freezer. That is, the longer the dough rests (and these babies keep for AGES — I’m still going through a batch that I first made about two months ago), the more flavorful and amazing the cookies will taste. Think: a chocolate chip cookie with strong notes of brown butter, toffee, and salted caramel. It’s all there, even though I used none of those ingredients. I don’t know how or why. The reigning theory is that the flour fully absorbs all flavored oil from the chocolate, butter, and other ingredients to produce all those new flavors, but honestly, I don’t really care.
Because it’s that good.
Now if you’ll excuse me, writing this post actually made me crave one of these damn things again. I’m pretty sure I have one or two left in the back of my freezer somewhere. And if I don’t, no biggie. Thanks to Tara, I’ll just whip up another batch, give or take twenty minutes. Just like that.
Life is good.
Some baker’s notes:
- Please note that the recipe calls for chocolate feves (that is, round chocolate disks) and NOT chocolate chips. Chocolate chips have some weird edible paraffin wax that helps them keep their shape while baking — we don’t want that for these cookies! Chopped chocolate, on the other hand, melts into the cookies and helps infuse the dough with chocolate. This is an especially important quality if you’re freezing the dough for an extended amount of time. If you can’t find any feves, you can substitute with a bar of good-quality chocolate (if you’re on a budget, consider using Trader Joe’s Pound Plus bars — they’re great quality considering their price). Be sure to chop the chocolate up unevenly and coarsely to create an interesting texture throughout the cookie; I even left some feves whole and it was awesome!

Get the Recipe: Any Time You Need ‘Em Slice-and-Bake Chocolate Chip Cookies
Ingredients
- 1 cup (8 ounces // 2 sticks( unsalted butter, chopped into 1-inch squares
- 3 1/4 cups (16.25 ounces( all-purpose flour
- 1 1/4 teaspoons baking powder
- 1 teaspoon baking soda
- 1 1/2 teaspoons kosher salt
- 1 1/2 cups (11.25 ounces( dark brown sugar, tightly packed
- 1/2 cup (3.5 ounces( granulated sugar
- 2 large eggs
- 2 teaspoons pure vanilla extract
- 12 ounces bittersweet chocolate feves coarsely chopped (see baker's notes)
- flaky sea salt (I used Trader Joe's pyramid salt)
Equipment
- (for Freezing)
- wax paper
- an 8×8-inch square cake pan or a 9×13-inch rectangular cake pan
- a rubber band big enough to fit the pan
- a gallon-sized Ziploc freezer bag or plastic wrap
Instructions
For the Chocolate Chip Cookie Dough
- In a medium saucepan over the lowest heat possible, melt 1 cup unsalted butter. There should be no sizzle, crackling or popping — just let the butter ooze into liquid without boiling, ensuring minimal moisture is lost. Stir regularly, until the butter is almost completely melted.
- In a bowl, whisk together 3 1/4 cups all-purpose flour, 1 1/4 teaspoons baking powder, 1 teaspoon baking soda, and 1 1/2 teaspoons kosher salt. Set aside.
- Once the butter is melted, pour it into a large bowl and whisk in 1 1/2 cups dark brown sugar and 1/2 cup granulated sugar. The mixture may look like it will seize, but it will relax with a few seconds of stirring. Add 2 large eggs, one egg at a time, whisking briefly after each addition but only to combine. Stir in 2 teaspoons pure vanilla extract.
- Once the vanilla extract is incorporated into the mixture, switch from a whisk to a rubber spatula. Sprinkle the dry ingredients (from the 2nd step) over the mixture, and use the rubber spatula to mix in the dry ingredients. Once mostly blended (think: two or three smallish flour streaks left in the mixture), stir in 12 ounces coarsely chopped bittersweet feves. Be sure to bring any stray ingredients up from the bottom of the bowl, and continue mixing until the dough no longer looks dusty. If the dough seems warm or overly glossy, refrigerate for 5 minutes. Use a 1-tablespoon cookie scoop dough to measure out 3 tablespoons of dough for each cookie, using your hands to roll together to create a bigger ball of dough to make one cookie.
If Enjoying Immediately
- If you plan on enjoying the cookies immediately, center a rack in the oven and preheat to 350 (F). Line two baking sheet pans with parchment paper.
- Arrange the measured out dough balls on the parchment-lined baking sheet pans, leaving 3 inches between each cookie. Sprinkle the tops of each cookie with flaky sea salt. Bake until the tops are cracked and lightly golden, around 10 to 12 minutes. Transfer the sheet pans to a wire rack to cool for at least 10 minutes, before enjoying immediately.
If Freezing and Enjoying for Later
- Line a square or rectangular cake pan (the cake pan will obviously depend on how much cookie dough you have left) with wax paper. Take the measured out dough balls and line them in the pan — the edges of each dough ball should touch each other and the sides of the pan (see pictures above). Sprinkle the tops of each dough ball with flaky sea salt. Cover the top of the cake pan with another sheet of wax paper, using a rubber band to create a sealed top over the cake pan. If using an 8×8-inch square pan, slip the gallon Ziploc-bag over the pan and seal it close, squeezing out any excess air. If using a 9×13-inch pan, cover the wax paper-topped pan with another layer of plastic wrap. Transfer to the freezer and freeze until ready to use for up to 3 months.
- When ready to bake, center a rack in the oven and preheat to 350 (F). Line a baking sheet with parchment paper.
- Remove the frozen cookie dough from the freezer and use a serrated knife to slice however many cookie dough balls you want from the frozen clump. Arrange the measured out dough balls on the parchment-lined baking sheet pans, leaving 3 inches between each cookie. Use the back of your hand to slightly flatten the top of each cookie dough ball.
- Bake until the tops are cracked and lightly golden, around 18 to 20 minutes. Transfer the sheet pans to a wire rack to cool at least 10 minutes, before enjoying immediately.
Hi, soy de Chile, me encanta tu blog, tus recetas y todos los detalles. No tienes la receta en gramos 🤯🤯🥰
Hi, love these cookies, such an easy recipe and the cookies always turn out great!
I have one question though, that I find american recipes tend to leave out: do you use conventional or convection oven when you bake these?
I use conventional when I bake these!
These were incredibly easy to make and baked perfectly – I chopped up a block of my favourite dark chocolate and it turned into pools of melted chocolate in the finished cookies, exactly what I was looking for! The cookies were crispy on the edges and nice and soft in the middle. Have frozen the rest to enjoy later!
hi, are these cookies supposed to be thick?
no…they bake up pretty flat.
This is not a slice and bake recipe as promised in the title suggests
So… as written, this recipe does *not* describe slice-and-bake cookies. Just cookies you form into balls and freeze. Kind of misses the point! Also, is there a reason to leave the baking pan in the freezer once the cookies have frozen?
Some pre-made refrigerated cookie dough comes as a rectangular slab about 1/2″ thick, pre-cut into roughly 1″x1″ squares — would something like that work for these cookies? To maintain approximately the same volume as in this recipe (3Tbsp ~ 45 mL) you’d need a 1″ thick slab cut into 1.5″x1.75″ (~43mL) chunks (the slab would need to be 10.5″ x 7″ making 7×4=28 cookies).